
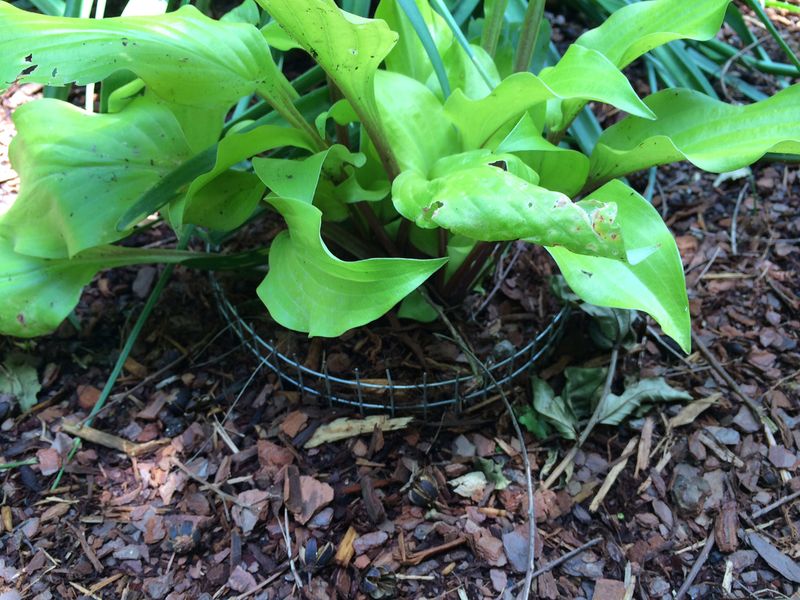
By late summer, many hostas look like they lost a fight with the weather, with brown edges, slug holes, and floppy leaves. That ragged look is normal, and it does not mean your plants are dying.
What you do in fall can decide how strong and full they come back next spring. A few simple chores now can set your hostas up for a much better show next year.
1. Check for Real Trouble Before You Cut Anything
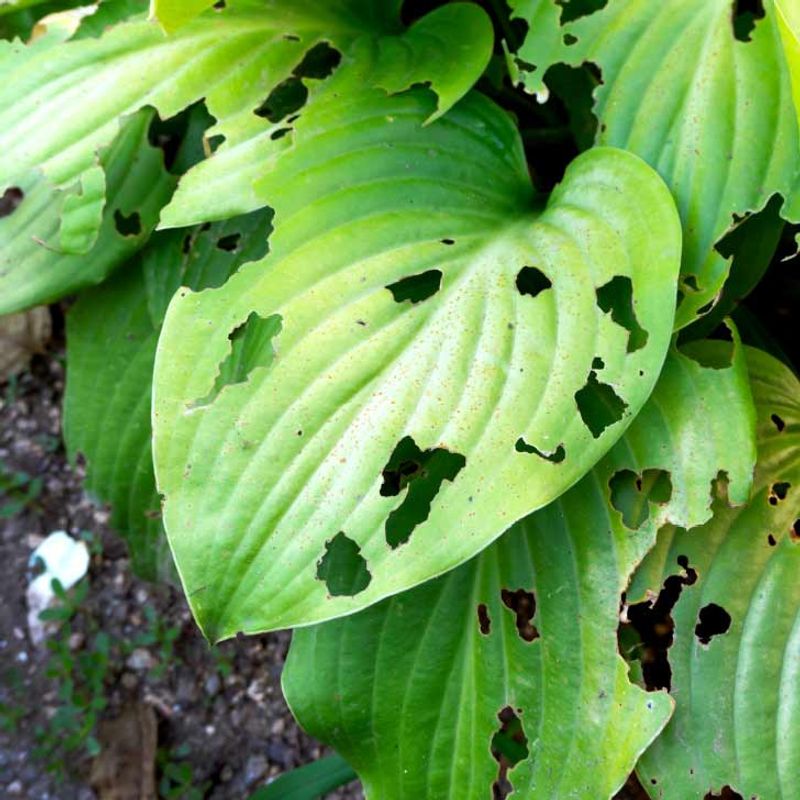
Ragged leaves can tell a story, so read them before you grab the pruners. Brown, crispy edges usually point to heat and sun stress, which is common in Texas and the Deep South by September.
Lacy holes with silvery trails often mean slugs or snails have been feasting at night.
Watch for warning signs that need more attention. Mushy, rotting crowns near the soil line may signal crown rot, a fungal problem that thrives in soggy, warm ground.
Yellow streaks or odd puckered patterns on leaves can be a sign of Hosta Virus X, and infected plants are usually best removed and thrown in the trash, not the compost.
Take five minutes per clump and look under the leaves, along the stems, and at the base. Snap a phone photo of anything strange so you can compare it next spring.
Most tired hostas are simply worn out from a long, hot season and will bounce back fine.
Knowing what caused the damage helps you choose the right fall fix. A sun-scorched plant may need a shadier spot, while a slug-chewed one needs cleanup and pest control.
Guessing wastes effort, and a quick check points you straight to the moves that actually help.
2. Keep Watering Until the Leaves Go Dormant
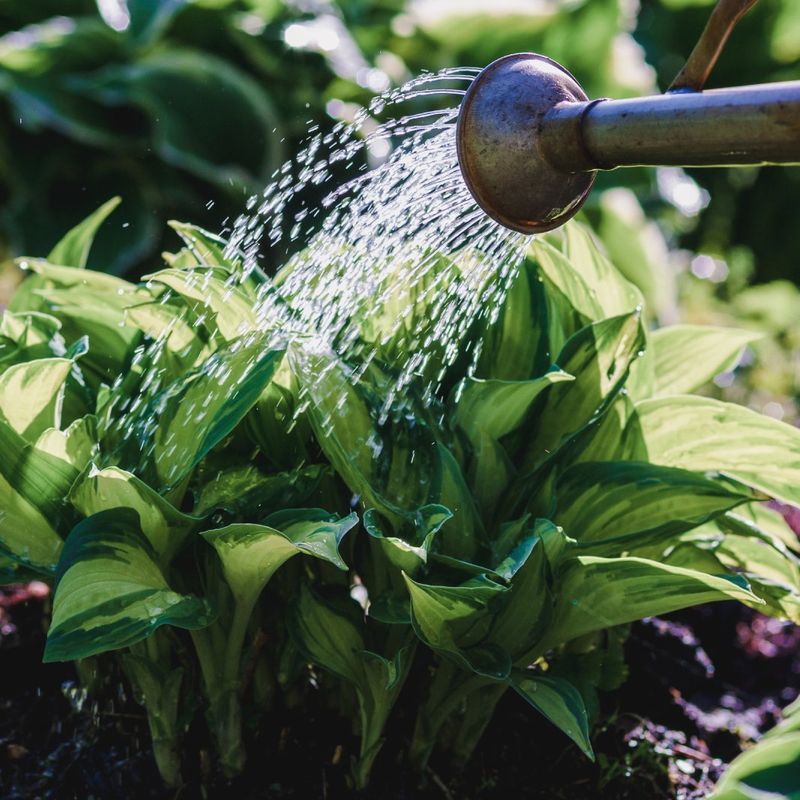
Here is a mistake plenty of gardeners make: they stop watering the moment the weather cools a bit. In the South, fall often brings long dry spells, and hostas still need moisture while their leaves are green.
Those leaves are busy sending energy down to the roots for next year.
Roots stocked with stored food tend to push out bigger, fuller clumps in spring. A thirsty hosta in September may shut down early, and that can mean a smaller plant when it wakes up.
Aim for about an inch of water per week, delivered slowly at the base.
Soaker hoses or drip lines work well because they keep foliage dry, which may help reduce leaf spot and slug traffic. Water in the morning so the soil surface dries a little by evening.
Push a finger two inches into the soil, and if it feels dry, it is time to water.
Once frost or cooler nights finally turn the leaves yellow and limp, you can ease off. In milder parts of Florida and South Texas, that point may come late or barely at all, so let the plant guide you instead of the calendar.
3. Divide Crowded Clumps While the Soil Is Warm
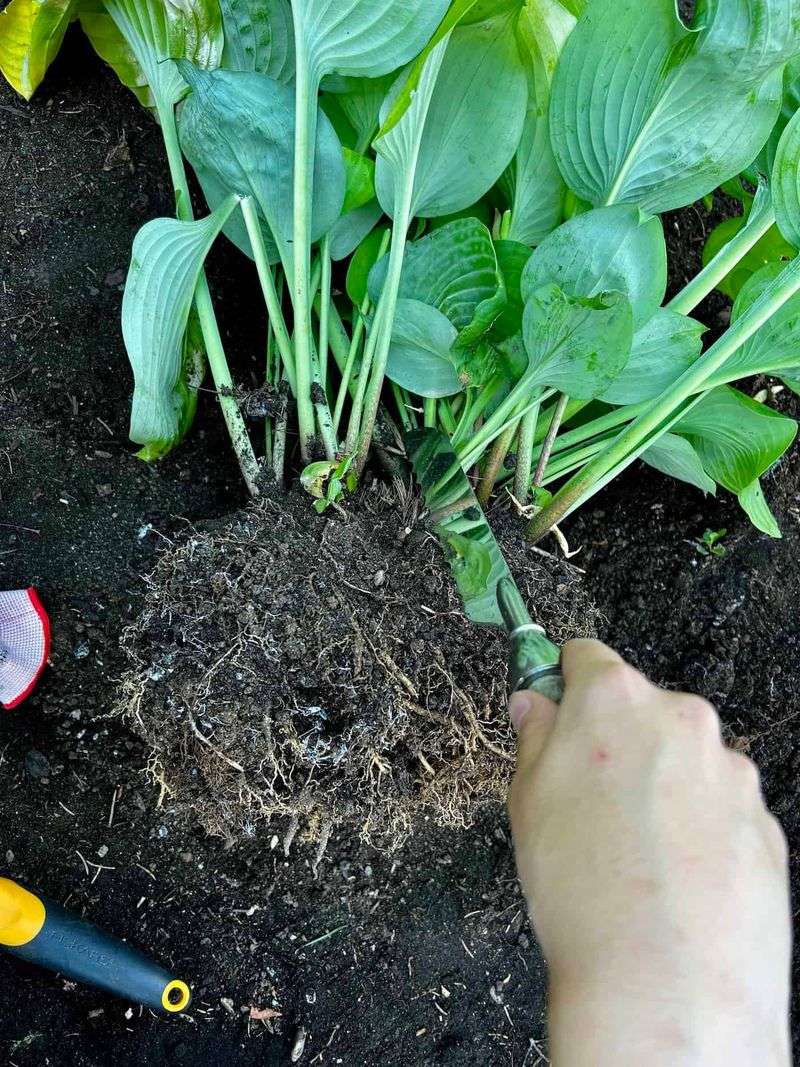
Picture a hosta that used to be a lush mound but now has a bare, hollow center and smaller leaves. That plant is crowded and asking to be split.
Early fall is a great time to do it, especially in the South, where warm soil helps new roots settle in fast.
Dig around the clump with a spade, staying several inches out from the leaves. Lift the whole thing and slice it into sections with a sharp knife or spade, making sure each piece has a few healthy eyes and a good chunk of roots.
Trim off any rotten or dead bits as you work.
Replant the divisions at the same depth they grew before, in soil loosened with compost. Water deeply right away and keep the soil evenly moist for several weeks.
Try to finish at least four to six weeks before your first expected frost so the roots have time to anchor.
Fun bonus: dividing is basically free plants. One overgrown hosta can fill a whole shady border or become a gift for a neighbor.
Divided plants often look a little sulky at first, but many come back more vigorous the following spring.
4. Clean Up Dead Foliage to Cut Down Slugs and Disease
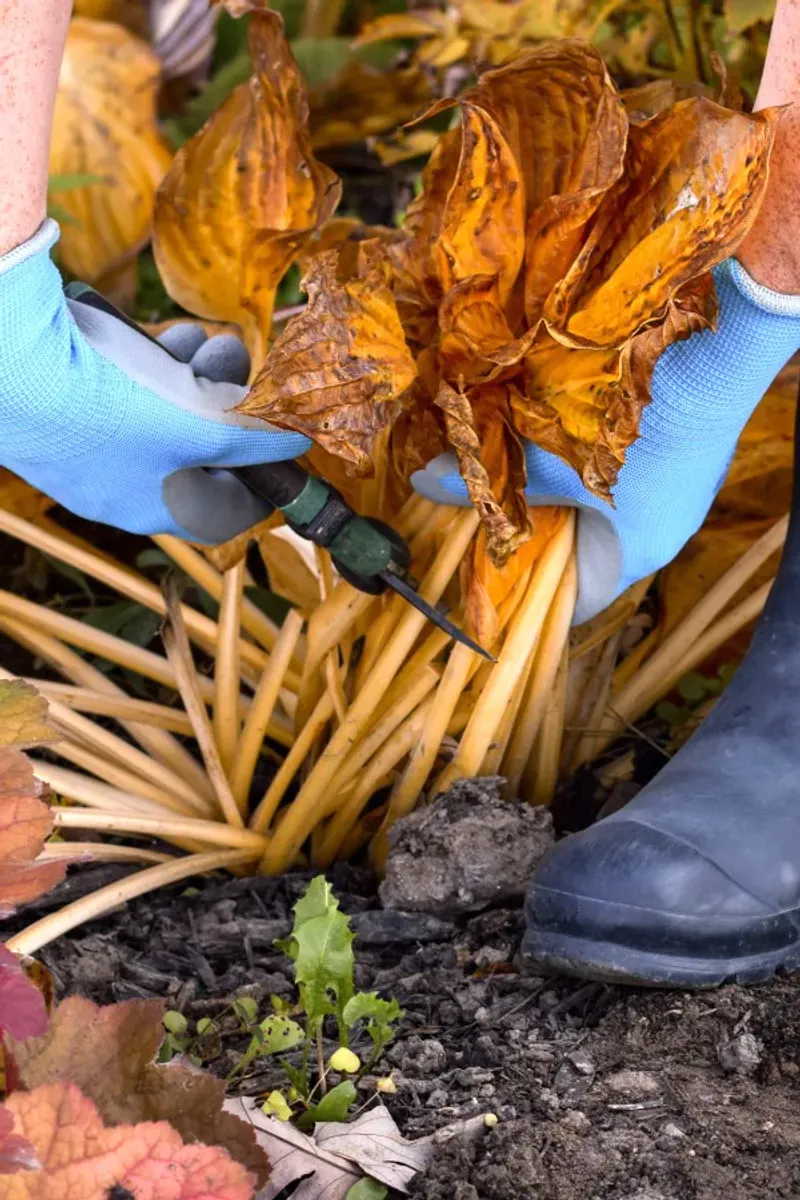
Slugs love a messy hosta bed the way kids love a pillow fort. Soggy, collapsed leaves give them a cozy place to hide and lay eggs over winter.
Clearing that debris may help reduce the number of hungry slugs waiting for your fresh spring shoots.
Wait until the foliage has yellowed and flopped on its own, since green leaves are still feeding the roots. Then cut the stems near the ground or simply pull away the loose leaves.
Rake out any fallen tree leaves packed around the crowns too.
Diseased foliage deserves special care. Leaves with spots, rot, or signs of virus should go in the trash so fungal spores and problems have fewer places to linger.
Healthy leaves can go to the compost pile without worry.
Hostas grown in warm Southern spots sometimes hang onto leaves longer, which is fine. You can trim ragged leaves for looks, but leave the healthy ones until they fade.
A tidy bed also makes it easier to spot new eyes poking up next spring, so you will know exactly where your plants are and avoid stepping on them.
5. Feed the Soil, Not the Leaves
Skip the high-nitrogen fertilizer this time of year. Pushing tender new leaves in fall can leave a hosta weaker heading into cooler weather, and those soft shoots are a slug buffet.
The smarter move is to build up the soil instead.
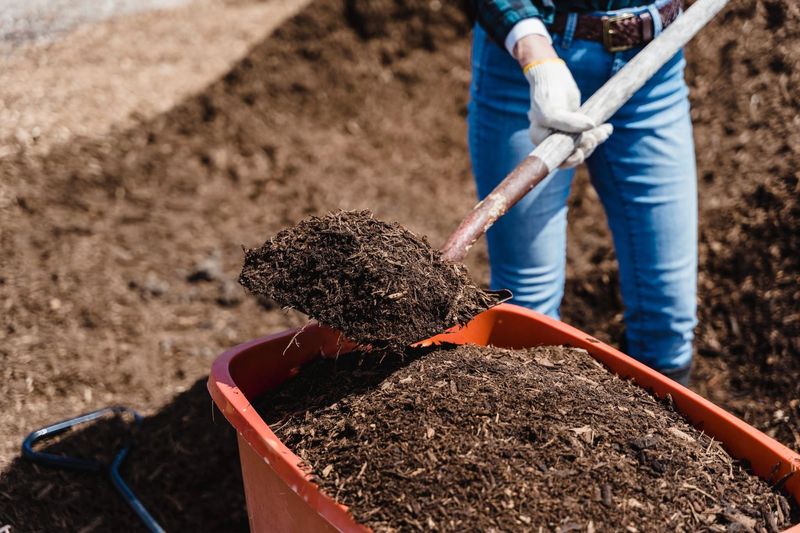
Spread an inch or two of finished compost or well-rotted leaf mold around each clump. Over the winter, rain and soil life slowly work it in, which can improve drainage in heavy clay and help sandy Florida soil hold more water.
Better soil often means stronger roots and larger leaves in spring.
If a soil test shows you are low on phosphorus or potassium, a light sprinkle of a balanced, slow-release product is fine. Keep it modest and follow the label.
Hostas generally prefer slightly acidic soil, so a pH between about 6 and 7.5 is a comfortable range.
Many Southern beds sit under pines or oaks, where roots steal nutrients and moisture. A fall layer of compost gives your hostas a fighting chance against that competition.
Think of it as packing a lunch for the plant before its long nap, so it wakes up hungry and ready to grow.
6. Mulch Lightly, Not Like a Blanket
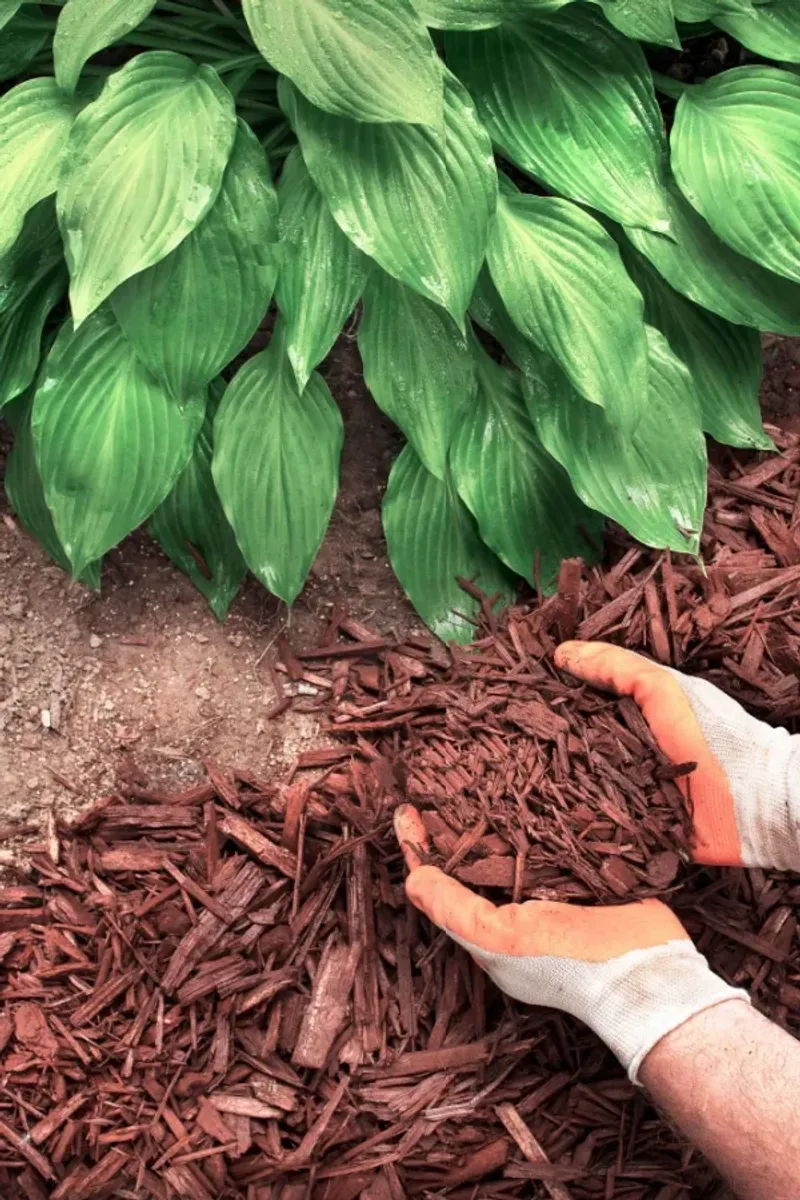
Mulch is wonderful, but too much of it can turn a hosta crown into a soggy mess. In warm, humid Southern winters, a thick pile pressed against the crown may invite rot and give slugs a hiding spot.
A lighter touch usually works better.
Spread two to three inches of shredded bark, pine straw, or chopped leaves around the plant. Leave a small gap of an inch or two right around the crown so it can breathe.
That ring of open space matters more than many people realize.
Mulch helps keep soil temperatures steadier, which may protect roots during sudden cold snaps that hit North Texas and the Upper South. It also holds moisture during dry winter stretches and slowly adds organic matter as it breaks down.
Pine straw is a favorite in the Southeast because it stays airy and does not mat down. Shredded leaves are free and work great too, as long as you chop them first so they do not form a slick layer.
Refresh mulch as needed, and pull it back a bit in early spring so emerging shoots get warmth and light.
7. Guard Against Deer and Voles as Food Gets Scarce
Deer call hostas “salad bars” for good reason. As fall forage dries up, browsing pressure often rises, and a hungry deer can chew a clump to stubs overnight.
Even dormant crowns may get nibbled or trampled.
Voles are the sneakier threat. These small rodents tunnel underground and can eat hosta roots and crowns during the cooler months, leaving a plant that simply never shows up in spring.
Soft, collapsed soil around a crown is one clue they have moved in.
For deer, rotating repellent sprays may help deter feeding, and a simple fence or netting around prized beds tends to be more reliable. For voles, some gardeners mix sharp gravel or a vole-deterrent product into planting holes, which can reduce tunneling.
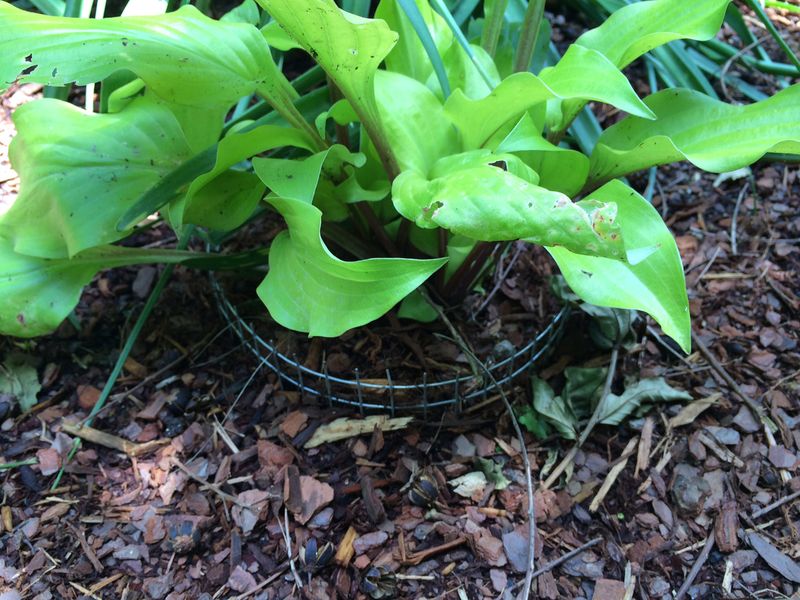
Planting in wire mesh baskets is another option worth trying for favorite varieties.
No method is foolproof, so layering a couple of tactics usually works best. Keep thick mulch away from crowns, since voles like the cover.
Check your beds every few weeks through winter. Catching damage early gives you time to adjust before spring growth begins and the plants are at their most tender.
8. Move Sun-Scorched Hostas to a Better Spot
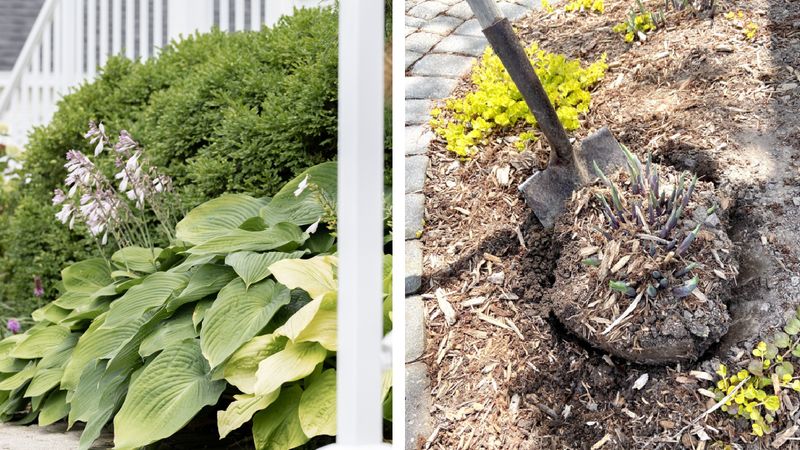
Sometimes the problem is not care at all, it is location. A hosta baking in afternoon sun in Texas or Georgia will look fried by August no matter how much you water.
Fall offers a gentle window to relocate it.
Look for a spot with morning sun and afternoon shade, or bright dappled light under tall trees. Most hostas, especially blue-leaved types, tend to struggle with hot afternoon rays across the South.
Some yellow and green varieties tolerate a bit more sun, but even they appreciate relief from the harshest heat.
Dig a wide root ball, move the plant to its new home, and set it at the same depth. Water deeply and keep it moist while new roots form.
Moving it now, rather than in spring, lets the plant settle before next summer’s heat arrives.
Gardeners in Central Florida face an extra challenge, since hostas need some winter chill and often fade there. If yours keep declining despite good care, consider treating them as short-term plants or swapping in heat lovers like cast iron plant.
In cooler parts of the South, a smart move this fall can mean lush leaves next spring.