
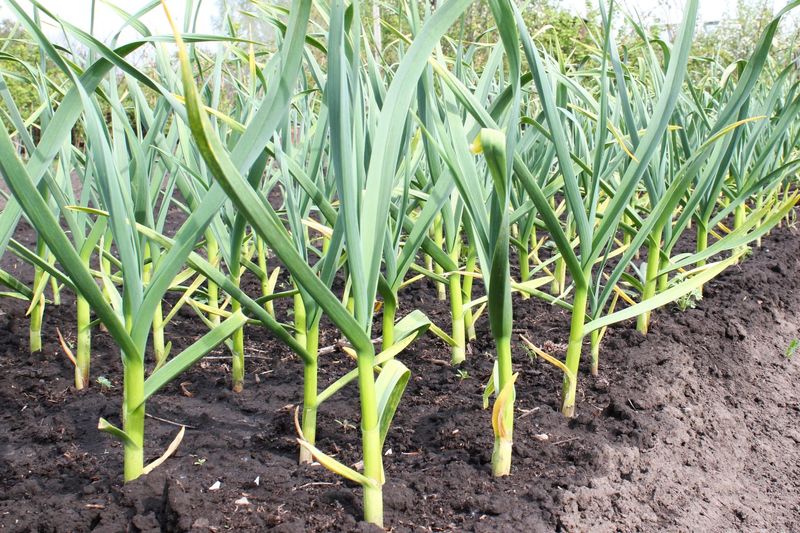
Green shoots poking up from your garlic bed in November can feel like a warning sign, especially when they look thin or yellow. Many Southern gardeners wonder if the cloves went in too shallow.
Planting depth is worth a quick look, but it is only one clue among several. Here is how to check your bed without hurting plants that are already growing.
Fall shoots do not prove the cloves were planted too shallow
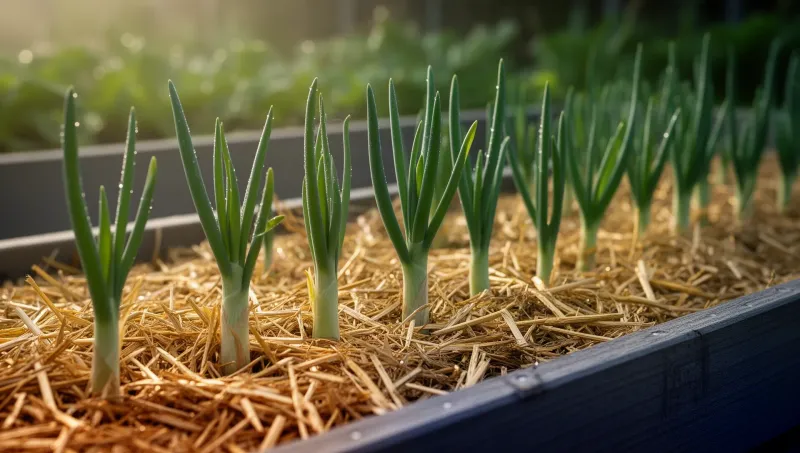
Seeing green tops in November does not mean something went wrong. Georgia extension guidance says fall-planted garlic grows roots and may start top growth during fall and winter, and emergence can be uneven from clove to clove.
Texas shows the same pattern. A Texas A&M AgriLife source from Bexar County notes that garlic planted in October may have tops showing by November.
So early shoots, by themselves, cannot tell you how deep a clove sits.
Timing and color are two separate questions. Shoots appearing in fall is common in the South, while thin or yellow leaves could come from several causes.
None of the sources reviewed link shallow planting directly to yellow November growth.
So treat depth as one item on a checklist. You will look at soil cover, then moisture, drainage, mulch, and other possible causes, without expecting any single change to turn the leaves green.
Judge planting depth by the soil covering each clove
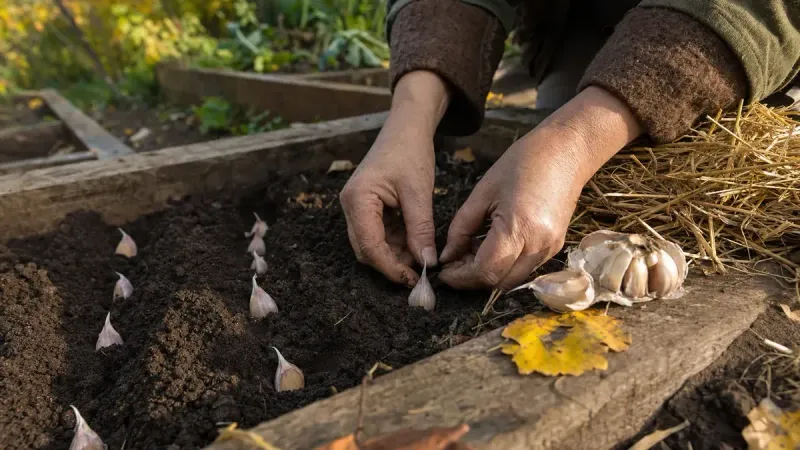
Start by looking at the spot where the shoot comes out of the ground. Is any clove or bulb top visible, or has rain washed soil away from the row?
Soil that is level and covers the clove is a good sign.
Sources describe depth in two ways, so keep them apart. UF/IFAS Pasco County guidance says cloves should sit 1 to 2 inches deep and 4 to 6 inches apart.
The Southeastern Vegetable Crop Handbook instead calls for 1 to 1.5 inches of soil over the clove tops.
Those numbers are ranges, not one exact rule for every yard. Sandy soil, heavy clay, and raised beds all behave differently, and UF/IFAS Gardening Solutions offers similar Florida guidance.
Enough cover helps protect against exposure, washout, and winter injury. It is not a proven treatment for yellow shoots.
Correct exposed cloves gently, but leave rooted shoots undisturbed
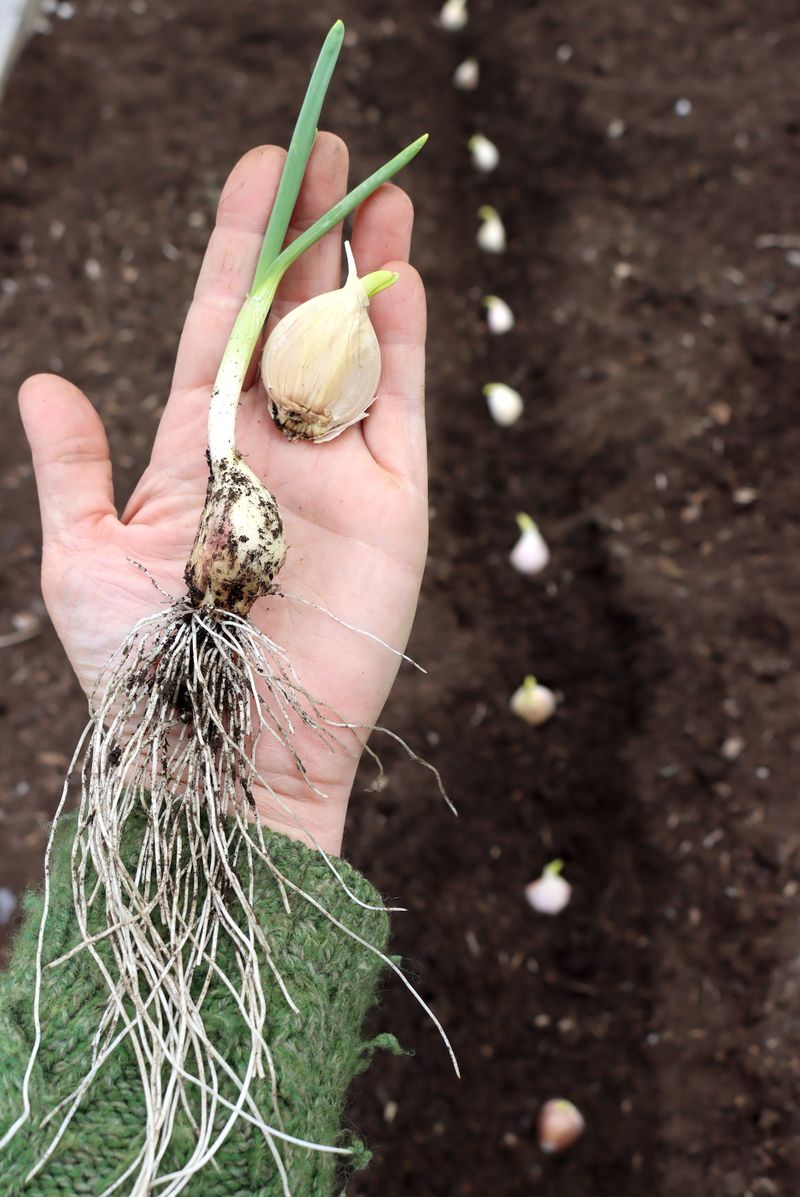
If you planted recently and can see a clove poking out, a small fix makes sense. Sprinkle loose soil back over it until it has the cover recommended for your region, such as the 1 to 2 inch range from UF/IFAS Pasco County.
Measure rather than guessing, and press lightly without packing.
Think of this as applying standard planting advice, not a tested rescue method. The Southeastern handbook and UF/IFAS Gardening Solutions describe where cloves belong, not how to repair ones already growing.
Established, rooted shoots are a different story. The sources reviewed do not recommend digging them up and replanting deeper, and doing so could damage roots.
Leave them in place and look at moisture, drainage, and other causes instead.
Check moisture and drainage before changing care
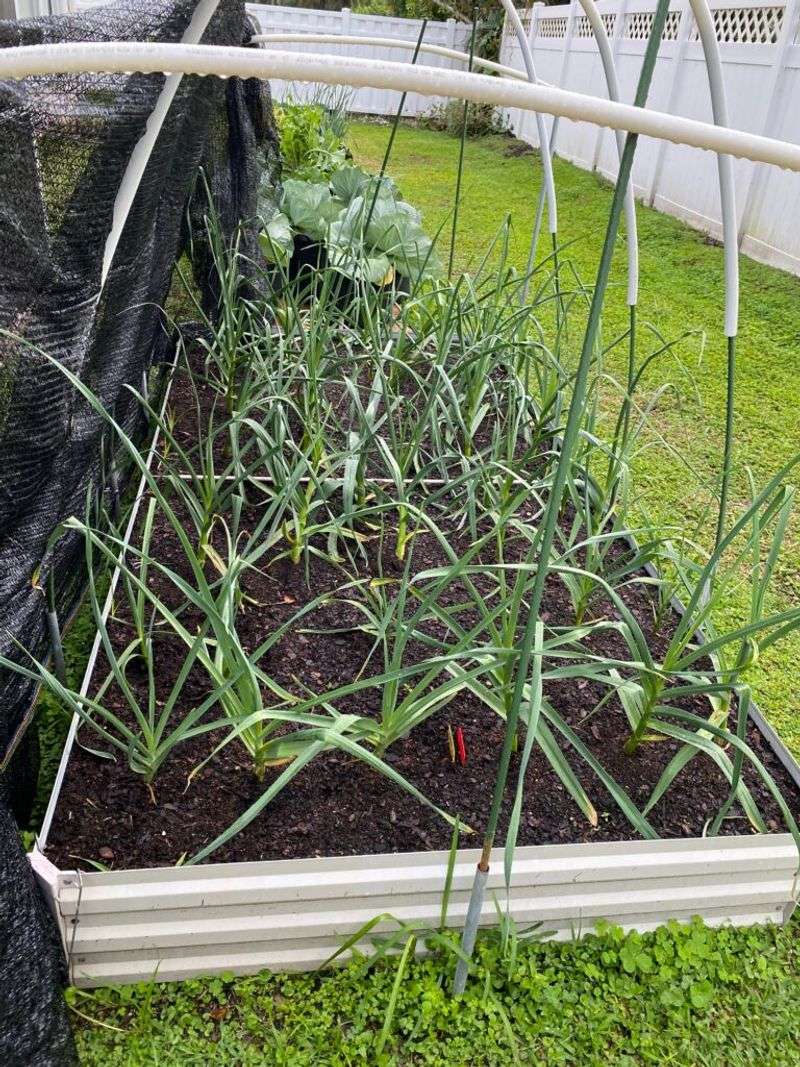
Poke a finger a couple of inches into the soil near your garlic. You want it evenly moist and loose, not dusty dry and not soggy.
Puddles after rain, or soil that feels like a wet sponge days later, point to a drainage problem.
For Florida growers, UF/IFAS Pasco County guidance calls for at least an inch of water per week, while warning that garlic should not sit in waterlogged soil. That figure is Florida-specific, so Texas and other Southern gardeners should adjust for their own rainfall and soil.
Hold off on extra watering if the soil is already damp. Rain in fall and winter may supply plenty.
This is a check of growing conditions, not a diagnosis. Wet or dry soil may contribute to yellow leaves, but it will not explain every case.
Yellowing can point to problems beyond planting depth
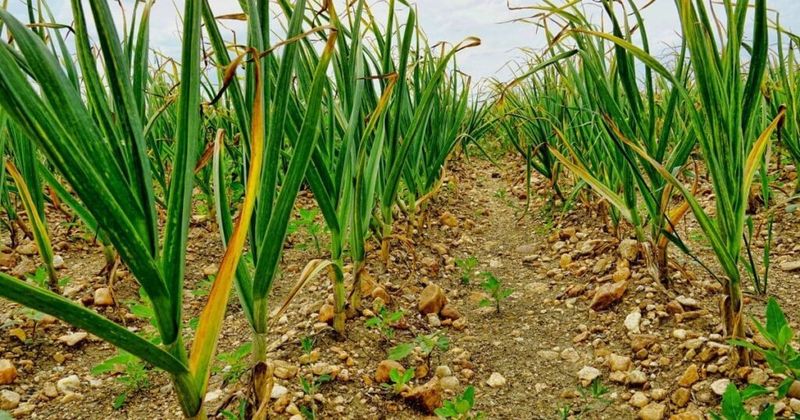
Yellow leaves are a symptom, and many things can cause them. University of Minnesota Extension lists nitrogen deficiency, with yellow leaf tips, pale color, and thin stems, along with rot, onion maggots, and other problems as possible causes of yellowing and wilting.
Look closely for clues that go beyond depth. A soft or water-soaked stem base, a rotting bulb, or rapid wilting all deserve a closer investigation.
Nitrogen shortage is possible, but leaf color alone cannot confirm it. UGA Extension in Colquitt County notes that low nitrogen may yellow older leaves and reduce vigor, and it bases fertility on soil tests.
Before adding fertilizer, test your soil and think about nutrients your compost or amendments already supplied. Extra nitrogen on a waterlogged or rotting plant will not help.
Keep mulch from trapping moisture around the shoots
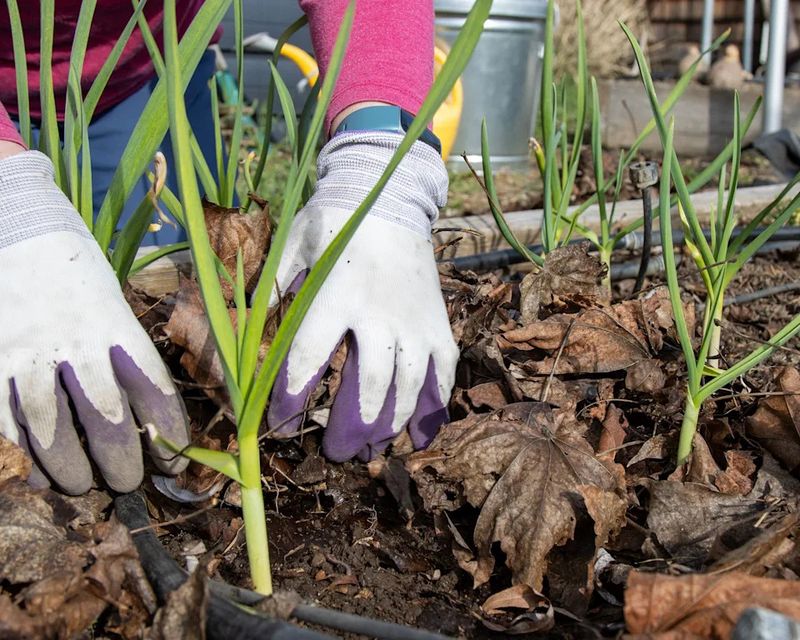
Mulch is a final check, since it can quietly keep soil wetter than you think. Georgia guidance suggests applying mulch after emergence and keeping it 2 to 3 inches away from the stems.
Thick layers can cause trouble where soil stays damp. Wisconsin Extension warns that heavy mulch can keep wet soil from drying out.
Connect this to your moisture check. If the soil under the mulch feels soggy, pull the mulch back and let the surface breathe.
Moving mulch will not reverse yellowing that has already happened. It simply removes one possible source of persistent wetness, and new growth may look better.
Treat depth as prevention, not a diagnosis
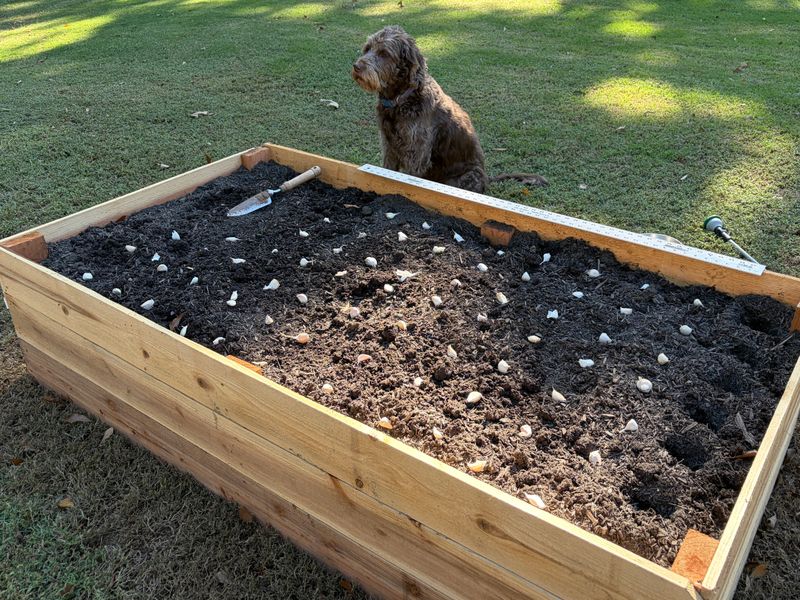
Check cover, fix only freshly planted cloves that are exposed, and leave rooted shoots alone while you look at moisture, drainage, and other causes. UF/IFAS guidance supports good cover, but diagnostic guidance shows yellowing has many sources.
Next year, set the clove right and let the soil do the rest.