
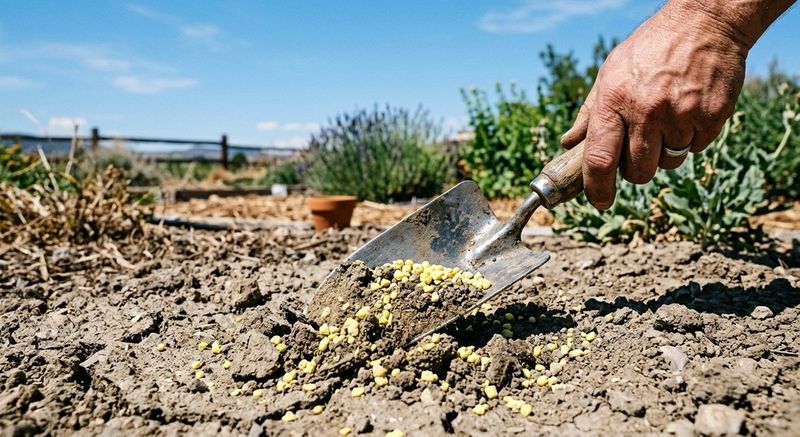
Your tomato plants spent all summer telling you something through yellow leaves, black-bottomed fruit, or skinny stems that never set much. Each of those signs often points to one missing nutrient, not a total soil failure.
The good news is that a single, simple ingredient can usually fill that gap before next season starts. Here is how to match what you saw this year with the right fix for a stronger tomato bed next year, with special notes for hot Southern gardens in Florida and Texas.
1. Blood Meal
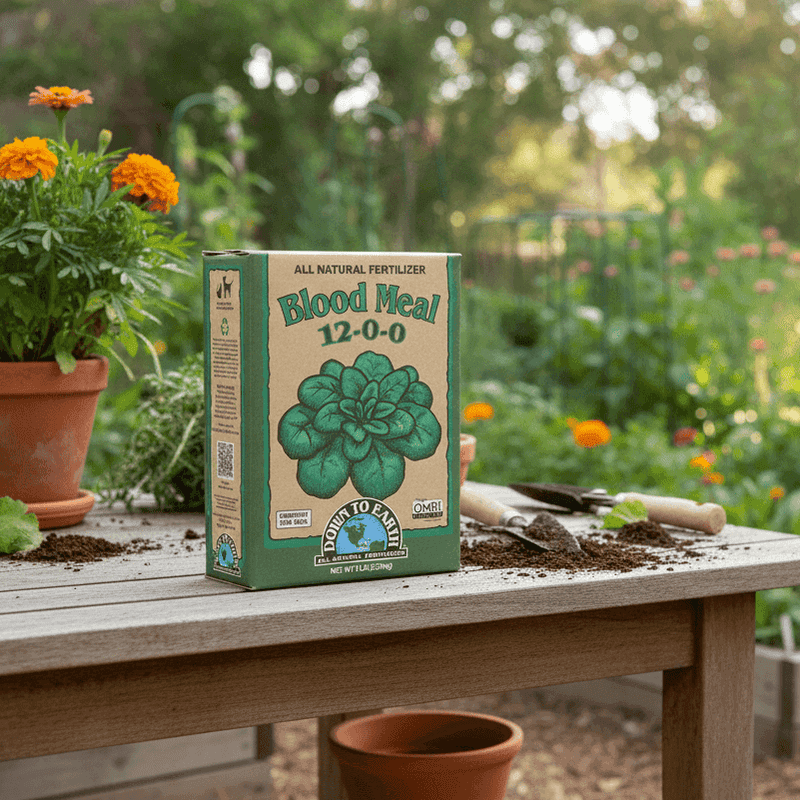
Pale, lime-green leaves that start yellowing from the bottom up are one of the clearest cries for nitrogen a tomato can make. Blood meal answers that cry fast, with roughly 12 percent nitrogen in a dry, crumbly powder made from processed animal blood.
Because it releases quickly, blood meal works best when you mix it into the bed a few weeks before planting rather than dumping it on mature plants. A rough guide is about one to two cups per 10 feet of row, scratched into the top few inches of soil.
Too much can push leafy jungles with few tomatoes, so a light hand matters.
Southern gardeners have a bonus reason to like it. Heavy summer rains in Florida and coastal Texas can wash nitrogen out of sandy soil quickly, which often explains why plants faded midseason even after a good start.
One quirky side effect: the scent may help deter rabbits for a short while, though it can also attract dogs and raccoons. Water it in well after application.
Many growers pair it with a soil test so they are not guessing, since yellowing can sometimes come from overwatering instead of hunger.
2. Bone Meal
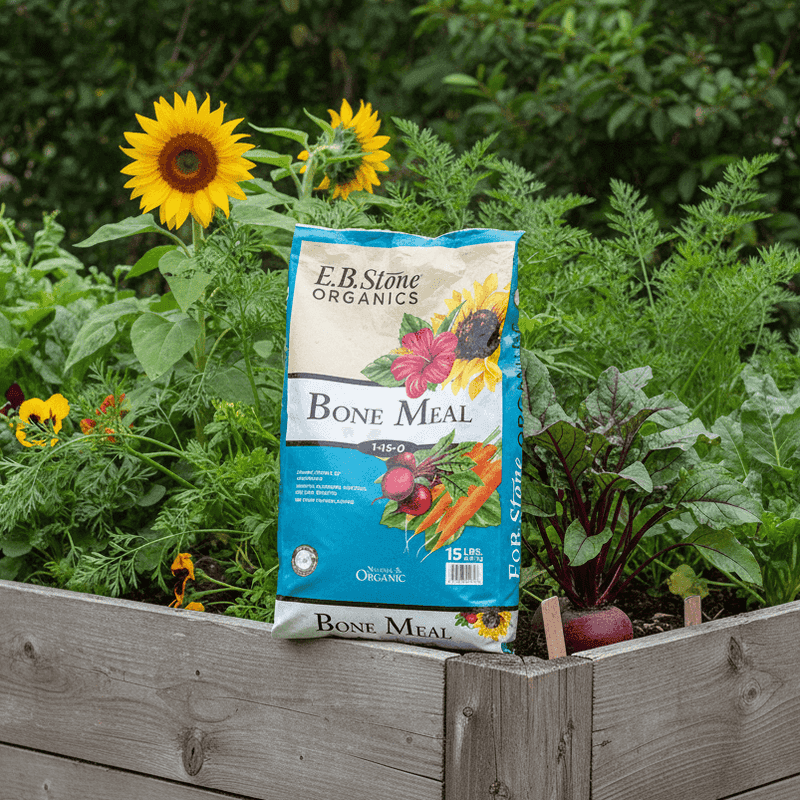
Picture a tomato plant that grew tall and green but barely flowered, and the few blooms dropped off. That pattern often traces back to low phosphorus, the nutrient tied to roots, flowers, and fruit set.
Bone meal is ground animal bone, typically around 3-15-0 with a good dose of calcium too. It breaks down slowly, so think of it as a slow investment rather than a rescue shot.
A tablespoon or two in each planting hole, or about two cups per 50 square feet worked into the bed, is a common starting point.
Here is the catch many people miss. Bone meal releases phosphorus best in slightly acidic soil, below a pH of about 7.
Much of central and west Texas sits on alkaline, limestone-based ground, where bone meal may do very little.
So before buying a big bag, run a simple pH test. If your soil is acidic, as is common in parts of Florida and East Texas, bone meal can be a steady friend to next year’s crop.
Bury it rather than leaving it on top, since dogs love digging it up.
3. Gypsum
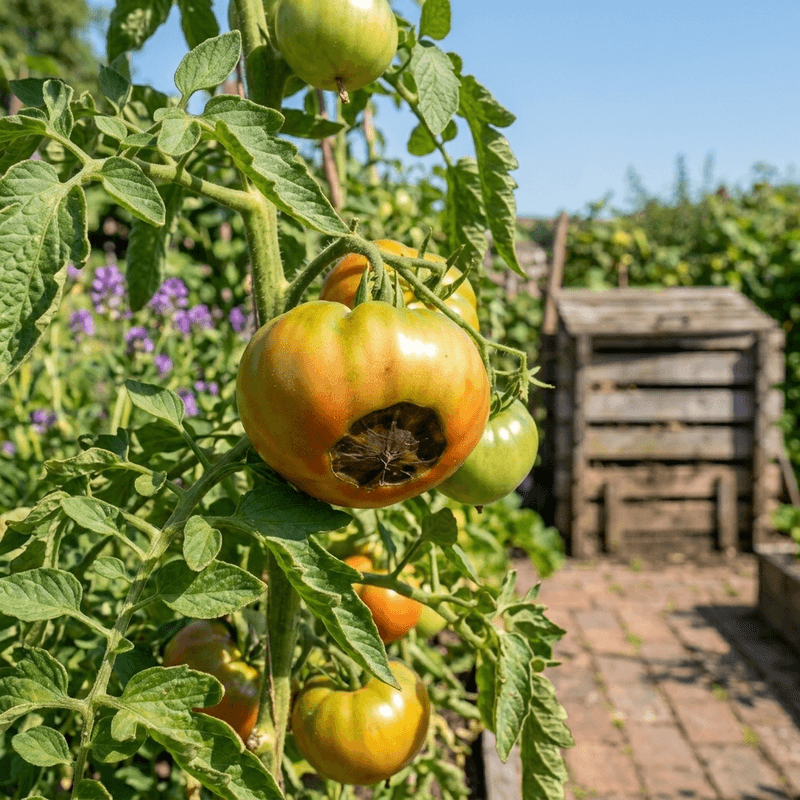
Blossom end rot ruins more Southern tomatoes than almost any pest. That leathery black patch on the bottom of the fruit is linked to calcium not reaching developing tomatoes, and gypsum is one of the gentlest calcium sources around.
Gypsum is calcium sulfate. Unlike lime, it does not raise soil pH, which makes it a smart pick for the alkaline clay soils common around Dallas, Austin, and San Antonio.
It may also help loosen sticky clay over time so roots can spread and water drains better.
Spread roughly two to four pounds per 100 square feet in fall or early spring and water it in. It also supplies sulfur, a minor nutrient tomatoes appreciate.
Be honest with yourself about watering, though. Blossom end rot is often driven by uneven moisture more than a true calcium shortage.
If you skipped a few waterings during a July heat wave, calcium could not travel to the fruit no matter how much was in the soil. Gypsum can help, but pairing it with mulch and steady deep watering usually gives the best odds of clean, unblemished tomatoes.
4. Garden Lime
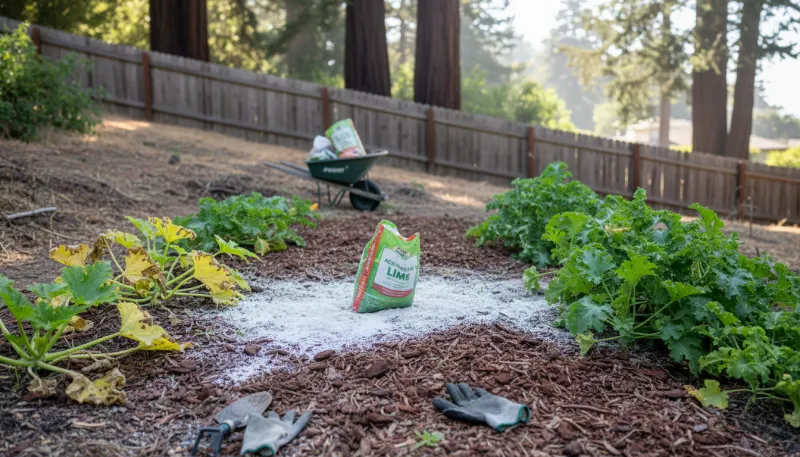
Sandy, acidic Florida soil can quietly starve tomatoes even when you feed them regularly. When pH drops too low, several nutrients lock up, and calcium often runs short right when the fruit needs it most.
Garden lime fixes two problems at once. It raises pH toward the 6.2 to 6.8 range tomatoes favor, and it supplies calcium.
Dolomitic lime adds magnesium as a bonus, while calcitic lime is mostly calcium.
Timing matters more than most people expect. Lime works slowly, sometimes taking two or three months to shift pH, so fall application gives next spring’s plants the full benefit.
A typical rate is around five pounds per 100 square feet, but your soil test should set the real number.
Here is a firm warning for Texas gardeners on limestone ground: skip it. Adding lime to already alkaline soil can make iron and phosphorus problems worse.
Think of lime as a tool for acidic beds only. Used in the right yard, it may reduce blossom end rot and help other fertilizers actually reach your plants.
Used in the wrong one, it creates new headaches.
5. Epsom Salt
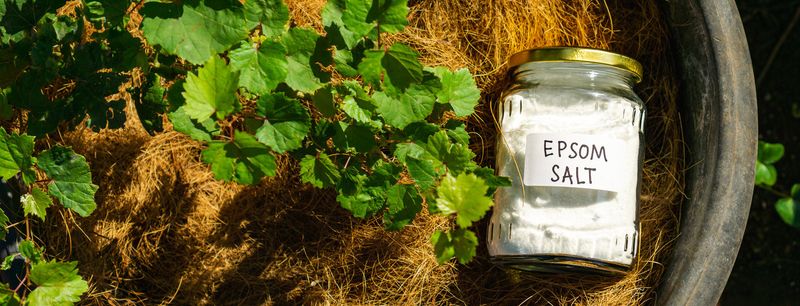
Grandma swore by it, and the internet loves it, but Epsom salt only helps tomatoes in one specific situation. That situation is a real magnesium shortage.
Look for older, lower leaves turning yellow between the veins while the veins stay green. That marbled look, called interveinal chlorosis, is the classic magnesium signal.
If your plants showed it late this summer, Epsom salt, which is magnesium sulfate, is a cheap, targeted fix.
For next season, mix about one tablespoon per square foot into the bed before planting, or dissolve one tablespoon in a gallon of water for an occasional drench. Some growers spray a weaker solution on leaves for faster uptake.
More is not better here. Too much magnesium can compete with calcium, which may actually worsen blossom end rot.
Sandy soils in Florida tend to run low on magnesium, so gardeners there are more likely to see a real benefit than those on mineral-rich Texas clay.
Fun fact: the name comes from a bitter spring in Epsom, England, where the salt was first collected in the 1600s. A soil test can confirm whether your bed needs it before you add any.
6. Sulfate of Potash
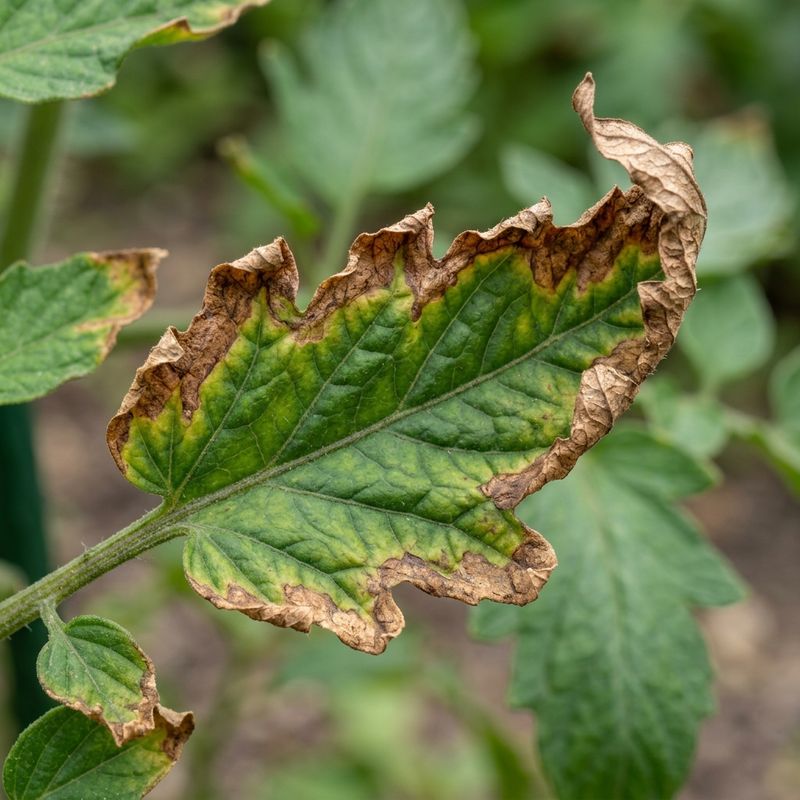
Ever sliced a tomato that was red on the outside but hard, pale, and blotchy inside? Uneven ripening, weak stems, and leaf edges that brown and curl are often tied to low potassium.
Sulfate of potash, also called potassium sulfate, delivers about 50 percent potassium plus sulfur. Potassium drives flavor, color, and the plant’s ability to handle stress, which matters a lot when Texas summers push past 100 degrees.
Compared to muriate of potash, the sulfate form carries no chloride. That makes it kinder to tomatoes and to soils that already hold some salt, a real concern in coastal Florida and parts of South Texas where irrigation water can run salty.
Work about one to two pounds per 100 square feet into the bed before planting. A light side-dressing when the first fruit sets can help carry plants through heavy production.
Gardeners often notice sweeter, more evenly colored fruit after correcting potassium. Results vary with weather and variety, but if this year’s harvest tasted flat, potassium is a smart suspect to test for before the next planting window opens.
7. Kelp Meal
Sometimes tomatoes look vaguely off without one clear symptom. Leaves are a bit small, growth seems sluggish, and the plants never quite thrive.
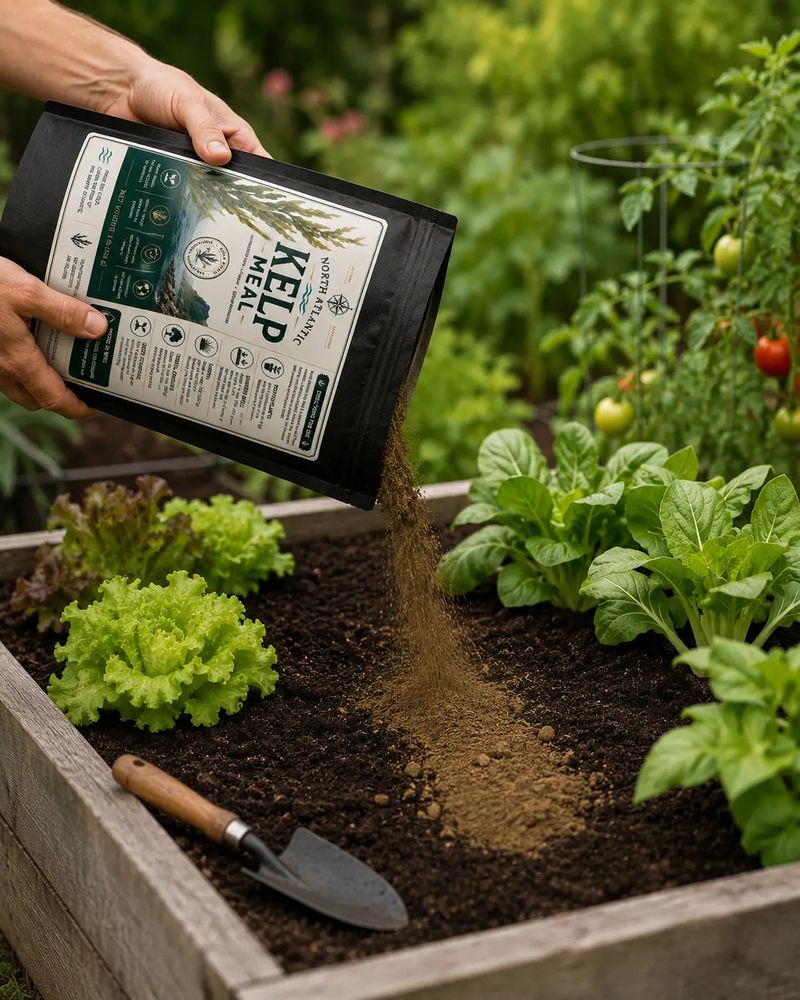
Kelp meal is a wide-net answer when you suspect trace minerals are missing.
Made from dried ocean seaweed, kelp meal carries modest potassium plus dozens of trace elements like iodine, zinc, manganese, and boron. It also contains natural growth compounds that may help plants handle heat and drought stress.
That stress angle makes it popular across the South. Some Texas and Florida growers report that kelp-fed plants seem to hold up better during scorching stretches, though research results are mixed and it is no miracle cure.
Mix about one pound per 100 square feet into the soil a few weeks before planting. It breaks down slowly, feeding soil life for months.
Here is a neat bit of history: coastal farmers in Scotland, Ireland, and France hauled seaweed onto fields for centuries before anyone could explain why it worked. If your soil test comes back fine on the big nutrients but plants still underperform, kelp meal is a reasonable, low-risk thing to try next season.
8. Feather Meal
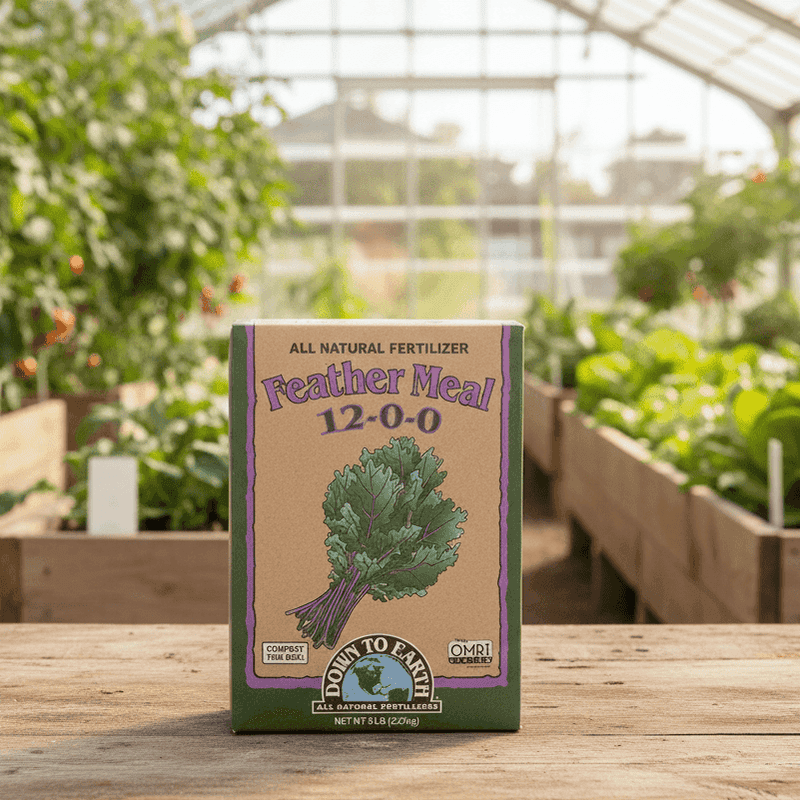
Blood meal is the sprinter. Feather meal is the marathon runner.
If your tomatoes started strong in April but yellowed and stalled by late June, a quick nitrogen burst probably burned out too early. Feather meal, made from processed poultry feathers, holds around 12 to 13 percent nitrogen but releases it slowly over several months as soil microbes break it down.
That slow pace fits the long Southern growing season beautifully. In Florida and much of Texas, tomatoes may grow for months, and many gardeners plant both a spring and fall crop.
Steady feeding can carry plants through that stretch without the boom-and-bust cycle.
Work it into the bed about a month before planting so microbes can get started. Around two to three pounds per 100 square feet is a common rate.
Warm soil speeds up its breakdown, so it tends to perform better in the South than in cold northern gardens. It is also a clever use of a poultry industry leftover that would otherwise go to waste.
Just remember it adds nitrogen only, so pair it with other fixes if your soil test shows additional gaps.
9. Rock Phosphate
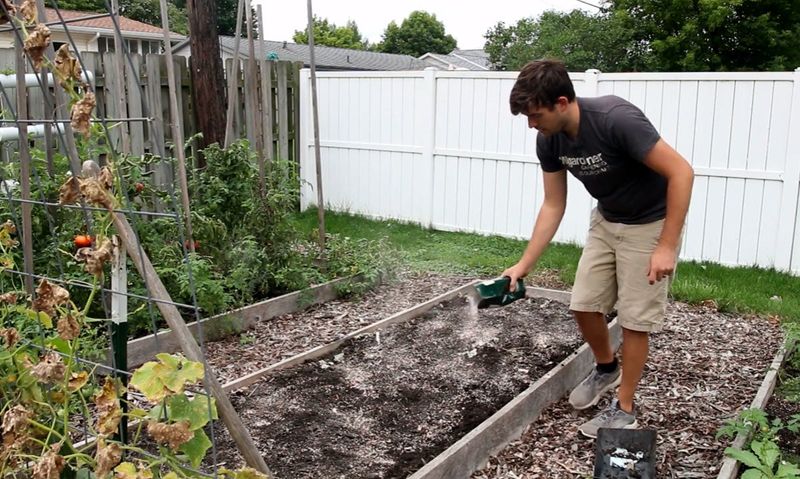
Patience is the main ingredient with rock phosphate. Some gardeners apply it once and feel its effects for several years.
Mined from ancient mineral deposits, rock phosphate supplies phosphorus and calcium in a form that dissolves very slowly. It suits gardeners who noticed poor flowering, weak root systems, or purple-tinged undersides on tomato leaves, a classic hint of phosphorus trouble, especially in cool spring soil.
Because it releases so slowly, fall is the ideal time to spread it. Rake in roughly five to ten pounds per 100 square feet, and it will be gradually available by next spring and beyond.
Like bone meal, rock phosphate needs acidic soil to do much. Florida’s sandy, often acidic beds can benefit, while alkaline Texas ground may barely touch it.
Soft rock phosphate, a clay-based version, is a bit more available than hard rock forms.
Many established Southern beds already hold plenty of phosphorus from years of balanced fertilizers, so testing first helps avoid piling on more than you need. When a test truly shows low levels, this long-haul mineral can quietly support stronger flowering for seasons to come.
10. Chelated Iron
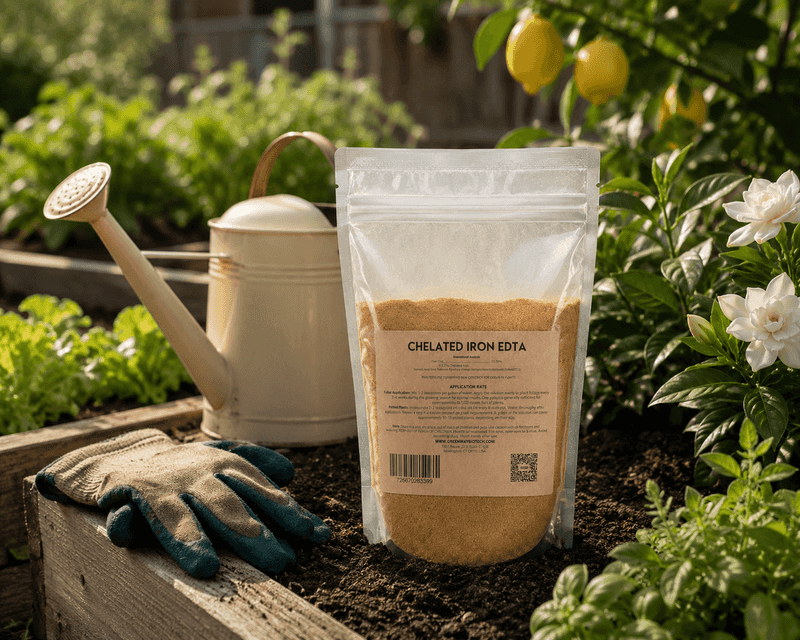
Here is a symptom that confuses a lot of Texas gardeners. The newest leaves at the top turn bright yellow while their veins stay green, even though the older leaves look fine.
That is iron chlorosis, and it shows up constantly in alkaline limestone soils across central and west Texas. The iron is often present in the ground, but high pH locks it away where roots cannot grab it.
Chelated iron solves that by wrapping iron in a molecule that keeps it available. For very alkaline soil, look for the EDDHA form, which stays usable at high pH far better than cheaper versions.
Apply it as a soil drench or foliar spray following package rates. Foliar sprays may green up leaves within a week or two, while soil applications last longer.
For next season, combine chelated iron with long-term moves like adding compost and sulfur to slowly nudge pH down. Sandy Florida soils occasionally show iron shortages too, usually after heavy liming.
Chelated iron works as a targeted fix, not a full-season fertilizer, so think of it as a precision tool you reach for when that telltale yellow top appears.
11. Elemental Sulfur
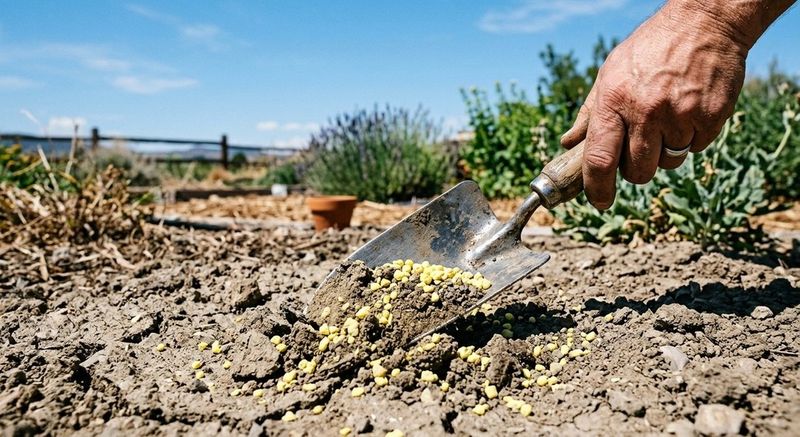
Strictly speaking, elemental sulfur is less a food and more a key. In alkaline soil, it can unlock nutrients your tomatoes could not reach this year.
Soil bacteria slowly convert sulfur into a mild acid, which gradually lowers pH. For gardeners in San Antonio, Austin, or El Paso fighting iron and phosphorus lockups, that shift can make a noticeable difference over a season or two.
It is also a true nutrient. Sulfur helps tomatoes build proteins and may contribute to fuller flavor, and some sandy Southern soils run short of it after heavy rains.
Go slow and test often. A common starting rate is about one to two pounds per 100 square feet, applied in fall so the bacteria have warm months to work.
Texas heat actually helps speed the process. Overdoing it can burn roots, so split larger amounts across several applications.
Do not expect miracles on caliche-heavy ground packed with free limestone, since that soil buffers pH stubbornly. In those yards, raised beds with imported soil may be easier.
Still, for moderately alkaline beds, sulfur is one of the most cost-effective long-term fixes available.
12. Crushed Eggshells
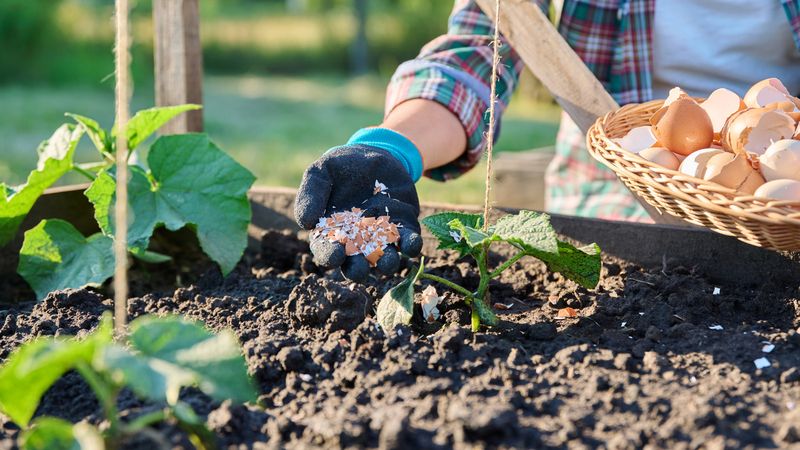
Every kitchen produces a free calcium source, and it lands in the trash most mornings. Eggshells are about 95 percent calcium carbonate, the same basic material found in garden lime.
Now for the honest part. Whole or roughly crushed shells take years to break down, so tossing them into a planting hole will not stop blossom end rot this summer.
That is why they belong on a list about next year.
To help them work faster, rinse, dry, and grind shells into a fine powder using a blender or coffee grinder. Mixing that powder into the bed in fall gives soil microbes months to start releasing calcium.
Think of eggshells as a slow, gentle supplement for acidic soils, especially sandy Florida beds. In alkaline Texas soil, extra calcium carbonate is rarely needed and may nudge pH higher.
Start saving shells now in a bowl by the sink. A family eating a dozen eggs a week can build up a surprisingly useful stash by planting time.
Pairing shells with consistent watering usually matters more than the shells themselves, but every bit of free calcium helps a hungry bed.
13. Wood Ash
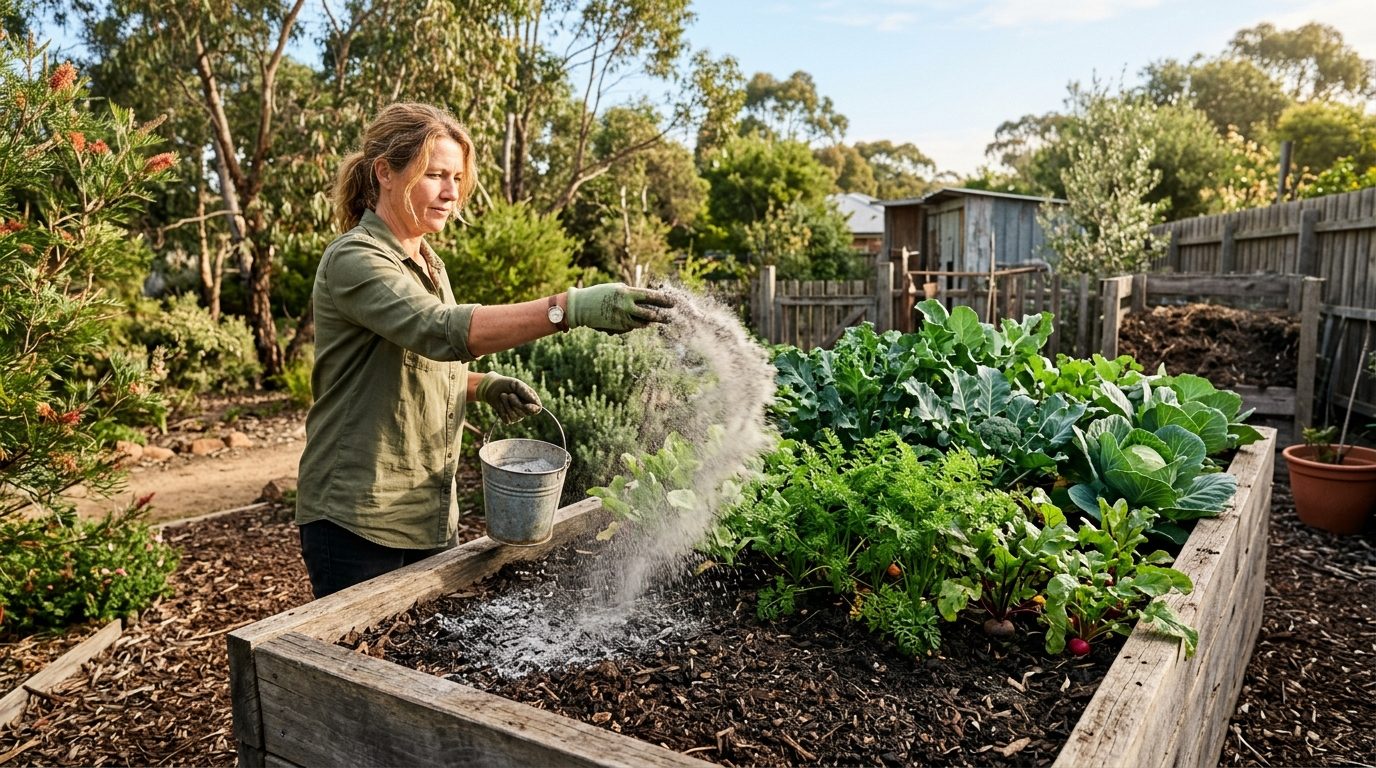
After a winter of fireplace fires or backyard fire pit nights, many Southern homeowners end up with a bucket of gray ash. Used carefully, it can boost potassium and calcium for tomatoes.
Hardwood ash typically contains around 5 to 7 percent potassium plus a good amount of calcium. It also behaves like lime, raising soil pH fairly quickly.
That last point decides who should use it. Acidic, sandy Florida beds may benefit from a light dusting, roughly five pounds per 100 square feet at most, spread in fall or winter.
Alkaline Texas soils should skip it completely, since higher pH can deepen iron and phosphorus problems.
Only use ash from clean, untreated wood. Skip charcoal briquettes, painted lumber, or pressure-treated scraps, which may contain unwanted chemicals.
Keep ash away from freshly sown seeds and avoid applying it right alongside nitrogen fertilizers, since it can cause nitrogen to escape as ammonia gas. Rake it in rather than leaving it on the surface, where wind and rain carry it off.
As a free, recycled resource, wood ash can fill a potassium gap for gardeners whose soil test points that way.
14. Alfalfa Meal
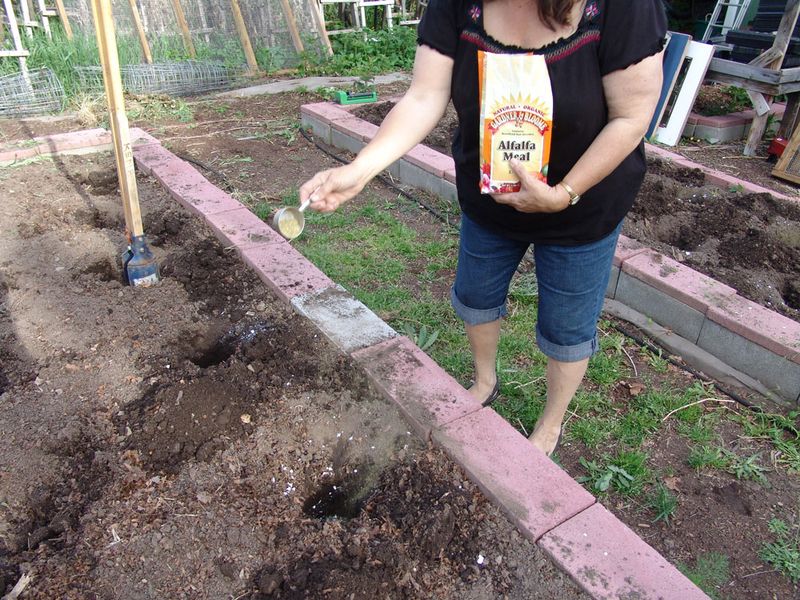
Rose growers have treasured alfalfa meal for decades, and tomatoes enjoy it just as much. Made from dried, ground alfalfa plants, it offers a gentle, balanced boost around 2-1-2.
Its special trick is triacontanol, a natural compound that may encourage stronger root and leaf growth. Gardeners who saw stunted, slow-starting tomatoes this year often find alfalfa helps young plants settle in faster.
Alfalfa meal also feeds soil life generously. As it breaks down, it adds organic matter, which is a big deal in sandy Florida soil that struggles to hold water and nutrients, and in tight Texas clay that needs loosening.
Mix two to five pounds per 100 square feet into beds a few weeks before planting. Rabbit food pellets made from pure alfalfa are a budget-friendly substitute, as long as they contain no added salt or other ingredients.
Fair warning: wet alfalfa can smell a bit like a barnyard for a few days. Working it into the soil quickly keeps odors down.
Because its nutrient numbers are modest, think of it as a soil-builder and plant tonic rather than a heavy correction for a severe deficiency.
15. Fish Emulsion
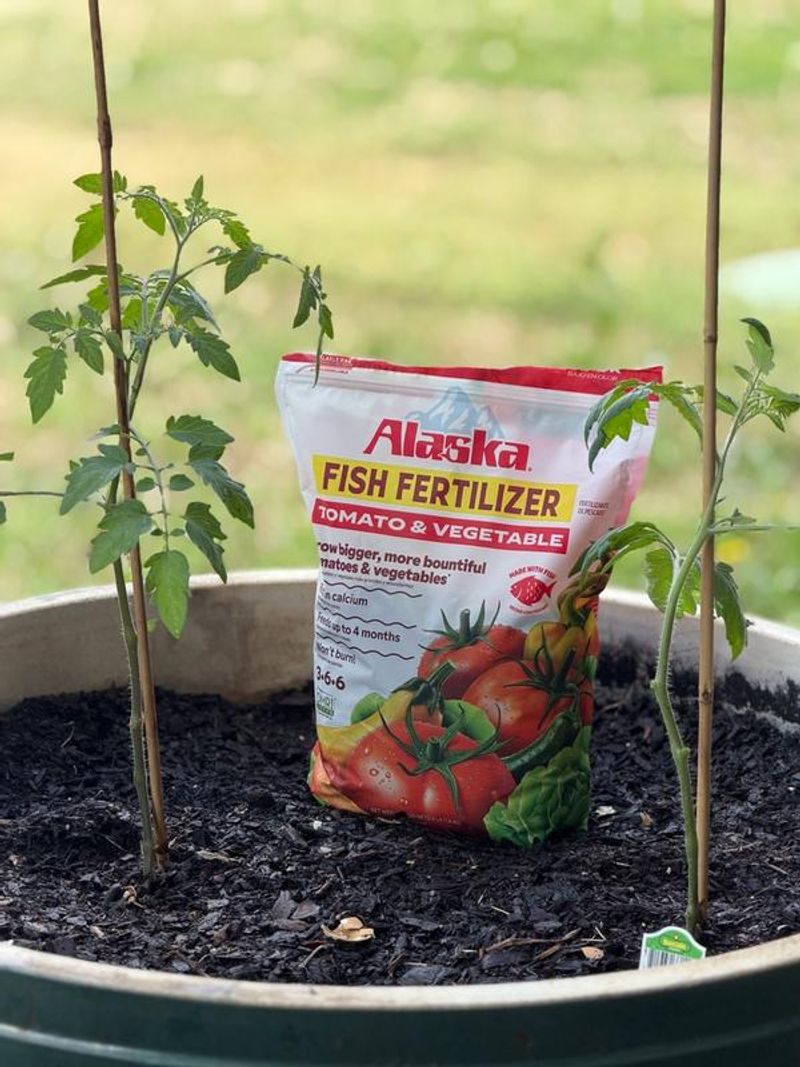
Nobody loves the smell, but plenty of gardeners love the results. Fish emulsion is a liquid made from fish byproducts, and it delivers quick nitrogen plus smaller amounts of phosphorus and potassium.
Its liquid form makes it handy for a specific problem. Container tomatoes on Southern patios lose nutrients fast because frequent watering in summer heat flushes them out of the pot.
If your potted plants faded midsummer, a regular fish emulsion feeding next year may keep them going.
Mix about one tablespoon per gallon of water and feed every two to three weeks, following label directions. Soaking the soil at the base works best, though some growers spray leaves in early morning.
Avoid feeding during the hottest part of the afternoon, when stressed plants can scorch. In Florida’s sandy beds, frequent light liquid feedings often outperform one heavy dose that washes away in a thunderstorm.
A quick tip: the odor usually fades within a day, but it can attract curious raccoons, cats, and dogs. Deodorized versions exist if neighbors are close.
Because it acts fast and fades fast, fish emulsion fills gaps rather than building long-term soil fertility.
16. Worm Castings
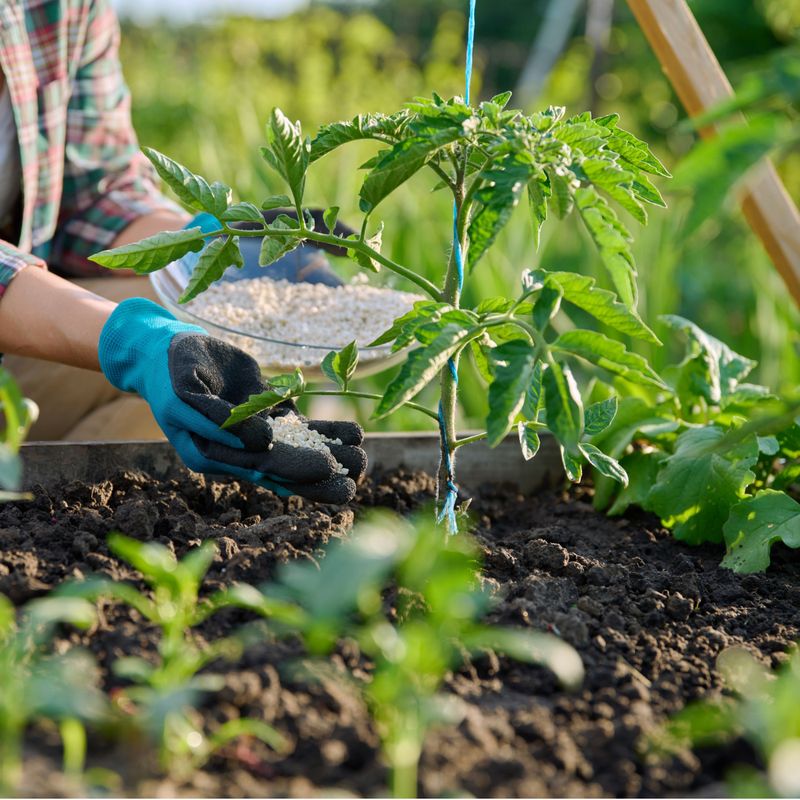
Earthworms are tiny fertilizer factories, and what comes out the back end is garden gold. Worm castings look like rich, dark, crumbly soil and smell earthy rather than unpleasant.
The nutrient numbers are low, usually around 1-0-0 or close. So why include them?
Castings shine when tomatoes struggled even though fertilizer was applied, which often points to poor soil biology rather than a missing nutrient.
Castings carry beneficial microbes and humus that help roots absorb what is already in the soil. They also hold water well, a welcome trait in sandy Florida beds that dry out within hours of a summer rain.
Mix a handful into each planting hole or blend about a quarter to a half inch across the bed surface each spring. Castings will not burn plants, so they are hard to overdo.
You can buy bagged castings or start a simple worm bin in a shaded garage corner. In Texas heat, keep bins out of direct sun, since worms suffer above about 85 degrees.
Some studies suggest castings may help plants resist certain pests and diseases, though results vary. Either way, they make a soothing, forgiving soil upgrade.
17. Borax
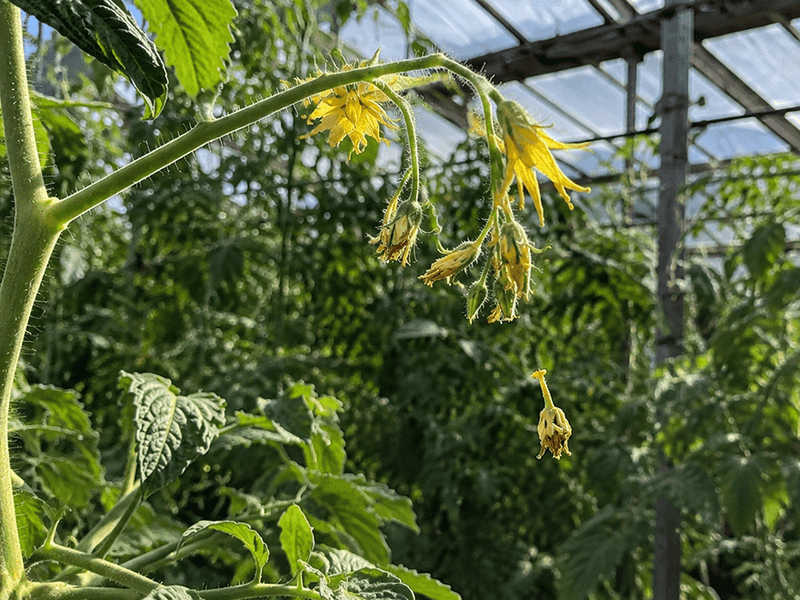
Hollow fruit, cracked stems, and growing tips that die back or look twisted can point to one of the rarest tomato problems around: boron deficiency. Plain laundry borax, found in grocery store cleaning aisles, supplies boron.
Here is the big caution, so read slowly. The line between enough boron and toxic boron is very thin.
A tiny bit helps, but a little too much can damage or kill plants and linger in soil for years.
Only consider borax if a soil test confirms low boron. Sandy, heavily leached soils, like some in Florida, are more likely to run short than Texas clay.
A common guideline is roughly one tablespoon dissolved in a gallon of water spread evenly over 100 square feet, applied once a season at most.
Never sprinkle dry borax directly around plants, since it concentrates in one spot. Measure carefully and keep the box away from kids and pets.
Boron helps calcium move through the plant and supports healthy cell walls and pollination. When it is truly lacking, a careful, measured correction can make a surprising difference, but this is a tool for confirmed shortages only, not routine feeding.