
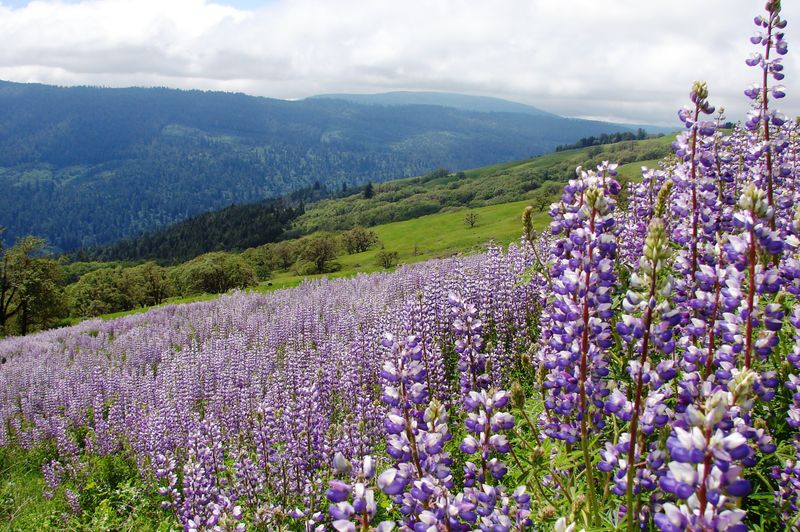
Few wildflowers stop traffic like a hillside of blue and purple lupine. Growing your own from seed is doable, but lupine seeds come wrapped in a tough coat that most gardeners never think about.
Fall is when California’s rainy season starts, so it is a smart time to get seed in the ground. Here is a practical plan for sowing, watering, and shielding your seed so more of it has a chance to sprout.
Choose a lupine suited to your California site
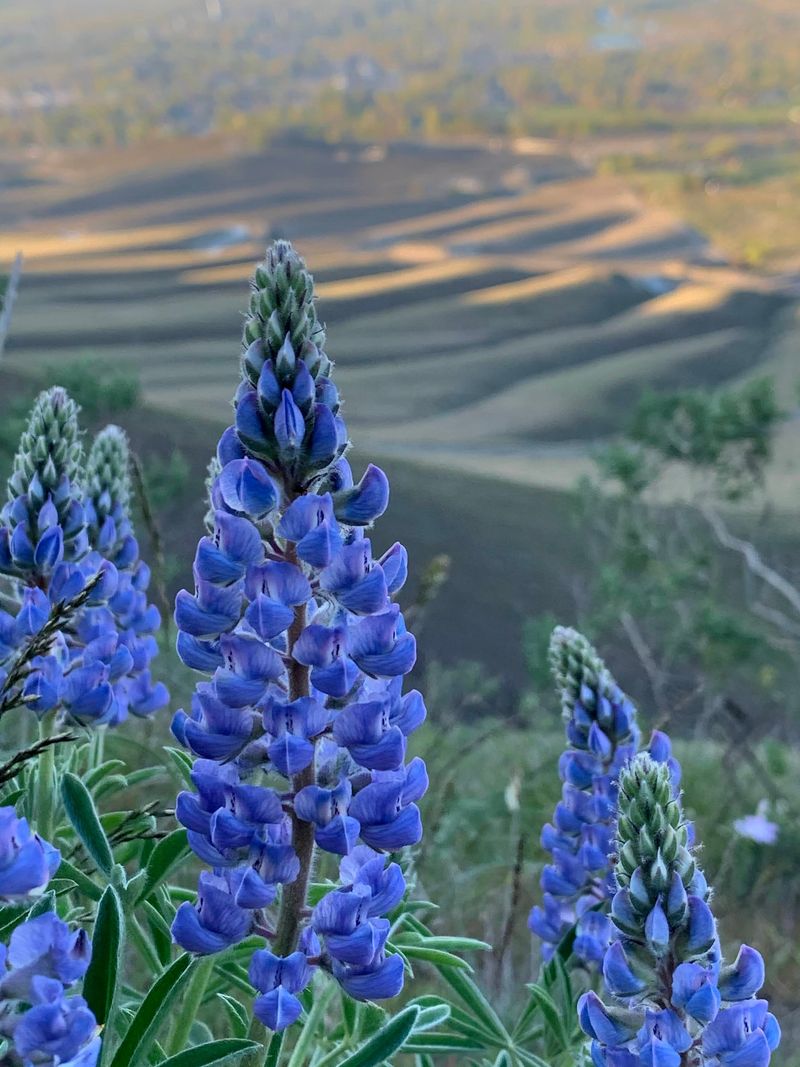
Ask ten California gardeners about lupine and you may get ten different plants. The state has many lupine species and varieties, and some grow only in particular areas, so “California lupine” is not one interchangeable plant.
UC Master Gardeners in Contra Costa County make this point when they describe native lupines as a garden addition.
Start by figuring out which lupine belongs in your yard. Look at where you live, whether that is a foggy coastal lot, a hot inland valley, or a dry hillside.
Then look at the sun, soil drainage, and space you have. A small annual lupine for a sunny bed is a very different choice from a shrubby perennial lupine that needs room to spread.
Next, buy seed from a supplier that names the species on the label and says where the seed is suited to grow. Locally appropriate seed is more likely to match your climate and the pollinators around you.
Be careful with generic wildflower mixes that list “lupine” without a species name, because you will not know what instructions to follow.
Once you have a named species, read the supplier’s directions before you do anything else. They may tell you whether the seed needs scarification, how deep to sow, and when to plant in your area.
Those details shape everything in the steps ahead, so keep the packet or the web page handy. If the supplier is silent on a point, ask them rather than guessing.
A short email now can save a whole season of waiting on seed that never sprouts.
Prepare an open bed with firm soil contact
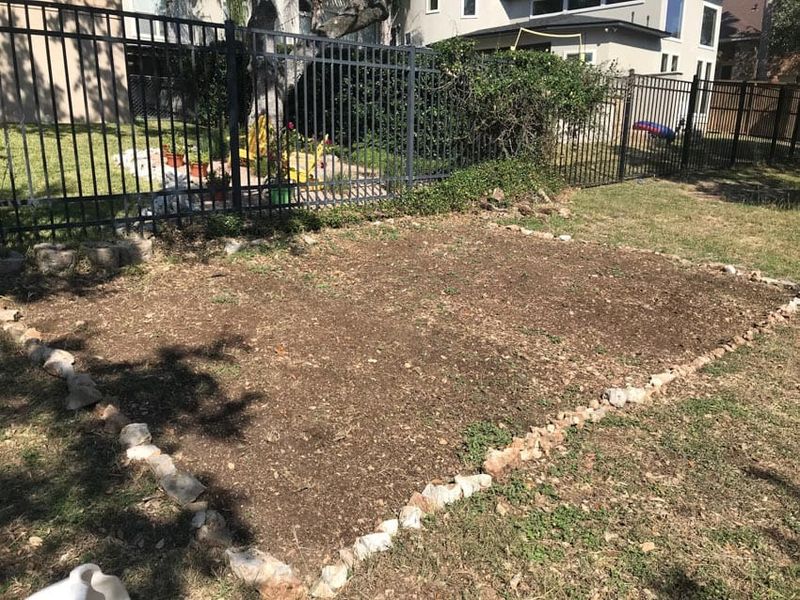
A lupine bed does not need to be fancy. A small patch of open ground is enough, and it works best when seeds are not competing with grass and weeds from day one.
Pull or scrape out the weeds and grass in the area you plan to sow.
Go easy on the digging. UC Master Gardener guidance on sowing native wildflower seeds advises avoiding deep soil disturbance, since turning the soil can bring buried weed seeds up to the surface where they will sprout alongside your lupine.
Light raking or scraping is usually plenty.
Your real goal is firm contact between seed and soil. Seeds sitting on fluffy soil or on top of leftover thatch can dry out between rains.
After sowing, press the seed in by walking over the area or tamping it with the back of a rake or a flat board.
Pick a spot that fits the species you chose. Many native lupines like full sun and soil that drains well, so avoid low spots where water sits after a storm.
If you are working on a slope, rough up the surface just enough to hold seed in place so a heavy rain does not wash it downhill.
Skip heavy compost or rich amendments unless your supplier recommends them. Native plants often do fine in the soil you already have, and extra richness can mostly feed weeds.
Keep the plan simple: clear it, firm it, and mark the edges so you remember where you sowed.
Scarify gently when the species calls for it
Lupine seeds are tough little packages. Many have a hard coat that can keep water out, which is why some seeds sit in the soil for a long time without sprouting.
Scarification means lightly scratching or softening that coat so moisture can get in.
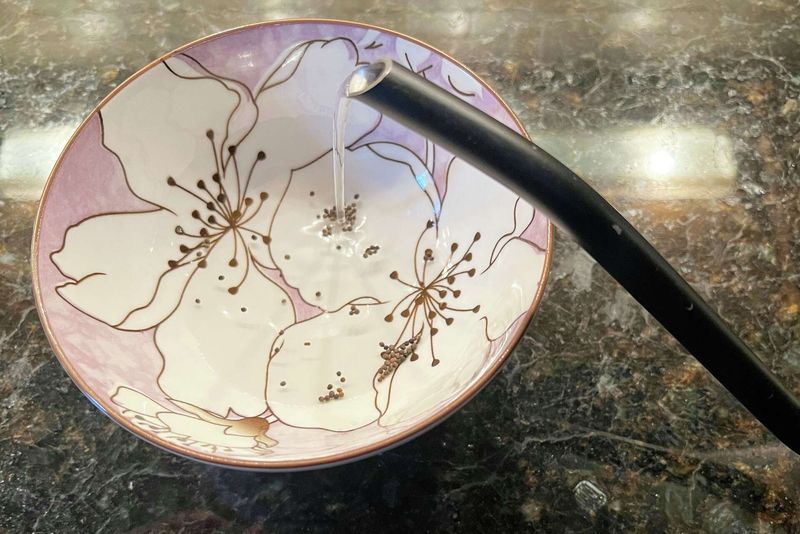
Home gardeners have two options. UC Master Gardeners suggest lightly rubbing the seed with sandpaper, or pouring hot water over the seed and letting it soak for up to eight hours.
Keep the sanding light. You only want to dull the surface, not grind through it.
Do not treat either method as a formula for every lupine. The USDA Forest Service seed manual reports variable germination and scarification needs that depend on the species or population.
A study of four Great Basin lupines found that treatments helping some species did not consistently help another. Those are not California natives, but they show how much lupines differ from one another.
So let your named species lead. If the supplier says the seed is already treated or needs no help, skip the extra step.
If it recommends a method, follow it exactly, and keep notes on what you did. Some seed lots also vary from year to year, so a small test batch can tell you what works before you commit all your seed.
Technical seed literature mentions acid treatments, but they are not a home-garden method. Stick with sandpaper or hot water, sow the seed soon after treating it, and do not let treated seed sit around for weeks.
Use the rainy season as a timing guide
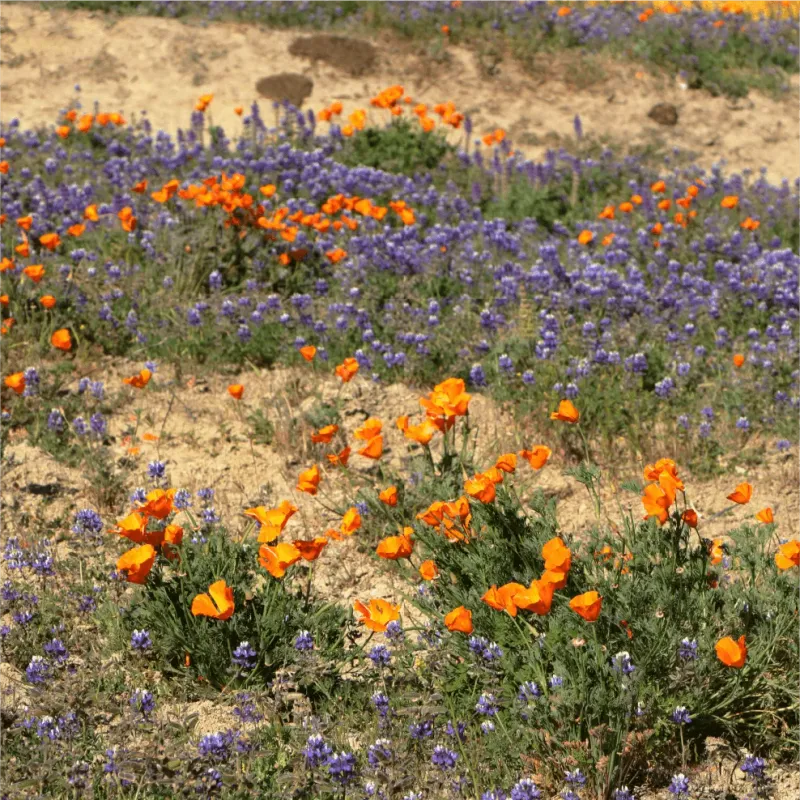
California’s wet winters and dry summers set the calendar for native wildflowers. Sowing in fall puts seed on the ground just as the growing season gets going, so natural rain can do much of the watering.
Guidance from the Napa County Resource Conservation District ties planting native seed to the start of the rains.
The window is wide. A regional guide from the Santa Clara Valley chapter of the California Native Plant Society gives October through February as a traditional time to sow.
Where you fall in that range depends on your area. A coastal garden and a mountain foothill yard can have very different rain patterns.
Timing helps, but it does not promise germination. Seeds vary, and rain alone may not soften every hard seed coat.
That is one more reason to follow the supplier’s directions for your species.
Winter is also unpredictable. If rain stops for a couple of weeks after sowing, give the bed a gentle sprinkle so the top layer stays moist.
UC guidance notes that sowing later in the season can mean more reliance on irrigation.
Use a fine spray or a watering can with a rose, and keep the soil damp, not soggy. Soggy soil can rot seed and young seedlings.
A quick finger test about an inch down will tell you more than the calendar will.
Sow shallowly and follow the seed packet
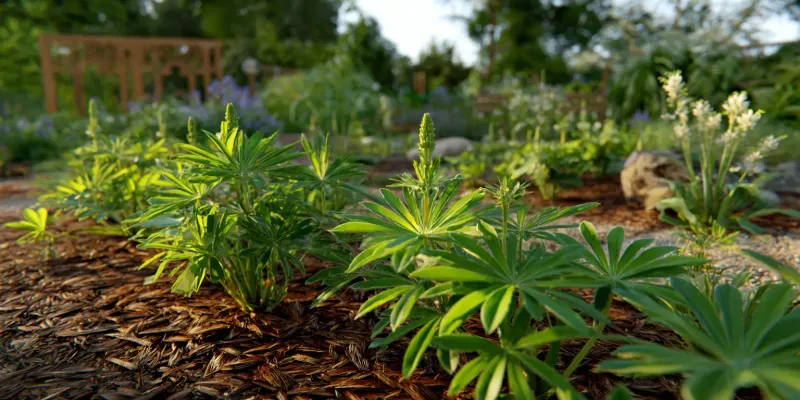
Depth is where good intentions often go wrong. Lupine seeds are larger than many wildflower seeds, so it is tempting to bury them like bean seeds.
Start instead with the packet. The named species’ instructions beat any general rule.
For native wildflowers in general, UC Master Gardener guidance calls for surface sowing or roughly 1/8 inch of soil cover. That is a guide for native wildflower seed, not a rule built for every lupine.
If your supplier gives a specific depth for your species, use it.
Whatever the number, avoid deep burial. Seed planted too deep may use up its energy before it reaches the surface, and seed left too exposed can dry out or get carried off.
A light touch is the middle path.
Here is a simple routine. Scatter the seed thinly over the prepared bed, or drop larger seeds by hand at the spacing the packet suggests.
Sift a thin dusting of soil over the top if the instructions call for cover. Then press everything down firmly with your feet or a flat board.
That last step ties back to your bed prep. Pressing the seed into the soil keeps it from rolling away in rain and helps it take up moisture.
Mark the spot with a few stakes so you do not mistake sprouts for weeds later in winter.
Protect seed without expecting a bird-proof bed
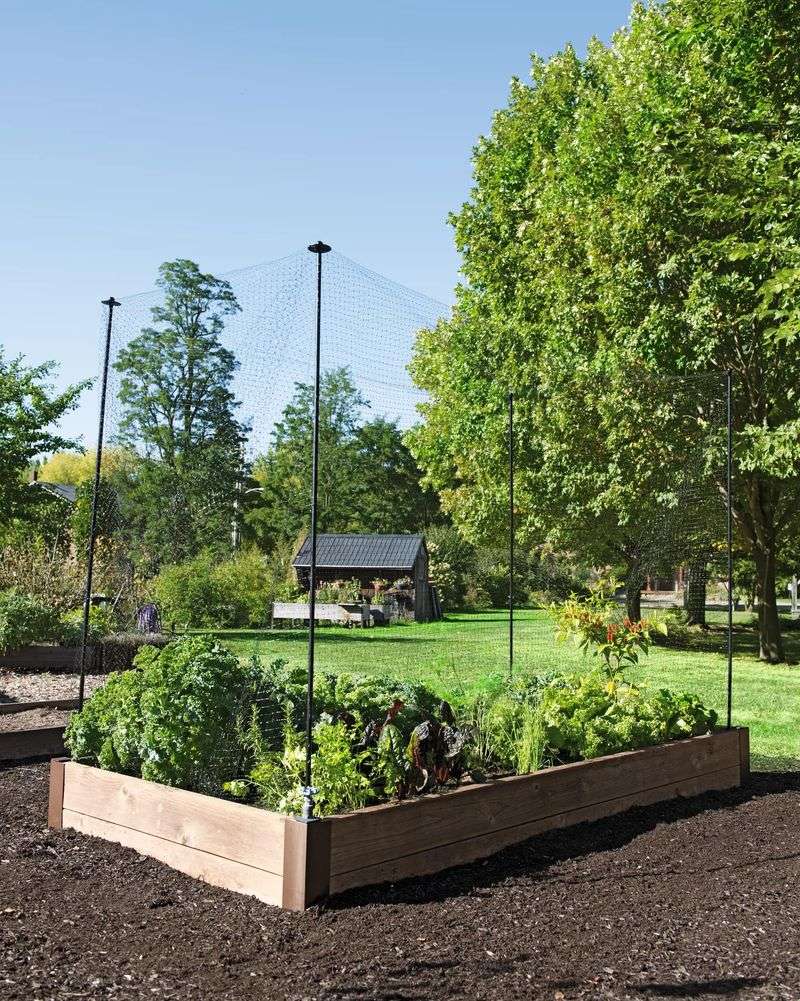
Seed on open ground is a snack for something. A few simple covers can lower the odds.
UC Master Gardeners suggest a thin layer of light mulch, bird netting, or row cover. The Santa Clara Valley chapter of the California Native Plant Society also recommends light sand over the seed and bird netting held up on stakes.
Keep the layers thin. A heavy blanket of mulch can smother seed or keep seedlings from reaching light.
Stake netting a few inches above the soil so it does not rest on emerging sprouts, and secure the edges so birds cannot slip underneath.
These steps may reduce exposure, but they do not guarantee anything. Birds are not the only possible cause of loss.
In a California field study of bush lupine, researchers found that rodents substantially reduced seedling emergence in some years. That was one species in a field setting, so it does not predict what will happen in your garden.
Check your bed every week or two in winter. If you see scratched soil, missing seed, or netting that has sagged, fix it.
Note what is visiting so you can adjust next year.
Expect uneven results. Some seeds will sprout early, some late, and some not at all.
Sow a little more than you want, keep notes, and treat the first season as practice for a better second one.