
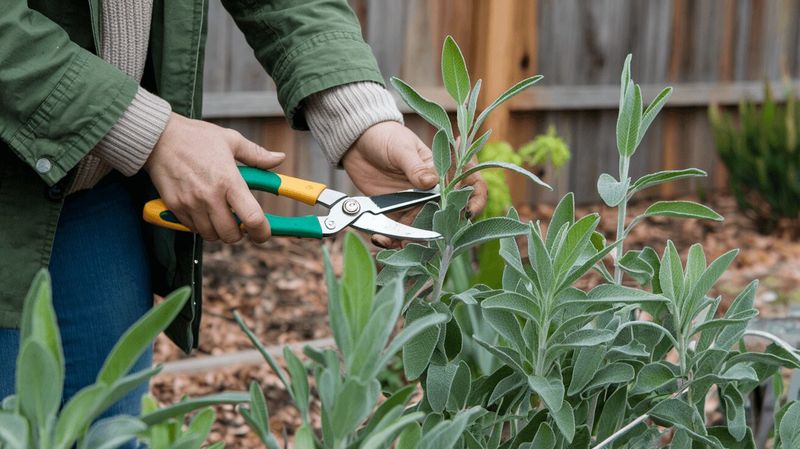
That leggy, woody sage plant in the corner of your herb bed may look like a lost cause, but it could still have life worth saving. Culinary sage naturally develops woody stems as it ages, and that alone does not mean the plant is done.
Before you pull it out, a careful look at what is still green and growing will tell you whether selective pruning can help, or whether it is time to start fresh.
First, identify the sage before you prune
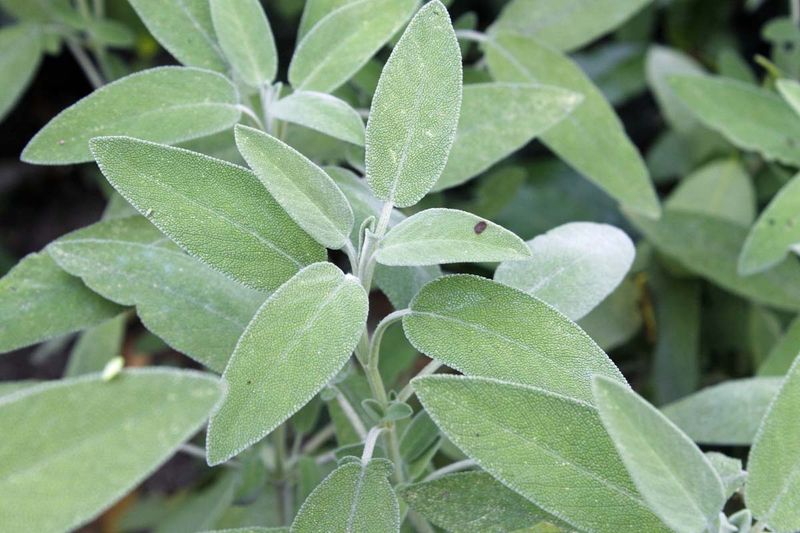
Garden centers sell dozens of plants under the common name “sage,” and that is where a lot of well-meaning pruning goes wrong. The plant this guide covers is Salvia officinalis, the culinary or garden sage most cooks grow for its velvety, gray-green leaves and savory fragrance.
Before reaching for pruners, confirm that is what you have, because pruning advice for one type of salvia does not transfer reliably to another.
North Carolina Extension’s plant profile for Salvia officinalis describes it as a semi-woody perennial shrub whose young stems start green and gradually harden with age. Some woodiness at the base is completely normal and does not, by itself, signal that the plant is dead or dying.
The more useful question is whether the plant still has healthy green shoots, firm buds, or leafy side branches somewhere above that woody framework.
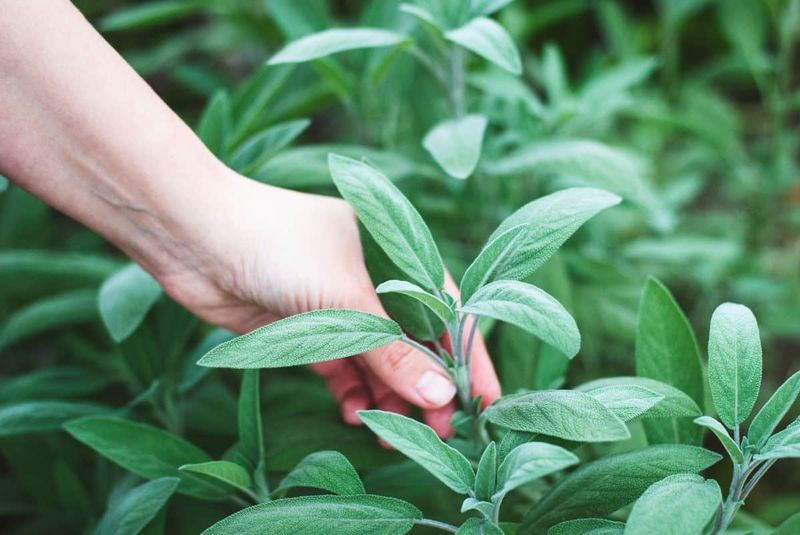
Run your fingers along several stems from the tips down toward the base. Healthy growth feels pliable and shows clear leaf color.
A stem that snaps cleanly, feels hollow, or shows no green layer beneath the bark when you scratch it lightly is likely dead. Check the crown and the soil line, too: soft, dark, or foul-smelling tissue at the base points to a root or crown problem that no amount of pruning will fix.
Ornamental salvias, autumn sage (Salvia greggiiSalvia farinacea), and mealycup sage () are common in Southern gardens, and the RHS notes that different salvia species vary considerably in their pruning responses. The harder renovation cuts sometimes recommended for ornamental shrubby salvias are not automatically safe for culinary sage.
Settle the species question first, then assess what live growth remains before making any cuts.
Why a hard fall cut can leave sage emptier than before

Culinary sage grows from the tips of leafy stems and from buds located just above healthy leaves or green side shoots. Mature woody stems, the kind that have turned fully brown and bark-like, often carry no viable buds at all.
Cutting deep into that old wood in hopes of forcing a flush of new growth frequently produces nothing, because there is simply no live tissue left to respond.
NC State Extension specifically warns that mature woody sage stems seldom sprout new growth, and the RHS cautions that hard pruning into bare wood carries real risk for this species. That is a meaningful distinction from lavender, which some gardeners use as a pruning model for any plant with woody stems.
Both plants can get leggy, but pruning tolerance is species-specific, and what works for lavender may leave a culinary sage with nothing but stubs.
Timing adds another layer of risk in the South. A severe fall cut that removes most of a plant’s canopy can stimulate a flush of soft, tender new growth at exactly the wrong moment.
In parts of Texas and the Upper South, that growth may arrive just before a freeze, leaving the plant more vulnerable than if it had been left alone. University of Georgia Cooperative Extension notes that late-season pruning can delay dormancy or expose new growth to cold injury, a real concern outside Florida’s warmest zones.
Fall cleanup, meaning the removal of obviously dead stems, spent flower stalks, and diseased material, is different from severe renovation pruning. The first is useful maintenance.
The second, applied carelessly to old wood in the wrong season, can finish off a plant that still had a chance.
Use a series of selective cuts to preserve live growth
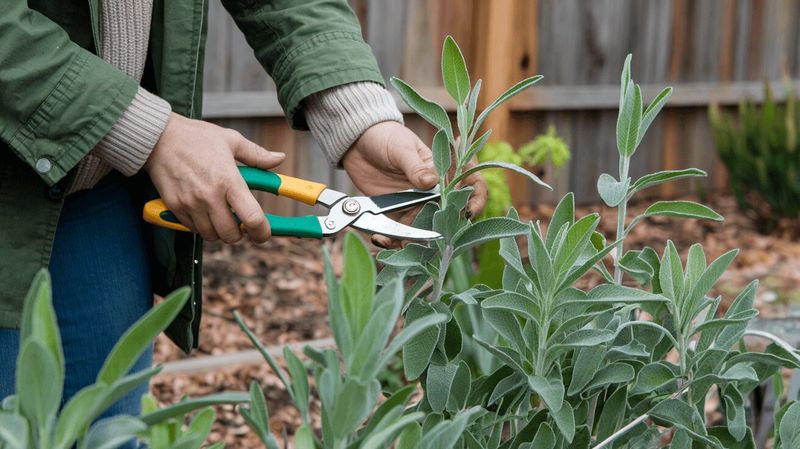
Sharp, sanitized tools are the starting point. Dull blades crush stems rather than cutting cleanly, and dirty blades can move disease from one plant to another.
Wipe pruner blades with a disinfectant solution before you begin, and again if you encounter any stem that looks diseased or discolored inside.
Work through the plant in stages rather than shearing it all at once. First, remove any stem that is clearly dead, diseased, or damaged all the way to its base or back to where live tissue begins.
Then move to the leafy stems that are simply too long or too sparse. University of Arizona Cooperative Extension recommends cutting back each stem on mature sage plants by about one-third in early spring, making the cut just above a set of leaves.
That same principle applies to a corrective pruning session: shorten individual leafy stems by roughly one-third, placing each cut just above a healthy leaf pair, a visible green side shoot, or a firm bud.
Stop as soon as a stem transitions from green, leafy wood to bare, entirely woody material with no visible buds. Cutting farther into that zone hoping for regrowth is the mistake most gardeners make.
If a branch has no live tissue above the point where it becomes fully bare and woody, remove it entirely rather than leaving a stub that will not recover.
Texas A&M AgriLife Extension recommends pruning individual stems on narrow-leaved evergreens rather than shearing the whole plant, and that guidance fits culinary sage well. Shearing produces a uniform outer shell of foliage that blocks light from reaching the interior, making future woodiness worse.
Individual-stem pruning keeps the plant open, preserves its natural shape, and leaves enough functioning foliage to support recovery. After each cut, step back, look at the overall plant, and decide where the next cut is needed before continuing.
UF/IFAS guidelines recommend disinfecting pruning tools between plants, and any trimmings that show signs of disease should go into the trash, not the compost pile.
Choose the corrective-pruning window for your region
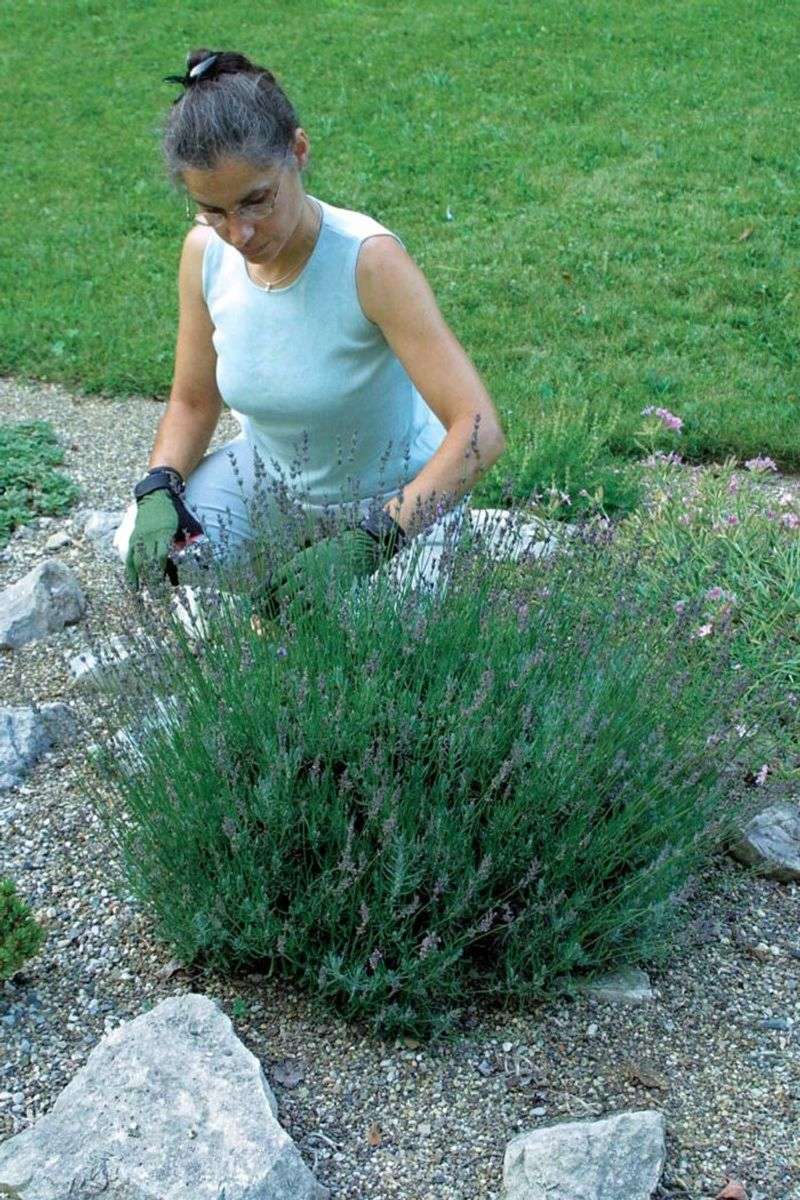
Spring, or the period just before or during active new growth, is the more consistently supported window for substantial corrective pruning of culinary sage. Most authoritative extension guidance points to late winter through early spring as the time to make significant cuts, when the plant is preparing to push new growth and can respond to pruning before summer heat arrives.
Florida gardeners work within a longer warm season, and UF/IFAS guidance on Florida-friendly edible landscapes does identify fall and winter as commonly used pruning periods for edible plants. That broad window reflects Florida’s mild winters, but it does not mean every sage in every Florida yard should receive a severe fall renovation.
The guidance still emphasizes researching the specific plant and avoiding improper timing. In South Florida, where freezes are rare, a modest corrective pruning session in October or November may be reasonable.
In North Florida, where occasional hard freezes occur, waiting until late February or early March reduces the risk of exposing fresh cuts or new growth to cold.
Texas timing is not uniform. Texas A&M AgriLife Extension places the corrective pruning window for narrow-leaved evergreens in early April for warmer parts of the state and May or June for cooler areas, a range that points clearly toward spring rather than fall for significant cuts.
Gardeners in the Dallas-Fort Worth area, the Hill Country, or the Panhandle face real freeze risk in late fall and winter, and a hard fall cut could leave the plant exposed at exactly the wrong time.
For the Upper South, including parts of Arkansas, Tennessee, and the Carolinas, UGA Extension’s pruning guidance reinforces that late-season cuts can promote poorly timed growth vulnerable to frost damage. Fall is a reasonable time to remove dead stems and do light cleanup anywhere in the South.
Reserve substantial corrective pruning for the late-winter or spring window when your local last-frost date gives the plant time to recover before summer.
The RHS recommends pruning sage in spring as the general rule, and that advice holds across most of the South’s variable climate zones.
Fix the growing conditions that pruning cannot solve
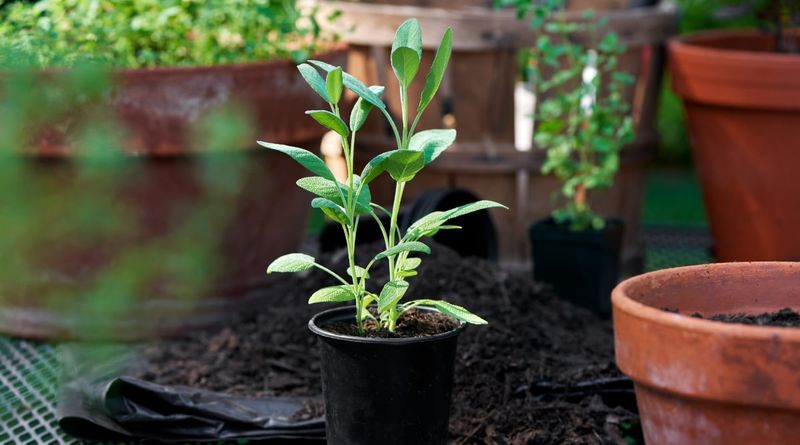
Pruning removes stems. It does not fix soil that stays wet, shade that limits photosynthesis, or roots that are already rotting.
Before assuming that a round of selective cuts will turn the plant around, check the conditions it is growing in, because those conditions will determine whether any regrowth actually happens.
NC State Extension describes culinary sage as a plant that requires full sun and well-drained, medium-to-dry soil, and notes that it is poorly suited to persistently wet ground. Root rot, powdery mildew, and verticillium wilt are among the problems associated with sage in poor conditions.
If the base of your plant is soft, dark, or smells off, or if the crown shows cracks and discoloration, those are signs of a disease or drainage problem that selective pruning will not cure. Cutting the top growth while leaving diseased roots in wet soil is unlikely to produce a recovery.
After pruning, water sparingly but consistently. Sage recovers better with infrequent, deep watering than with frequent shallow irrigation that keeps the root zone perpetually moist.
Allow the soil to dry out between waterings. If the planting area drains poorly, consider amending the soil with coarse sand or grit, or moving the plant to a raised bed or container where drainage can be controlled.
Sanitation matters when diseased material is involved. UF/IFAS guidelines recommend disinfecting pruning tools between plants to avoid spreading pathogens, and diseased trimmings should go in the trash rather than the compost bin, where some pathogens can survive and spread.
Full sun is non-negotiable: a sage plant recovering from aggressive woodiness in a shaded spot is fighting an uphill battle. If the planting site receives fewer than six hours of direct sun, moving the plant or removing the shade source will matter as much as any pruning decision.
Good light, dry feet, and clean tools give selective pruning the best possible chance to help.
Know when replacement beats renovation
Not every woody sage is worth saving, and recognizing that early saves time, effort, and the space in your herb bed. A plant that has become mostly bare, with little to no healthy green foliage remaining after dead material is removed, has very few viable buds left from which to regrow.
Selective pruning works when live growth exists to cut back to. When it does not, the cuts produce stubs and the plant declines further.
Colorado State University Extension advises replacing sage when it becomes overly woody, and the RHS similarly notes that old plants with heavily woody growth may be better replaced than renovated. A plant that is rotting at the base, showing widespread disease, or producing no new shoots even during the growing season is giving you clear signals that renovation is unlikely to succeed.
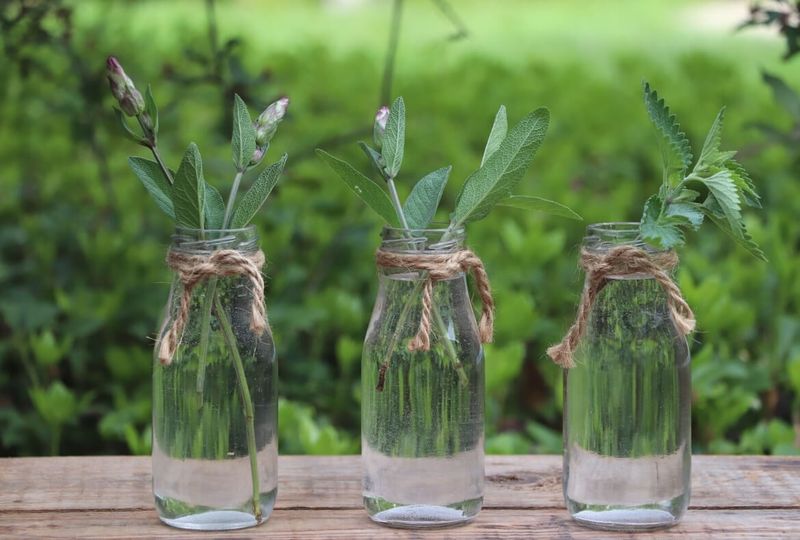
Before you remove the plant entirely, take cuttings from any healthy green shoots that remain. Tip cuttings from non-flowering stems, about three to four inches long, can be rooted in a light, well-drained mix and grown into new plants.
NC State Extension confirms that Salvia officinalis can be propagated by stem cuttings, making this a practical way to preserve a cultivar you like without betting everything on a failing parent plant. Taking cuttings is an insurance measure, not a guarantee that the original plant or every cutting will succeed.
A sage plant that is very old, mostly bare, diseased at the crown, or lacking any viable green shoots after honest assessment is a candidate for replacement, not renovation. Starting fresh with a young, healthy plant from a reputable nursery, and planting it in full sun with excellent drainage, will produce better results faster than prolonged attempts to revive a plant that has already passed its productive years.
Use this decision rule before you reach for the pruners
Work through this checklist before making any cuts. Confirm the plant is Salvia officinalis and not an ornamental salvia or a different species entirely.
Inspect the base and roots for soft tissue, rot, or disease. Locate healthy green shoots, firm buds, or leafy side branches, because those are the only points from which selective pruning can encourage new growth.
Remove dead, diseased, and damaged stems first, using sanitized pruners and disposing of any suspect material in the trash. Then shorten individual leafy stems by about one-third, cutting just above a healthy leaf pair or green side shoot, and stop each cut before reaching bare, entirely woody wood with no visible buds.
Correct sun and drainage problems at the same time, since pruning alone will not help a plant growing in shade or wet soil.
Match your timing to your region. In most of the South, reserve substantial corrective pruning for late winter or early spring.
In South Florida, modest corrective work in fall may be reasonable. In freeze-prone Texas and the Upper South, wait.
NC State Extension’s profile for Salvia officinalis and Colorado State’s sage guide both support spring as the more reliable window for significant cuts. A pruned sage with viable buds and good growing conditions may become fuller and more productive over the following season.
A plant with no live growth left is better replaced than cut again.
The pruners are a tool, not a promise.