
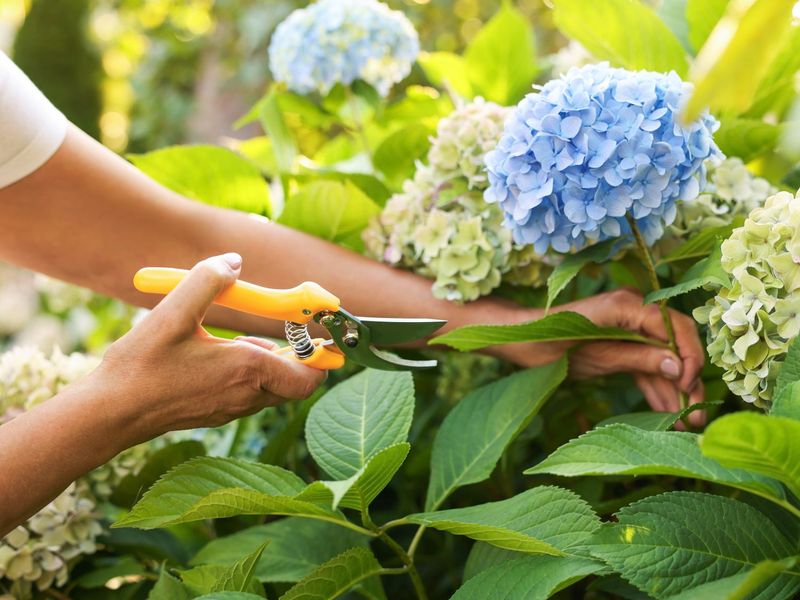
If you love your hydrangeas and wish you had more of them lining a fence or filling a bed, you may not need to spend another dollar at the garden center. Rooting stem cuttings from a healthy shrub is a technique home gardeners have used for generations, and hydrangeas respond well to it when conditions are right.
The catch is that timing, stem choice, and aftercare all matter more than most guides let on, especially in Southern states like Texas and Florida where heat and humidity add extra variables. This guide walks you through the realistic process, the honest trade-offs, and the steps most likely to give you several new plants over time.
The fall window depends on the stem, not the calendar
Plenty of gardening advice treats fall like a single uniform season with one correct move for every plant. Hydrangeas do not work that way.
UGA Extension propagation guidance and hydrangea-specific recommendations commonly place softwood cuttings from late spring through summer, roughly May through July or even August depending on the species, when stems are young, flexible, and actively growing.
Late summer into early fall can offer a semi-hardwood trial window. At that stage, the current season’s growth has begun to firm up but has not fully hardened into woody tissue.
That partial maturity can actually help certain cuttings hold moisture long enough to develop roots. Mississippi State Extension places semi-hardwood cuttings broadly in August through October, while hardwood cuttings taken during full dormancy belong to December through February.
The practical cue for Southern gardeners is stem condition, not a date on the wall calendar. Check whether the stem bends without snapping (too soft) or feels fully rigid and bark-covered (too hard).
A stem that is firm but still slightly flexible is your target. Factor in your hydrangea type, your local conditions, and whether the plant looks healthy enough to spare a few shoots before you commit to a cutting session.
Start with a healthy, nonflowering shoot
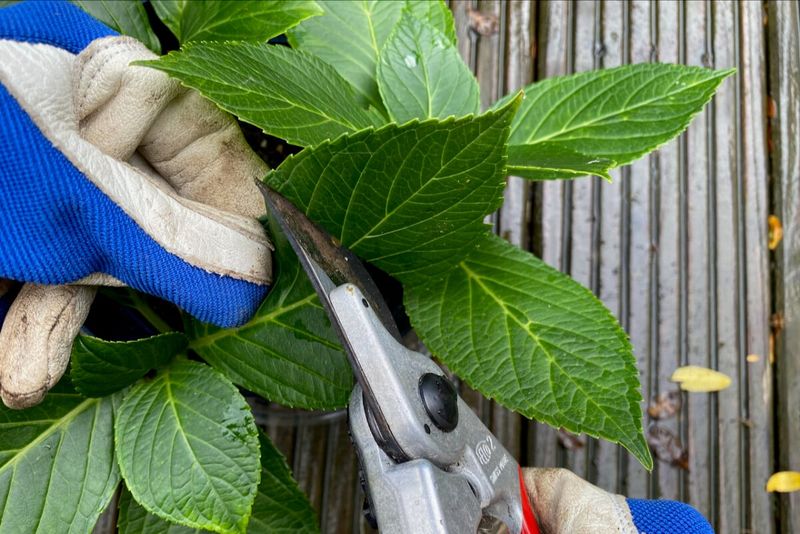
The cutting you choose sets the ceiling on your success. A shoot that is already stressed, diseased, or carrying an open flower bloom is spending its energy in the wrong direction, and a struggling cutting rarely makes a strong root system.
Look for vigorous, dark green stems with no spots, wilted edges, or signs of pest damage. UGA Cooperative Extension guidance on starting plants from cuttings recommends removing flowers or flower buds from the cutting before you insert it into the propagation medium.
Flowers draw on the plant’s stored sugars and water, so removing them redirects those reserves toward growing roots instead.
Tool sanitation matters more than most gardeners realize. Mississippi State Extension recommends wiping pruning blades with 70 percent or higher isopropyl alcohol between plants to reduce the risk of spreading fungal or bacterial problems from one shoot to another.
A quick wipe takes seconds and can prevent a whole batch of cuttings from failing to a pathogen that hitched a ride on a dirty blade.
Resist the urge to strip the shrub bare in one session. Take only what the parent plant can spare without being weakened, and skip any shoot that looks off, no matter how convenient its position on the branch.
A simple cut creates several chances
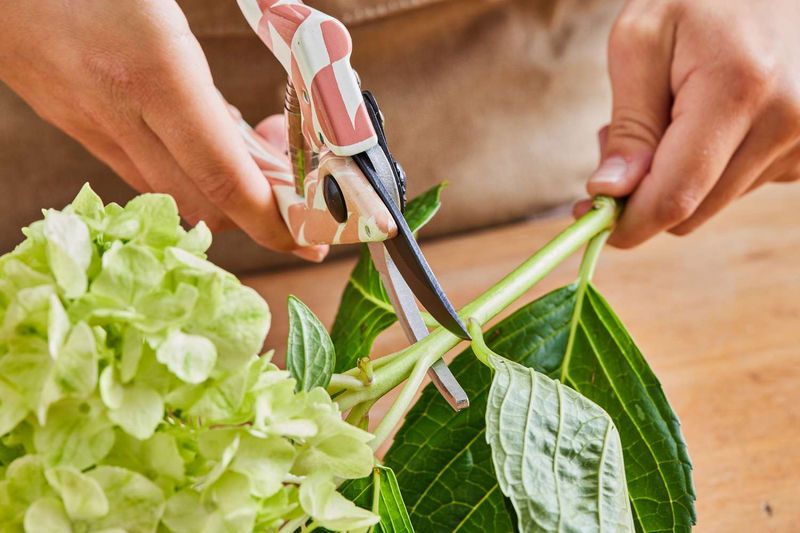
Once you have identified your shoots, the cutting process itself is straightforward. Work with sections about 3 to 6 inches long, and make each cut just below a node, the point on the stem where leaves attach.
UGA Extension explains that the node is the site where rooting is most likely to begin, so placing your cut there gives the cutting its best structural advantage.
Strip the leaves from the lower half of the cutting so that buried stem tissue is not sitting in a wet medium with foliage attached, which invites rot. Keep a few leaves at the top so the cutting can still photosynthesize a small amount.
UGA’s cuttings publication specifically recommends cutting large leaves roughly in half to reduce the surface area losing moisture through transpiration while roots are still forming.
Taking several cuttings from one shrub multiplies your odds without putting extra strain on any single cutting. Washington State University Extension notes that rooting success varies by species, cultivar, and stem maturity, so not every cutting in a batch will root.
Preparing six to ten cuttings rather than two or three gives you more chances without guaranteeing a full row of mature shrubs. Think of each cutting as one opportunity, and let the batch as a whole determine your final count.
Use a medium that drains while it stays moist
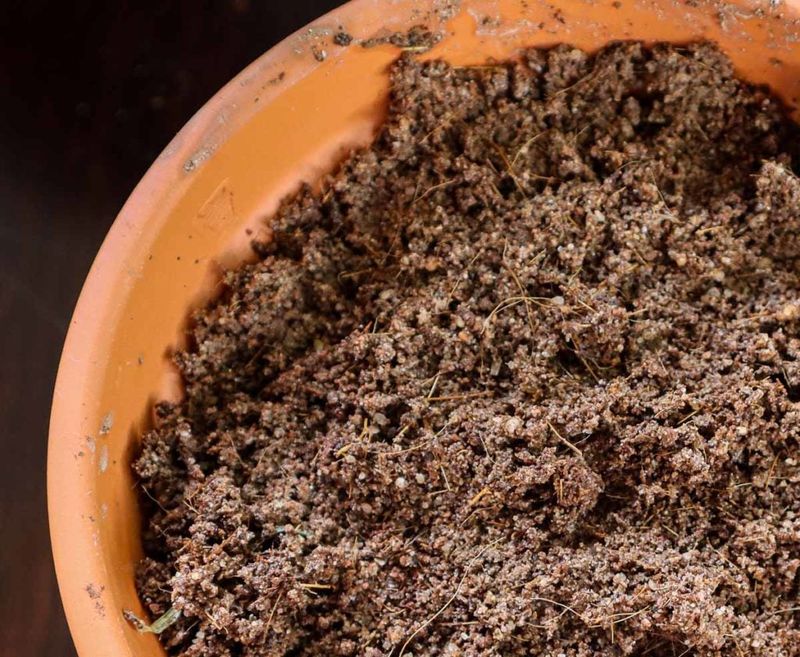
Where you plant the cutting matters almost as much as how you prepare it. Garden soil pulled straight from the bed is a poor choice for propagation.
It tends to compact tightly around a fragile stem, restricts airflow, and can carry pathogens or weed seeds that overwhelm a cutting before roots ever form.
A better approach is a loose, well-drained mix designed to hold just enough moisture without staying waterlogged. UGA Extension recommends combining peat with perlite, vermiculite, or coarse sand to create a medium that stays moist at the stem base while allowing excess water to drain away.
Pre-moisten the mix before inserting your cuttings so you are not trying to water around a freshly placed stem.
Rooting hormone is optional but worth considering. UGA’s propagation page notes that it can speed rooting or improve root development on stems that might otherwise be slow to respond.
Tap a small amount of powder onto the cut end, knock off any excess, and follow the product label precisely. More is not better with rooting hormone; an overdose can inhibit rather than help.
University of Connecticut’s hydrangea factsheet reinforces that hydrangeas are susceptible to root problems in poorly drained conditions, so the medium you choose directly affects whether your cuttings survive long enough to root.
Humidity and indirect light keep cuttings alive
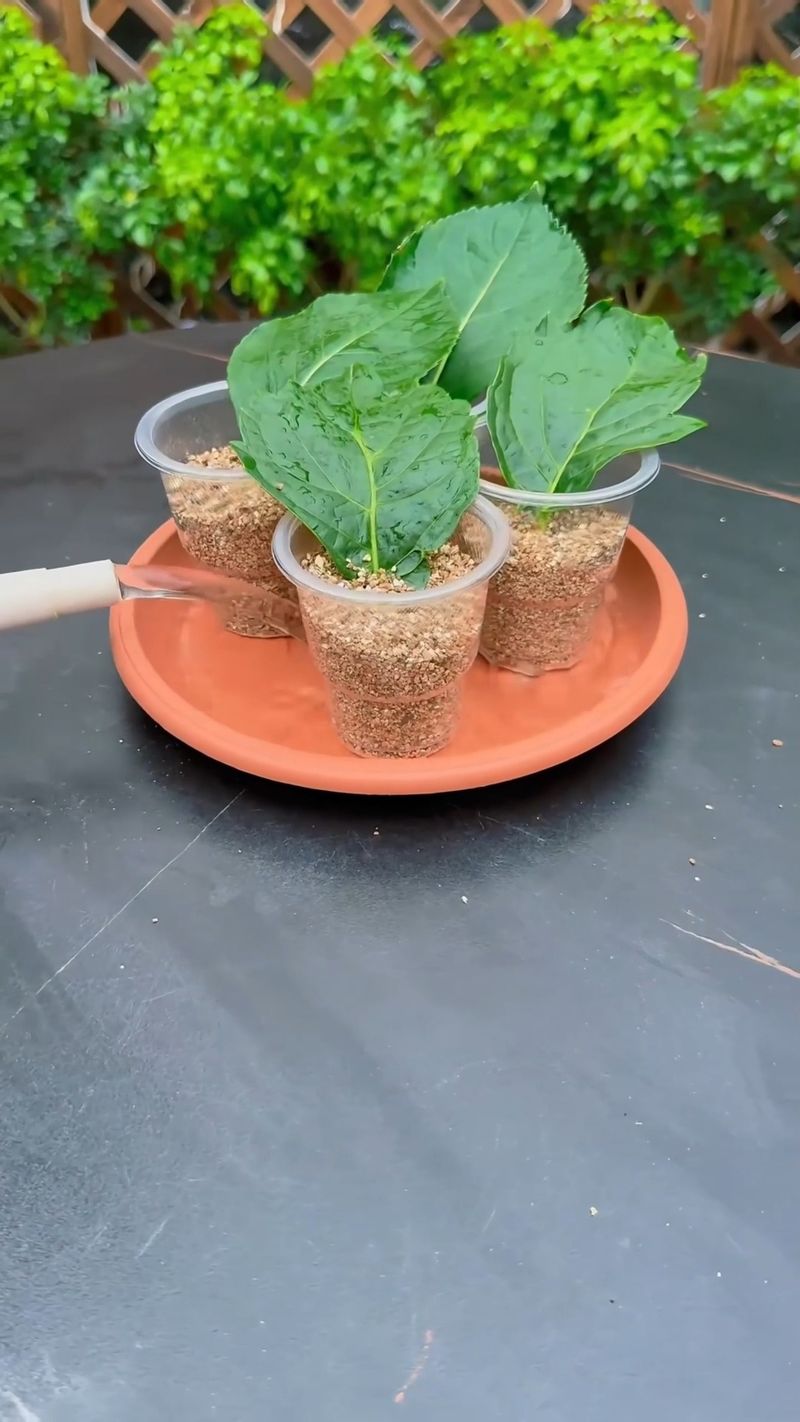
A freshly cut stem has no roots to pull water from the soil, so it depends almost entirely on the humidity around its leaves to stay alive long enough to root. Letting the cutting dry out in the first week is one of the most common reasons home propagation fails.
A simple clear plastic bag, a humidity dome, or even an inverted plastic bottle over the pot can trap moisture around the leaves. UGA Extension cautions that the cover should not press directly against the foliage, because contact can cause the leaves to rot where plastic touches wet tissue.
Prop the bag open slightly or use a few sticks to hold it away from the leaves.
Watch for heavy condensation pooling inside the cover. A little moisture on the plastic is expected and helpful, but if water is streaming down the inside walls, lift the cover for an hour or two to ventilate, then replace it.
Too much trapped moisture without airflow can promote fungal problems just as surely as letting the cutting dry out.
UGA’s bigleaf hydrangea guidance and general propagation advice both recommend bright, indirect light rather than direct sun, especially while a cover is in place. A spot under plastic in direct Southern sun can heat the cutting to damaging temperatures very quickly.
A shaded porch, a north-facing window, or a spot under a shade cloth is far safer than a sunny south-facing sill.
Rooting marks the midpoint, not the finish line
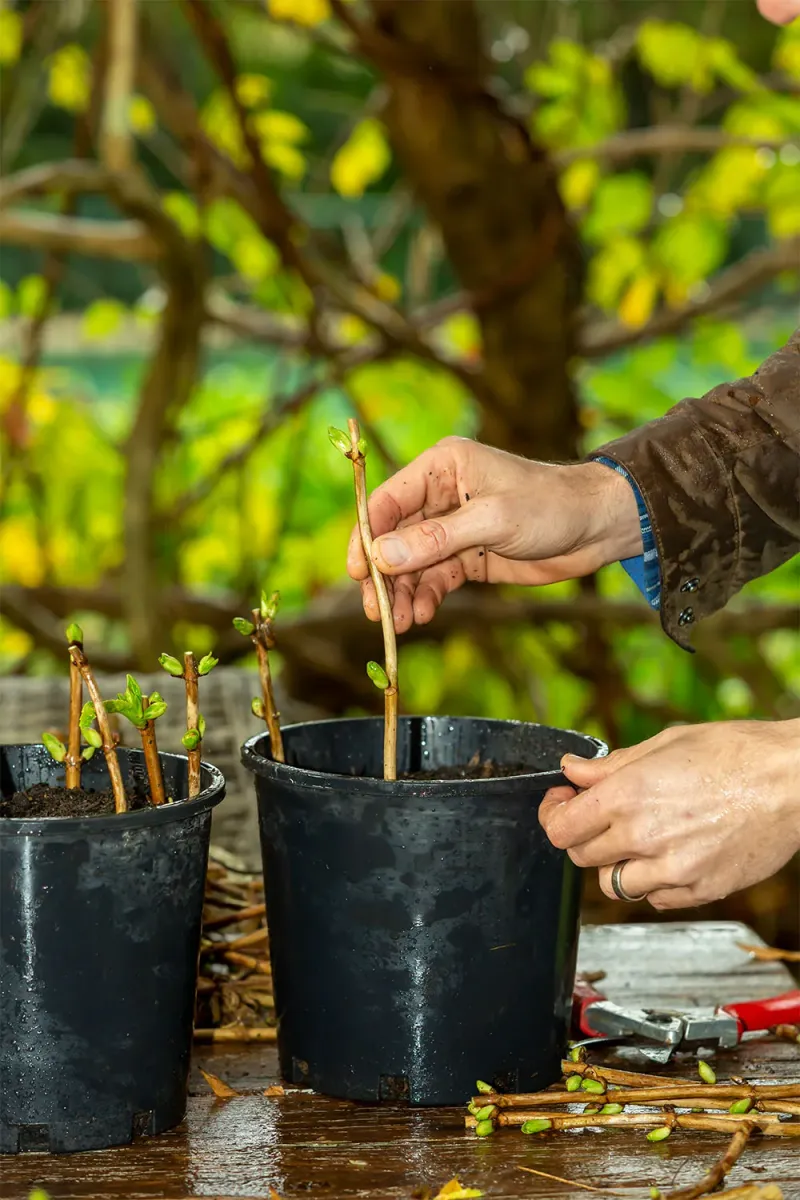
Seeing the first signs of rooting feels like a finish line, but the cutting still has a long journey before it becomes a landscape shrub. Softwood hydrangea cuttings can root in roughly three to five weeks under suitable conditions, according to UGA Extension propagation guidance.
Semi-hardwood and hardwood cuttings generally take longer, and results vary enough by species and cultivar that a firm universal timeline does not exist.
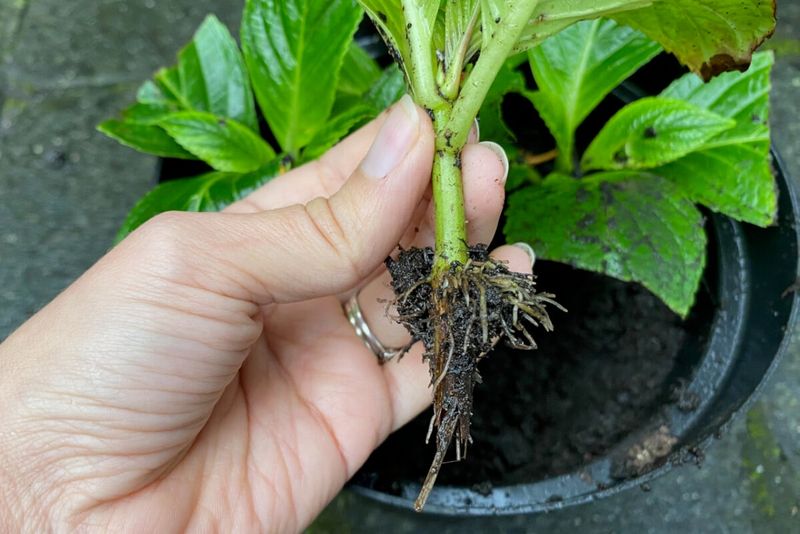
Check for rooting by giving the cutting a very gentle tug after three to four weeks. If it resists, roots are likely forming.
A cutting that pulls out easily needs more time. Once you see a small but established root system, move each cutting into its own individual pot with a standard potting mix so the roots have room to develop without competing.
Washington State University Extension and UGA both recommend hardening off rooted cuttings before placing them in outdoor conditions. That means gradually reducing the humidity cover over several days, then moving the potted plant to a more exposed location in steps rather than all at once.
Southern summers in Texas and Florida can be brutal on a young plant that has spent its whole life under a plastic dome, so the transition period is not optional.
Plan for at least one full growing season in a container or a protected nursery spot before the new plant is ready for a permanent landscape bed.
Protect next year’s flowers while taking cuttings
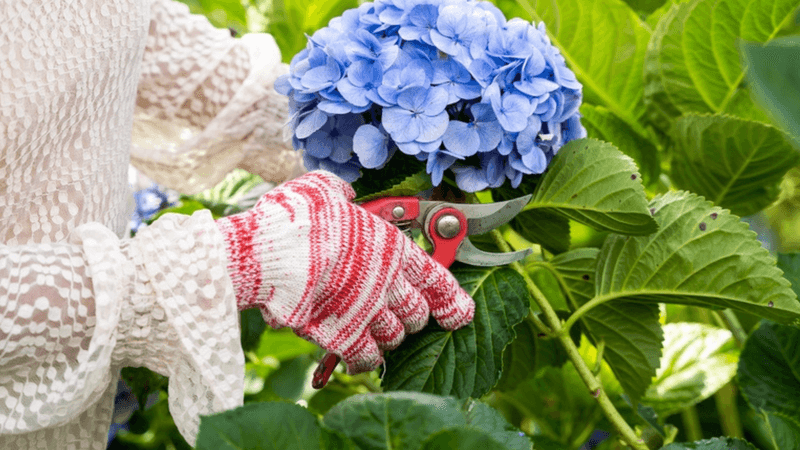
One of the most common ways gardeners accidentally punish their hydrangeas is by confusing propagation with pruning. Taking a few cuttings and cutting back the whole shrub are very different acts with very different consequences.
UGA’s guide to bigleaf hydrangea explains that bigleaf hydrangeas (Hydrangea macrophylla) and oakleaf hydrangeas (Hydrangea quercifolia) typically set next year’s flower buds on the older wood from the current season. Cutting those stems back in late summer, fall, or winter removes the buds that would have opened the following spring.
You can still take a few well-chosen cuttings from these types, but a heavy post-bloom trim for propagation material is likely to cost you next year’s display.
Panicle hydrangeas (Hydrangea paniculata) and smooth hydrangeas (Hydrangea arborescens) follow a different pattern: they bloom on new wood produced in the current growing season. University of Minnesota Extension’s pruning guidance notes that these types are generally more tolerant of dormant-season pruning without sacrificing flowers.
Even so, propagation timing and pruning timing are separate decisions, and treating every post-bloom trimming as a cutting opportunity ignores the difference.
Texas A&M AgriLife Extension reinforces that proper pruning technique starts with knowing what the plant needs, not what is convenient for the gardener. Select only shoots that fit the propagation criteria, and leave the rest of the shrub’s structure intact.
Check the plant’s propagation rights first
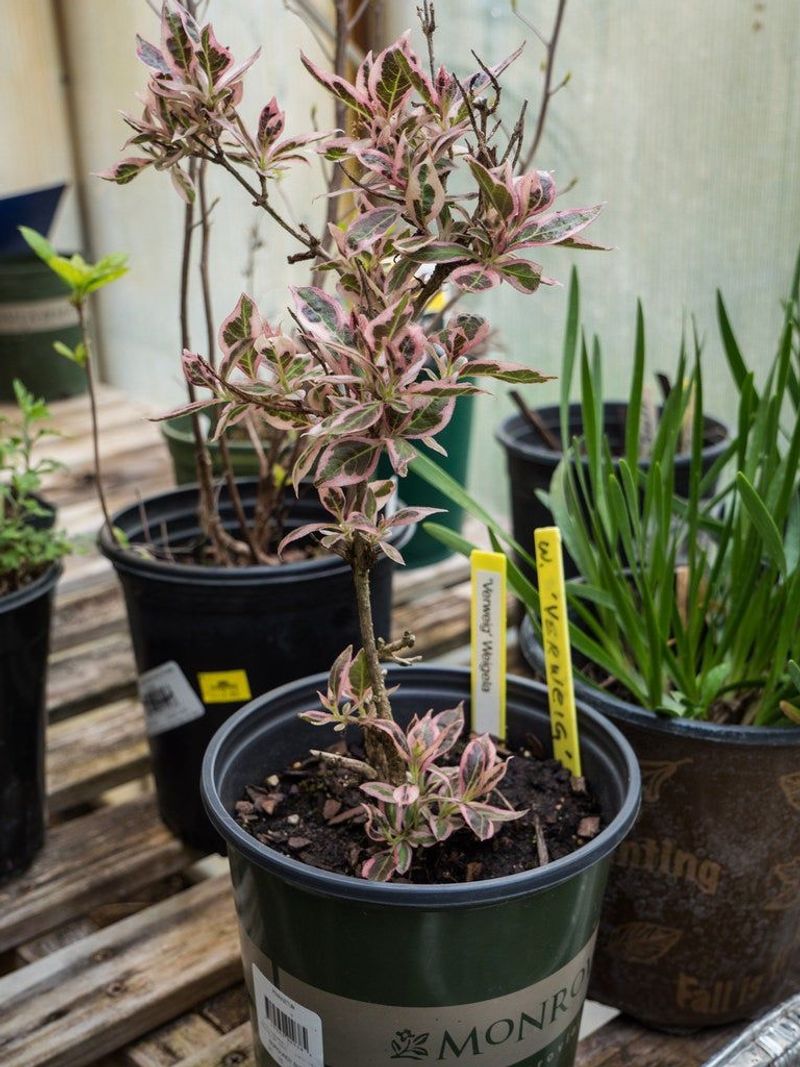
Before you root a single cutting from a named cultivar, it is worth spending two minutes checking the plant tag. Not every hydrangea sold at a garden center can legally be propagated for distribution or sale, and the distinctions between different types of legal protection matter.
An issued U.S. plant patent is the most restrictive category. The USPTO explains that a plant patent can prohibit asexual reproduction, sale, offering for sale, or use of the patented plant in the United States without the rights holder’s permission.
That covers rooting cuttings and distributing them, even without charging money.
A PPAF designation (Plant Patent Applied For) means a patent application has been filed but not yet granted. USPTO patent examination procedures make clear that pending applications and issued patents are not the same thing, so PPAF status does not automatically carry the same legal weight as an issued patent.
A trademark, similarly, primarily protects the brand name rather than the plant itself. Do not treat PPAF or trademark labels as automatic bans, but do take them as a signal to investigate further before sharing or selling plants.
UGA Extension advises against propagating patented plants without authorization. Verify the specific cultivar’s patent number or licensing terms through the breeder’s website or the USPTO database before you move beyond personal use, and stay well clear of commercial propagation or distribution where the applicable rights prohibit it.
A future row starts with a few established plants
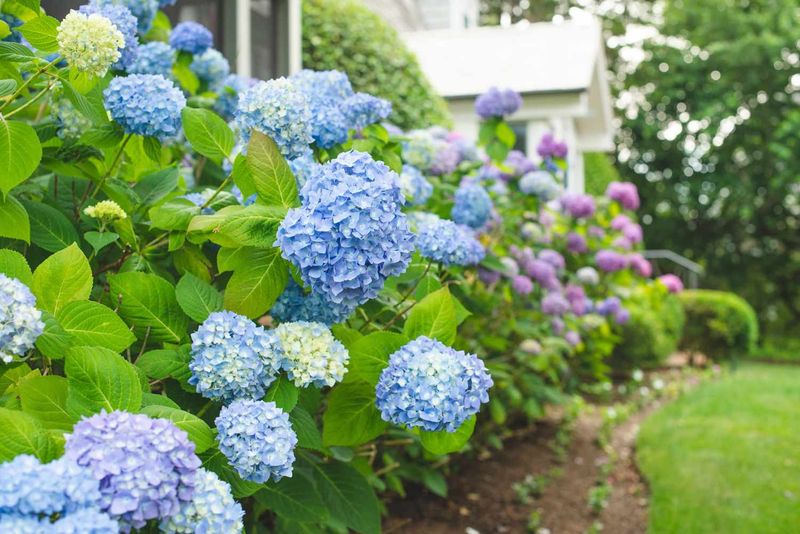
Propagation is a realistic way to add several new hydrangeas to your yard over one or two seasons without spending nursery prices on each one. It is not a shortcut to an instant mature border.
Mississippi State Extension notes that most hydrangeas perform best with morning sun, afternoon shade, organic matter worked into the soil, and reliable moisture, and that bigleaf, oakleaf, mountain, and smooth types struggle in hot, dry, exposed sites. Matching your rooted cuttings to a suitable spot matters as much as the propagation work itself.
University of Connecticut’s hydrangea factsheet reinforces that good drainage is non-negotiable; even moisture-loving hydrangeas fail quickly in soggy soil. Prepare the bed before your cuttings are ready so the transition from pot to ground goes smoothly.
Start with six to ten cuttings, expect a few to root successfully, and give those survivors a full season to establish before counting on them as landscape plants. UGA Extension describes the process as one that rewards patience and careful aftercare rather than speed.
A row built from your own rooted cuttings may take two or three seasons to fill in, but each plant that makes it will be a genetic copy of a shrub you already know thrives in your yard – which is the best guarantee a hydrangea can offer.