
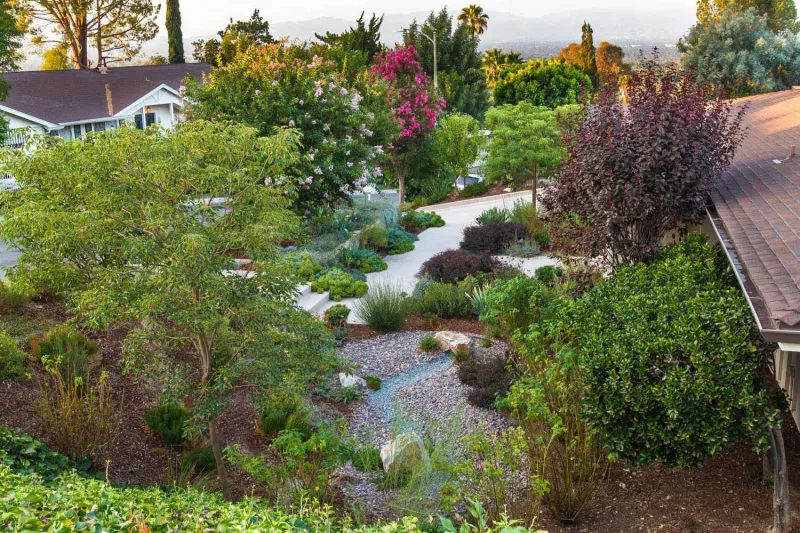
Winter storms send hundreds of gallons off a California roof in a single afternoon, and most of it rushes straight to the street. A rain garden gives some of that water a place to soak in, and it can double as a planted spot for bees, butterflies, and maybe a hummingbird or two.
It takes a little planning, a few simple tests, and plants that can handle wet winters and dry summers. Here is how to decide if your yard is a good fit and how to build one that works.
Can your yard safely absorb runoff?
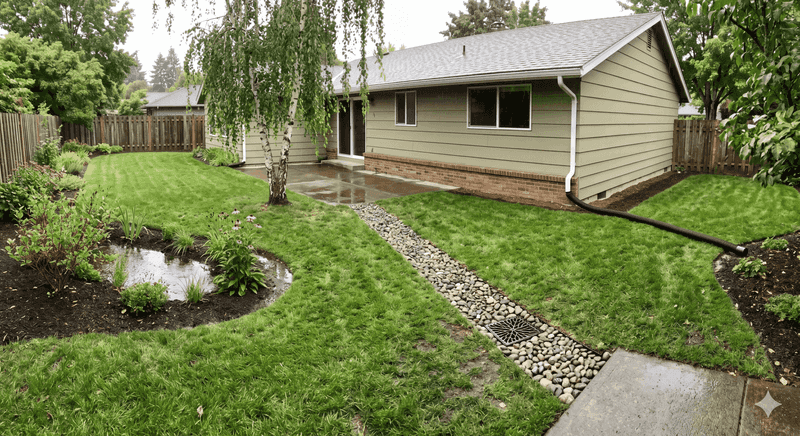
Before any digging starts, spend an afternoon just looking at your yard. The best spot is flat or gently sloped, and close enough that a downspout can reach it.
Steep slopes are a red flag, since water soaking into a hillside can raise stability concerns that call for local or professional review.
Next, find out how well your soil drains. UC ANR guidance says a properly designed garden should drain within 48 hours or less, and it describes a test hole that you fill with water more than once to see how fast it empties.
That is one cited recommendation, not a single statewide homeowner rule.
Local programs set their own bar. San Francisco Public Utilities Commission guidance requires an infiltration test and calls for underdrains where soil infiltration falls below 0.5 inches per hour.
Those underdrain criteria belong to San Francisco, so check what your own city or county expects.
Setbacks from buildings also vary by place. One Bay Area guide suggests at least 10 feet from structures, while counties such as Placer publish their own low impact development rules.
Treat any distance as a starting point to confirm locally.
Some sites simply are not good candidates. High groundwater, contaminated soil, or very slow-draining clay can make infiltration a poor idea, as the State Water Board bioretention fact sheet points out.
Call 811 before digging, and stay away from septic tanks and drain fields.
Size the basin for your roof and site
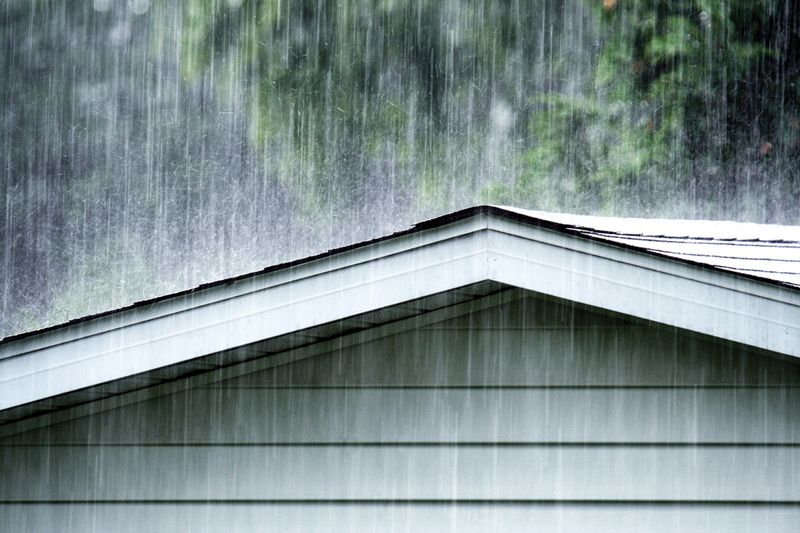
Sizing starts with the roof. Measure the area that drains to the downspout you plan to use, then think about how much rain your area gets, how fast your soil drains, and how deep the basin will be.
A bigger roof, wetter climate, or slower soil all point toward a larger basin.
UC ANR offers a helpful picture. In its rain garden guide, one inch of rain on a 400-square-foot roof produces about 200 gallons of runoff, and a garden of roughly 50 square feet is a rough example for that roof.
Those numbers are illustrative only. They are not a formula that fits every property.
Why the caution? The same guide notes that sizing shifts with soil and other conditions.
Another UC ANR article shows that homeowners build these gardens in different shapes and sizes to match their yards.
If you want a more technical approach, local design manuals such as the SFPUC residential guidance show how a city calculates sizing for its own conditions. Your jurisdiction may have its own worksheet.
Keep the goal modest. A well-sized basin can take care of some of the water from many storms, but a heavy downpour can still exceed it.
Plan for that day with an overflow, which comes next.
Shape a basin with a reliable overflow
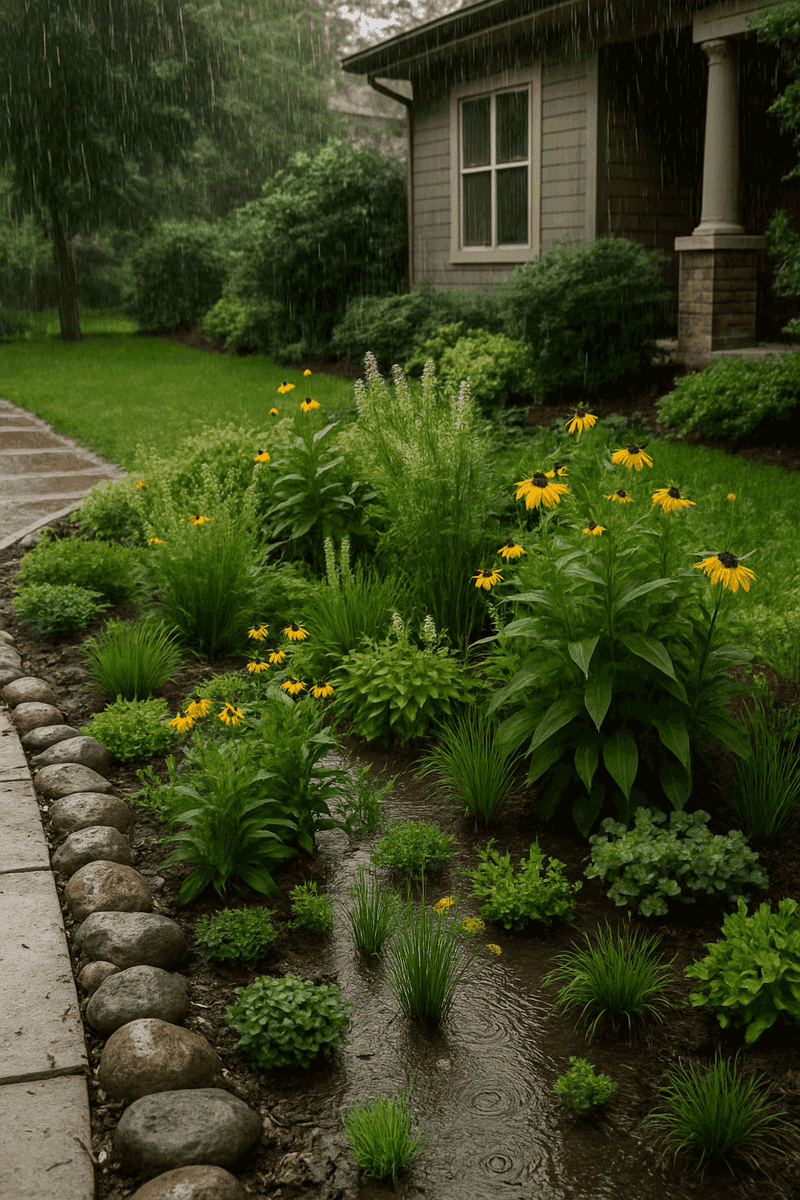
Picture a shallow dish in the ground, planted with tough perennials and grasses. Water flows in from the downspout, collects for a short time, and then soaks down or leaves through a planned exit.
That is very different from a pond, which holds water for weeks.
The inlet matters. A patch of rocks or a short channel where the downspout empties helps slow the flow so it does not scour the soil, an approach described in UC ANR’s rain garden article.
Pointing the downspout toward the basin through a buried or surface pipe is a common way to connect them.
Every basin also needs an overflow. Heavy storms can send more water than the garden can hold, and that extra has to go somewhere safe, away from your foundation and your neighbor’s property.
A low, reinforced notch in the berm that leads to a lawn, swale, or approved drainage path is one idea, and the Placer County guidebook treats overflow as part of the design.
Depth and soil mix depend on your site. EPA guidance describes typical designs that drain in under 24 to 48 hours, with requirements varying by location, so follow local specifications instead of copying one recipe.
A long-term study of a Pennsylvania rain garden, published in Water Resources Research, found it handled smaller storms well but overflowed in larger ones. That is one site, but it shows why your overflow route deserves as much thought as the basin.
Plant for winter wetness and summer dryness
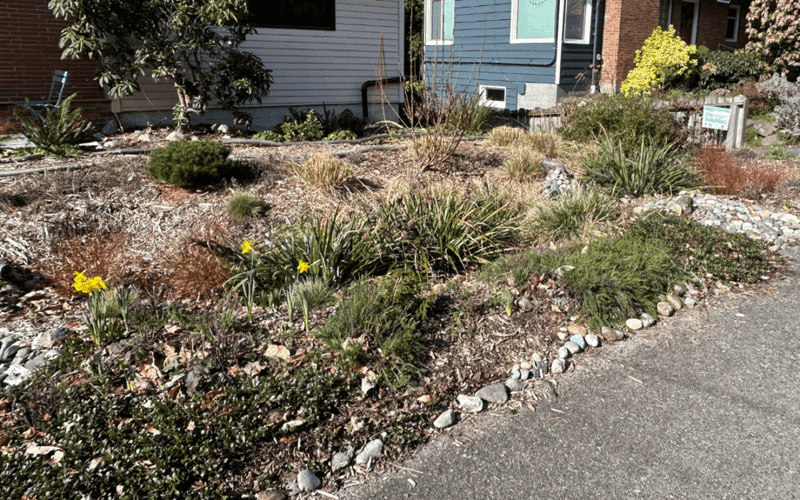
Water does not spread evenly in a rain garden. The bottom of the basin gets the most, and it may stay damp for a day or two after storms.
The sides and the berm are generally drier, and in summer the whole garden can bake.
That means plants need to do two jobs. Pick species that tolerate periodic winter soaking in the low zone, and drought-tolerant ones for the upper edges.
UC ANR’s rain garden guide walks through this idea of matching plants to moisture zones.
California is not one garden climate, so skip any single statewide plant list. A mix that thrives near the coast may struggle in an inland valley, a desert yard, or a foothill property.
Look at how much sun your spot gets, how cold or hot it runs, and how long the dry season lasts.
The UC ANR Bay Area rainwater article stresses choosing plants for your site’s growing conditions, and the SFPUC guidance includes planting advice for that city’s conditions. Local nurseries and native plant societies can point you to species that suit your area.
Plan on watering new plants through their first dry seasons. Even drought-adapted natives need help getting roots established, so budget time for it and then taper off as they settle in.
Choose spring flowers that may support hummingbirds
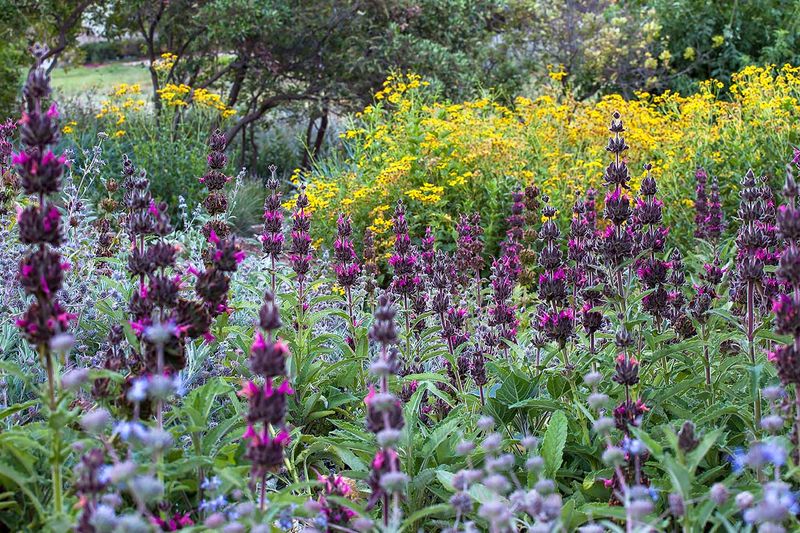
Planting nectar flowers gives hummingbirds a reason to stop by, but it does not guarantee visits, and bloom times differ from plant to plant. Think of your garden as an invitation, not a promise.
The UC Marin Master Gardeners list several choices. Some manzanitas bloom in fall and winter, while others bloom in winter and spring, so check the bloom time of the one you buy.
Western columbine is a spring option, and several salvias flower in spring and summer.
One popular plant needs a correction. California fuchsia blooms in summer and fall, not spring, so it will not feed hummingbirds early in the season.
It can still be a good choice for filling the gap later in the year.
Staggering bloom times is the practical move. Mix plants that flower at different points so something is open for as long as possible, though no combination guarantees continuous color.
Make sure each plant suits your local climate and the moisture zone where you put it.
Hummingbirds also eat insects, so nectar is only part of what they use. The California Native Plant Society offers hummingbird gardening advice, and a garden with a variety of plants tends to host more insects.
If you want wildlife, skip pesticides and let the small stuff do its work.
Check drainage after storms and adjust when needed
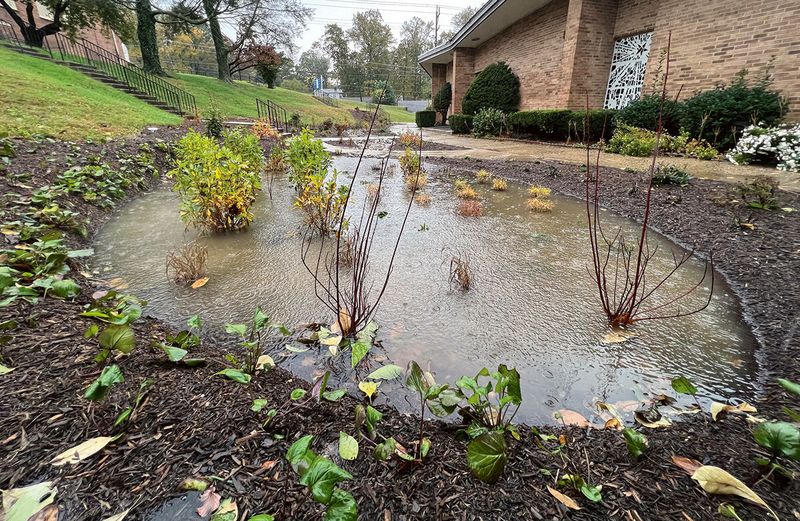
The first few storms are your test run. Walk out after a good rain and see what the garden did.
Did water reach the basin through the inlet, or did it run somewhere else?
Then watch how long the water sticks around. The 48-hour mark in UC ANR guidance is a useful benchmark, and EPA describes typical targets of less than 24 to 48 hours, with requirements varying by location.
Check your local rules for the number that applies to you.
Here is a quick checklist:
Look for leaves, mulch, or sediment blocking the inlet or overflow. Confirm that excess water follows your intended route, away from the house and neighbors.
Notice any erosion near the downspout.
If water lingers for days, treat it as a problem to solve. Possible causes include clogging, compacted soil, or a site that was never right for infiltration.
Standing water can also attract mosquitoes, so do not assume a rain garden is immune. Fix drainage or ask for local or professional advice.
Keep expectations realistic. A rain garden may reduce some runoff and filter some pollutants, but it will not stop every flood.
The Pennsylvania study in Water Resources Research found overflow during larger storms, and it was a single site.
Roof runoff is not clean or drinkable. Washington’s Department of Ecology cautions that roof and gutter materials such as copper, zinc, and lead can add contaminants to rainwater.
The best rain gardens get a little tuning each winter.