
Sandy soil in Florida drains so fast that a freshly seeded yard can dry out by lunchtime. A heavy summer downpour can also send loose seed drifting across the lawn.
The good news is that a few simple steps can help seed stay moist, stay put, and grow into a full lawn. Here is how to set up your yard for the best chance of success.
First, make sure your grass can be seeded
Before you rake anything, check that your chosen grass actually grows from seed. UF/IFAS lawn establishment guidance warns that not all warm-season grasses can be started this way, and seed also takes longer to make complete cover than sod, plugs, or sprigs.
St. Augustinegrass is the biggest example. It is one of the most common lawns in Florida, yet UF/IFAS St. Augustinegrass guidance describes it as established from sod, plugs, or sprigs, not seed.
If you have it or want it, no seeding method in this article will work for that grass.
Grasses that are commonly sold as seed include bahiagrass, centipedegrass, and bermudagrass, though the right pick depends on your sun, soil, and region. Planting windows also vary.
Spring and summer are often best for warm-season lawn seed, while late-fall planting in north Florida can expose seedlings to winter injury. Access to irrigation matters too, because it can let you plant earlier than rainfall alone would allow.
One more caution: bahiagrass has pasture publications with their own seed depths, rates, and timing. UF/IFAS bahiagrass pasture guidance is written for pastures, so do not copy those numbers for a home lawn.
Use the seed label and lawn guidance instead.
Finally, the phrase “on top of sandy soil” here means planting into sandy soil, not leaving seed loose on the surface. The steps ahead show how to work the seed in and hold it there.
Prepare the sandy seedbed
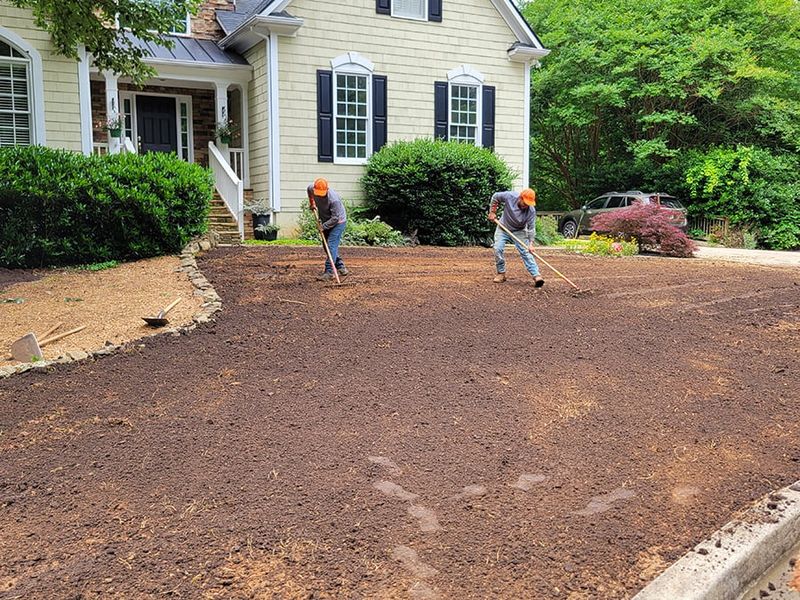
Seed does best on ground that is level, loose, and free of debris. Clear rocks, roots, and old weeds, then rake the area smooth so water does not pool in low spots or run off high ones.
Raking furrows before sowing gives seed small spots to settle into, as described in UF/IFAS establishment advice.
Sandy soil holds little water, so some yards benefit from added organic matter. UF/IFAS planting preparation guidance says mature compost mixed into sand can improve water and nutrient holding.
A general range is 3 to 6 cubic yards per 1,000 square feet, worked into the top 6 inches. Treat that as a starting range, not a rule for every yard.
The key word is incorporated. Compost belongs mixed into the soil before planting.
It is not a cure to dump over seed afterward, and it is not the same as the light soil topdressing covered in the next section.
More is not better here. Too much amendment can cause settling or moisture problems, so measure the area and stay within the guidance.
A small test patch can show how your soil behaves before you amend the whole yard.
Skip the fertilizer bag for now. UF/IFAS advises against nitrogen fertilizer before planting and suggests waiting until the seeded grass has uniform cover, unless a soil test shows a specific need.
Place seed in contact with soil
Start with the seed tag. It lists the species or cultivar, purity, germination rate, and weed-seed content.
UF/IFAS suggests looking for seed with at least 90% purity and 85% germination, then following the label’s seeding rate for that species.
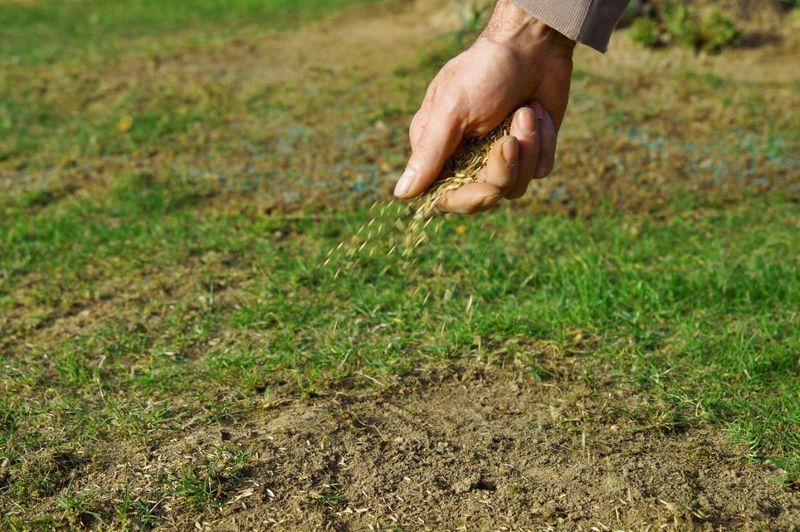
Very small seed, such as centipedegrass and bermudagrass, spreads more evenly when mixed with dry sand or another carrier. Divide the seed and carrier in half, then cover the area once in one direction and again at right angles.
That simple pattern helps avoid bare stripes.
Next comes the step many people skip. Rake the seed lightly into the surface so it is not sitting loose on the sand.
If practical, add a light topdressing of soil, about 1/4 to 1/2 inch, to help hold seed in place and keep it from drying.
Finish by firming the bed. A lightweight roller presses seed against the soil, which improves seed-to-soil contact and helps moisture reach the seed.
Without that contact, sand can dry around the seed before roots start.
Simply broadcasting seed onto loose sand and hoping for the best is not the recommended method. Wind, rain, and sprinklers can all push it around.
Use a light mulch to protect seed
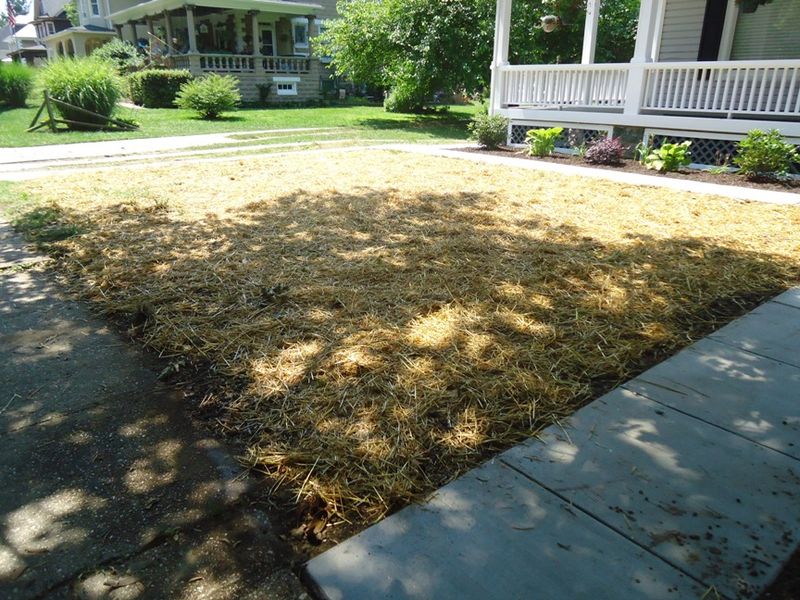
After sowing, a thin layer of mulch can help shield the seedbed. UF/IFAS says weed-free grass, hay, or straw covering about 50% to 75% of the bare ground can conserve moisture, moderate soil temperature, and reduce erosion and seed washout.
You can read the details in the UF/IFAS lawn establishment publication.
Think of it as a light veil, not a blanket. You should still see soil peeking through.
A thick layer can block light and smother seedlings, and a mulch full of weed seed will leave you with a different lawn than you planned.
Scatter the material by hand so it lands loosely and evenly. Check clumps and fluff them apart, since matted spots hold too much water and shade out sprouts.
Choose straw or hay that is labeled weed-free whenever you can.
Mulch lowers the risk of washout, but it cannot guarantee seed will stay where you put it. A strong storm or a hard spray from a hose can still move both mulch and seed.
If heavy rain is in the forecast right after planting, consider waiting a few days.
Keep this layer separate from soil amendments in your mind. Compost is mixed into the soil before planting, while mulch is a thin protective covering added after seeding.
Water gently while seed germinates
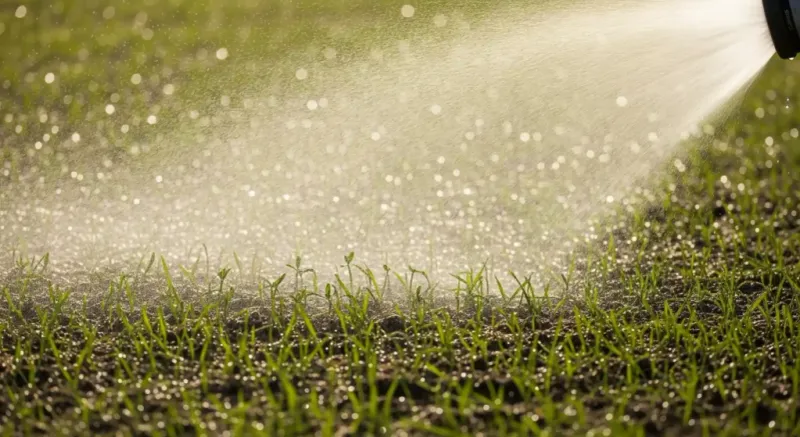
Sand dries out fast, so the surface of a seedbed can go from damp to dusty within hours. UF/IFAS guidance says to keep the soil moist but not excessively wet until seed germinates.
As a general starting point, apply small amounts two or three times a day for about two weeks.
Use a fine spray or a low-precipitation sprinkler. A forceful stream can float seed, cut small channels, and wash sand away from the roots.
Watching the first few minutes of a cycle will tell you quickly if water is pooling or running.
Treat that two or three times a day as a starting point, not a fixed schedule. Hot wind, full sun, and a recent dry spell can dry the surface faster, while shade and rainy days call for less.
Sprinkler output also varies, so a quick check of the soil with your finger or a small trowel beats guessing.
Local rules count as well. UF/IFAS watering guidance notes that sandy soils generally need more frequent irrigation, but also says to follow utility or water management district restrictions.
Check your local schedule and any exceptions for new seed before you start.
More water is not the answer to dry sand. Soaking or blasting the bed can move seed, erode soil, and raise the risk of disease.
Light and often is the pattern to aim for.
Choose another approach when ground needs immediate cover
Seed is a patient method. It needs days to sprout and weeks to fill in, and during that time the ground is exposed.
On a steep bank, a drainage swale, or a spot where runoff concentrates, that waiting period can be risky.
Heavy rain, flooding, or forceful irrigation can move seed and erode soil, even when you have raked, firmed, and mulched well. Light mulch lowers that risk, but it does not remove it.
Florida’s summer storms can drop a lot of water quickly, so timing a planting between storms matters on any slope.
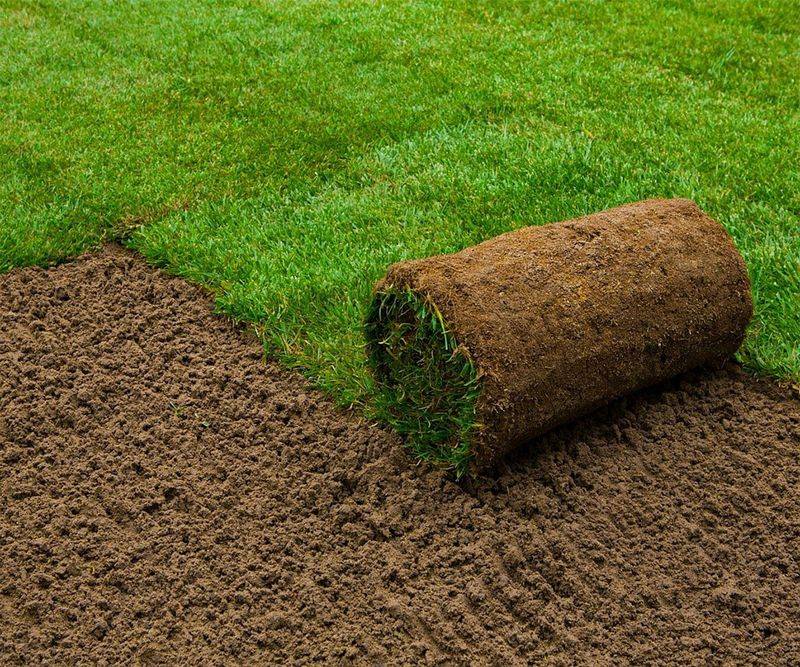
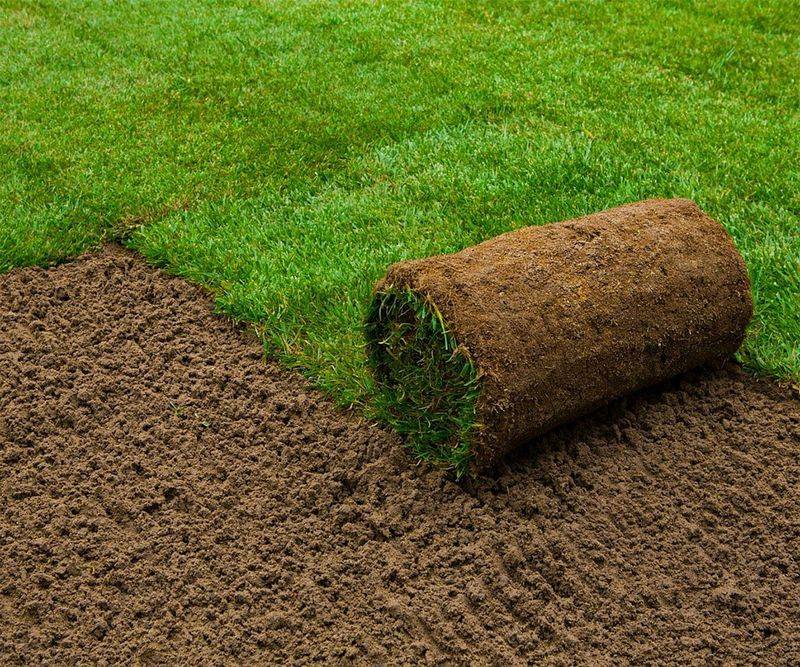
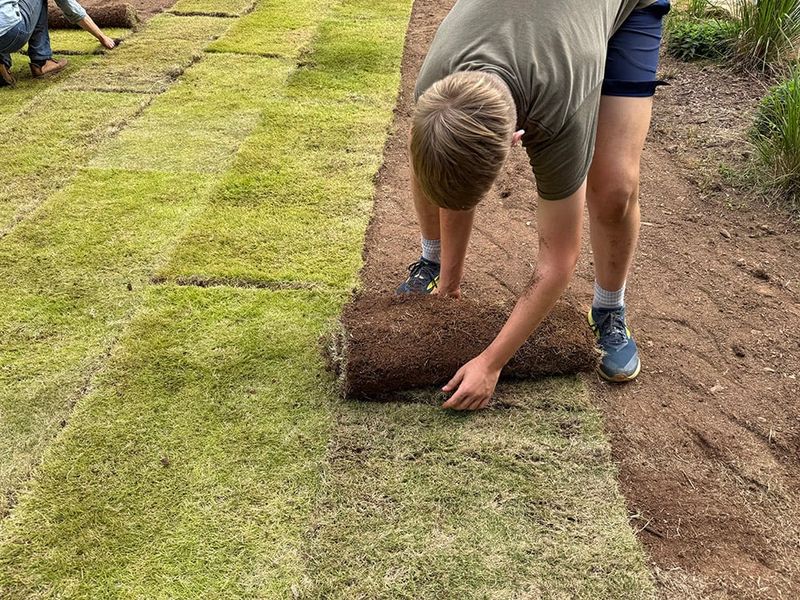
When immediate cover is the goal, UF/IFAS recommends sod for erosion prevention, although it costs more than seed. Sod comes with roots and leaves already in place, so it protects the soil much sooner.
That does not mean every sandy lawn needs sod. A flat or gently sloped yard with good irrigation access can do well from seed when the steps in this guide are followed.
Sod is a site-specific choice for places where washing away would cause real damage, such as near a driveway, a pool deck, or a drainage path.
If you are unsure, look at where water moves during a storm. Spots that carry a visible flow are the ones to protect first.
Adjust watering as seedlings establish

Once seedlings are up, the watering plan should shift. UF/IFAS advises reducing how often you water as the grass establishes, while applying enough water each time to reach the growing root zone.
Deeper, less frequent watering encourages roots to grow downward instead of staying near the surface.
Make the change gradually rather than all at once. Watch the grass and the soil: if blades curl or the sand is dry just below the surface, stretch the schedule more slowly.
Rain, shade, and heat will keep changing the answer.
Local rules still apply. Check your utility or water management district restrictions, which UF/IFAS watering guidance reminds homeowners to follow, and adjust your days and times to fit.
No schedule can promise that seed will stay put, but steady, gentle moisture gives it the best chance. A young lawn rewards patience more than it rewards a heavy hand with the hose.