

Lavender is one of those plants that looks effortlessly tidy in photos but can turn into a sprawling, woody mess faster than you’d expect in a real Southern yard. A well-timed trim can help keep it compact and better-looking, but the wrong cut in the wrong place can permanently damage or even kill the plant.
Knowing where to cut, how much to remove, and when to do it makes all the difference between a neater mound and a plant that never bounces back.
Start with the green growth, not the bare wood
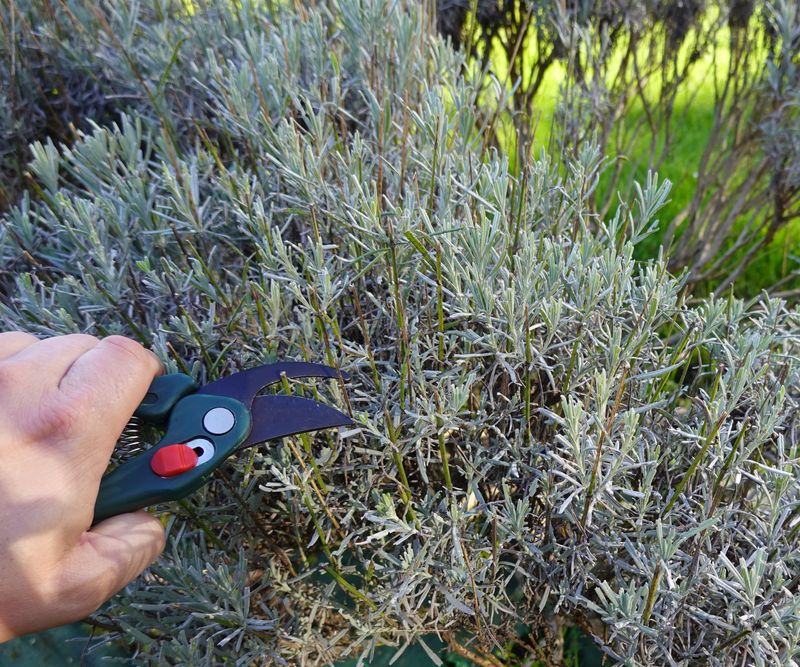
Before you pick up your pruners, take a slow look at the whole plant. What you’re looking for is a clear visual line: the upper portion covered in soft, leafy, green or silver-green growth, and the lower portion made up of thick, pale, woody stems with little to no foliage.
That boundary is your safety line, and every cut you make should stay well above it.
The leafy green canopy is the part of the plant that can recover from pruning. The old, bare wood at the base is a different story.
Royal Horticultural Society guidance on lavender consistently warns that bare stems generally do not produce new shoots reliably, and cutting into them is not a dependable way to create a fuller plant. In many cases, a cut into leafless wood results in a dead branch or a permanently bare patch.
Southern gardeners should take this especially seriously. Texas A&M AgriLife Extension notes bluntly that pruning woody lavender nearly always kills it.
The goal here is safer shaping and a tidier appearance, not a dramatic renovation. Leave visible foliage on every branch you keep, and treat the woody base as off-limits no matter how tempting it is to cut lower.
Use flowering and new growth to choose the timing
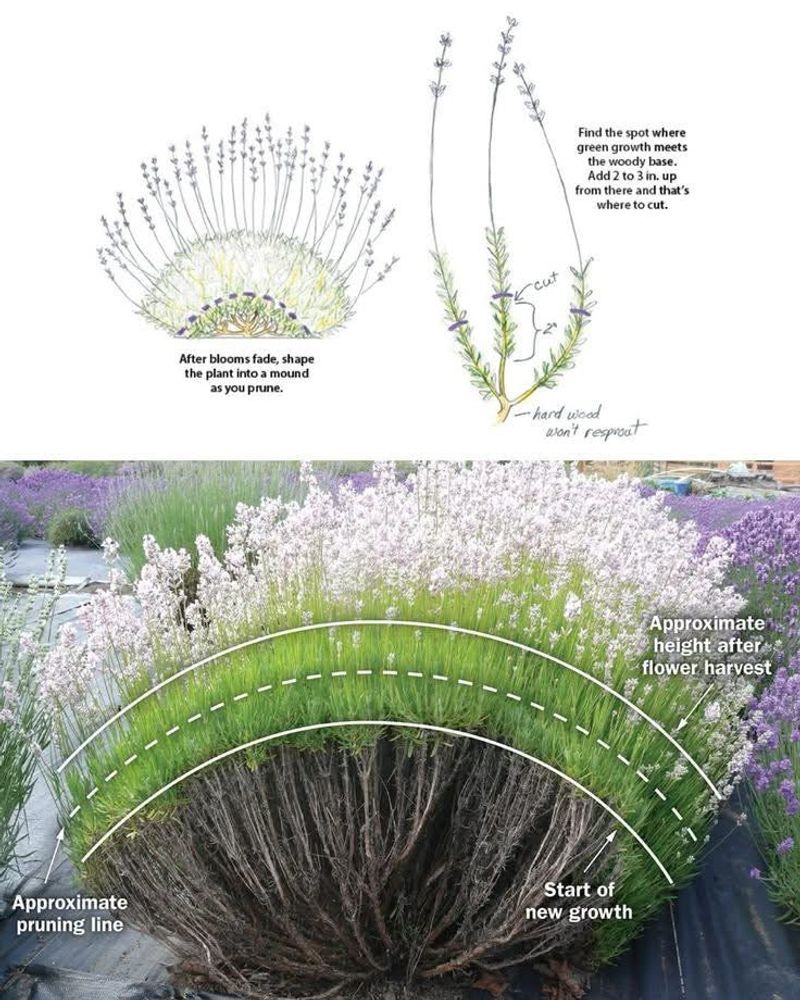
Calendar dates are not a reliable guide for pruning lavender in the South. What the plant is actually doing tells you far more than the month does.
For most established lavender, the best window opens right after the main flowering flush, while green growth is still clearly visible and actively covering the stems.
In practice, that often means late summer or early fall for many Southern gardens. RHS growing guidance recommends trimming after flowering finishes, before conditions push the plant toward dormancy.
However, University of Illinois Extension advises gardeners in colder regions to hold off on heavy pruning until spring growth begins, since a hard fall cut can leave stems exposed to winter damage. Southern gardeners rarely face that exact concern, but the underlying logic still applies: prune when the plant has enough active green growth to respond.
Florida and Texas gardeners face additional variables. Cultivar, local rainfall patterns, summer heat, and whether the plant is still actively flowering all shift the right moment.
UC IPM cultural guidance for lavender supports post-bloom trimming as a way to improve appearance and potentially encourage another flush, depending on the type. Use the plant as your guide: after flowers fade and while green growth remains is almost always a safer cue than any fixed date on the calendar.
Aim for a low, rounded mound
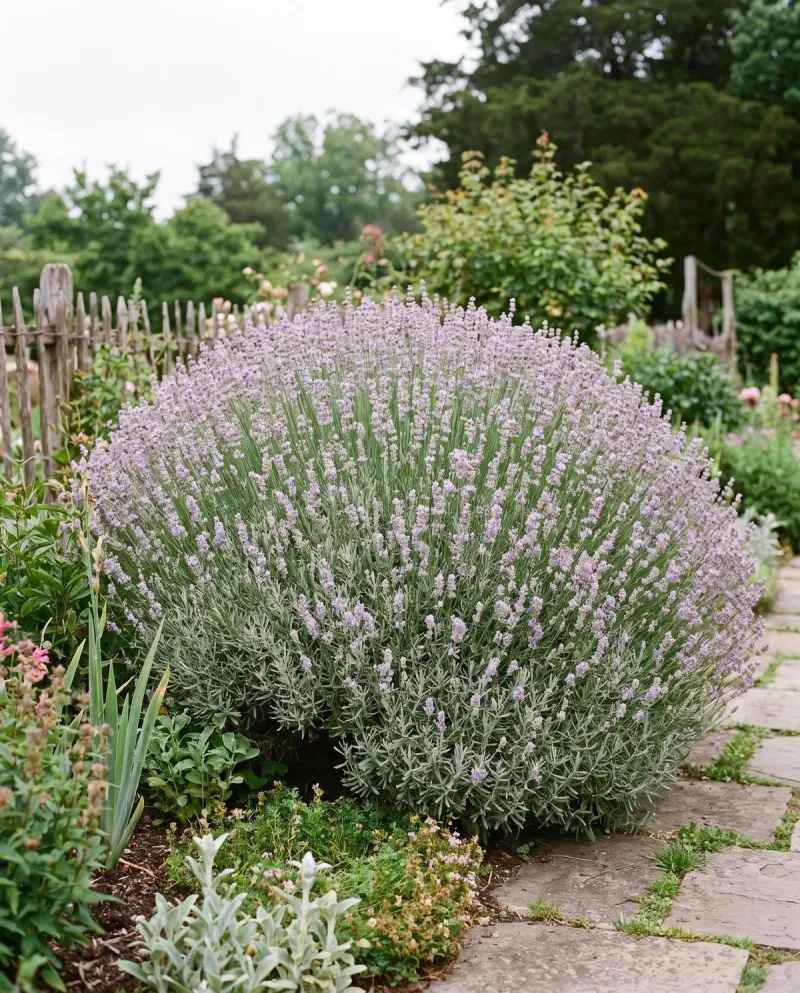
Picture the shape you want before you make a single cut. A well-pruned lavender plant looks like a soft, low dome, slightly taller in the center and gently sloping toward the outer edges.
That rounded mound silhouette is what you’re working toward, and keeping it in mind helps you avoid the flat-topped, hedge-style cut that tends to look boxy and can encourage uneven regrowth.
Extension pruning guidance recommends making the outer growth slightly shorter than the center to achieve this rounded profile. Practically speaking, this means angling your cuts as you work around the plant rather than cutting straight across at one uniform height.
The result is cleaner lines and a more compact-looking form.
The rounded shape also has a practical benefit beyond appearance: it can help rainwater and dew shed off the canopy more easily rather than pooling in the center, which matters in humid Southern conditions. That said, this is a useful shaping approach, not a strict botanical requirement, and it does not guarantee fullness or prevent disease on its own.
Think of it as the finishing step that pulls the plant’s appearance together once you have already respected the green-wood boundary and chosen the right timing.
Remove about one-third only when the plant can support it
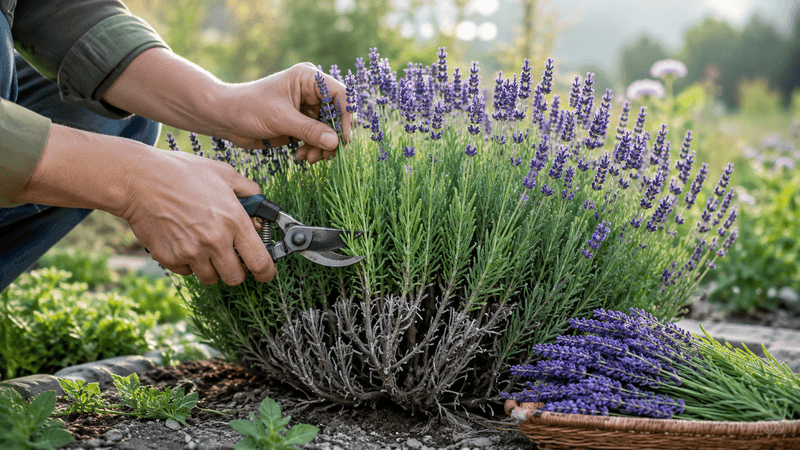
Clean, sharp pruners are the right tool for this job, and a dry day is the right time to use them. Wet foliage and dull blades both create unnecessary risk, since moisture can spread pathogens and a ragged cut heals more slowly than a clean one.
Wipe your blades with a disinfecting solution if you have recently worked around diseased plants, though tool sanitation is a general precaution rather than a lavender-specific cure.
Start by removing the spent flower stalks, cutting them back to just above where leafy growth begins. Then step back and assess how much green the plant is actually carrying.
For a vigorous, established plant with plenty of leafy shoots throughout the canopy, Colorado State University Extension guidance on lavender supports removing around one-third of the green top growth as a starting point. That is a starting point, not a fixed target.
Smaller plants, low-growing cultivars, stressed plants, or any lavender that looks sparsely green should receive a lighter trim. Keep foliage on every branch you leave behind.
UC IPM cultural tips note that removing spent stalks post-bloom may encourage another flush of flowers, but reblooming is not guaranteed and depends heavily on cultivar and growing conditions. University of Maryland Extension also confirms that results vary by type, so treat any second bloom as a welcome possibility rather than an expected outcome.
Adjust the method for young and overgrown plants
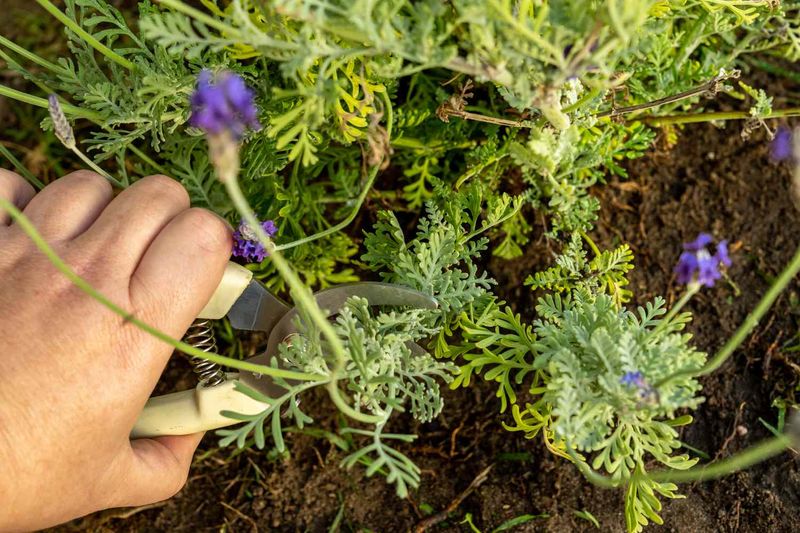
Newly planted lavender needs time to settle in before you ask much of it. During the first season, focus on giving the plant full sun, excellent drainage, and appropriate watering rather than shaping it aggressively.
UF/IFAS Extension guidance for Florida gardeners recommends waiting until lavender is established before pruning substantially, and limiting removal to roughly one-third at a time even then. A light cleanup of any dead tips is fine, but hold off on heavy shaping until the root system has had a chance to develop.
Old, overgrown plants present a different challenge entirely. When most of the plant is bare, woody stem with only a sparse fringe of green at the tips, a single hard cut is not a reliable rescue.
UC Cooperative Extension renovation guidance recommends a gradual approach for these plants, removing a portion of the oldest growth over two or three seasons rather than all at once, but only where healthy green growth is clearly present to support recovery.
Honest assessment matters here. If a lavender plant is mostly bare wood with little green remaining, RHS guidance acknowledges that some plants simply cannot be brought back from severe dieback.
Starting fresh with a new, well-chosen plant placed in the right spot may be the more practical and satisfying path forward.
Pruning supports form but does not fix a failing site
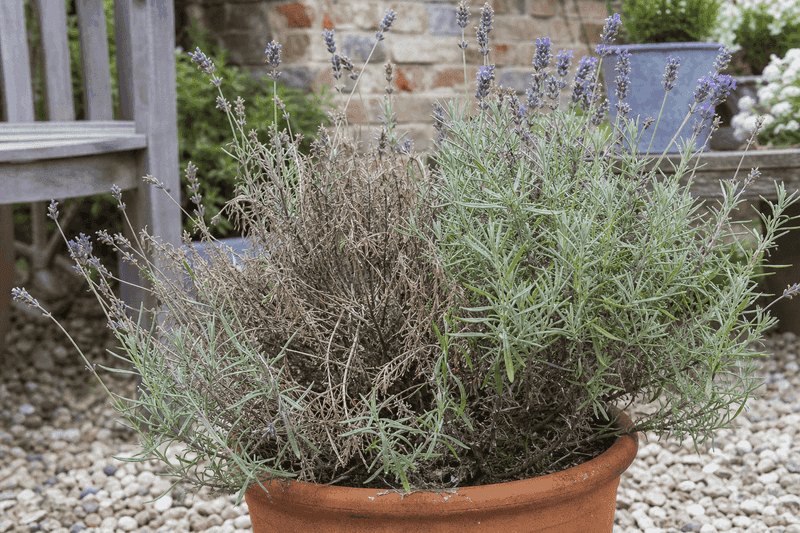
A light trim can help maintain a compact structure and may slow the development of a lanky, sprawling habit over time. What pruning cannot do is fix the underlying reasons lavender struggles in Southern gardens.
Browning foliage, dying stems, and repeated plant losses are almost never a pruning problem, and cutting harder will not solve them.
University of Illinois Extension identifies wet soil, overwatering, and poor air circulation as major contributors to lavender decline, and those conditions are common in parts of Florida and Texas. Lavender wants full sun for at least six hours a day, fast-draining soil that does not hold moisture around the roots, restrained irrigation, and enough space between plants for air to move freely.
UC IPM cultural tips reinforce that drainage and sun exposure are foundational requirements, not optional extras.
When foliage starts browning or the plant looks increasingly thin, check the roots and the soil before reaching for the pruners. Soggy soil, root rot, humidity-related fungal problems, heat stress, or a cultivar that simply is not suited to your local conditions can all cause decline that no amount of shaping will reverse.
RHS growing guidance puts it plainly: good site selection and drainage are more consequential for lavender’s long-term health than any pruning technique. Fix the site first, then prune to maintain the shape.
Match the lavender to Southern conditions
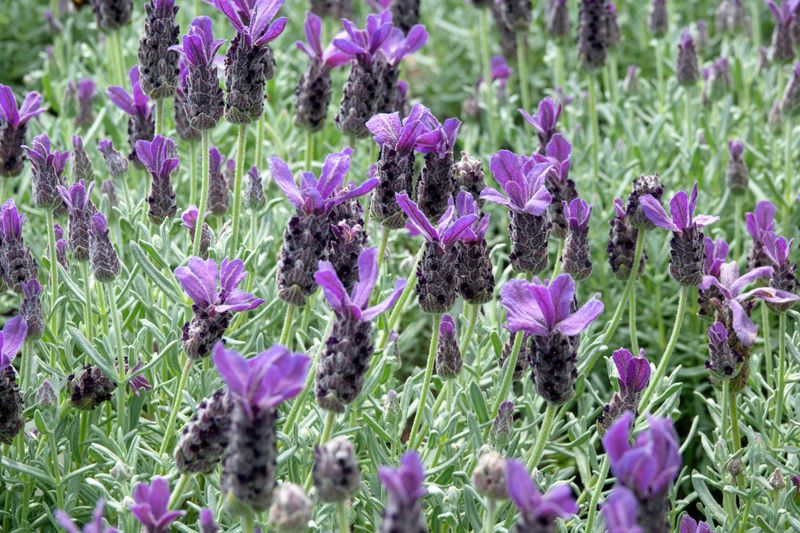
Not all lavender behaves the same way in Southern heat and humidity. English lavender, the classic fragrant type most people picture, can struggle badly in Florida summers.
UF/IFAS Extension Florida guidance reports that Spanish, French, and selected lavandin cultivars, including the heat-tolerant variety ‘Phenomenal,’ may perform better in Florida conditions. Raised beds, excellent drainage, and protection from prolonged rainfall can improve the odds of success, but cultivar selection is the first and most important decision.
UF/IFAS documentation on English lavender specifically flags the challenges that Florida’s summer heat and humidity pose for that species. Florida gardeners who have repeatedly lost English lavender are often fighting the wrong battle; switching to a more heat-tolerant type planted in sharply draining soil is more likely to produce results than any adjustment to pruning technique.
Texas gardeners face similarly variable conditions. Texas A&M AgriLife Extension lists fernleaf, French, Goodwin Creek Gray, Provence, Spanish, and sweet lavender among better choices for Texas landscapes.
UC IPM’s lavender overview also notes that lavender types differ significantly in heat tolerance, flowering period, and growth habit. No pruning method makes every lavender type reliable in every Southern yard; the right plant in the right place gives any pruning technique its best chance of producing the tidy, fuller-looking result you are after.
Repeat light shaping when green growth returns
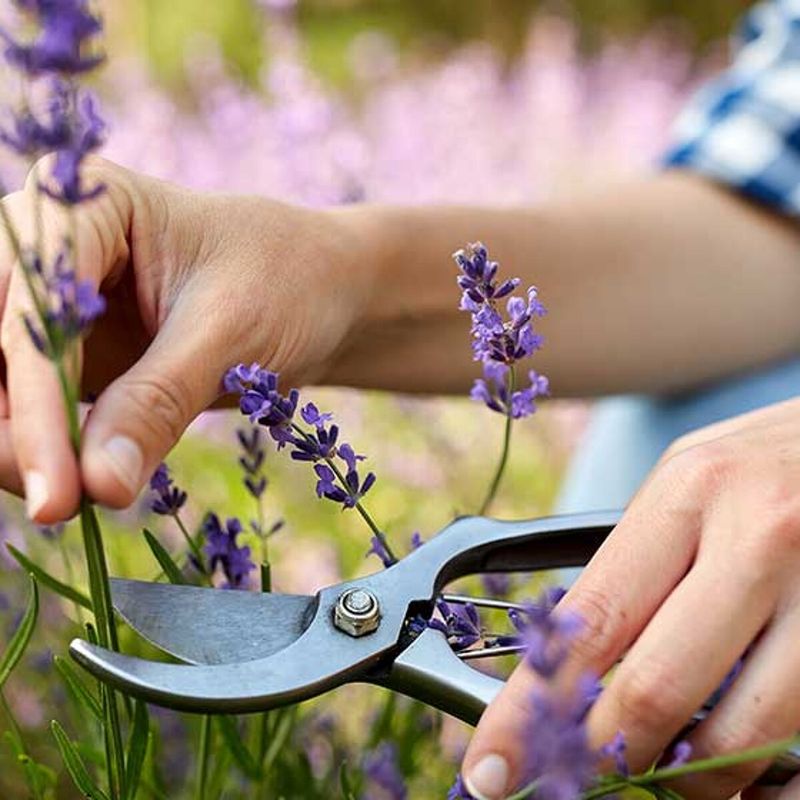
Annual light shaping, done at the right moment, can help maintain a compact, fuller-looking form over time and may slow the woody, sprawling growth that tends to develop as lavender ages. The key word is light.
Each year, reassess the plant before you cut: check how much green growth is present, confirm where the leafless wood begins, and plan to stay well above that boundary.
For most Southern gardeners, the post-bloom window remains the most practical time for a cleanup trim. In areas with mild winters, a light spring shaping when fresh green growth appears along the stems is also useful for removing any winter-damaged tips before flower buds develop.
RHS guidance and Colorado State University Extension both support this kind of regular, moderate maintenance as a way to preserve plant structure over multiple seasons. Illinois Extension adds that spring growth is a reliable cue for timing that first cut of the year.
Repeated light shaping is not a guarantee of fullness or health; cultivar, age, drainage, heat, and site conditions all continue to determine how the plant performs. What consistent, careful trimming does offer is a better chance of keeping lavender looking neat and compact for longer, and that is a reasonable and honest payoff for a few minutes of work each season.