

A low hydrangea branch can become a brand-new plant without you buying a single nursery pot. The trick is called layering, and it works by getting a branch to grow roots while it is still attached to its parent.
It will not turn one shrub into a whole row, but it can give you a few extra plants. Here is how to do it, and when to be patient.
Layering can make a clone, but one branch usually yields only a few plants
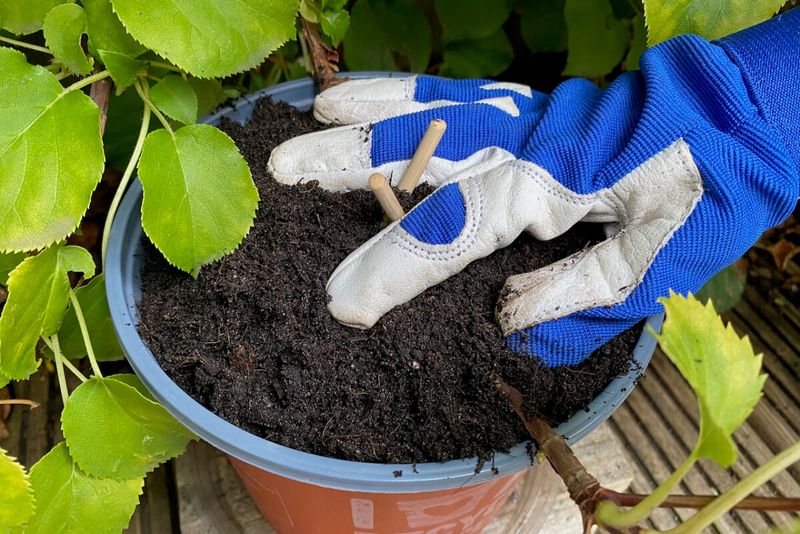
Layering is simple: a branch stays connected to the parent plant while a buried section grows roots. Once that section is rooted, it can be cut free and grown as its own shrub.
The parent keeps feeding the branch the whole time, which is why this method is so forgiving.
Expect modest results. Mississippi State Extension describes simple layering as a way to make small numbers of hydrangeas.
How many you get depends on how many low, bendable branches your shrub has and how many of them actually root. A whole row from one branch is not a realistic goal.
The new plant is a vegetative clone, so it is expected to keep the parent’s traits, as Iowa State Extension explains. If your hydrangea has the bloom color and size you love, the offspring should look much the same.
Is fall the right time to start a hydrangea layer?

Advice on timing does not all agree. UF/IFAS simple-layering guidance says you can start in early spring or fall.
Fall is one possible window, not a rule.
Other guidance leans warmer. UF/IFAS’s broader Florida propagation guide says spring and summer are generally best for outdoor propagation.
For hydrangeas specifically, Mississippi State recommends early to mid-summer.
So what should you do? Think about your local weather, how much growing time is left, and how healthy the shrub looks.
A Gulf Coast yard with a long warm fall is a different situation than one with early frost. Starting in fall does not promise roots by spring, so treat spring as a time to check, not a deadline.
Choose a low, flexible branch with a node you can bury
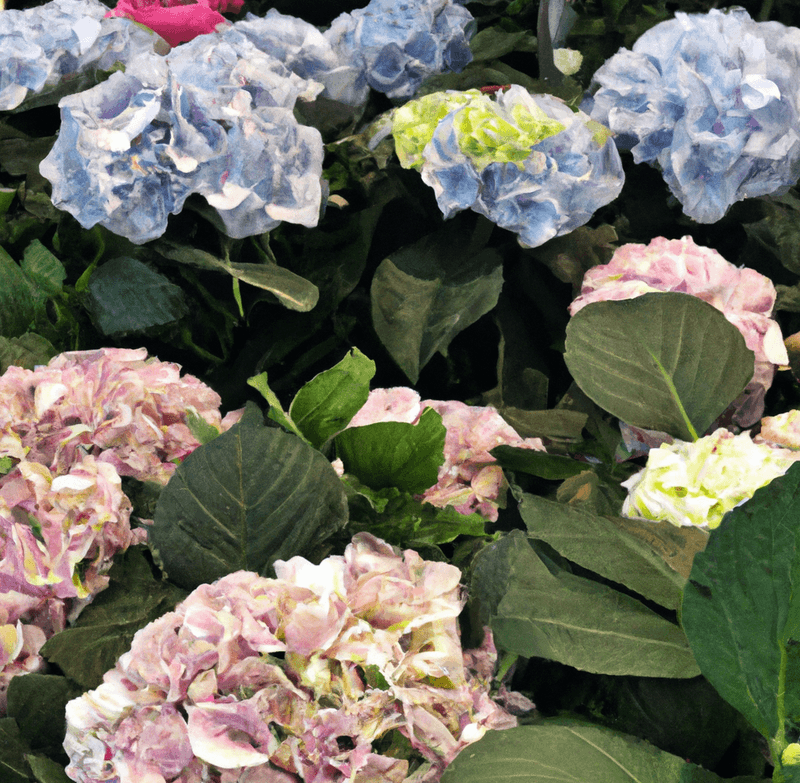
Walk around the shrub and look for a healthy branch that bends easily toward the soil. It should reach the ground without snapping.
Stiff, upright stems are not good candidates, so skip them.
The section you bury needs at least one node, the bump on the stem where leaves attach. Roots tend to form at nodes.
Strip off any leaves that would sit under the soil, since buried leaves can rot.
You may also see advice to wound the buried part of the stem. Mississippi State recommends cutting partway through the covered stem, while UF/IFAS says it is sometimes done.
Treat it as optional. Because Iowa State frames wounding as something to try, not a sure thing, it will not guarantee or speed up rooting.
Bury part of the stem and leave its tip aboveground
Start by digging a shallow trench where the branch will touch the ground. For hydrangeas, Mississippi State calls for a trench 1 to 2 inches deep.
Those numbers are hydrangea-specific guidance, not rules for every garden.
Lay the prepared section, the one with a node, into the trench and cover it with soil. Leave 6 to 12 inches of the branch tip above ground, per the same guidance.
The tip keeps growing and helps the plant.
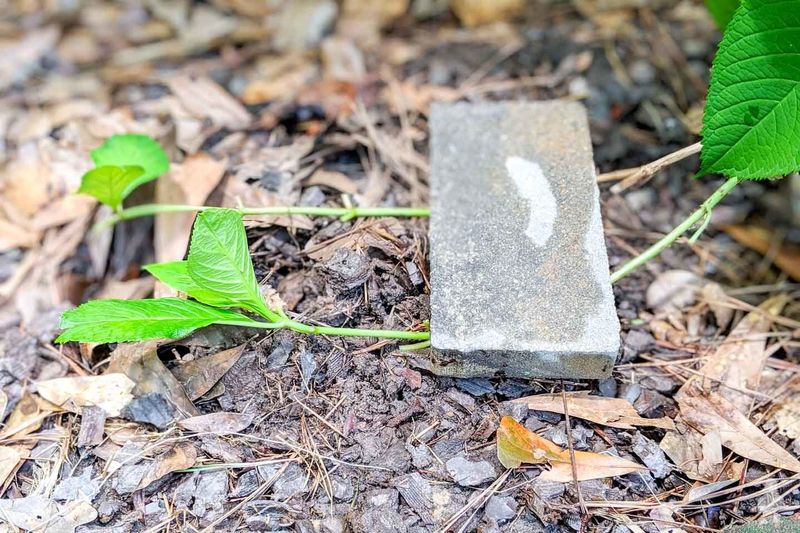
Now hold the branch down. A landscape pin, a bent piece of wire, a brick, or a stone will do, as UF/IFAS notes.
You may already have one in the garage, though you might buy a pin if you do not. Press the soil down gently and water it in.
Keep the layer moist and attached while it develops roots
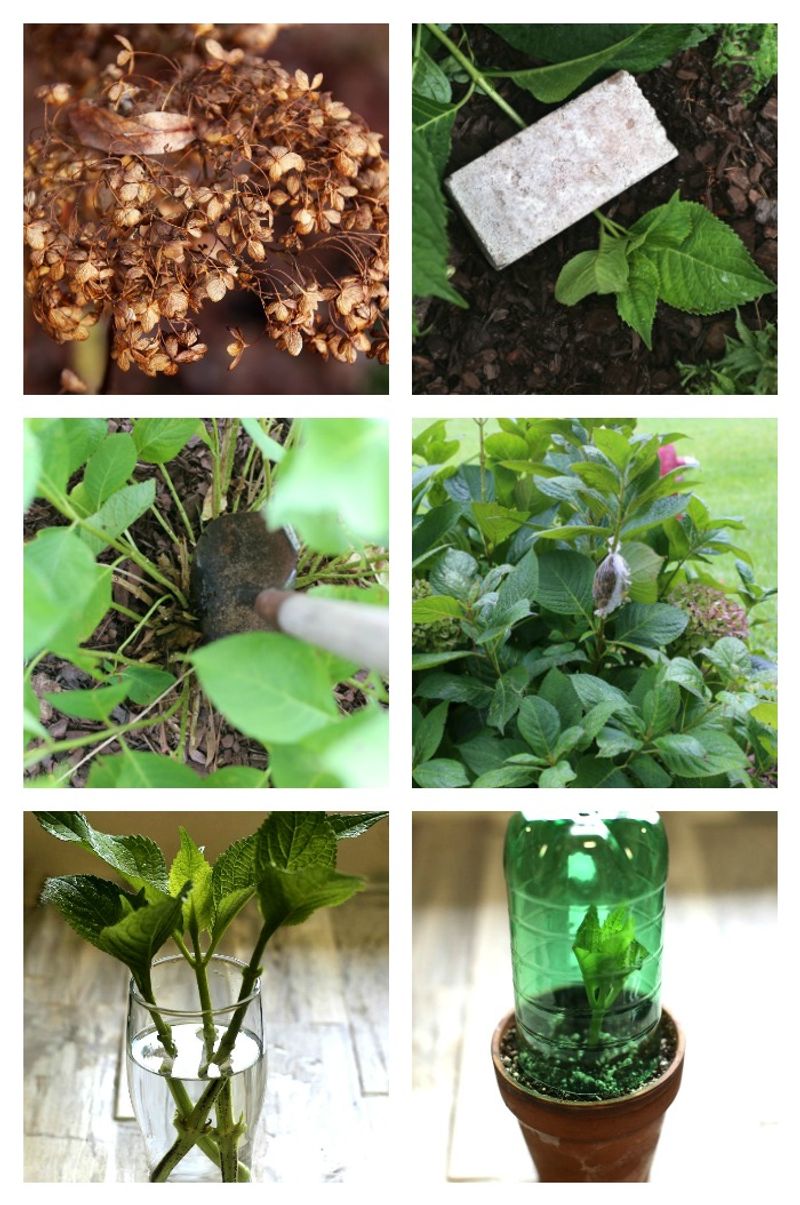
Now comes the waiting. Keep the soil over the buried stem damp but not soggy.
A soaked, waterlogged spot can rot the stem, while a dry one gives roots no reason to form.
Leave the branch attached to the parent the entire time. The parent keeps it alive while roots develop, which is the whole point of layering.
UF/IFAS Gardening Solutions also advises waiting until the layer has roots before separating it.
Timing varies a lot. Iowa State notes some layers root in about 6 to 12 weeks, but that is a general estimate for shrubs, not a hydrangea promise.
Others can take much longer, even several growing seasons. Check for roots instead of watching the calendar.
Separate and transplant only after the new plant has rooted
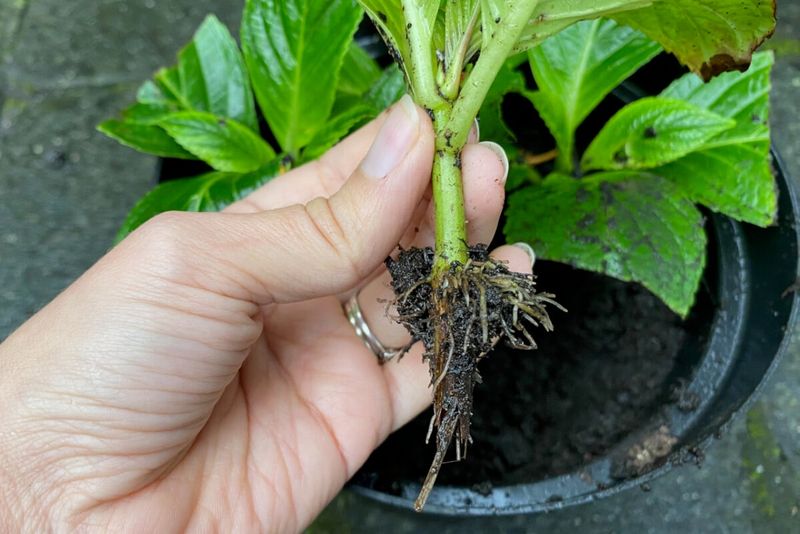
Before you cut anything, confirm the buried section has grown enough roots to support itself. Gently scrape back a little soil to look.
If roots look thin or sparse, re-cover it and wait, as Iowa State advises waiting for adequate roots.
Once it is ready, cut it from the parent and move it to a good spot. Mississippi State says hydrangeas generally like well-drained soil with organic matter, and many types do best with warm morning sun and cooler afternoon shade.
Keep the soil moist while it settles in.
Not every hydrangea suits every yard. UF/IFAS recommends French or bigleaf hydrangeas only for North and Central Florida.
For a Florida-native option, oakleaf hydrangea needs some shade in Florida. Texas varies too, so match the plant to your local conditions.
Check the variety’s rights before selling new plants

Some distinct plant varieties are protected by plant patents. The USPTO says a plant patent can keep others from reproducing the plant asexually, and it lists layering as one form of asexual reproduction.
That does not mean every hydrangea is patented. Look at the plant tag or ask the grower for the exact variety name, then check its status and any rights that apply.
Do this especially if you plan to sell the plants you propagate.
Let the roots—not the calendar—set the finish line
Layering lets you add a few hydrangeas using no specialized propagation equipment, as UF/IFAS describes it. You may still spend a little on a pin, water, and care after transplanting.
Keep each layer attached until roots are there, and do not count on a ready shrub by spring. As Iowa State points out, some layers simply take longer.
A slow branch is not a failed one.
The shrub will tell you when it is ready.