
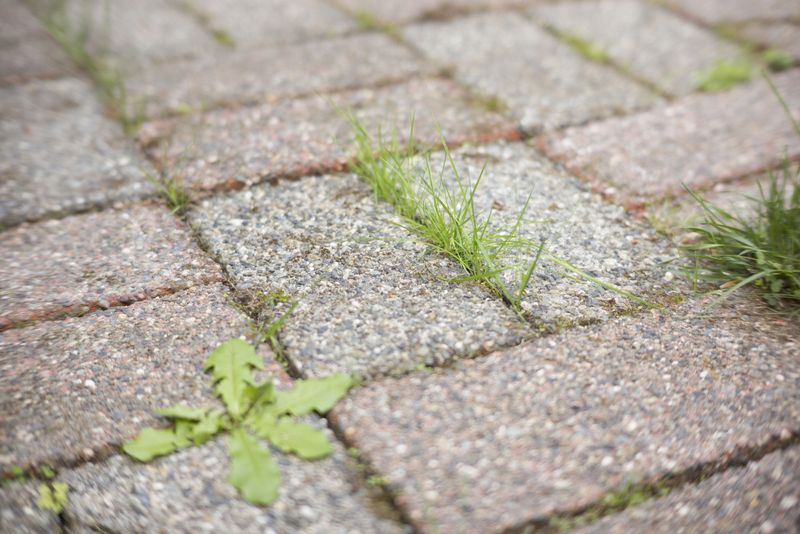
You scrape the weeds out of your patio on Saturday, and by the next warm, rainy stretch they are back. In the South, long growing seasons give weeds plenty of chances to try again.
The good news is that the pattern usually points to something fixable in the joints between your pavers. A few checks and some steady upkeep can mean far fewer weeds to fight.
Most weeds start in the joint, not below
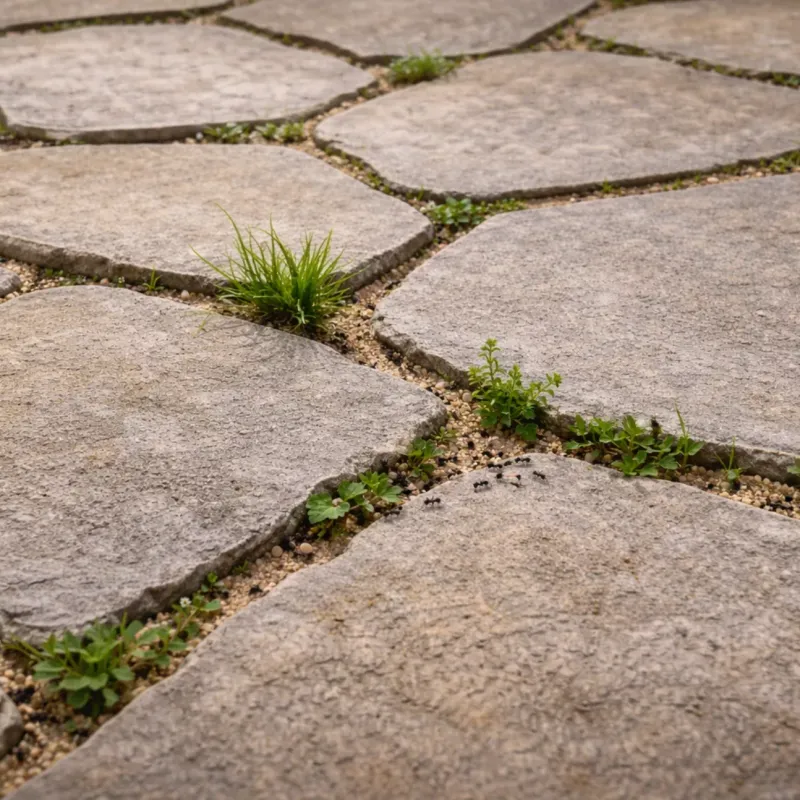
Scraping feels like the obvious fix, yet the weeds keep returning. The reason is that scraping removes the plant but leaves behind the soil and debris where the next seed can land.
According to the Concrete Masonry and Hardscapes Association, weeds in conventional interlocking concrete pavers typically sprout from windblown seeds that lodge in the joints, not from the bedding sand, base, or soil below.
That changes where you look for answers. Dust, leaf bits, and pollen settle into the gaps, turn into a thin layer of soil, and give seeds a place to take hold.
After a summer storm, that mix can sprout in days.
There is one exception worth knowing. Cornell weed specialists note that some nearby, spreading weeds can grow under paving and push up through the joints.
Think of creeping grasses or runners that start in a bed beside the patio.
So the condition of your paving and what fills its joints both matter. A patio with full, clean joints gives weeds less to work with than one with gaps and packed-in soil.
Check the paving system before choosing a fix
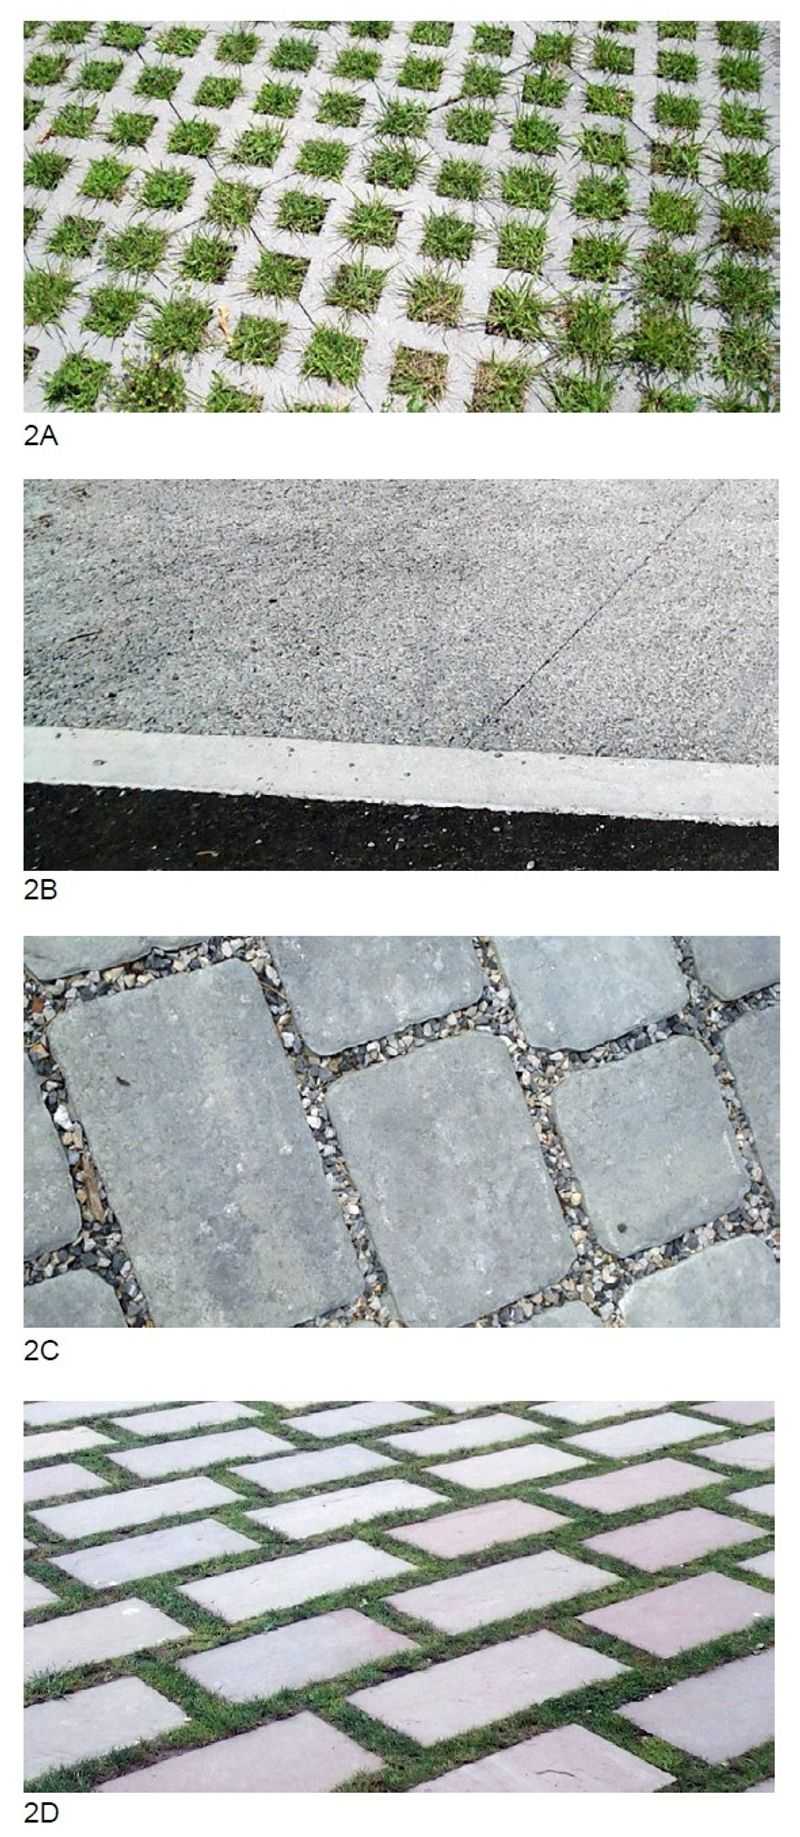
Before you buy anything, figure out what kind of paving you have. Most patios use conventional interlocking concrete pavers set over compacted base with tight, sand-filled joints.
Permeable systems look similar, but they are built to let rainwater pass through aggregate-filled joints and the layers beneath.
That difference matters a lot for drainage. CMHA guidance on permeable systems describes aggregate-filled joints, so filling or sealing them with a conventional product could undermine the way the system handles water.
UF/IFAS Extension in Hillsborough County advises against polymeric sand for its Florida-Friendly stormwater goal. If you are unsure, check the installer paperwork or the system specifications first.
Next, walk the surface. Look for shifted pavers, open joints, or low spots where soil collects.
Those are the places weeds tend to return first.
Finally, look at the plants themselves. A few scattered seedlings call for routine cleanup.
A dense patch of runners coming from a nearby bed, like the spreading weeds Cornell describes, may need a different response, such as cutting back the source.
Clear debris before weeds set seed
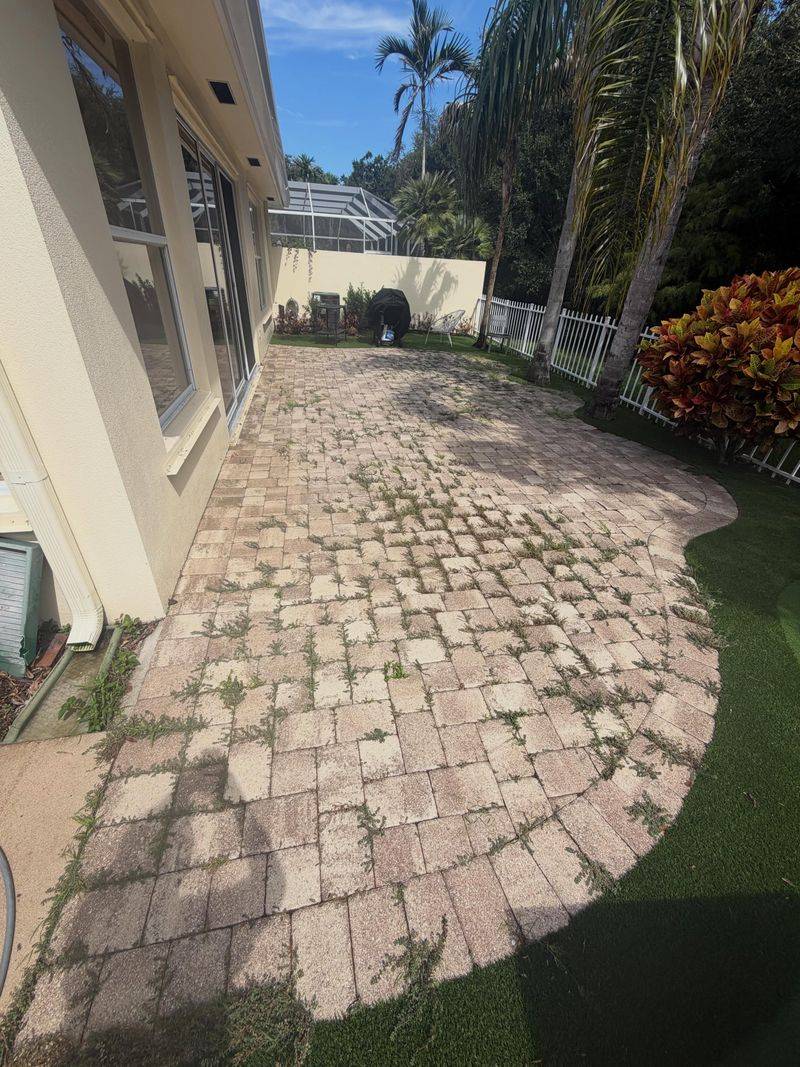
Saturday morning is a fine time for the easiest step. Pull young weeds while they are small, and get the roots if they come out easily.
Small plants release less, and they have not yet had a chance to spread seed.
Then deal with what the weeds were growing in. Use a narrow tool to lift loose soil, leaves, and other organic bits out of the joints, and sweep the surface afterward.
Cornell’s hard-surface guidance points to regular sweeping as a way to cut down the material where seeds can establish.
Timing helps too. Pulling or cutting weeds before they set seed can limit how many new seeds drop into the joints later.
In a Southern yard with a long warm season, a quick check every couple of weeks during spring and summer is easier than a big cleanup after a month of neglect.
Keep expectations realistic. Cleanup keeps things tidy and reduces opportunities for weeds, but it does not repair joints that have lost their fill or have been damaged.
If you can see bare gaps between pavers after cleaning, that is a sign the next step is needed.
Replace joint fill when cleanup is not enough
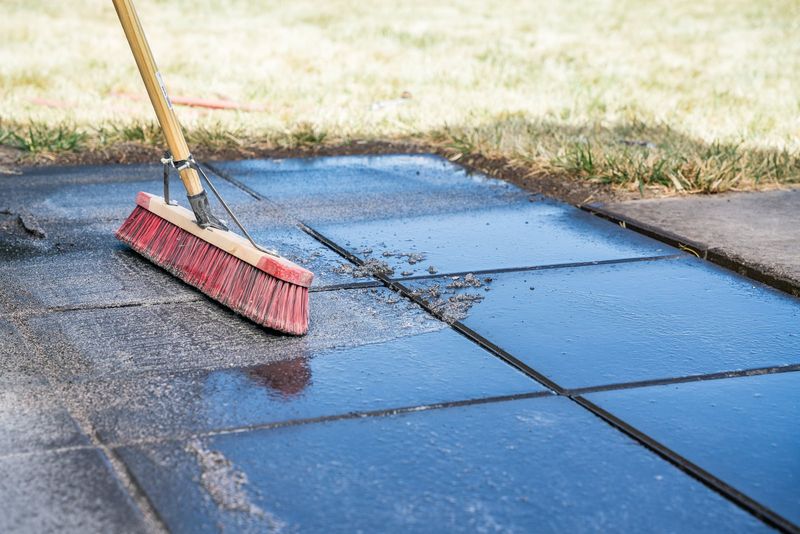
Sometimes the joints are simply too low, too worn, or too full of old material to recover with a sweep. Think of it as the difference between tidying a room and fixing the floor.
If cleanup leaves visible gaps, it is time to consider repair.
Start with the paperwork. Paver and sand manufacturers publish instructions, and the requirements vary by product.
Check them before you buy, especially if you do not know what was used when the patio was built.
There is a distinction that trips up many homeowners. For topping up joints on conventional pavers, CMHA’s maintenance guidance recommends masonry sand and does not recommend polymeric sand for that purpose.
So adding a fresh layer of polymeric sand over an old, partly hardened layer is not a safe default fix.
When joints need a full replacement, follow the instructions for your product and paving system. One example is the Techniseal EZSAND technical data sheet, which shows how detailed those directions can be.
Choosing the right repair matters more than doing it fast.
Use polymeric sand only when the system allows it
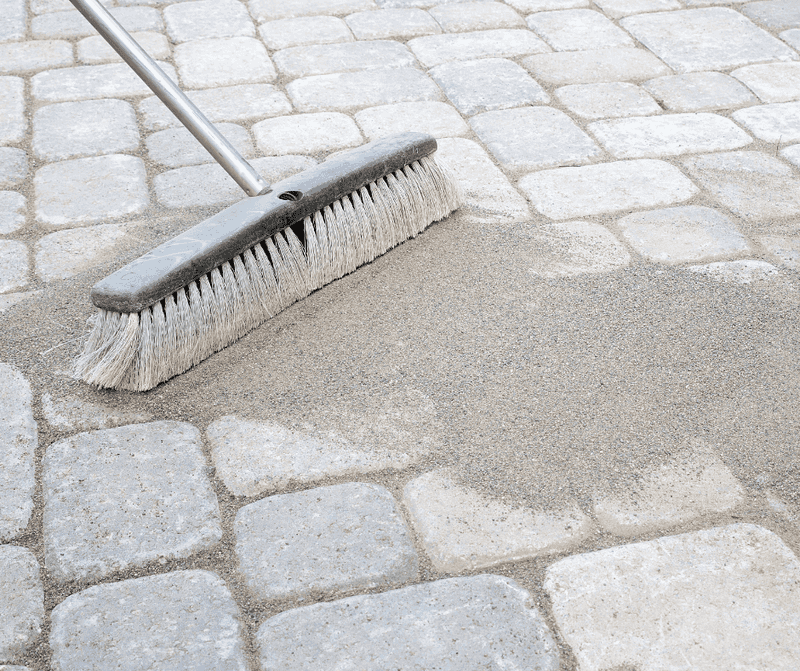
Polymeric sand is a joint-stabilizing product that hardens a bit when activated with water. On suitable conventional pavers, it can help hold joints in place and discourage weeds from getting started.
It is not a guaranteed weed seal, though, and seeds can still land on top.
It is also not interchangeable with other products. CMHA’s guidance on cleaning, sealing, and joint sand stabilization treats polymeric sand, joint stabilizers, and surface sealers as separate things, and none promises a weed-free surface forever.
Directions vary by brand, so follow the ones on your bag. As one example, the Techniseal EZSAND data sheet calls for clean, dry pavers and joints, filling and compacting the joints as directed, and removing sand residue from the paver surface.
It also says to activate the product carefully with water while avoiding runoff. In a Southern climate, check the forecast, because a surprise downpour at the wrong moment can cause trouble.
Skip it entirely on permeable pavers unless the system specifications allow it. Drainage is the whole point of those patios.
Spot treatments control weeds, not joint problems
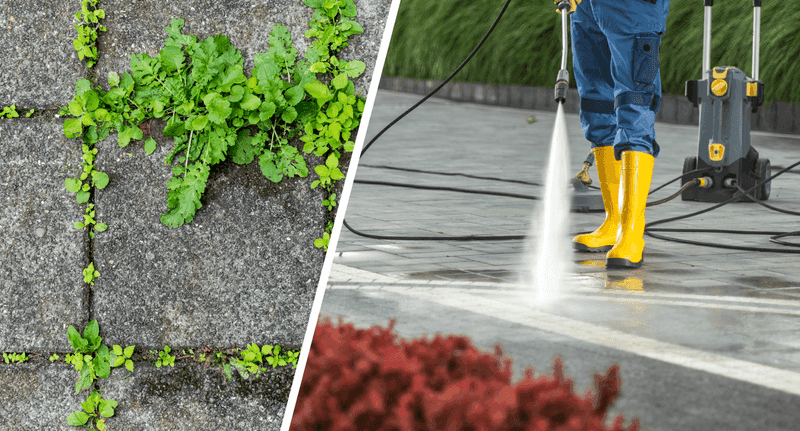
Spot treatments can knock back a few stragglers, but they do nothing about loose, soil-filled joints. Treat them as an optional extra, not the plan.
Boiling water is a popular choice. According to Iowa State University Extension, it can control young weeds in isolated cracks, but it is a contact treatment.
Established plants may regrow from their roots, and repeat treatments may be needed. It can also burn you and damage any desirable plants it touches.
Homemade salt-and-vinegar mixtures are not a safe, lasting fix either. They mainly injure the leaves they touch, often fail on established roots, and salt can build up in soil and harm nearby plants.
A weed torch near dry plants, siding, or mulch also carries real fire risk.
If you choose an herbicide, pick one labeled for your site and follow every direction on it. The EPA explains that pesticide labels are legally enforceable.
Avoid spray drift, and keep products from running off into storm drains or water, which matters on sloped Southern patios during heavy rain.
Maintain the joints to reduce opportunities for weeds
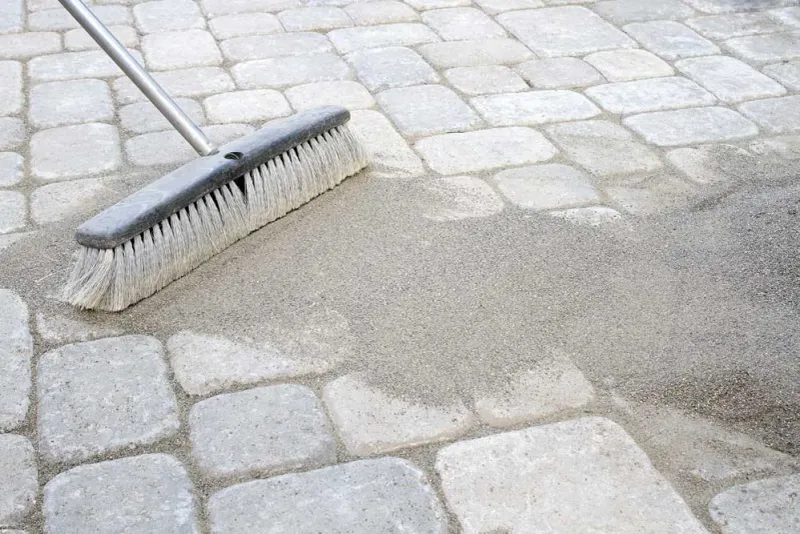
A simple routine does most of the work. Sweep often, lift out soil and leaf litter before it packs in, and pull seedlings while they are small.
Pay extra attention after storms and during peak growing months, when seeds and debris arrive fastest.
Walk the patio a couple of times a year and look for shifted pavers or joints that have opened or sunk. CMHA’s operation and maintenance guide is a good reference for keeping conventional pavement in shape.
Fix those spots early, and confirm your paving type before refilling or sealing anything.
Full joints with less accumulated soil give weeds fewer places to start. Cornell’s guidance backs that approach, with a caveat: new seeds can still arrive from above, and joint material may need attention over time.
Expect to see an occasional weed, and treat it as a reminder rather than a failure.
A patio is never finished growing, only finished being ignored.