
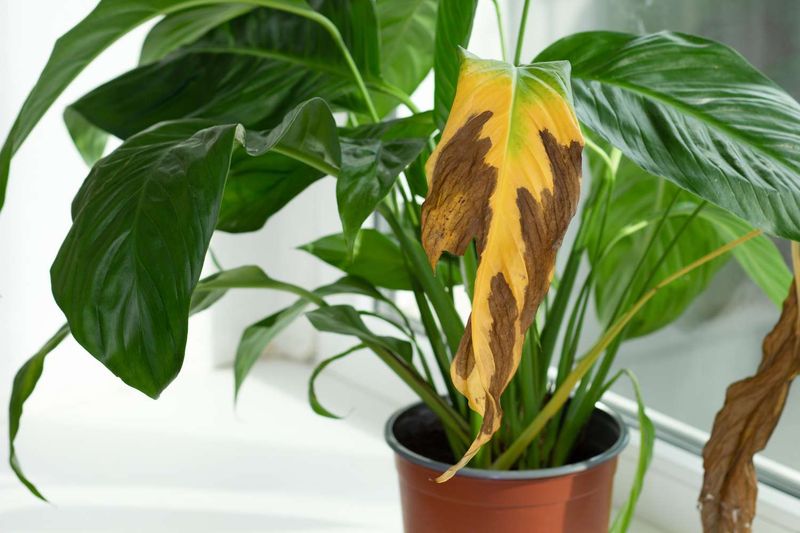
Few things are more alarming than watching the edges of your peace lily slowly turn black, especially when the plant seemed fine just a week ago. The good news is that black tips and edges do not always mean the plant is dying, but they do mean something in its environment needs attention.
Several different stresses can produce the same alarming look, so the fix depends on figuring out which one you are dealing with before you start cutting leaves or changing everything at once.
Black Tips Are a Symptom, Not a Diagnosis
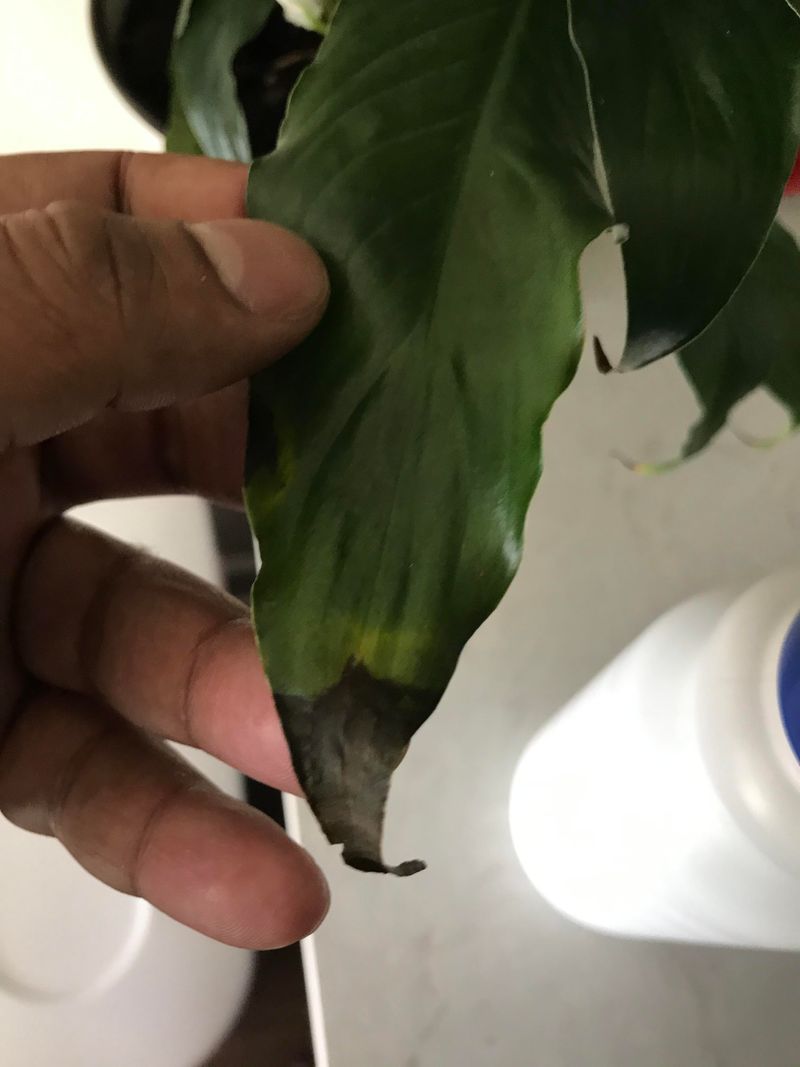
Seeing black along the tips and edges of a peace lily can feel urgent, but the discoloration itself is a signal, not a verdict. Multiple stresses can produce nearly identical-looking damage, and treating the wrong cause can make things worse.
Before reaching for scissors or changing the watering routine, take a moment to examine the texture and pattern of the damage closely.
The most useful first step is to feel the affected tissue. Dry, crispy blackening along the margins that does not spread quickly suggests a different problem than tissue that feels soft, looks waterlogged, or is advancing inward while the soil stays wet.
A third pattern, separate round or irregular spots scattered across the leaf surface rather than along the edges, points toward a possible disease rather than ordinary tip burn.
As UC IPM’s houseplant problem guide notes, low humidity, overwatering, excessive dryness, salts, excess light, heat, drafts, and pesticide or nutrient issues can all produce overlapping symptoms. Iowa State Extension cautions that houseplant symptoms often result from interacting stresses, meaning a plant can be dealing with more than one problem at a time.
Compare the symptom pattern against current watering habits, soil drainage, light exposure, temperature, humidity, and recent fertilizer use before drawing any conclusions.
What Dry, Crispy Edges Usually Reveal
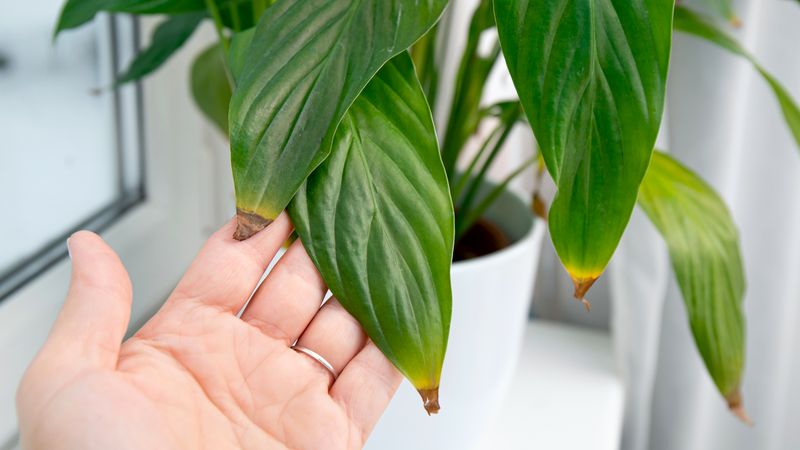
Dry, brittle blackening that starts at the very tip of a leaf and creeps along the margin without turning soft or spreading rapidly is the most common pattern peace lily owners encounter. The tissue feels papery, not wet, and the rest of the leaf may still look healthy.
This pattern has several possible explanations, and none of them should be assumed without checking the growing conditions.
UF/IFAS guidelines for commercial Spathiphyllum production identify excessive fertilizer and soluble-salt accumulation as direct causes of burned leaf tips and margins. Salts can come from fertilizer applications, hard water, softened water, or repeated evaporation from the potting mix.
A white or yellowish mineral crust on the soil surface or around the pot rim is a helpful clue, though its absence does not rule out salt injury.
Beyond salts, UC IPM lists low humidity, inconsistent watering, direct sun, and heat as additional contributors to the same dry margin damage. In Southern homes, air conditioning running for long stretches can lower indoor humidity considerably and dry out leaf edges over time.
Direct afternoon sun through a window, especially in Florida or Texas summers, can scorch the margins of a plant that prefers bright, filtered light.
Check whether the plant is sitting near a vent or in a beam of direct sun, review how recently it was fertilized and at what strength, and look at the soil and pot rim for mineral deposits. University of Maryland Extension notes that salt deposits are a reliable visual clue when present.
No single observation is conclusive on its own, but comparing several clues together narrows the field considerably.
When Wet Soil Signals a Root Problem
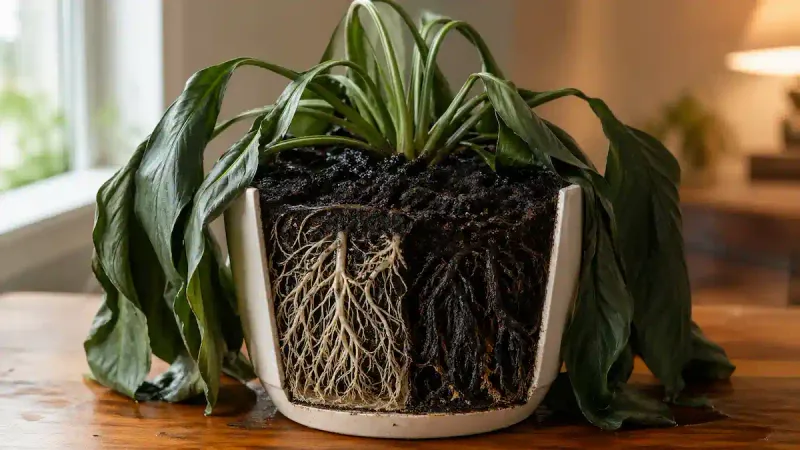
A more serious pattern deserves a closer look: blackening that feels soft rather than crispy, tissue that spreads inward over days, or a plant that is wilting even though the soil feels wet. Any of these, especially when combined, shifts the concern from surface stress toward a possible root or crown problem.
Leaf color alone is not enough to confirm root rot, so the next step is to check the soil and the roots directly.
Maryland Extension and a related peace lily case both point to persistently saturated soil and poor drainage as key risk factors. Start by checking whether the pot has a drainage hole and whether the saucer beneath it holds standing water for hours or days after watering.
A pot without drainage, or one sitting in a pool of its own runoff, keeps the root zone wet far longer than roots can tolerate.
If drainage looks adequate but the plant is still declining, gently slide the root ball out and examine the roots. Healthy peace lily roots are firm and pale to tan.
Roots that are black, soft, slimy, or carry a foul smell are consistent with rot. Iowa State Extension’s disease diagnosis guide and UF/IFAS foliage care guidelines both emphasize checking the growing medium and root condition rather than relying on leaf appearance alone.
If you find rotten roots, trim away only the clearly dead tissue with clean scissors, repot into fresh, well-draining mix, and correct the drainage situation before watering again.
Cold, Sun, and Leaf Spots Leave Different Clues
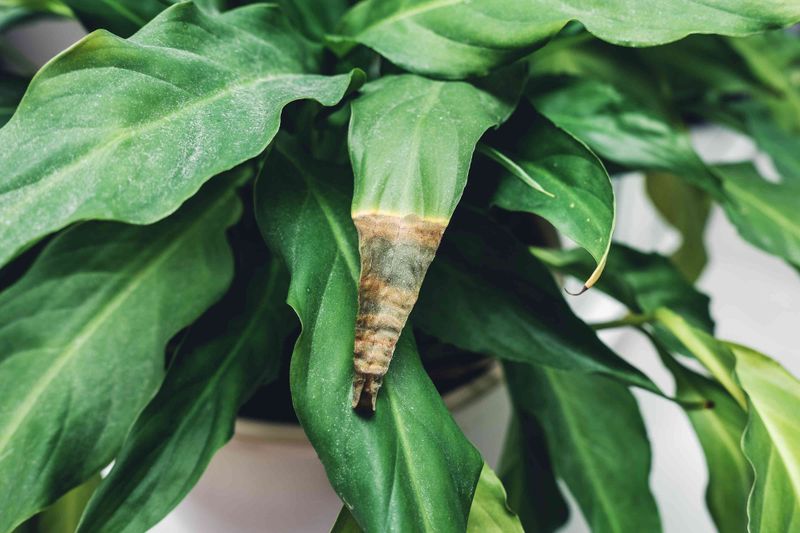
Not every case of black edges comes from watering or salt problems. Plant placement matters enormously, and two additional stressors, cold exposure and direct sun, can produce tip and margin damage that looks similar to salt burn but has a different origin and a different fix.
Cold injury is a real concern even in warm Southern states. A peace lily pushed against a drafty window during a Florida cold snap, placed near an air conditioning vent blowing directly on the leaves, or left outdoors during an unexpected temperature drop can show blackening that begins at the tips and edges and moves inward.
UF/IFAS research on chilling injury in Spathiphyllum documented this exact progression: tips and margins blacken first, then the damage spreads inward and eventually dries out. NC State Extension recommends keeping peace lilies in a daytime range of roughly 68 to 85 degrees F and warns that extended periods below 40 degrees can injure leaves, stems, and roots.
Direct sun or intense heat from a south- or west-facing window can also scorch leaf margins in a pattern that resembles cold damage or salt burn. Consider where the plant sits and whether light or temperature conditions have changed recently.
Disease produces a distinctly different picture. Iowa State Extension notes that leaf-spot diseases tend to produce discrete, expanding lesions rather than clean margin progression, sometimes with yellow halos or water-soaked edges.
University of Hawaii CTAHR research on Phytophthora blight in Spathiphyllum describes irregular, spreading spots that differ clearly from uniform edge burn. If the damage appears as scattered spots rather than consistent margin darkening, disease is worth investigating separately.
Correct the Growing Conditions in the Right Order
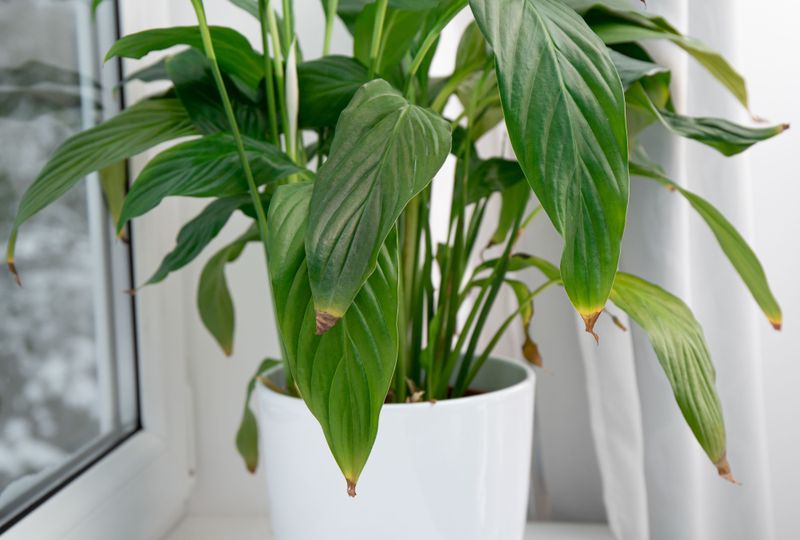
Once the likely cause is identified, making corrections in a logical sequence prevents the common mistake of changing everything at once and losing track of what actually helped. Start with the factors most likely to cause immediate harm and work outward from there.
Check soil moisture first. Stick a finger an inch or two into the potting mix before watering, and aim for soil that is evenly moist rather than saturated.
NC State Extension recommends allowing the soil to dry somewhat between waterings and avoiding direct sun, which aligns with UF/IFAS Florida foliage care guidance on maintaining moist but not waterlogged conditions. Confirm the pot has a drainage hole and that the saucer is emptied after each watering session.
While the plant shows visible stress, stop fertilizing. Feeding a struggling plant can worsen root and leaf injury rather than help it recover.
Move the plant away from direct sun, heating vents, air conditioning drafts, and cold windows. These placement corrections cost nothing and often reduce ongoing damage quickly.
If salt buildup looks plausible based on mineral crust, recent heavy fertilizing, or softened water use, flushing the potting medium is a reasonable next step. University of Maryland Extension recommends running several times the container’s volume of clear water through the soil, and UC Agriculture and Natural Resources describes a thorough two-stage leaching process for removing accumulated salts.
The container must have a drainage hole, water must flow freely through and out, and the saucer must be emptied afterward. Flushing addresses salt accumulation specifically; it will not correct cold injury, disease, or improper light placement, so apply it only when the evidence points that direction.
Pruning Removes Damage, Not the Cause
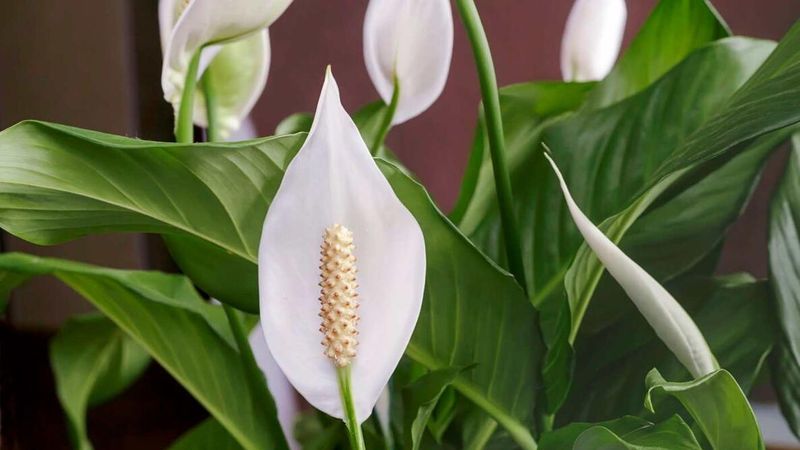
Black or brown tissue on a peace lily will not turn green again. Once cells are dead, they stay that way regardless of how carefully the plant is watered or how much the conditions improve afterward.
Pruning damaged leaves or trimming off blackened tips makes the plant look better and removes material that could harbor disease, but it does not fix whatever stressed the plant in the first place.
Iowa State Extension confirms that trimming is cosmetic unless the underlying cause is also corrected. If the stressor remains, new damage will appear on previously healthy leaves even after the old ones are trimmed.
Address the root cause first, then tidy the plant once conditions are stable.
When trimming, use clean, sharp scissors and cut just outside the healthy tissue to avoid leaving a ragged wound. If disease is a concern, Penn State Extension recommends disinfecting pruning tools between plants using a 10 percent bleach solution or full-strength isopropyl alcohol to avoid spreading pathogens.
A brief safety note: peace lilies contain insoluble calcium oxalate crystals throughout their tissue, including cut leaves and stems. According to the ASPCA and Poison Control, chewing peace lily material causes oral irritation, drooling, and digestive upset in cats, dogs, and children.
This is distinct from the kidney-failure risk associated with true lilies such as Lilium. Keep cut material out of reach and dispose of it promptly.
Use New Growth to Judge Recovery
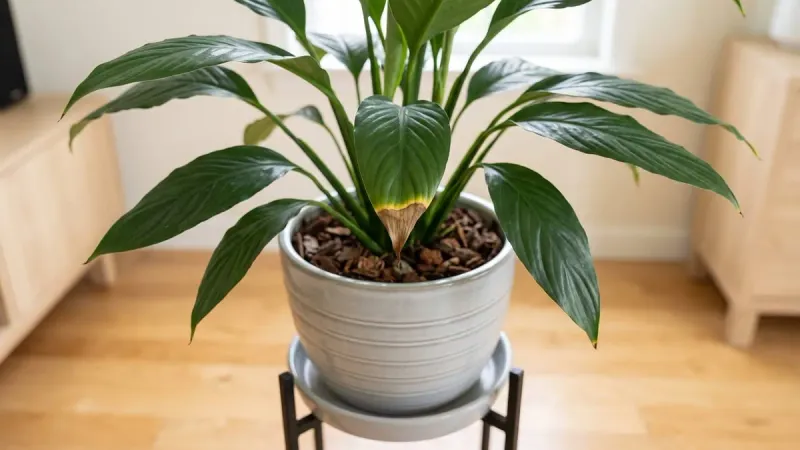
Old damaged leaves serve as a record of past stress, not a forecast of what comes next. The real measure of whether a peace lily is recovering is what happens to new growth after care corrections are made.
Dry, uniform edges with no soft spreading suggest a review of moisture levels, salt accumulation, humidity, light placement, and temperature is the right starting point. UC IPM’s houseplant guide and Maryland Extension both support a systematic review of growing conditions before making multiple changes at once.
Wet soil combined with wilting, soft tissue, or roots that are dark and foul-smelling calls for immediate drainage correction and a root inspection rather than a change in watering frequency alone.
Scattered lesions that continue to spread after care corrections are made, or that do not match the clean margin pattern of tip burn, are worth evaluating for disease. Iowa State Extension’s disease diagnosis resource offers guidance on distinguishing disease from environmental stress.
Iowa State Extension also notes that new healthy growth and the absence of fresh damage are the clearest signs that conditions have improved.
Expect the blackened leaves to stay visible until they are trimmed or fall away naturally. A new leaf unfurling from the center of the plant, firm and undamaged, means the corrections are working.
That new growth, not the repair of old tissue, is the benchmark worth watching.