
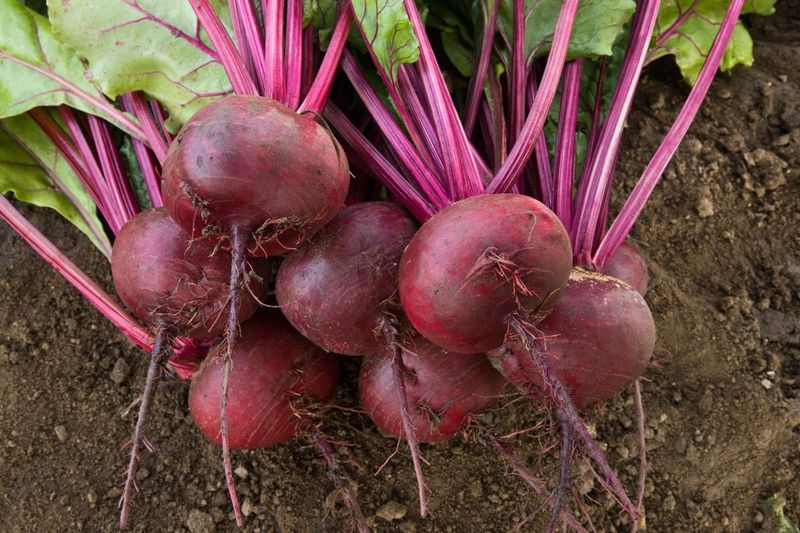
Pulling beets at the right size can make a real difference in how tender and flavorful they turn out on the plate. Many gardeners wait for the leaves to signal something, but the leaves can mislead you, especially when summer heat or dry spells cause yellowing and wilting that have nothing to do with ripeness.
The root itself is the most reliable guide, and once you know what to look for, you can pick baby beets, tender medium roots, or full-sized beets with confidence every season.
Measure the root instead of reading the leaves
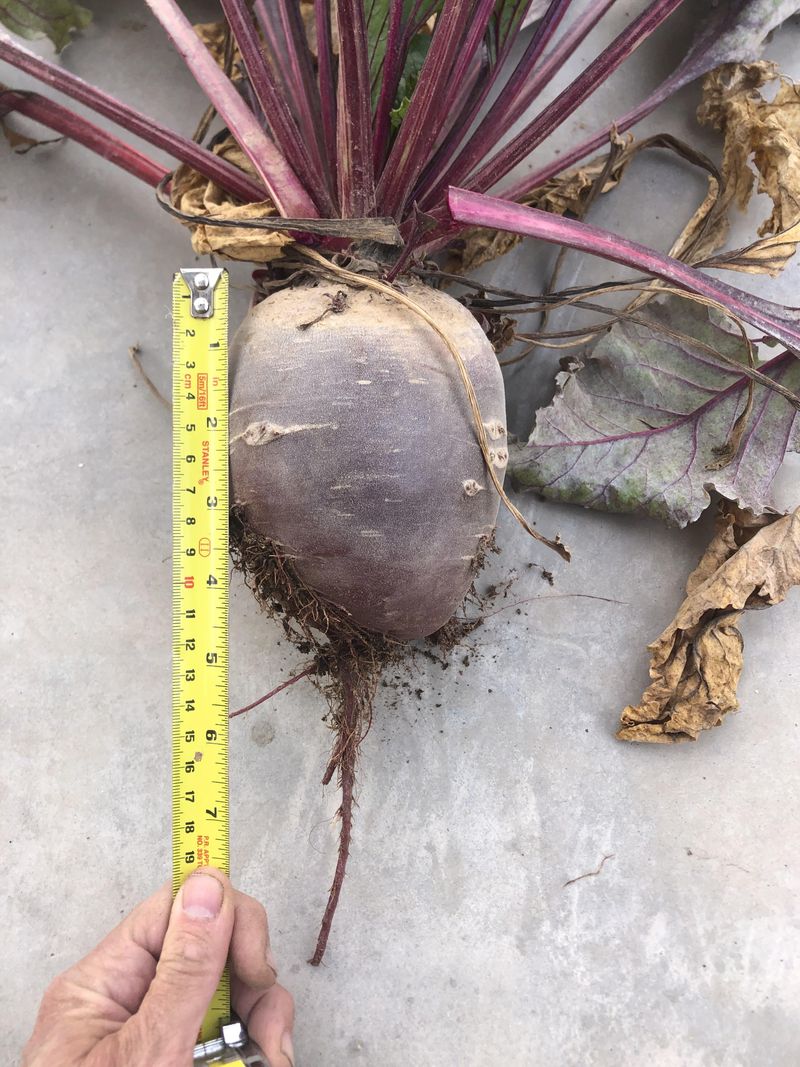
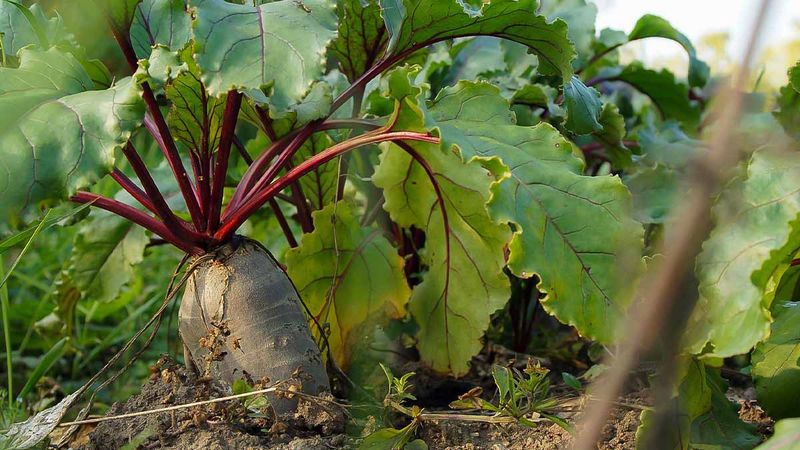
Knowing when a beet is ready starts at ground level. Gently brush or push away a little soil around the top of the root, called the crown or shoulder, and look at how wide the root has grown.
That exposed shoulder is a useful field cue because it tells you where the beet sits and gives you a rough sense of size, but soil type, planting depth, cultivar shape, and bed conditions all affect how much of the root pokes above the surface. If nothing is visible, carefully expose the top of one root and measure it directly.
According to UC IPM cultural guidance for beets, harvesting at 1 to 3 inches wide covers most home-garden needs, and that range reflects real variety in how gardeners like to use beets. Baby beets pulled at about 1 inch or smaller are mild and tender enough to serve whole.
For everyday table use, University of Illinois Extension and Oregon State Extension’s vegetable gardening guide both point to roughly 1.5 to 2.5 inches as a practical sweet spot for tender roots, with a broader normal harvest range extending to about 3 inches.
Roots left much larger than 3 inches become more likely to turn fibrous, pithy, or strong-tasting, particularly in hot or dry conditions. Leaf size, yellowing, and wilting are not dependable maturity signals.
Those changes can reflect heat stress, drought, disease, or simple plant age rather than a root that is ready to pull. The diameter of the root, matched against the mature size listed on your seed packet, is a far more dependable guide than anything happening above ground.
Choose the size that matches your meal
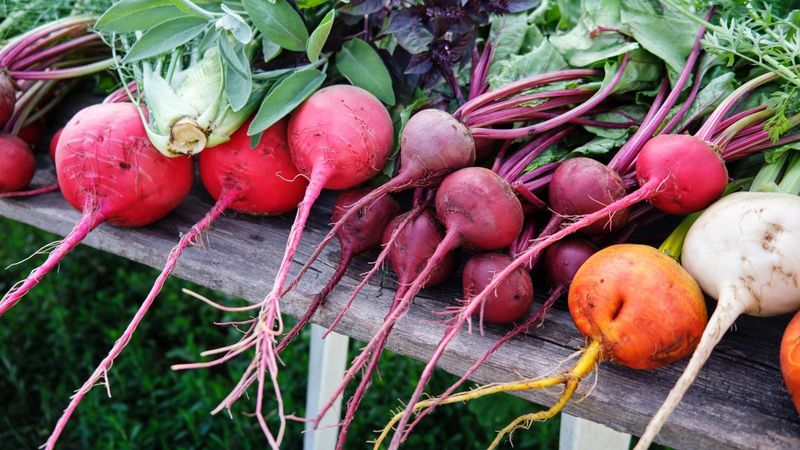
Once you have a measurement in hand, the next step is matching that size to what you plan to cook. Baby beets at around 1 inch or smaller are great roasted whole, pickled, or tossed into salads where a mild, tender bite matters most.
Medium roots in the 1.5- to 2.5-inch range hit a practical balance between usable size and the tender texture most recipes expect from table beets. Roots closer to 3 inches still work well for slicing, roasting, or canning, though the risk of fibrous or pithy flesh climbs as roots enlarge, especially when growing conditions have been warm or dry.
Bigger does not automatically mean better. University of Illinois Extension guidance on root vegetables notes that oversized roots are more likely to develop poor texture, and that warning applies across most common round red varieties.
Utah State University Extension reinforces that point, connecting heat and water stress directly to woody or poor-quality roots regardless of size.
Variety matters just as much as diameter. Cylindrical types like Cylindra, golden beets, and candy-stripe or Chioggia varieties may have different ideal harvest diameters than standard round red cultivars.
A specialty baby beet bred for small size should not be judged by the same 2-inch rule applied to a standard Detroit Dark Red. Always compare your measured root against the mature-size description on the seed packet, because that information is specific to what you planted.
Harvesting at a size that matches your intended use helps preserve the texture and quality you want. Pulling the root at that moment does not make it sweeter or cause it to keep growing after it leaves the ground.
Use the calendar as a prompt, not a deadline
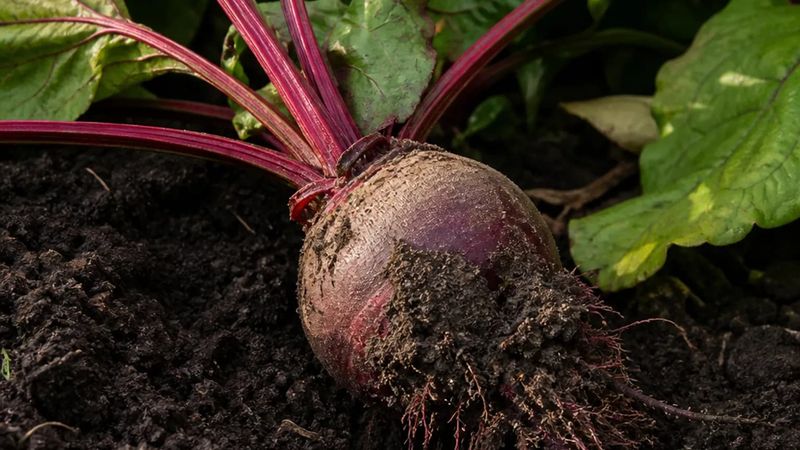
Seed packets list days to maturity for a reason, but that number is an estimate shaped by temperature, variety, planting date, and local growing conditions. For most common beet varieties, maturity falls somewhere in a roughly 42- to 80-day window after planting, according to UC IPM beet guidance and Texas A&M AgriLife Extension.
A fast-maturing baby beet variety planted in cool fall weather may be ready well before the longer end of that range, while a larger-rooted cultivar grown through a warm or irregular season may take more time, or may never reach its full potential if conditions work against it.
When the estimated window approaches, use it as a prompt to walk out to the bed and check a root directly. Utah State University Extension and University of Illinois Extension both tie cool, evenly moist growing conditions to better root quality and flavor.
Heat, drought, and irregular watering can contribute to small, cracked, or woody roots well before the calendar says a beet should be done. Keeping moisture consistent while roots develop is one of the most practical things you can do to support good texture.
No late-season intervention or single visual sign guarantees sweeter beets. Cool weather during the growing period may produce roots that taste sweeter or milder, and that is a real benefit of timing plantings into fall or early spring in warmer regions.
Still, flavor depends on genetics, temperature across the full growing period, water availability, and variety, not on catching one specific moment. Texas A&M harvesting guidance connects poor conditions directly to reduced quality, which underscores why the calendar alone cannot tell you when the root will be good.
Let Southern weather guide the planting window
Beets grow best in cool weather, and for gardeners in Florida and Texas, that means thinking in terms of fall, winter, and early spring rather than midsummer. University of Florida IFAS Extension places beets squarely in the cool-season category, with outdoor planting windows running approximately September through March in north Florida, September through February in central Florida, and October through January in south Florida.
Those windows reflect real limits: beets started in Florida midsummer heat are fighting conditions that can cause small, woody, or poor-tasting roots before they ever reach a good harvest size.
Texas gardeners have two main production windows. Texas A&M beet production guidance points to spring and a late-summer-to-fall window as the best times, with cool conditions supporting the quality that summer heat works against.
Texas A&M AgriLife root crop resources reinforce that beets perform best when temperatures stay mild, so planting to hit cool weather at root-sizing time is the practical goal.
Mature beets can tolerate a light frost, and cool autumn conditions may improve flavor, but frost is not a required step for good-tasting beets. University of Illinois Extension fall harvest guidance supports harvesting roots when they reach the desired size rather than holding them in the ground solely to chase a frost event.
If your roots are already at a good diameter and a hard freeze or prolonged heat wave is approaching, pull them. Waiting for frost when roots are ready risks losing quality you have already grown.
Harvest the largest roots and leave the rest
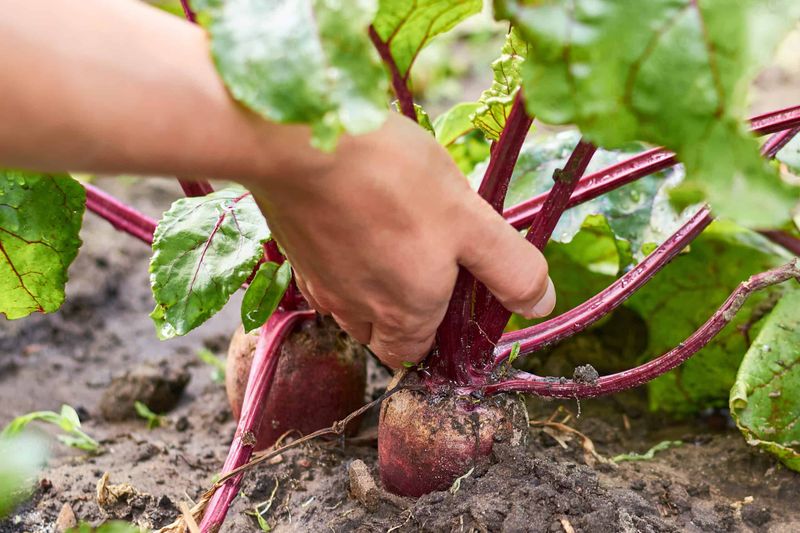
Working through a beet bed does not have to mean clearing the whole row at once. Pulling the largest roots first and leaving smaller plants in place is one of the most practical approaches for crowded rows and succession plantings, because it gives underdeveloped roots more room and time to size up when weather and moisture still support growth.
UC Master Gardeners of Santa Clara County and University of Illinois Extension’s garden scoop blog both recommend this selective approach as a reliable way to extend the harvest from a single planting.
Lifting the root cleanly matters, especially when you plan to store it. Loosen the surrounding soil with a garden fork before pulling, working a few inches away from the root to avoid slicing into it.
A bruised or cut root loses moisture faster and does not keep as well. University of Illinois Extension’s fall root crop guidance recommends loosening soil before lifting as standard handling practice.
Beet greens are edible and worth keeping, but removing too much foliage from plants still in the ground can reduce their ability to size up. Alabama Cooperative Extension notes that greens can be harvested at around 4 to 6 inches for cooking, while roots are used at 1.5 to 3 inches.
If you harvest greens from plants you plan to leave in the ground, avoid removing more than about half the leaves at a time. A simple sequence works well: check one or two roots, pull the largest at the desired size, and leave smaller roots growing if local conditions remain favorable.
Top and store beets before quality slips
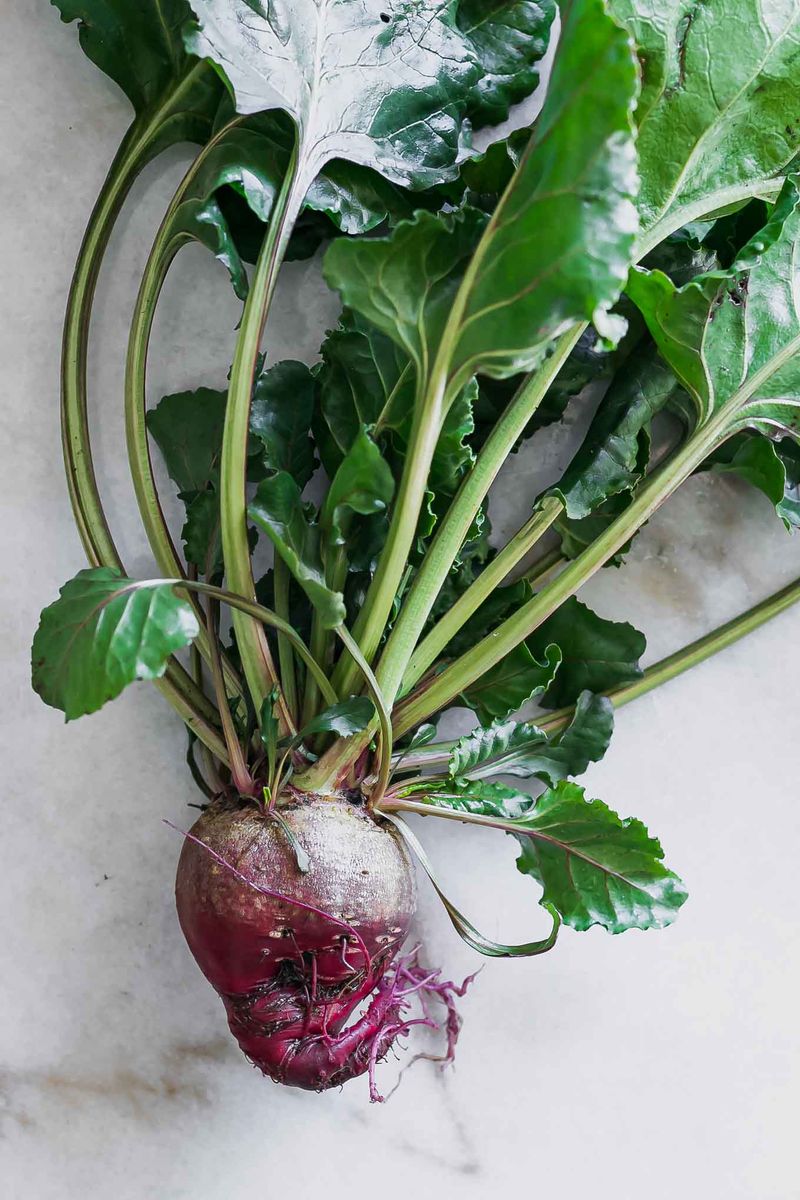
Right after pulling, remove the tops while leaving about 1 inch of stem attached to each root. Greens left on draw moisture out of the root quickly, and that moisture loss shortens how long the beet stays firm and flavorful.
The greens themselves are edible and worth cooking, but they need to be used within a day or two or stored separately in the refrigerator, where they will keep for a short time on their own.
For fresh storage, keep topped roots cold and humid. University of Minnesota Extension’s harvesting and storing guide and Utah State University Extension’s root crop storage guidance both recommend storing beets near 32 degrees Fahrenheit with high humidity, conditions a refrigerator crisper drawer can approximate reasonably well.
If you are aiming for longer refrigerator storage, hold off on washing until you are ready to use the roots. Washing before storage can speed up deterioration.
When you do rinse beets before cooking, plain running water is the right approach. FoodSafety.gov specifically advises against washing produce with soap, bleach, sanitizer, or other chemicals.
Fresh storage and preservation are different tracks. University of Illinois Extension covers basic fresh storage, but if you want to can your beets, the method depends on whether you are making plain or pickled beets.
Plain beets require pressure canning; pickled beets use an acidified recipe processed in a boiling-water canner. The National Center for Home Food Preservation pickled beets instructions and their complete home canning guide provide tested procedures for both.
Follow those directions closely rather than improvising, because the safety of home-canned beets depends on the specific method used.
Make the harvest decision at the root
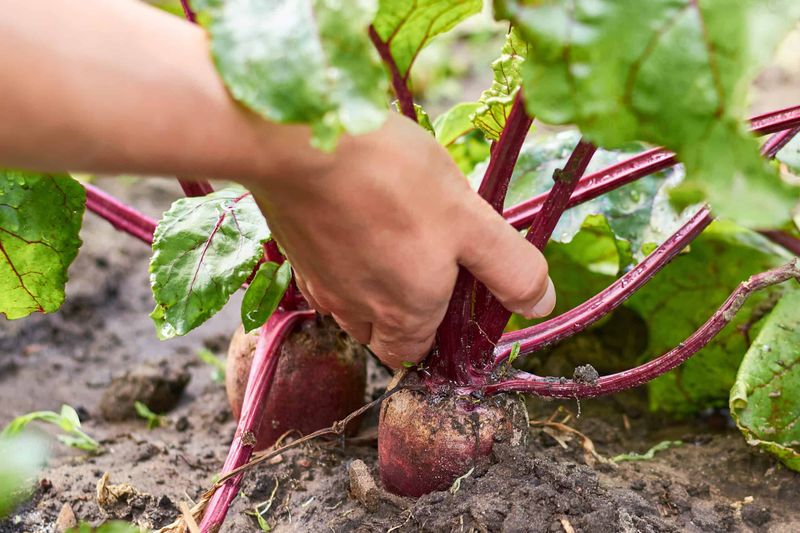
At harvest time, the most reliable move is to check the crown, measure the diameter, and compare that measurement against the mature size listed for your specific variety. Baby roots around 1 inch work for delicate preparations; roots in the 1.5- to 2.5-inch range suit most everyday table uses; and roots approaching 3 inches are still usable but carry a higher chance of fibrous or pithy texture, particularly when the season has been warm or dry.
UC IPM beet guidance and Utah State University Extension both anchor this size-based approach as more dependable than any foliage signal.
Cool, evenly watered growing conditions can support better flavor and texture, and timing your planting to take advantage of those conditions is worth the effort. Still, no leaf change, shoulder position, specific harvest date, or frost event can guarantee that a beet will taste sweeter.
Pull the largest ready roots selectively, leave smaller ones growing when local conditions remain favorable, and let the root diameter, not the calendar or the canopy, make the call.