
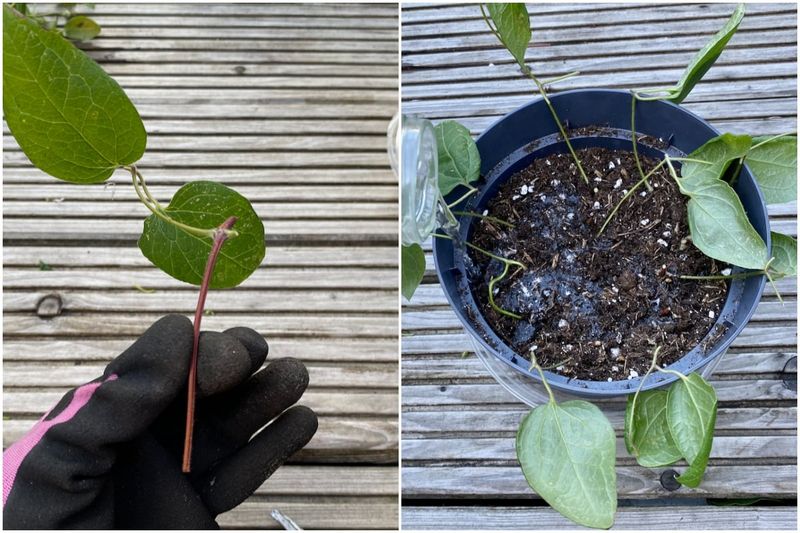
Clematis vines can potentially give you more plants for free, but only if you pick the right shoot at the right growth stage. Rooting a cutting from your existing vine is one of the most satisfying things a home gardener can do, and late summer into early fall is often a workable window in Southern gardens.
The catch is that not every shoot will root, timing depends on your specific plant and climate, and a few legal and environmental limits apply before you start sharing new vines with neighbors.
Choose a semi-ripe shoot instead of trusting the calendar
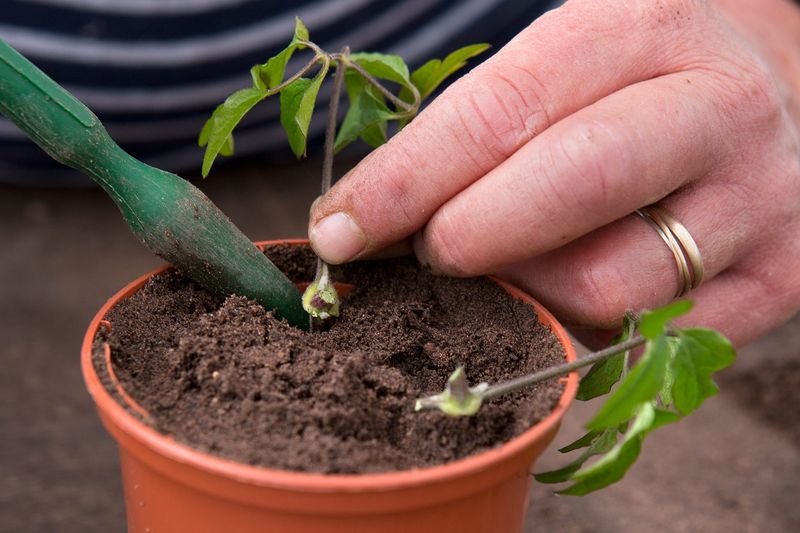
Picking the right shoot matters far more than picking the right date on the calendar. What you are looking for is a current-season stem that has partially matured: the lower portion feels firm when you bend it slightly, while the growing tip is still somewhat soft and green.
That texture is what plant specialists call semi-ripe wood, and RHS clematis growing guidance places this semi-ripe cutting window between July and September, with rooting possible in roughly six to eight weeks under warm, humid conditions.
Late September can still fall within that window in parts of Florida, Texas, and other warm Southern states, provided the vine has not yet hardened fully or slipped into dormancy. A shoot that snaps like a dry twig is too far gone for this method; one that bends without resistance and looks purely soft is too young.
You want the middle ground, and that middle ground shifts depending on your cultivar, your local climate, and how much heat the season has held on to.
NC State Extension propagation guidance describes semi-hardwood cuttings broadly as material taken after a flush of growth, generally from mid-July to early fall, and advises judging by growth stage rather than by a fixed date. A nonflowering shoot that passes the flex test is your best candidate.
One that is flowering, diseased, or visibly stressed should be passed over entirely, because rooting success depends heavily on the health and maturity of the material you start with.
Take several labeled cuttings without damaging the parent vine
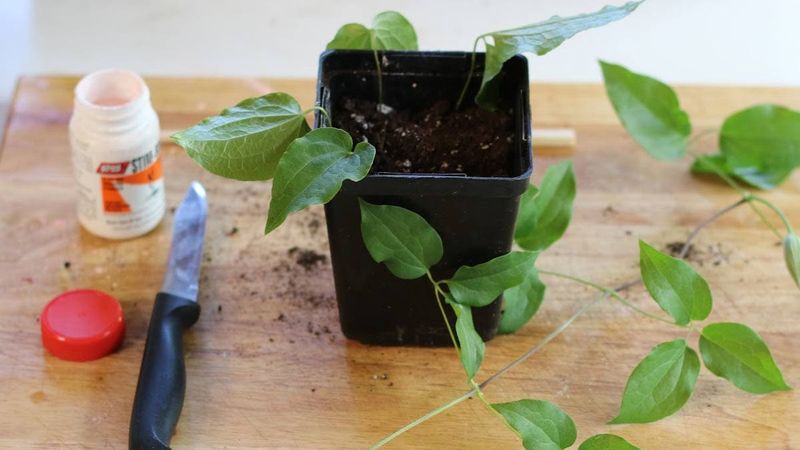
A sharp, clean blade is the first requirement before you touch the vine. Dull or dirty tools crush stem tissue and introduce pathogens, both of which reduce your odds before the cutting ever reaches the rooting medium.
Wipe the blade with rubbing alcohol or a dilute bleach solution, then take cuttings when the plant is well hydrated, ideally in the morning before heat builds.
University of Nebraska-Lincoln clematis guidance recommends that each cutting retain at least one pair of leaves, and Mississippi State University Extension gives a practical size range of roughly 3 to 6 inches for semi-hardwood cuttings. Make the lower cut just below a node, which is the swollen point where leaves attach, because roots tend to emerge from or near that tissue.
Remove the leaves from the lower half of the stem so they will not rot underground, and keep the upper foliage intact to support photosynthesis.
Any flower buds you find should come off as well. A cutting that puts energy into blooming rather than rooting is less likely to survive.
Write the cultivar name on a small waterproof label and push it into the medium alongside each cutting before you forget which is which. Stem cuttings produce clones of the parent, so knowing exactly what you propagated matters later.
One more caution: avoid stripping large amounts of growth from a vine you cannot identify. Clematis that flower on old wood will not bloom the following season if you remove that wood carelessly, so consider the plant’s pruning group before you cut.
Insert the bare stem into a porous rooting medium
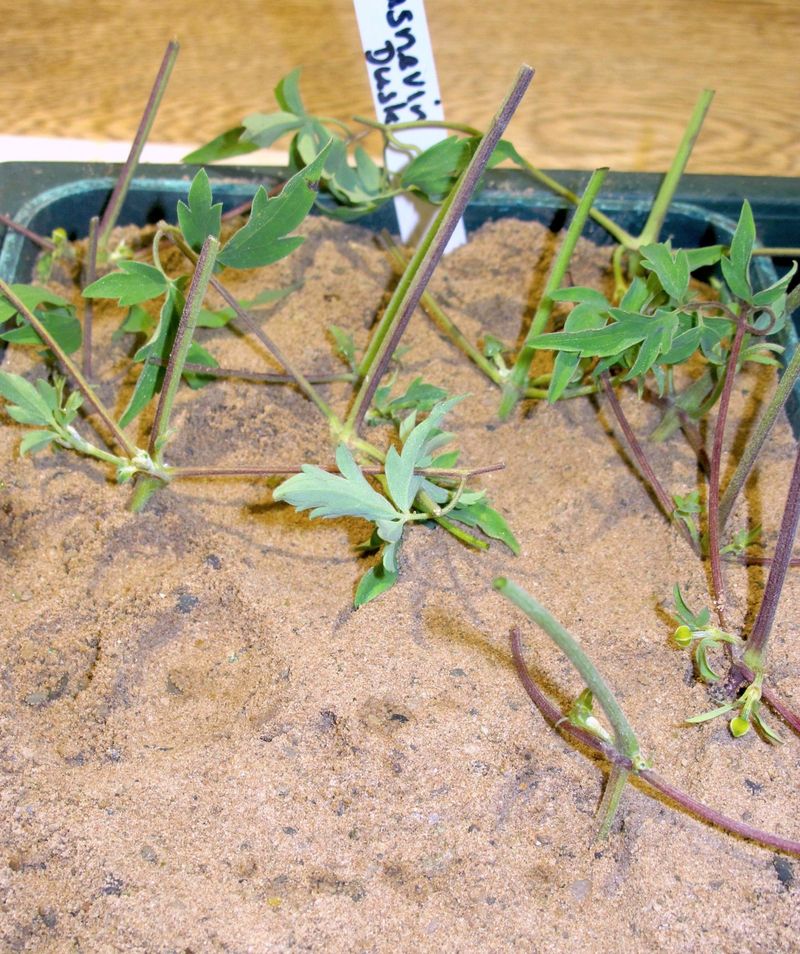
Garden soil is not the right starting medium for unrooted cuttings. It compacts around delicate emerging roots, holds moisture unevenly, and often carries pathogens that attack wounded stem tissue.
What clematis cuttings need instead is a porous mix that stays moist without becoming waterlogged and allows oxygen to reach the developing root zone.
Perlite, coarse sand, peat, and combinations of these materials all appear in clematis propagation guidance. A peer-reviewed study on clematis stem cutting propagation found that sand and perlite ranked among the more effective media tested, with perlite producing greater root dry mass in some treatments.
That said, no single medium works best for every cultivar, so a 50/50 perlite-and-peat blend or a commercial propagation mix is a reasonable starting point if you are unsure.
Fill a clean container with your chosen medium and moisten it thoroughly before inserting the cuttings. The container must have drainage holes; standing water at the bottom is one of the fastest ways to lose a batch.
Push the bare lower section of each cutting into the medium so the node sits below the surface while the leaves remain above it. Firm the medium gently around each stem so there are no air pockets, which can dry out the buried tissue before roots have a chance to form.
A single cutting per small pot makes it easier to move or remove individuals without disturbing the rest.
Maintain humidity without overheating the cuttings
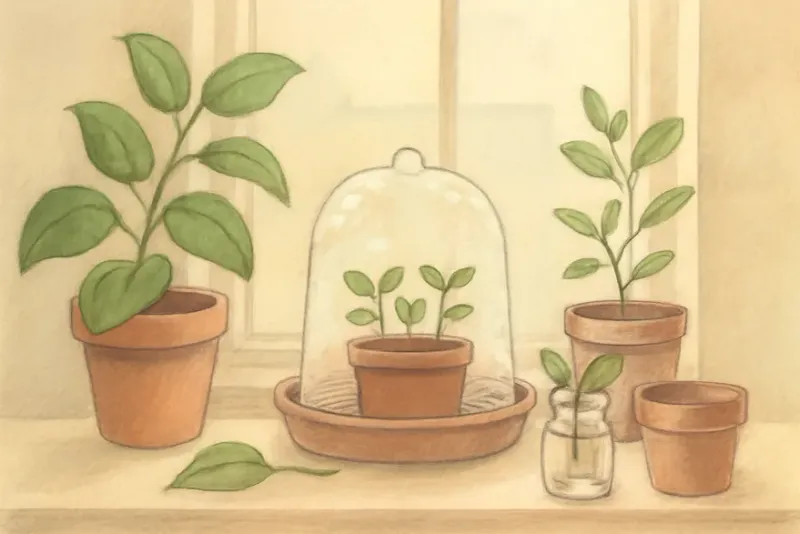
Once the cuttings are in their medium, the main job is keeping moisture in the air around the leaves without letting heat or stagnant water build up underneath the cover. A loose clear plastic bag propped on short sticks or a purpose-made propagation dome works well for most home setups.
The key word is loose: plastic resting directly against the foliage traps moisture against the leaf surface and encourages rot rather than rooting.
Place the covered container in bright indirect light. A spot near a window that receives good light but no direct afternoon sun is often ideal.
Direct sun through plastic or glass can raise the temperature inside the cover dramatically, stressing the cuttings and drying the medium faster than you can compensate. Nebraska Extension clematis guidance specifically recommends keeping cuttings moist and humid under a clear cover in bright light out of direct sun.
Rooting hormone is an option worth understanding before you use it. A study on clematis propagation factors found that indole-3-butyric acid, the active ingredient in most rooting powders, improved survival for some cultivars such as Jackmanii but did not deliver the same benefit across all tested selections.
Dust the cut end lightly if you choose to use it, but do not treat it as a guarantee. Mississippi State Extension advises withholding fertilizer until cuttings are well rooted, so resist the urge to feed them early.
Treat rooting as a milestone rather than the finish line
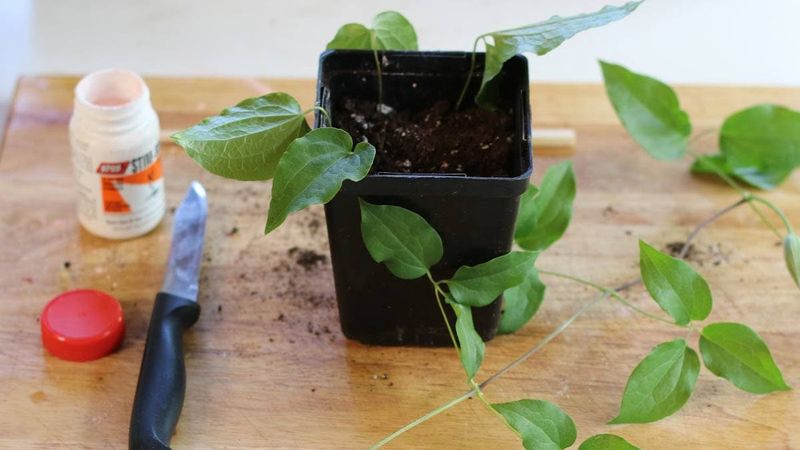
Roots forming on a cutting is genuinely exciting, but it marks the beginning of a longer process rather than the end of one. Under favorable conditions, six to eight weeks is a reasonable timeframe to hope for root development, though some cultivars take longer and some cuttings in a given batch simply will not root at all.
Resist the urge to tug on the cuttings repeatedly to check for roots; that disturbs the fragile early root tissue and can set back or kill a cutting that was making real progress.
RHS clematis guidance recommends potting rooted cuttings individually the following spring rather than rushing them into the garden over winter. That advice applies well in Southern gardens too, where a young rooted cutting still needs time to build a functioning root system before it faces the demands of open-ground planting.
Keep the medium consistently moist but not saturated during this waiting period, and continue providing bright indirect light.
Fertilizer should stay off the schedule until roots are clearly established and the plant is actively growing in its pot. Mississippi State Extension propagation guidance is direct on this point: feeding before a root system can actually use the nutrients does more harm than good.
Once the plant is potted and growing on its own, you can begin a light feeding program. As for flowering, a successfully rooted clone should eventually carry the same flower color, size, and other cultivar traits as the parent plant, but expect to wait roughly two years before blooms appear rather than hoping for flowers the following spring.
Use multiple cuttings because cultivars do not root alike
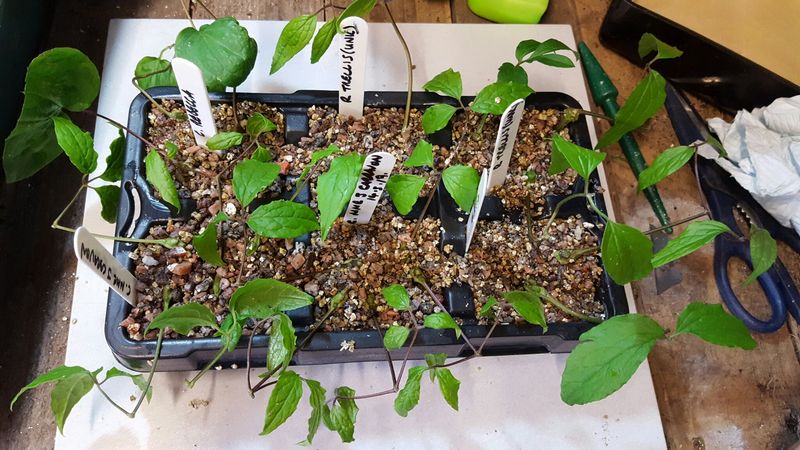
Starting just one cutting and expecting it to succeed is the most common mistake home gardeners make with clematis propagation. Rooting rates vary considerably across species and cultivars, and a single failed attempt tells you almost nothing about whether the method works for your plant.
Taking five or six cuttings from suitable material costs very little extra time and gives you a much more honest picture of what your particular vine can do.
Research on clematis stem cutting propagation documented substantially different survival and root emergence rates among named cultivars including Comtesse de Bouchard, Gypsy Queen, and Jackmanii. The Nebraska Extension clematis guide explicitly warns that some species are challenging to propagate and that results vary.
Those two points together mean that what works reliably for one gardener’s Jackmanii may not work at all for a neighbor’s large-flowered hybrid.
Monitor the batch regularly without disturbing the medium. Any cutting that collapses, turns mushy at the base, or shows signs of fungal disease should be removed promptly so it does not spread problems to the others.
Keep the labels in place throughout this process. The practical payoff of multiple cuttings is honest: if even two or three of six root successfully, you have additional genetically identical plants to grow on.
That is a real benefit, but it is not a supply of guaranteed free vines, and framing it that way keeps your expectations grounded in what the method actually delivers.
Check the method, plant, and legal limits before sharing vines
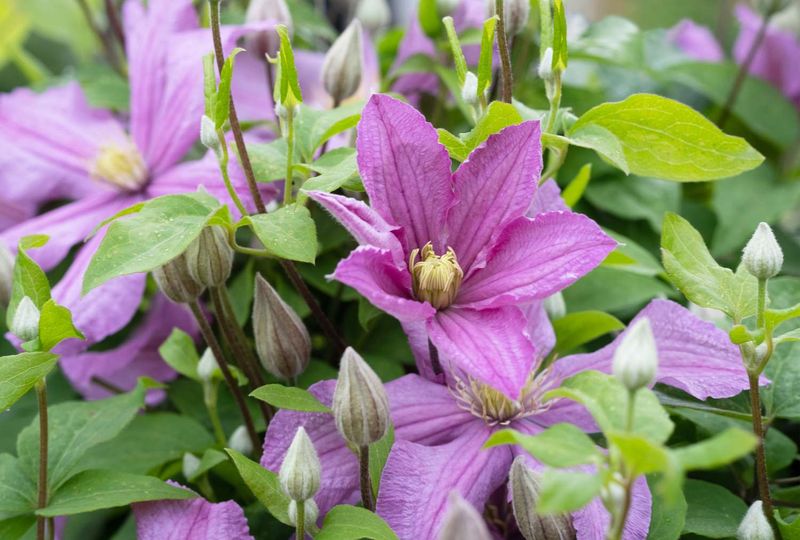
Layering is sometimes mentioned alongside stem cuttings as a fall propagation option, but the two methods follow different timing rules for clematis. RHS clematis-specific guidance places serpentine layering in late winter through spring, not fall.
Connecticut Agricultural Experiment Station propagation guidance does list clematis as suitable for layering and notes that general layering of deciduous woody plants can occur in fall or winter, but that broader window does not override the clematis-specific recommendation. If you want to try layering your vine, plan for late winter rather than fall.
Before cutting anything from an unidentified vine, take a moment to consider its pruning group. Clematis that flower on old wood will not rebloom the following season if you remove that wood without thinking it through.
A little research into whether your plant flowers on last season’s growth, the current season’s growth, or both can prevent an accidental year without blooms on the parent plant.
Florida gardeners need one additional caution. UF/IFAS rates Clematis terniflora, commonly sold as sweet autumn clematis or Japanese clematis, as a high invasion risk and does not recommend it for Florida.
Propagating and spreading it there makes an existing problem worse. Native Clematis virginiana is a safer alternative for Florida yards.
Finally, plant patents carry real legal weight. U.S. plant patent law can restrict asexual reproduction, sale, or distribution of a patented cultivar during the patent term.
Check the plant tag or contact the breeder before giving rooted cuttings away or selling them. The method itself is sound; knowing where its limits apply is what makes you a responsible propagator.