
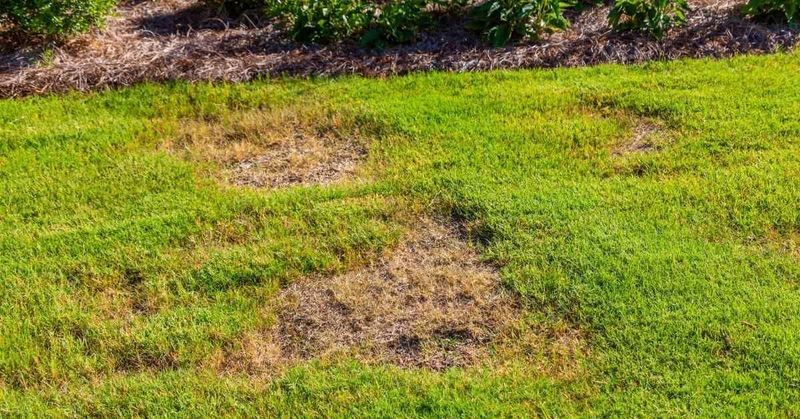
Scattering grass seed over a bare patch feels like a simple fix, but plenty of Southern homeowners end up staring at the same empty dirt weeks later. The seed is not always the problem.
How that seed connects with the soil beneath it matters more than most people realize, and getting that detail right can be the difference between a patchy lawn and one that finally fills in.
Loose surface seed faces a higher establishment risk
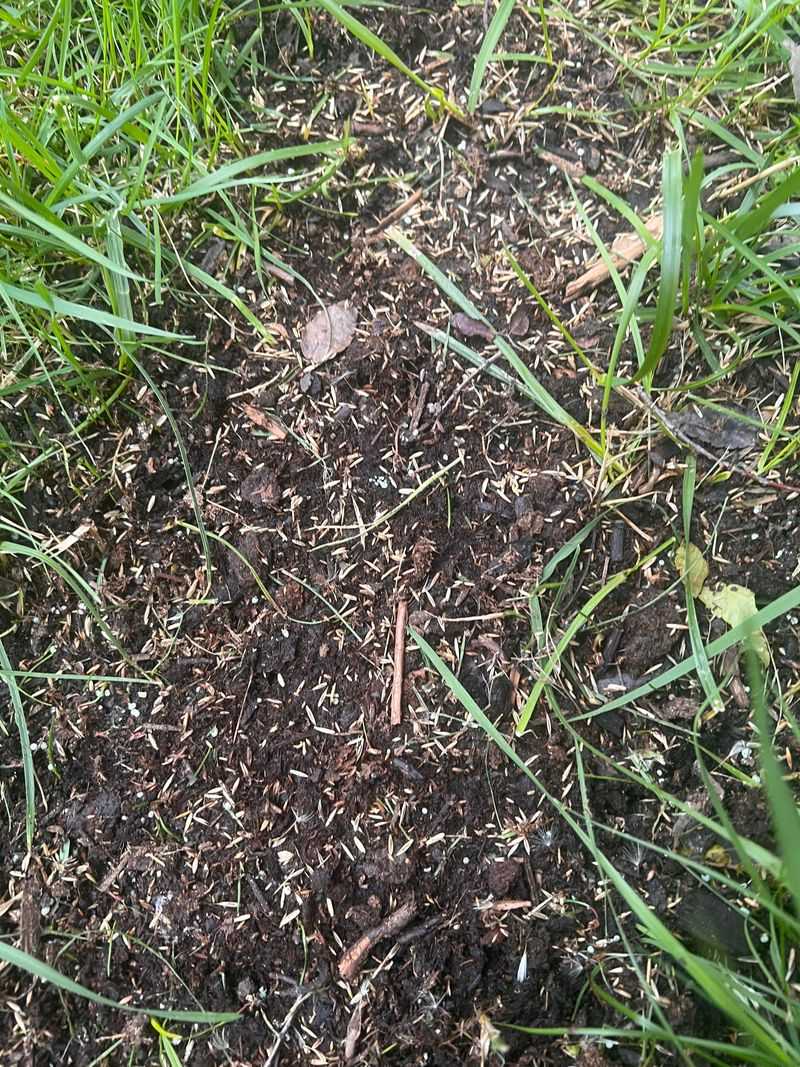
Seed sitting visibly on bare soil is not automatically doomed. Under favorable moisture, temperature, and contact conditions, surface-sown seed can germinate.
The real concern is that loose seed faces a higher risk of failing than seed that has been lightly worked into the soil surface, and understanding why helps you fix the right problem.
When a seed absorbs water and then dries out before the root can anchor into the soil, germination stalls. Penn State Extension guidance on forage crop establishment notes that seed scattered loosely on the surface is more vulnerable to drying after initial moisture uptake, displacement by wind or irrigation, and uneven emergence across a patch.
Air gaps between the seed and soil particles slow moisture transfer and leave the seed exposed to temperature swings that buried seed avoids.
Poor seed-to-soil contact is a sensible first condition to check when a patch fails, but it is not the only explanation. Penn State’s seed and seedling biology resource makes clear that watering habits, soil temperature, seed age and quality, planting depth, herbicide carryover, compaction, shade, and species selection can each independently prevent germination.
Treat contact as an important diagnostic starting point, then work through the rest of the list if the patch still struggles.
Prepare a receptive seedbed before adding more seed
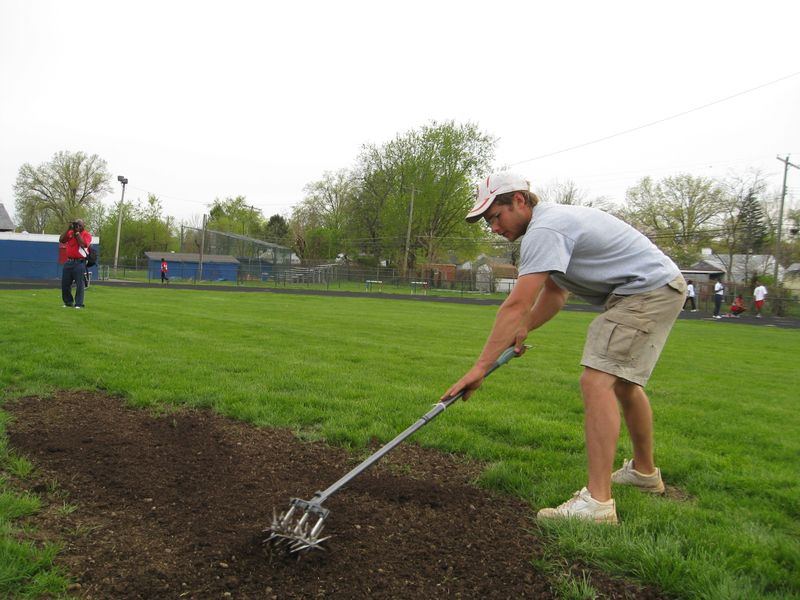
Dropping more seed onto a neglected surface rarely solves a bare spot. The ground itself needs to be ready to receive seed before anything else happens.
Skipping this step is one of the more common reasons a second round of seeding fails just like the first.
Start by clearing the patch of dead grass clippings, thatch, leaves, and any debris that could prevent seed from reaching soil. Rake the surface to break up any crust that has formed on top.
University of Florida IFAS guidance on establishing a Florida lawn recommends loosening the surface and leveling any depressions so water does not pool unevenly across the patch. A smooth, slightly rough surface gives seed more points of contact than a hard, sealed one.
Compaction and crusting deserve specific attention. A crusted or heavily compacted surface can block seedling emergence even when the seed underneath is fully viable.
Soil crusting after rain or heavy irrigation seals the surface and reduces the oxygen available to germinating seeds, which can slow or prevent emergence. Moisten the seedbed lightly before seeding so the surface is damp but not muddy or saturated.
Wet soil compacts more easily underfoot, and waterlogged conditions reduce the oxygen seedlings need to push through the surface.
Improve contact with shallow raking and gentle firming
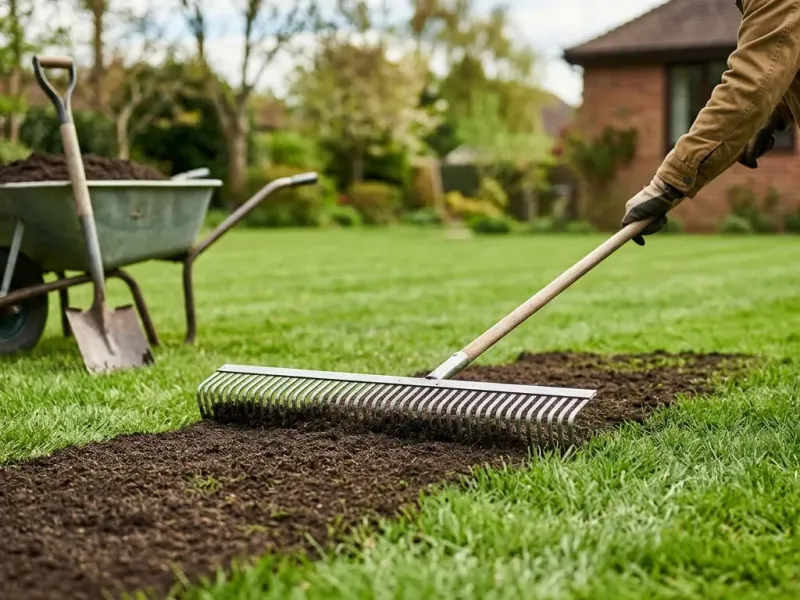
Once the seedbed is ready, the goal shifts to getting seed into dependable contact with the soil without burying it too deep. Small turfgrass seeds do not have the energy reserves to push through much soil, so the margin between too shallow and too deep is narrower than most people expect.
Divide your seed into two equal portions and broadcast one portion across the patch, then broadcast the second portion in a direction perpendicular to the first. Florida IFAS establishment guidance recommends this cross-pattern approach to reduce skips and clumps that leave thin lines across the repair.
Even seed distribution matters as much as even seed depth.
After broadcasting, drag a rake lightly across the surface so most seed ends up just below the surface or under roughly 1/4 inch of soil. Florida guidance allows a 1/4- to 1/2-inch topdressing of fine soil or compost where that is practical for the site, but that range is a context-specific option rather than a blanket burial rule.
Deeper planting is not safer. Pushing small grass seed more than 1/2 inch down often prevents seedlings from reaching the surface at all.
Finish the step with gentle firming. The back of a rake, careful foot pressure, or a lightweight roller can close the air gaps between seed and soil particles without compacting the seedbed.
University of Minnesota Extension lawn renovation guidance describes this light firming as a contact-improvement step, not a compaction step. The aim is snug seed-to-soil contact, not a hard surface that resists root growth.
Maintain moisture without washing out the patch
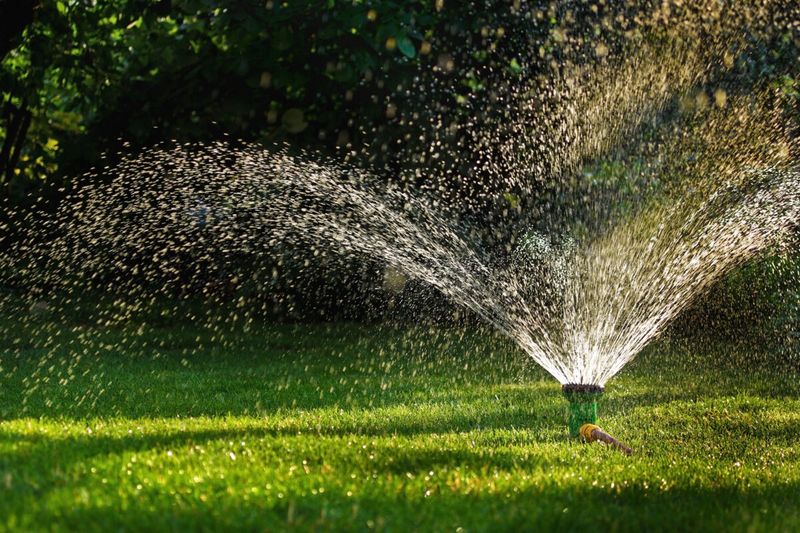
Good seed-to-soil contact only helps if the upper seed zone stays adequately moist while germination is underway. A seed that absorbs water, begins the germination process, and then dries out before the root anchors into the soil will not recover.
Keeping that thin layer of soil consistently moist is the follow-through that makes the earlier prep work pay off.
Use a fine spray or a gentle oscillating sprinkler rather than a high-pressure nozzle. Strong water pressure can wash seed out of position, expose seed that was lightly raked in, and create uneven wet and dry zones across the patch.
Florida IFAS lawn establishment guidance recommends small amounts of water applied two or three times daily during the first couple of weeks, while Texas guidance notes that hot, windy conditions may call for several short irrigation cycles to offset rapid surface drying. Treat those frequencies as starting points that should be adjusted for rainfall, soil drainage, temperature, and whether the surface looks moist or beginning to dry.
Saturating the soil is not the goal. Muddy, waterlogged conditions reduce the oxygen available to germinating seeds and can encourage seedling disease or physically move seed around the patch.
As seedlings develop their first true roots and begin to anchor, reduce watering frequency and apply more water per session so roots are encouraged to grow deeper. Mulch can help retain surface moisture between waterings, but keep it light.
Texas A&M AgriLife Extension turfgrass establishment guidance cautions against heavy straw mulch on seeded warm-season grasses because thick coverage can block the light those species need during germination.
Check the grass and planting window before blaming technique
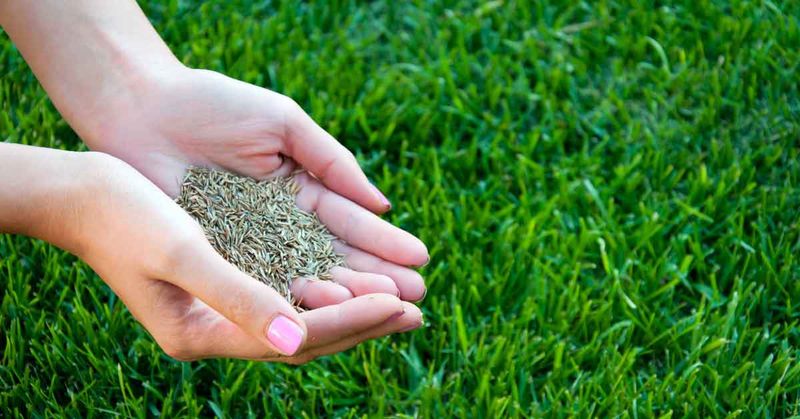
Applying the right technique at the wrong time of year, or to the wrong type of grass, can produce bare spots that look exactly like a contact problem. Before repeating the same seeding approach, confirm that the species and timing actually match your location.
Warm-season grasses dominate Florida and most of Texas. They need warm soil temperatures to germinate and establish, which generally means spring through early summer is the productive window.
Seeding too late in the season, particularly in north Florida where cooler temperatures arrive earlier, can leave seedlings vulnerable to cold injury before they are established. Florida IFAS lawn guidance specifically notes that late-fall plantings in the northern part of the state carry a higher risk of winter damage.
Not every warm-season turfgrass can be established from seed. Common bermudagrass can be seeded, but many improved hybrid bermudagrass varieties are not seed-fertile and must be installed as sod, sprigs, or plugs.
Florida IFAS bermudagrass guidance explains this distinction clearly. Texas A&M AgriLife turfgrass establishment guidance reinforces that homeowners should confirm whether their selected turf is normally established by seed before purchasing a bag.
Cool-season grasses such as tall fescue follow a different calendar entirely, with fall seeding being the standard recommendation for the transition zone. Penn State’s cool-season turfgrass resource outlines how temperature and day length affect germination and growth in ways that differ substantially from warm-season species.
Mixing up that timing can cause failure regardless of how carefully the seed was raked and firmed.
Rule out seed quality and recurring site problems
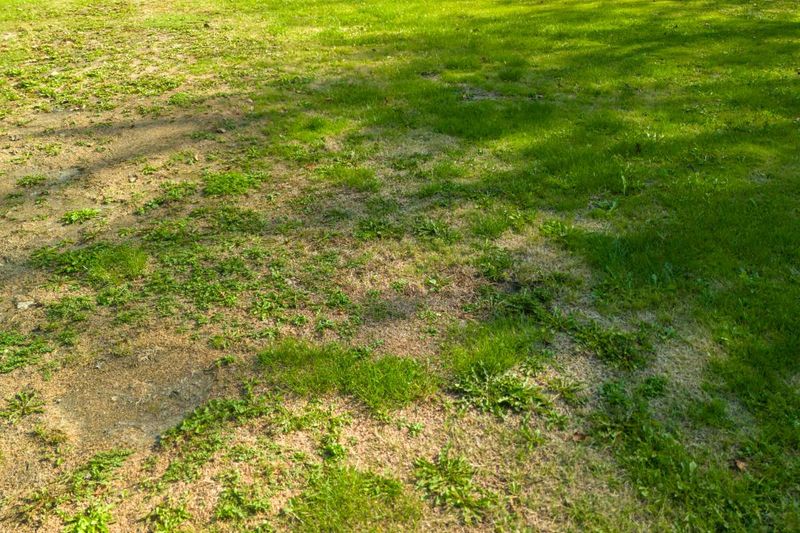
A patch that fails despite good technique and correct timing deserves a closer look at the seed itself and at what the site might be doing to undermine every attempt. Scattering more seed over the same location without this check often produces the same result.
Read the seed label before planting. Florida IFAS establishment guidance recommends checking species, cultivar, purity percentage, germination percentage, and weed-seed content.
Look for seed with purity near 90% or higher and germination at roughly 85% or better when available. Old seed stored in hot, humid conditions common to Southern summers can lose viability quickly, so age matters too.
A bag with a low germination rate or a high percentage of inert matter gives the patch a poor starting point regardless of technique.
Penn State’s seed and seedling biology guidance explains that germination timing varies with species, temperature, moisture, oxygen availability, seed quality, and dormancy. A patch that has not emerged after ten days is not necessarily dead, particularly if the chosen species germinates slowly or soil temperatures have been outside the optimal range.
When the same location fails repeatedly, the problem is often the site rather than the seed or technique. Shade from trees or structures, tree-root competition for water and nutrients, foot traffic, poor drainage, compaction, and soil crusting can all prevent establishment.
Penn State’s plant health diagnostic guidance recommends looking for patterns such as consistent failure in one corner, under a canopy, or along a path. Herbicide carryover is another overlooked cause.
Some pre-emergent and post-emergent products require a waiting period before reseeding, and the pesticide product label, not a general internet timetable, controls the safe reseeding interval for each specific product.
Give the patch its best chance, then reassess
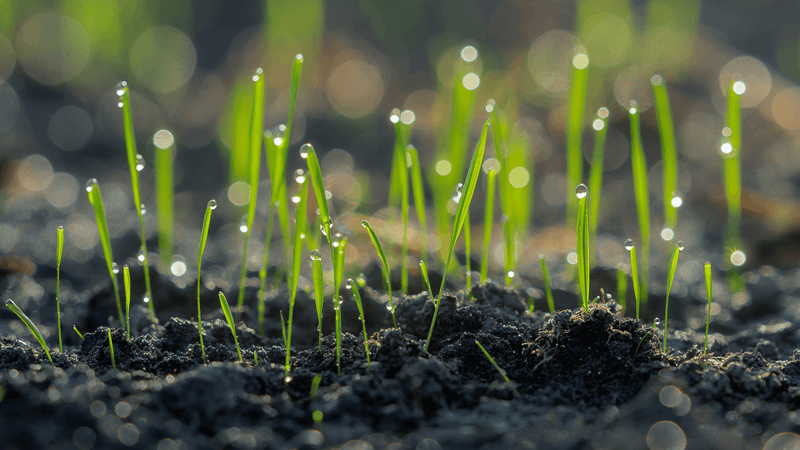
Putting all the steps together gives a bare patch a meaningfully better chance at filling in. Clear the surface, loosen and level the seedbed, moisten it lightly, broadcast seed in two perpendicular passes, rake it in shallowly so most seed sits under about 1/4 inch of soil, firm the patch gently to close air gaps, and water with a fine spray often enough to keep the upper soil zone consistently moist without saturating it.
Improved seed-to-soil contact is a useful first condition to check, but it is not the only explanation when a patch stays bare. If the area remains empty after giving the technique a fair try, reassess species suitability, planting timing, seed quality, watering frequency, and any site conditions such as shade, drainage, or herbicide history.
Extension establishment guidance consistently frames contact improvement as one component of a broader seeding system rather than a standalone cure.
Getting grass to establish from seed is a process with several variables working at the same time. Tighten up each one and the odds improve considerably, even if no single step guarantees a thick lawn.