
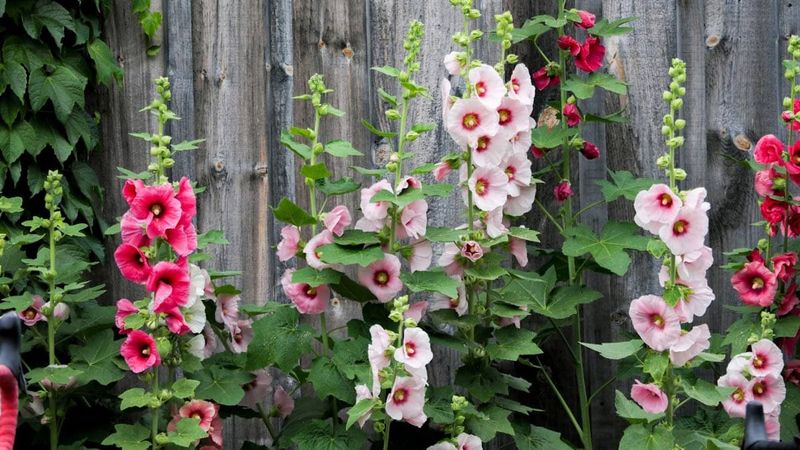
Hollyhocks are supposed to be showstoppers – tall, flowering columns packed with blooms that rise well above your fence line. But when yours stay short, thin, or barely flower, something in the growing setup is working against them.
The fix is not a special fertilizer or a secret trick; it usually starts with where and how you place them in the first place. Getting that one decision right can make a real difference in how your plants look by the end of the season.
Start by Separating Height From Upright Form
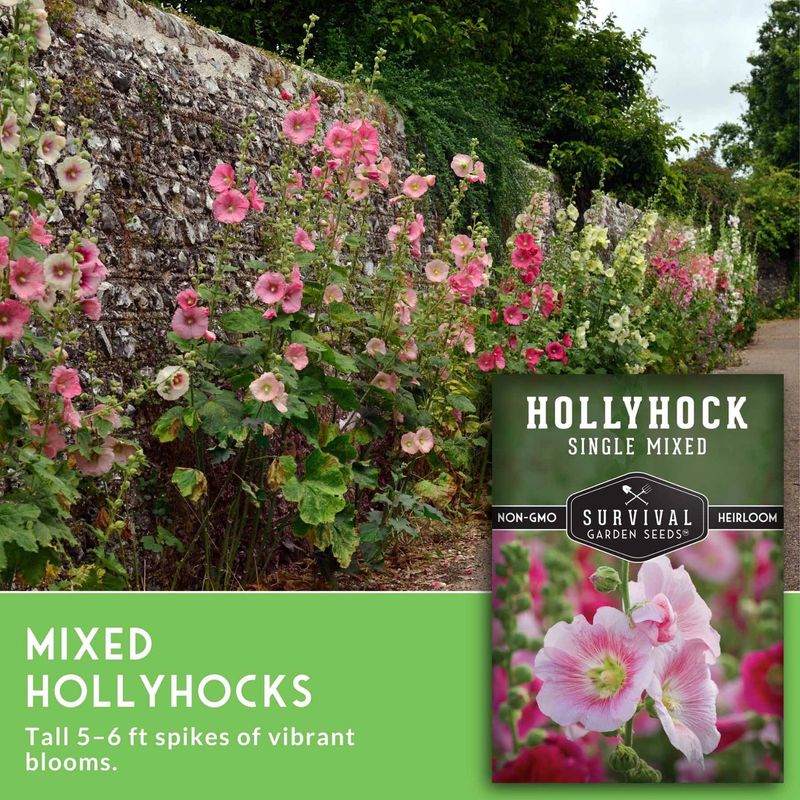
No single planting location is a guaranteed shortcut to a tall hollyhock. Before you move a single plant or dig a new bed, it helps to separate two things that often get confused: how tall a hollyhock actually grows, and whether its stem stands upright enough to look like a tower.
Inadequate light may limit how well a hollyhock performs. RHS growing guidance links full sun directly to the tallest flower spikes, which tells you that a plant sitting in too much shade may simply not reach its potential.
Strong wind is a different problem: it can push tall stems sideways, making a plant that is perfectly healthy look sparse or unimpressive from across the yard.
The practical goal here is a flower spike that rises tall and stays upright, reading as a genuine tower rather than a leaning or flopping stem. That goal is worth chasing, but placement is not the only variable.
NC State Extension notes that hollyhocks vary by cultivar, and University of Illinois Extension confirms that plant age, moisture, soil condition, heat, disease, and insect damage can each produce the same short or sparse appearance you are trying to fix. Sorting out which factor is actually at work saves you from changing the wrong thing.
Give Hollyhocks Full Sun for Their Tallest Spikes
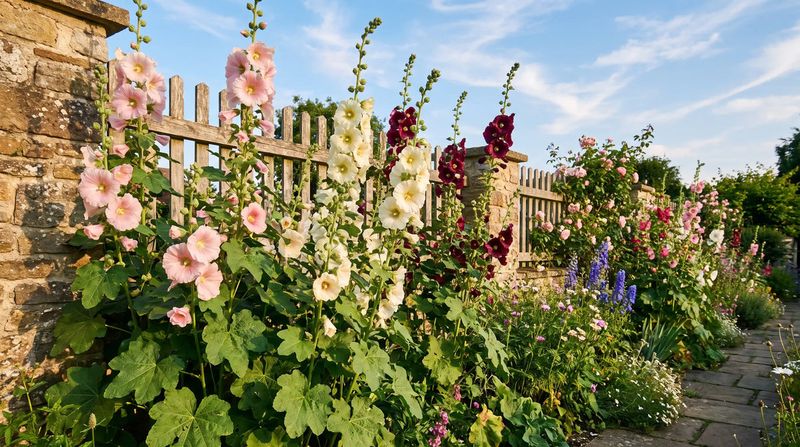
Sunlight is the primary lever you control when choosing where to plant hollyhocks. Aim for at least about six hours of direct sun each day.
NC State Extension defines full sun as six or more hours of direct sunlight daily, and the RHS ties that full-sun condition specifically to the tallest flower spikes.
That does not mean every hollyhock in partial shade will fail outright. Some references allow for light shade, and a plant can survive in less light.
The point is that if you want the tallest, most impressive spike your cultivar can produce, a bright open position gives you the best starting point.
Before committing to a spot, take a few minutes to read the shade pattern across your yard at different times of day. Trees cast shifting shadows, buildings block morning or afternoon light depending on which direction they face, and a deep porch overhang can cut available light dramatically even in a south-facing bed.
Seasonal changes matter too: a bed that gets full sun in spring may be shaded by a leafed-out tree by midsummer, right when your hollyhocks most need the light. Walk the potential site at mid-morning and again in early afternoon, and choose the spot that stays open and bright for the longest stretch of the day.
Use a Fence or Wall to Block Wind
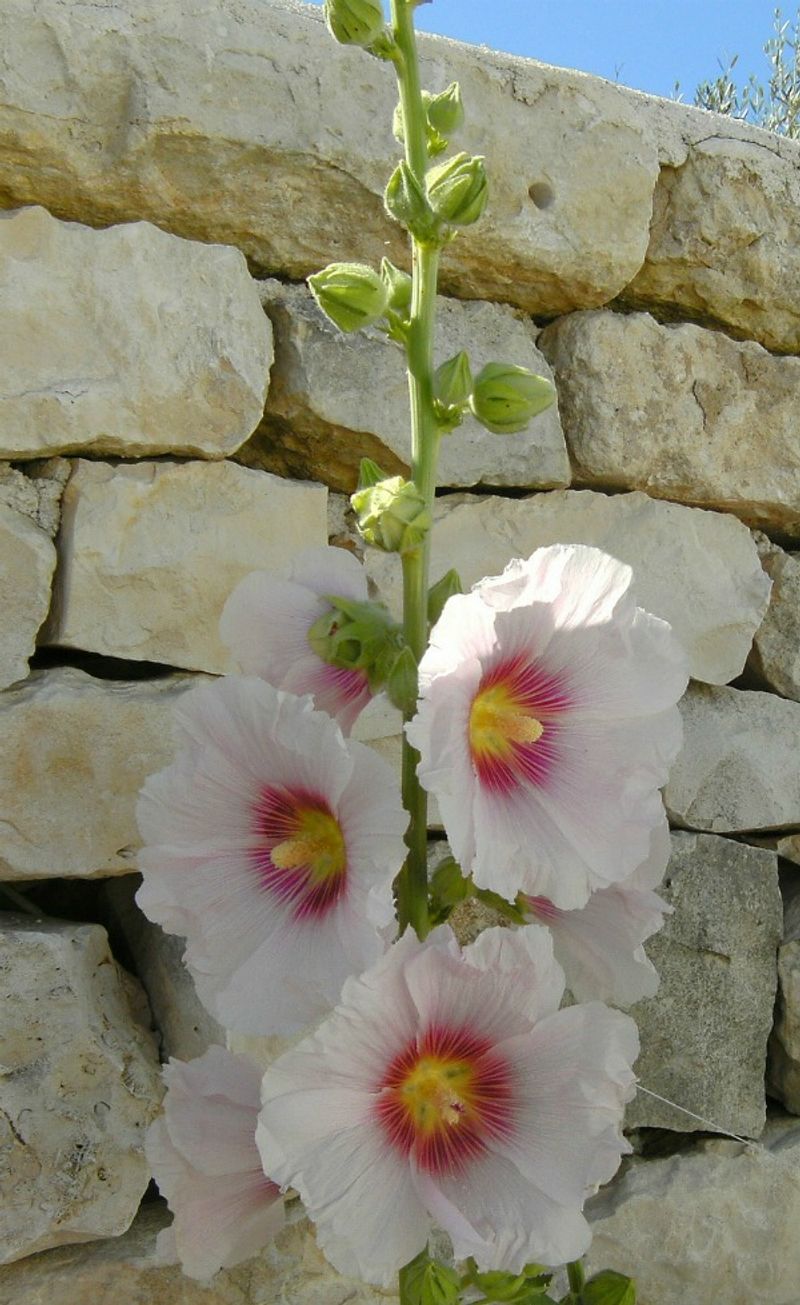
Wind shelter plays a supporting role, not the leading one. Placing hollyhocks along the back of a border or beside a fence or wall can help tall stems stay upright through summer storms and steady breezes.
UC Agriculture and Natural Resources describes hollyhocks as a dramatic backdrop plant suited to fence-side or wall-side positions, and University of Illinois Extension echoes that recommendation. The protection mainly reduces leaning and may cut down on staking needs.
A sheltered position does not make hollyhocks biologically taller; it just helps the height they already have stay visible and upright.
The combination you are aiming for is bright exposure plus wind shelter plus enough open space for air to move around the plants. A fence or wall that catches the afternoon wind without blocking the sun is the sweet spot.
South-facing or east-facing fence lines often work well in Southern yards because they stay open to direct light while the structure breaks prevailing winds.
The trap to avoid is a shaded wall-side bed. A tall privacy fence or a dense hedge on the south side of a planting can cast enough shadow to undermine everything the shelter is supposed to help with.
RHS guidance is clear that hollyhocks need full sun for their best performance, so a wall that blocks wind but also blocks light works against your goal rather than toward it.
Prepare Well-Drained Soil With Steady Moisture
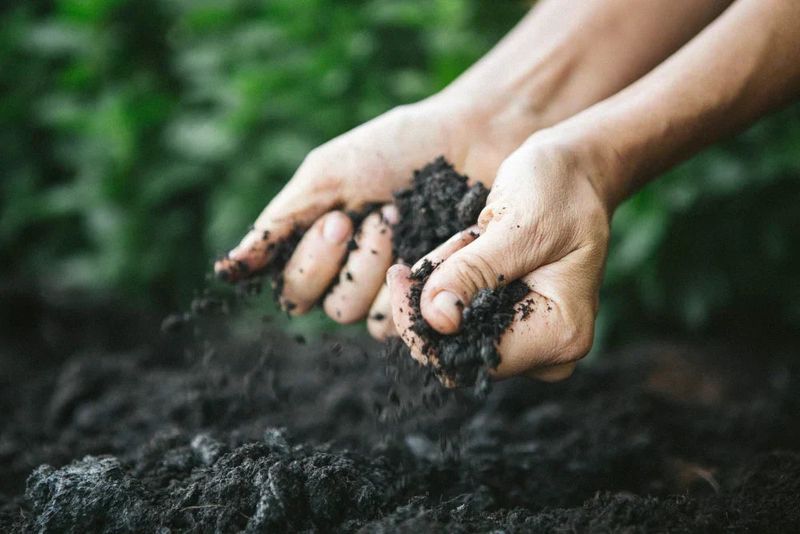
Good site selection only pays off when the soil underneath it is working with the plant. Hollyhocks favor fertile, well-drained soil.
RHS guidance describes them as tolerant of several soil types but performing best in fertile, well-drained conditions. A bed that stays soggy after rain invites root problems; a bed that dries out completely between waterings stresses the plant during the stretches when it needs steady moisture most.
When your soil is sandy and low in nutrients or heavy clay that drains poorly, working in organic matter before planting can help on both counts. University of Illinois Extension recommends improving soil with compost or organic matter when fertility is low.
Keep in mind that established hollyhocks generally have modest fertility needs, and Ask Extension guidance on hollyhocks not blooming supports correcting genuinely poor soil rather than feeding aggressively. Heavy fertilizing does not reliably produce taller stems, and Penn State Extension notes that excess fertilizer can injure plant roots rather than help them.
For watering, aim for consistent moisture during establishment rather than occasional flooding. University of Wisconsin Extension recommends watering at the soil line, preferably in the morning, rather than wetting the foliage.
Ask Extension advice on shorter plants also points to steady moisture as a factor in overall plant performance. Morning watering lets any incidental splash on leaves dry before evening, which matters more in humid Southern climates.
Leave Space Around Each Plant
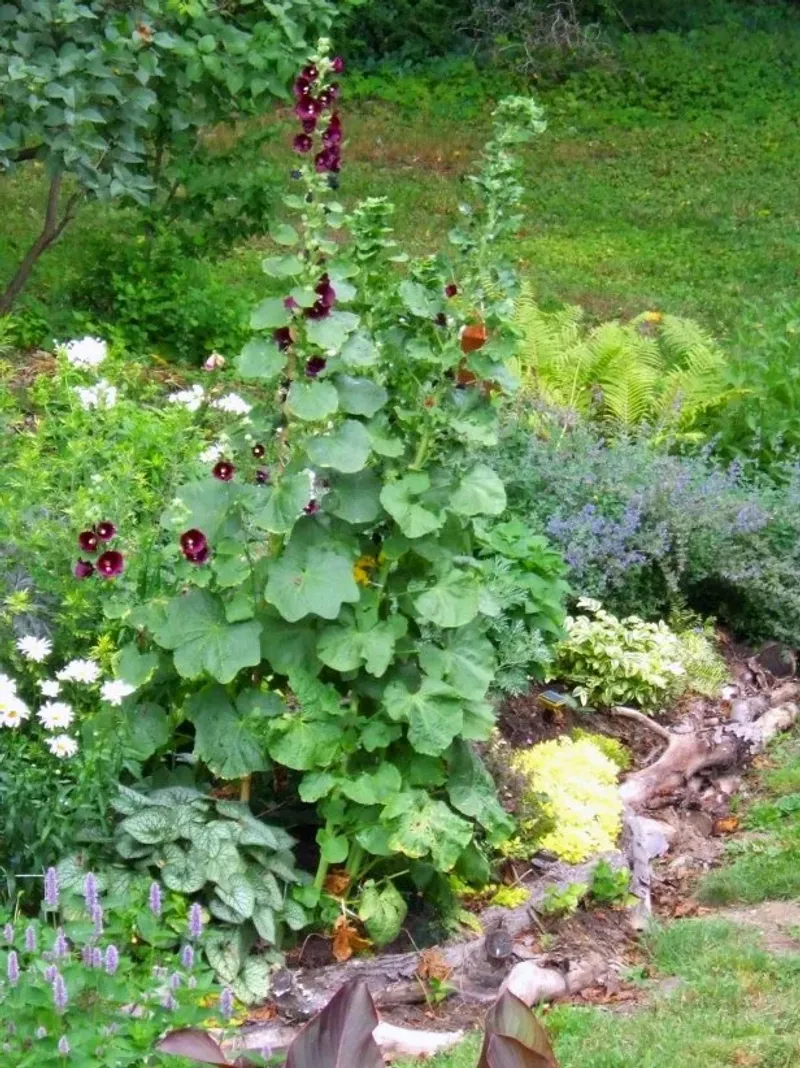
Crowding hollyhocks is one of the easier mistakes to make, especially when seedlings look small and the bed seems to have plenty of room. Once the plants size up, a dense planting restricts air movement, keeps foliage wet longer after rain or irrigation, and can create the kind of humid microclimate that fungal disease prefers.
Published spacing recommendations vary depending on the source and the planting situation. South Dakota State University Extension suggests spacing hollyhocks about 18 to 24 inches apart, while other sources mention ranges starting closer to 12 inches for smaller cultivars.
RHS guidance also supports leaving adequate room between plants. A reasonable working target for most garden situations is roughly 18 inches, with larger or more vigorous cultivars benefiting from a bit more.
Adequate spacing does not make individual plants taller, but it does help foliage dry more quickly after rain, which can reduce conditions that favor rust and other fungal problems. University of Wisconsin Extension ties good air circulation to reduced disease pressure in hollyhock beds.
Think of spacing as the practical companion to sunlight and wind shelter: all three work together to give each plant the best possible growing environment.
Check Plant Age, Cultivar, and Southern Heat
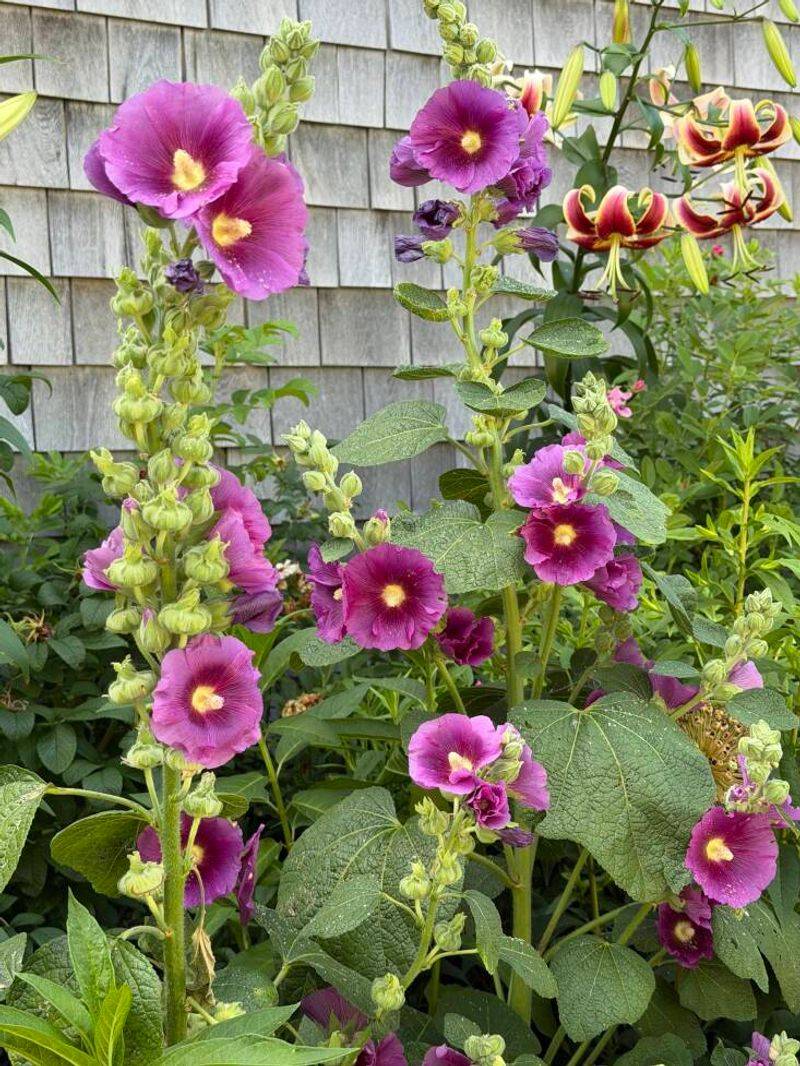
A short hollyhock that has not yet flowered may not be failing at all. Many hollyhocks are biennial, meaning they put their energy into building a leafy rosette during the first growing season and do not send up a flowering stalk until the second year.
University of Illinois Extension confirms that many hollyhocks bloom in their second year, and University of Maine Cooperative Extension explains why first-year plants often stay low without flowering. If your plant looks healthy but compact, check when it was planted before assuming something is wrong.
Cultivar matters too. South Dakota State University Extension notes that hollyhocks vary considerably in mature height, and annual cultivars that skip the biennial cycle are also widely available.
NC State Extension lists typical mature height at 5 to 8 feet, while Illinois Extension puts common plants closer to 3 to 6 feet. If you want the tallest possible spike, confirming the cultivar’s expected height before you plant avoids a lot of guesswork later.
Southern gardeners face an added layer of complexity. Heat can cause hollyhock foliage to wither during the hottest part of summer, even in a bright, well-placed bed.
UF/IFAS Extension describes North Florida culture as possible but timing- and location-dependent, and Mississippi State Extension recommends hollyhocks for full-sun background plantings while noting that annual cultivars offer more flexibility. Full sun remains the standard recommendation in the South, but do not expect lush foliage to hold through July and August in Florida or inland Texas.
Troubleshoot Rust and Weak Stems Before Treating
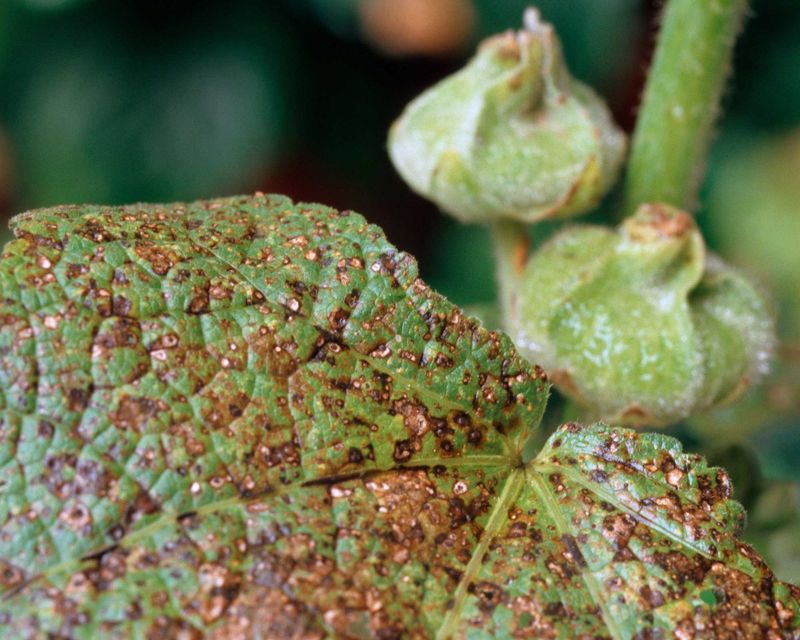
Rust is the most recognizable hollyhock disease, and in Texas it is especially hard to avoid. Texas A&M AgriLife Extension identifies hollyhock rust as the most prevalent hollyhock disease in Texas and notes that high temperature and humidity favor its development.
Orange or yellow pustules on the undersides of leaves are the classic sign. Rust does not directly shorten stems, but heavy infections weaken foliage, reduce the plant’s vigor, and make a tall plant look sparse and ragged.
Full sun and good airflow can reduce the moisture conditions that favor rust, but they do not guarantee rust-free plants. University of Wisconsin Extension explains that some varieties may show resistance to certain rust variants, but resistance is not reliable against every strain.
If you want to treat, identify the problem clearly first, choose a product registered for the specific disease, and follow the current label exactly. Fungicides may help slow the spread of new infections but cannot reverse existing leaf damage.
Weak or leaning stems are a separate issue. Before staking everything, check whether the plant is simply top-heavy in wind, whether it is growing in too much shade and reaching toward light, or whether the cultivar naturally produces a less rigid stem.
University of Illinois Extension points out that early pinching produces shorter, bushier plants rather than taller ones, so avoid pinching if height is the goal. Illinois Extension also notes that drought, poor drainage, and insect damage can each mimic the appearance of a placement problem, so check those conditions before assuming the site is at fault.
Make the Site Correction Before Adding Products
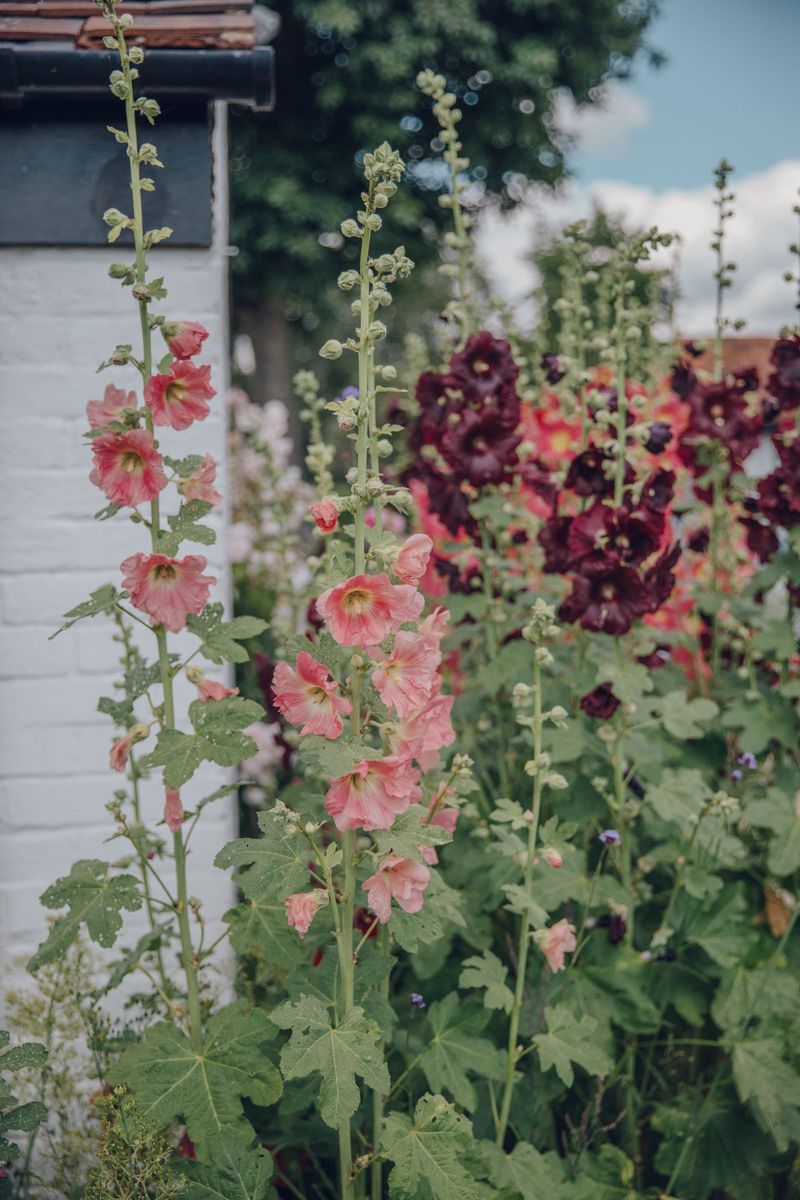
When your hollyhocks are short or sparse, start with the site before reaching for any product. Choose a spot with at least about six hours of direct sunlight, add wind shelter from a fence or wall only when it will not cast significant shade, use well-drained soil with moderate fertility, water at the soil line in the morning, and leave enough room between plants for air to move.
RHS guidance and NC State Extension both point to these same conditions as the foundation for strong hollyhock performance.
If the site already checks those boxes and the plants are still short, look at age, cultivar, heat stress, drainage, or disease before changing anything else. University of Illinois Extension reminds gardeners that first-year biennial plants simply need another season before they flower.
The right placement can improve the odds of taller, more upright spikes – but a good site is an invitation, not a promise.