
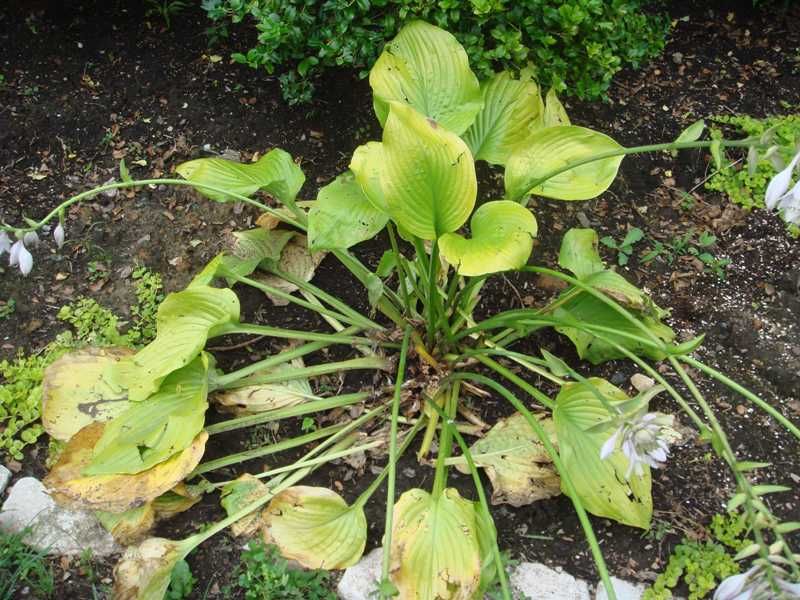
Hostas can look tired by the end of the season, but fall is when next spring really gets set up. A few smart jobs now can help plants wake up stronger, leaf out thicker, and handle Southern weather better.
If your hostas seemed smaller, thinner, or more chewed up this year, these steps can give them a better start.
1. Keep watering until the ground cools
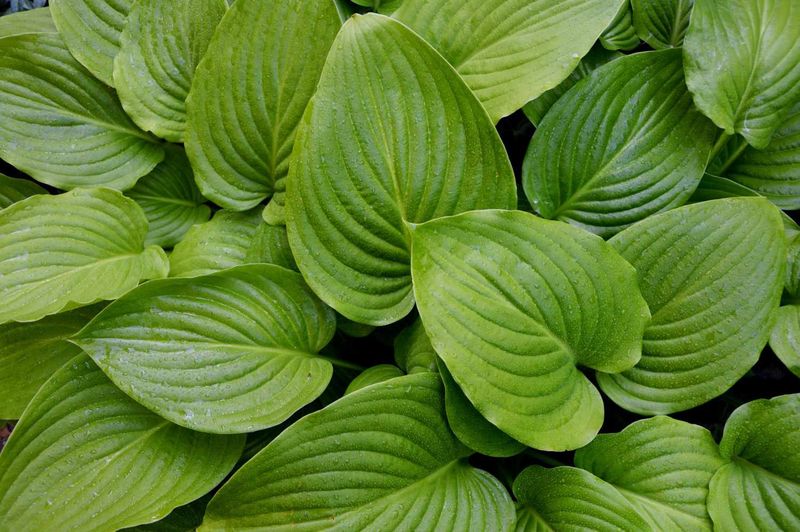
Late-season hostas often fool people. The leaves may look worn out, but the roots are still active while the soil stays warm, especially across much of Texas and Florida where fall can stretch on for weeks.
That means dry soil in autumn can quietly shrink next spring’s performance. A deep soaking once or twice a week during dry spells often helps the crown store energy before dormancy, while daily light sprinkles do very little for the root zone.
Aim to moisten the soil several inches down, then let the surface dry slightly before watering again. If your hostas sit under trees, check them more often because roots from nearby trees can pull away moisture fast.
Containers need even closer watching since potting mix dries out quicker than garden beds. Keep watering until the plant yellows naturally and the weather turns consistently cool, then ease back instead of stopping all at once.
One simple habit matters here: water the soil, not the leaves. Dry foliage can reduce late-season disease pressure, and steady moisture now may be one of the easiest ways to get fuller clumps and larger leaves when spring rolls around again.
2. Cut away damaged leaves, but wait on a full cleanup
Messy hostas can make gardeners reach for the pruners too soon. Even when the leaves are not pretty anymore, green tissue still feeds the crown, so a total haircut in early fall can reduce the plant’s energy savings for next year.
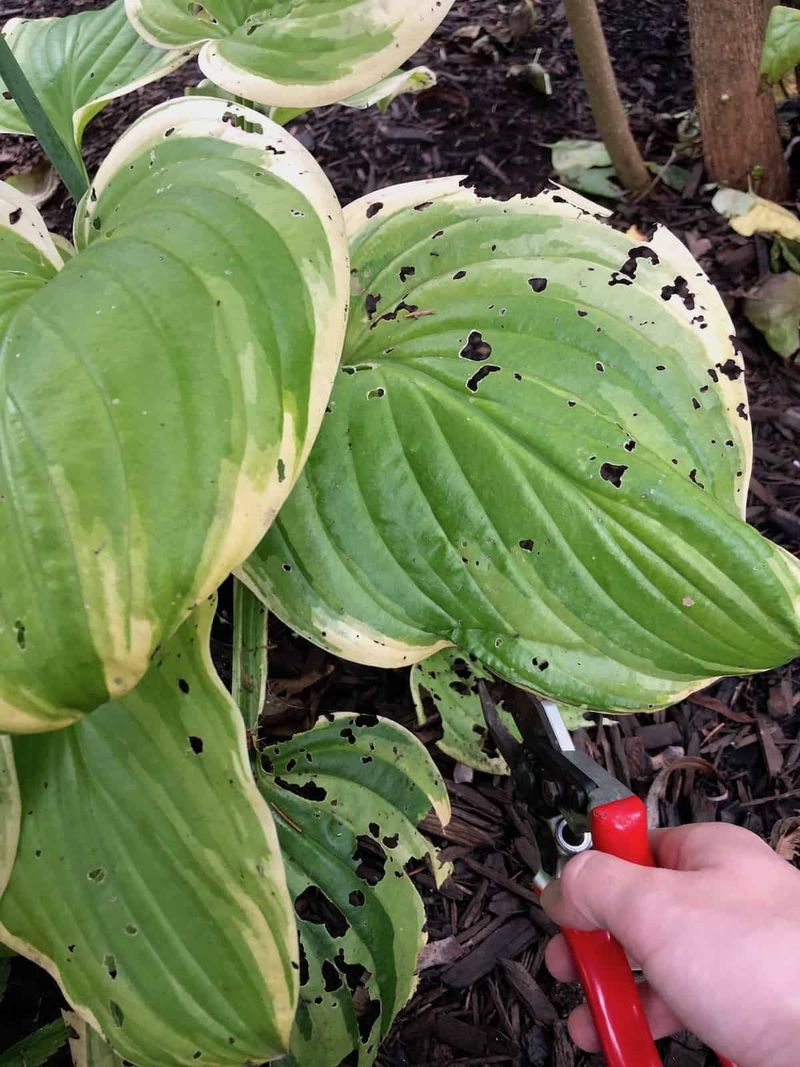
A better move is selective cleanup. Remove leaves that are badly torn, diseased, mushy, or covered in slug damage, but leave the rest until they yellow and collapse on their own or after a light frost.
That timing gives the plant more time to move stored energy down into the roots. It also helps you avoid trapping extra moisture over the crown with piles of freshly cut foliage, which can invite rot in beds that stay damp through Southern winters.
Use sharp, clean pruners and cut spent stems close to the base without nicking the crown. Any leaves showing fungal spotting or soft decay should go in the trash, not the compost, especially if you had trouble with disease during humid weather.
Once the foliage is fully spent, clear it away so slugs, pill bugs, and other pests have fewer hiding spots. Done at the right moment, cleanup becomes a plant-saving step instead of a stress point, and your hostas head into dormancy with more strength in reserve.
3. Divide crowded clumps before they stall out
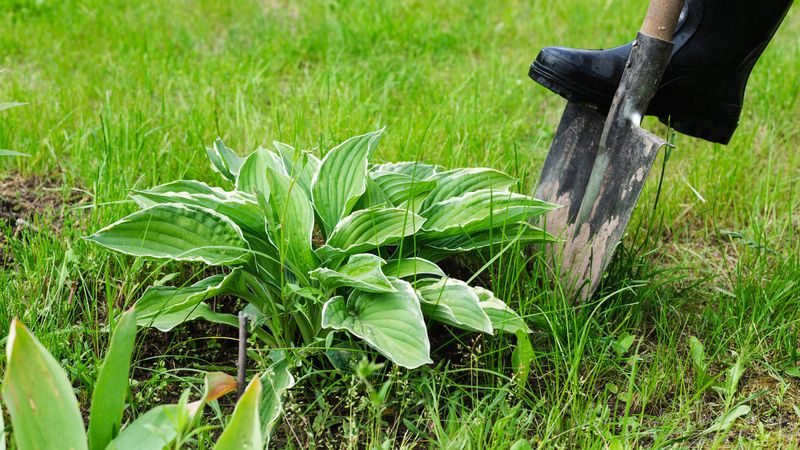
Every hosta has a point where cozy turns crowded. When the middle of a clump starts looking weak, or leaves come up smaller than they used to, division can reset the plant and give you several vigorous starts instead of one tired mound.
Early to mid-fall is often a good window in many Southern gardens because the soil is still workable and roots can begin settling in before winter. You do not need to chop every hosta regularly, only the ones that clearly look congested or have outgrown their spot.
Lift the clump with a digging fork, shake off some soil, and look for natural crown sections with roots attached. A sharp knife or spade works well for slicing through the crown, and each piece should have several healthy buds if possible.
Replant divisions at the same depth they were growing before, then water deeply to settle the soil. Keep them evenly moist through dry autumn weather so new roots can form without stress.
Division also gives you a chance to improve spacing, which matters in humid regions where crowded plants stay wet longer and may struggle with airflow. More room often leads to stronger spring emergence, cleaner leaves, and a fuller look that seems almost too good for a plant you just split apart.
4. Top-dress with compost instead of pushing new growth
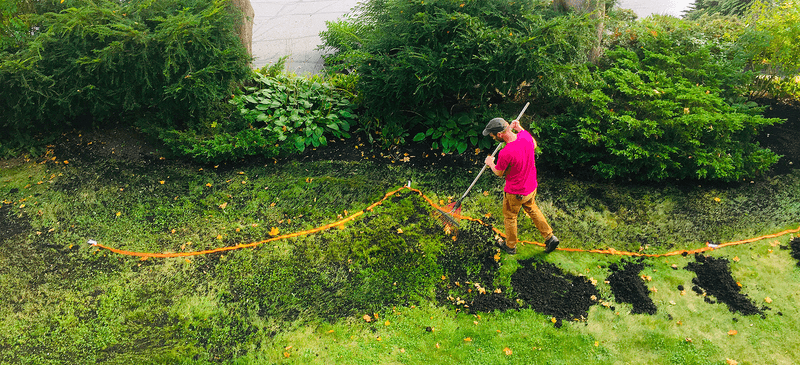
Fall feeding can go wrong when gardeners treat hostas like lawn grass. A strong dose of high-nitrogen fertilizer late in the season may encourage soft new growth that is not useful going into dormancy, especially if warm spells are followed by sharp cold snaps.
Compost is the calmer, smarter option. A thin layer around the root zone can improve soil structure, feed beneficial microbes, and slowly add nutrients without forcing a flush of tender leaves at the wrong time.
Spread about an inch over the soil, but keep it pulled slightly back from the crown so moisture does not sit right against the plant. In sandy parts of Florida and many Texas landscapes, organic matter can be especially helpful because it improves water holding and supports steadier root growth.
If your soil is heavy clay, compost may also help loosen the surface and improve air movement over time. That matters because hostas like moisture, but they do not enjoy wet, suffocating soil that lingers around the crown after storms.
Think of compost as savings, not spending. You are building better soil now so the plant has a richer, more stable place to wake up in spring, and that can translate into thicker clumps, better leaf size, and less stress once heat returns.
5. Mulch after the soil cools, not during hot weather
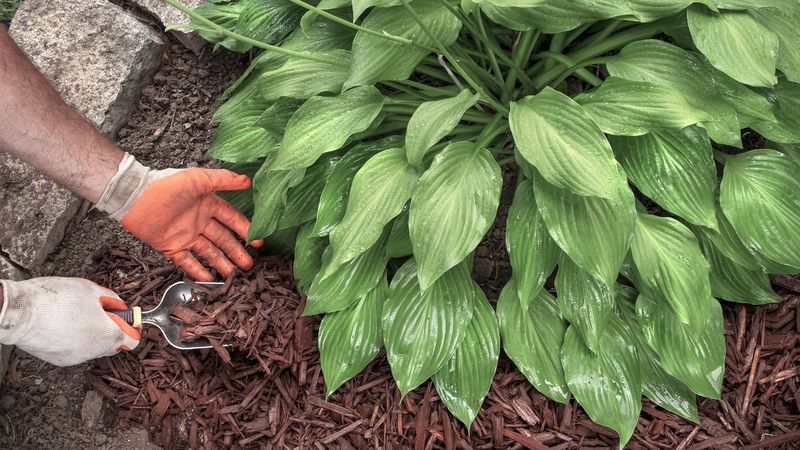
Mulch works best when timing matches the season. Piling it on while the soil is still hot can hold too much warmth and moisture around the crown, which is not the goal when hostas are trying to slow down for winter.
Wait until cooler weather settles in, then add a light layer of mulch around the bed. Two to three inches of shredded leaves, pine straw, or fine bark can help even out soil temperature, reduce winter weed growth, and protect roots from repeated swings between wet and dry.
Keep the mulch a couple of inches away from the crown itself. That small gap matters because mulch pressed tightly against the base may trap moisture and create a hiding place for slugs or rot problems.
In parts of the South, winter is not always brutally cold, but sudden cold snaps after warm stretches can still stress shallow roots. Mulch acts like a buffer, which may help plants stay more stable through those ups and downs.
There is another bonus. As organic mulch breaks down, it feeds the soil little by little, which supports healthier root systems over time.
A well-mulched hosta bed usually looks cleaner too, and tidy beds warm many gardeners’ hearts when the leaves are gone and spring still feels far away.
6. Mark where your hostas sleep
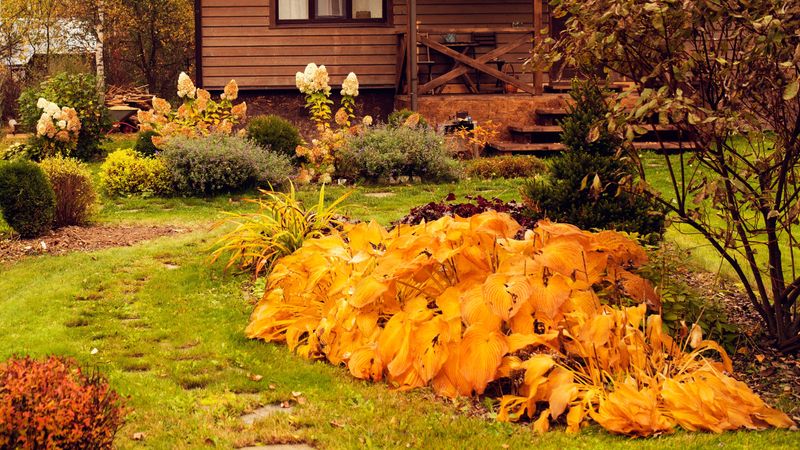
Here is the quiet trick that saves a lot of spring regret. Once hostas disappear, it becomes surprisingly easy to dig through their crowns while planting bulbs, edging beds, setting stepping stones, or adding fresh mulch.
A simple marker tells you exactly where each plant is resting. Use a short stake, durable plant tag, or even a discreet decorative marker placed just outside the crown so you remember the plant’s spread after the leaves are gone.
This matters most in mixed beds where hostas share space with ferns, caladiums, hellebores, or spring annuals. Without a marker, one enthusiastic weekend project can slice into buds before they ever get the chance to emerge.
Markers also help you track which varieties perform best in your yard. If one hosta burns in Texas afternoon sun or struggles in Florida’s humidity, you can make better changes later because you know exactly which clump is which.
Choose something weather-resistant that will last through winter rains and routine bed cleanup. It is a small task, but it protects the crown, keeps your bed plan organized, and lets you work around dormant plants with confidence.
Sometimes fuller hostas next spring come down to not damaging them when they are invisible and unable to defend themselves.
7. Clear out slug shelters and check for pests
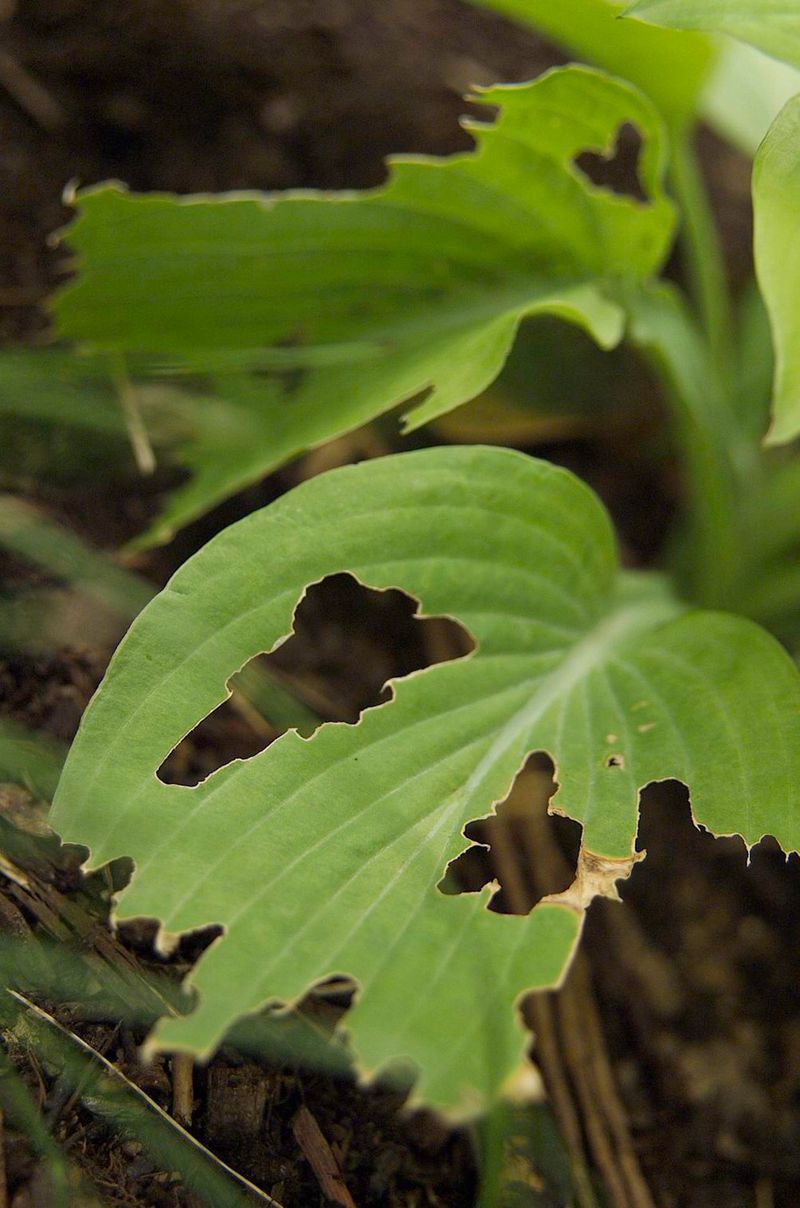
Slugs rarely send a warning before spring damage shows up. They spend cool, damp periods hiding under old leaves, boards, dense mulch, and other sheltered spots, then chew fresh hosta growth just as the plant is trying to unfurl.
Fall is a smart time to make life harder for them. Clean out soggy debris around the bed, lift and remove hiding spots, and check under mulch or along edging for clusters of small translucent eggs.
If you find eggs, scrape them out and discard them. In gardens with serious slug pressure, iron phosphate bait may help reduce numbers when used according to the label, and it is often chosen by home gardeners because it is easier to fit into a wildlife-aware yard plan.
Deer, voles, and crown-chewing critters can also be worth watching, depending on your neighborhood. Hostas are famous deer snacks, so if winter browsing is common where you live, a temporary barrier or nearby repellent strategy may protect dormant crowns and tender spring shoots.
Pest cleanup is not glamorous, but it can be the difference between leaves that open smooth and broad or leaves that look shredded from day one. When the hiding places go away in fall, your hostas often get a cleaner, calmer start when warm weather returns.
8. Fix drainage and light problems before winter
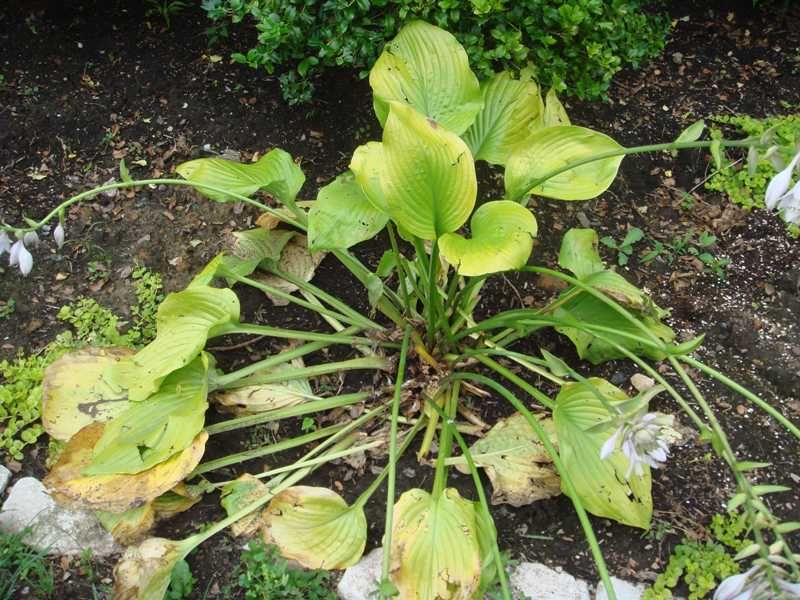
Sometimes the real reason a hosta stays skimpy has nothing to do with fertilizer or pruning. A plant that sits in standing water, bakes in harsh afternoon sun, or struggles in root-packed tree shade may never bulk up the way it should.
Fall is an excellent time to notice those trouble spots because you can still see how the season played out. Scorched edges point to too much sun or dry wind, while yellowing and soft crowns may suggest drainage issues that need attention before winter settles in.
If the bed stays soggy, work in organic matter, improve grading if possible, or move the plant to a slightly raised spot with better drainage. If sun is the problem, relocating the clump to morning sun and afternoon shade may help a lot, especially in hot Southern gardens.
Florida hostas often need more protection from intense heat, while many Texas gardeners see better leaf quality when plants avoid the fiercest west sun. Even extra irrigation cannot fully make up for a site that is simply too bright or too dry.
Making those corrections now gives roots time to settle and sets the stage for stronger spring growth. Better placement is one of the few changes that can improve leaf size, reduce stress, and make a hosta look naturally fuller without asking the plant to fight its surroundings.