
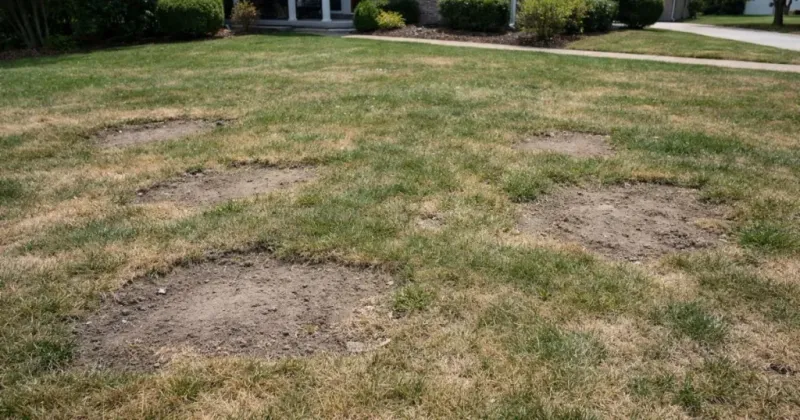
Overseeding sounds straightforward enough: scatter some seed, water it, and wait for the bare patches to fill in. But homeowners across Florida, Texas, and the rest of the South repeat this process season after season and still end up staring at the same thin, patchy turf.
The frustrating truth is that the seed itself is rarely the problem. A common, overlooked step in how seed is placed and prepared can quietly prevent germination before the water ever hits the ground.
The seed may never be reaching soil
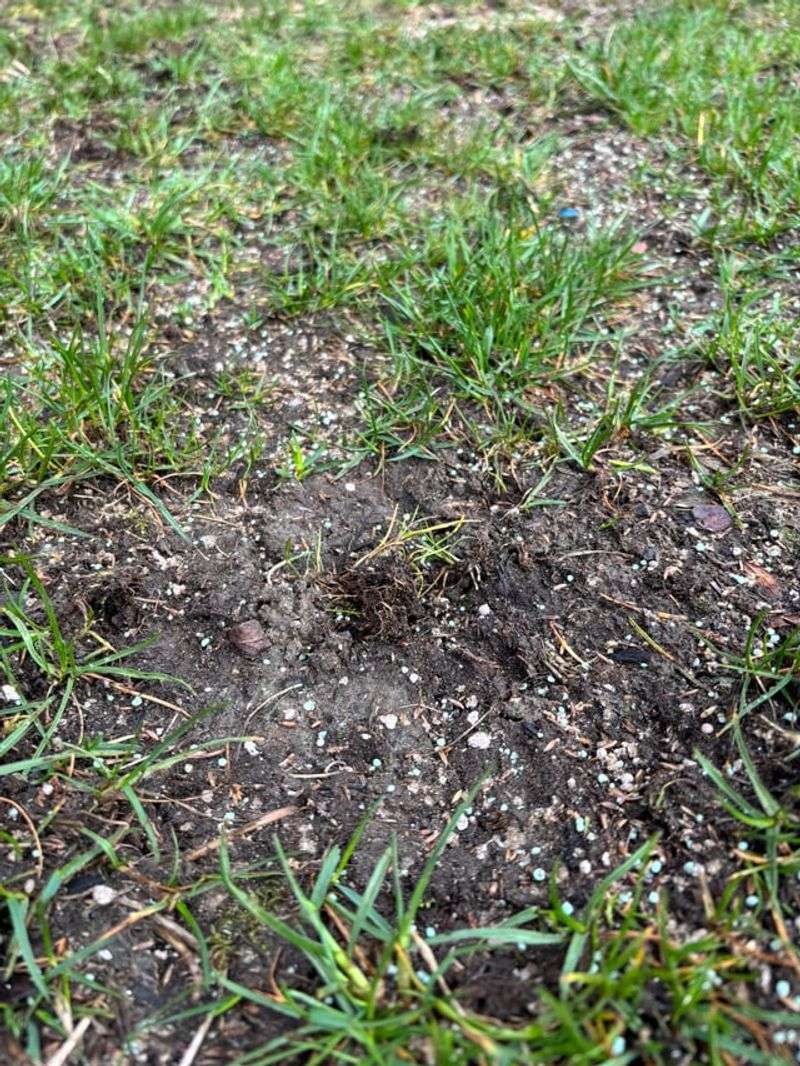
Broadcasting seed over living grass, a thick layer of thatch, fallen leaves, or loose surface debris is one of the most common reasons overseeded lawns stay bare. Grass seed needs close, firm contact with moist soil to absorb water and send out its first root.
When seed lands on top of existing material instead of touching bare soil, it can sit suspended, dry out quickly, and never germinate at all.
This placement problem can cause delayed or uneven germination across a lawn, which is why some patches fill in while others stay stubbornly open. Penn State Extension’s lawn seasonal management guidance and UF/IFAS guidance on establishing a Florida lawn both consistently emphasize exposing soil, raking seed in, and firming the surface as core steps in successful establishment.
Skipping those steps is a preventable reason seed fails.
Poor seed-to-soil contact is a frequent cause of patchy results, but it is not the only explanation. Timing, grass selection, moisture levels, shade, soil compaction, pests, disease, and competition from established turf can all produce the same thin outcome.
Adding more seed or watering more heavily will not correct a seedbed where seed is still resting on debris rather than soil. The surface itself has to be prepared before seed goes down.
Prepare a clean, exposed seedbed first
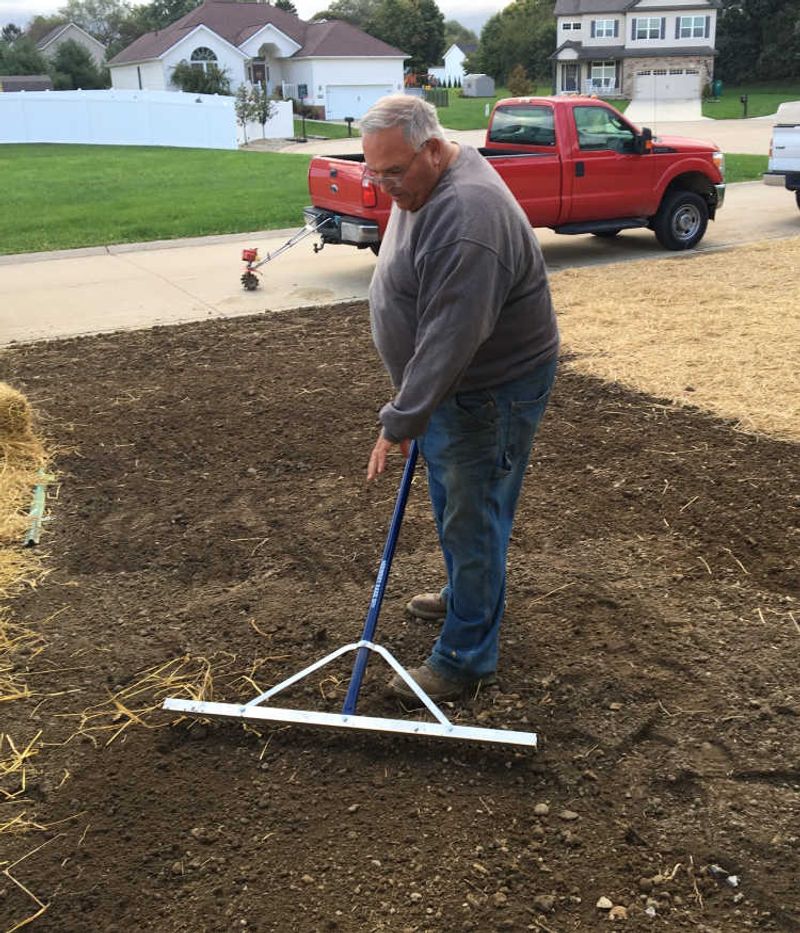
Before any seed goes down, the surface needs to be ready to receive it. Mow the area at an appropriate height for your grass type, then clear away leaves, clippings, and any loose debris that could cushion seed away from the soil.
In thin or bare spots, rake firmly enough to scratch the soil surface and create small furrows where seed can settle in and make contact.
The goal is exposed, receptive soil, not a stripped or scalped yard. Healthy surrounding turf does not need to be disturbed.
Penn State Extension’s lawn establishment guidance recommends preparing a level, moist seedbed and exposing enough soil to allow seed to reach it, rather than treating the whole lawn aggressively. Surface preparation should match the actual condition of the area being repaired.
Sometimes raking alone is not enough. When soil compaction is genuinely present, core aeration can open the surface and improve both seed contact and drainage.
Where thatch has built up thick enough to block seed from reaching soil, targeted dethatching may help. Slit-seeding equipment cuts directly into the soil and places seed at a consistent depth, which can be useful for larger areas.
None of these steps should be automatic, though. Each one makes sense only when the surface condition actually calls for it, not as a routine addition to every overseeding job.
Light coverage and firming keep seed in place
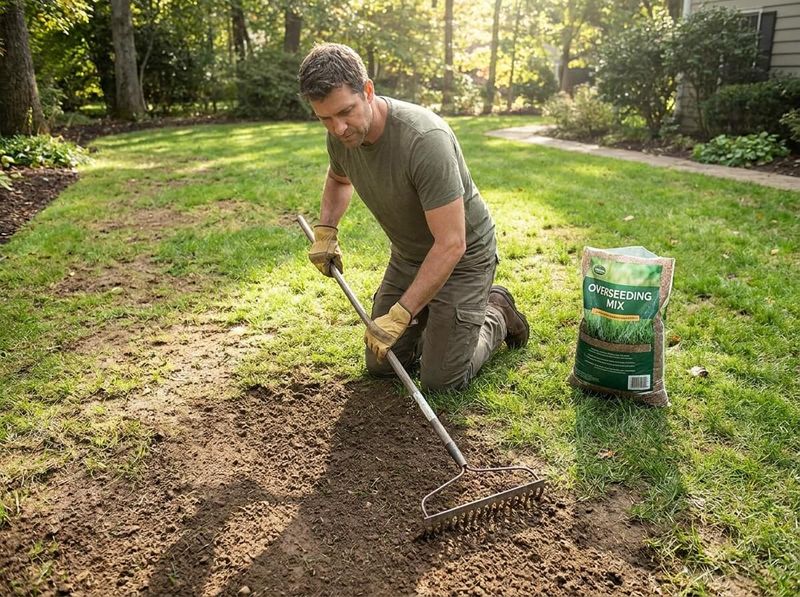
Once the soil is exposed and ready, spread the appropriate seed evenly across the prepared area at the rate recommended for that specific grass and product. Uneven distribution leads to thin spots in some areas and crowded, weak seedlings in others.
After broadcasting, use a rake to lightly work the seed into the top layer of soil so it is no longer sitting loose on the surface.
Oklahoma State University Extension’s lawn establishment guidance recommends covering seed with approximately 1/8 inch of soil, while UF/IFAS describes light raking followed by a topdressing of roughly 1/4 to 1/2 inch when practical. The right depth varies with grass species and seed size, so the specific product label and local extension recommendations for your turf type should guide the decision.
What matters most is that seed is in contact with soil, not buried so deep that seedlings cannot push through to the surface.
After raking seed in, gently firm the area to improve the connection between seed and moist soil. A light lawn roller works well on a prepared, dry-to-slightly-moist seedbed.
University of Minnesota Extension’s lawn renovation guidance notes that firming supports seed-to-soil moisture contact during establishment. Avoid rolling or pressing into saturated soil, which can compact rather than firm the seedbed and create drainage problems that outlast the repair.
Moisture matters until seedlings establish
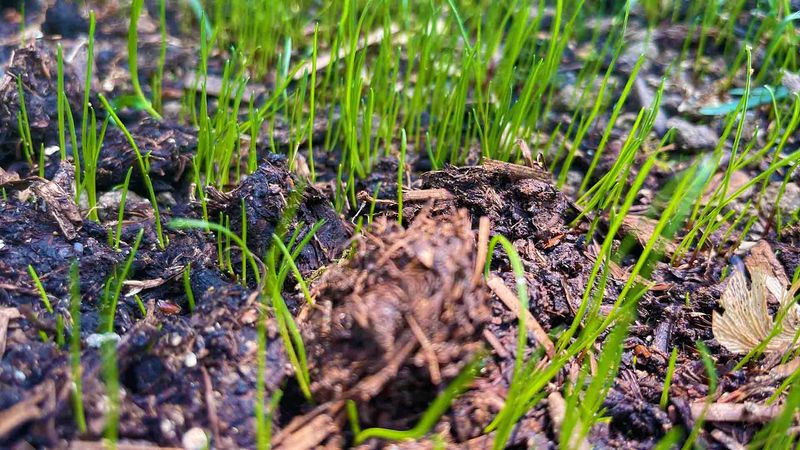
Keeping the upper seedbed consistently moist is the most critical job during the germination window. Seed that dries out after it has begun to absorb water will not recover, so the surface needs to stay moist from sowing through the point when seedlings are visibly established.
Light, frequent watering is the practical approach during this phase, applied often enough that the soil surface never fully dries between sessions.
Oklahoma State University Extension advises keeping the upper inch moist for roughly 10 to 14 days during establishment, though weather, soil type, slope, seed species, and available irrigation all affect how often watering is actually needed. A shaded area on clay soil in a cooler week will hold moisture much longer than a sunny slope on sandy soil during a Texas heat spell.
Watch the surface and water before it dries rather than following a fixed clock schedule.
Once seedlings are established, shift to the deeper, less frequent watering that encourages roots to grow downward. Continuing light, shallow watering after establishment keeps roots near the surface and weakens turf over time.
A thin layer of clean straw or suitable mulch can help retain moisture, moderate soil temperature, and reduce erosion on slopes during germination. Use it lightly, though, because heavy mulch can smother emerging seedlings, and hay can carry weed seed that creates a new problem in the repaired area.
Some lawn-care fixes can sabotage new seed
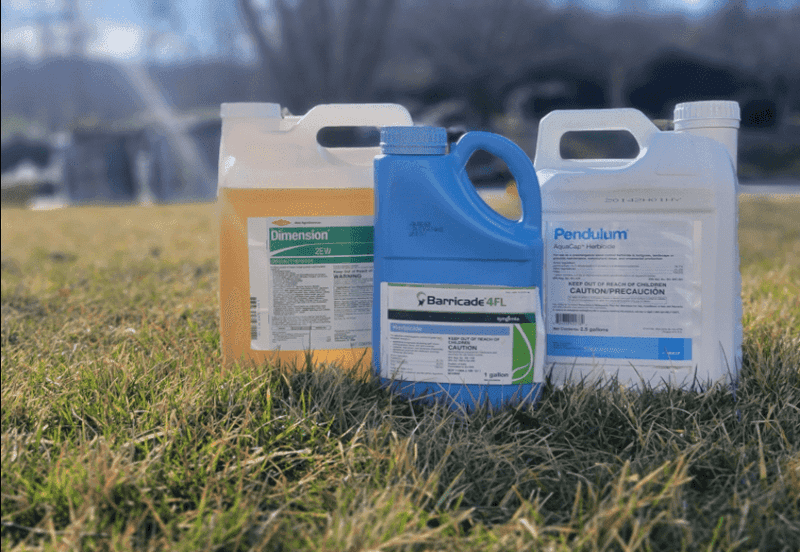
Preemergence herbicides are designed to stop germinating seeds from developing roots and shoots. That same mechanism that blocks crabgrass can also affect the turf seed you just put down.
Applying a preemergence product before or immediately after overseeding can reduce germination or damage young roots before seedlings have a chance to establish.
UF/IFAS weed management guidance for Florida lawns specifically warns against applying preemergence herbicides before or immediately after seeding bermudagrass, bahiagrass, centipedegrass, or winter-overseeded ryegrass. The product label and local extension guidance for your region and grass type should always be checked before any herbicide goes down near a newly seeded area.
There is no universal safe window that applies to every product and every turf species.
Weeds showing up in a repaired area are a related frustration, but the right response is rarely to reach for a weed control product first. Weeds commonly move into weakened or exposed soil after the turf has already declined, meaning they are filling an opening that something else created.
Heavy mulch applied in an attempt to suppress weeds can also smother seedlings if it is too thick or too dense. Correcting the underlying reason the turf thinned in the first place is the more reliable path to keeping a repaired spot filled in and weed-resistant over time.
Good seed placement cannot overcome the wrong lawn diagnosis
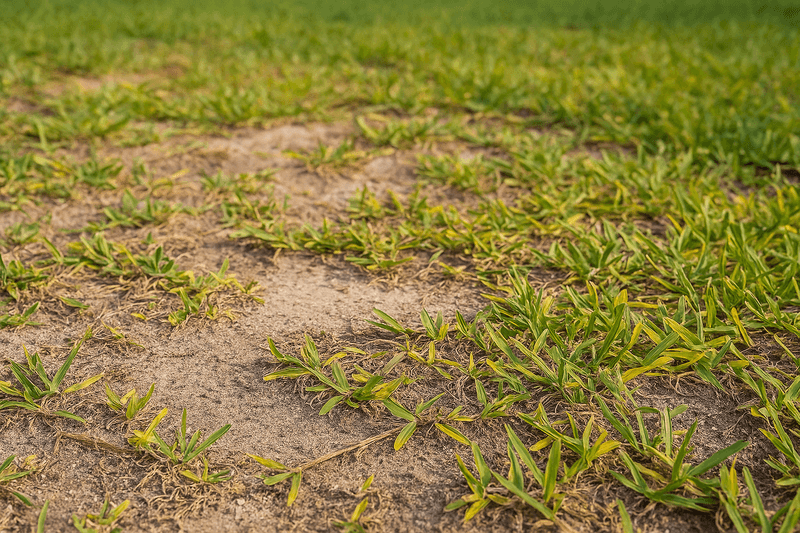
Even a well-prepared seedbed with perfect seed-to-soil contact will not fix a lawn that has a different underlying problem. Established turf competes with new seedlings for light, water, and space, and that competition alone can prevent seedlings from surviving long enough to fill in.
UF/IFAS research on cool-season forage establishment in Florida notes that overseeding into established sod can fail because of warm-season grass competition and insufficient moisture, particularly in central and southern Florida.
Shade, soil compaction, poor drainage, drought stress, insects, disease, nematodes, improper mowing height, and excessive thatch can all cause turf to thin repeatedly regardless of how carefully seed is placed. If bare spots keep returning in the same location after multiple repair attempts, one of these factors is almost certainly involved.
Identifying and correcting the actual cause matters more than refining the seeding technique.
Regional grass selection adds another layer of complexity that placement alone cannot solve. In Florida, not all warm-season grasses can be established from seed.
St. Augustinegrass, which is one of the most widely grown lawn grasses in the state, is not available as seed and must be installed using sod, plugs, or sprigs, as confirmed by UF/IFAS guidance on selecting a turfgrass for Florida and UF/IFAS St. Augustinegrass management information. In Texas, bermudagrass lawns are sometimes overseeded with ryegrass for temporary winter color, a regional practice described in Texas A&M AgriLife Extension’s turfgrass selection guide, but this is not appropriate for every Texas lawn or every warm-season species.
UF/IFAS winter lawn guidance notes that North and Central Florida lawns may benefit from ryegrass overseeding while South Florida lawns typically do not need it. Overseeding means different things depending on the turf type, region, and season.
Use the seed-to-soil test before you reseed
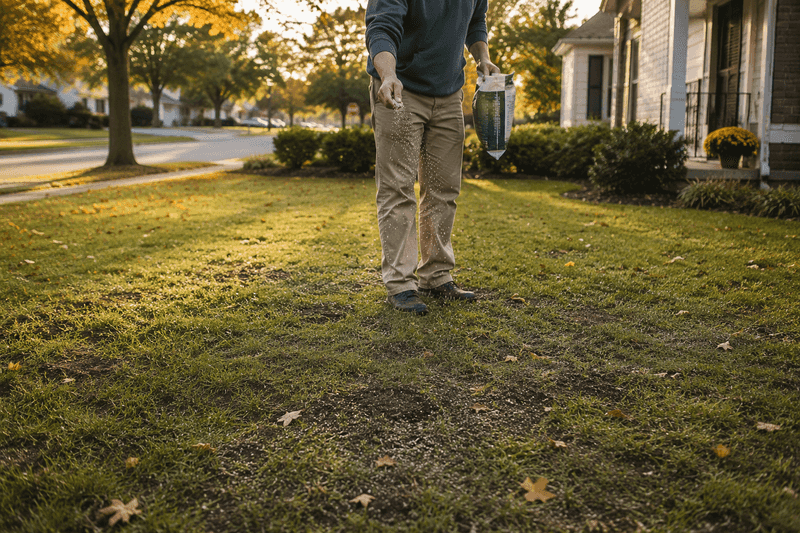
Before spreading any seed, run through a short checklist. Identify your grass type and confirm that it can actually be established from seed in your region.
Check the calendar against the appropriate planting window for your turf and location. Look at the bare or thin area carefully for signs of compaction, shade, drainage issues, insects, or disease, because any of those problems will need to be addressed before reseeding has a realistic chance of working.
Once the diagnosis is clear, prepare the soil surface by removing debris, raking thin spots to expose soil, and spreading seed at the rate recommended for your grass type and product. Rake lightly to work seed into the surface, firm the seedbed without pressing into saturated ground, and keep the upper soil consistently moist through germination.
UF/IFAS establishment guidance and Oklahoma State University Extension’s lawn establishment fact sheet both walk through these steps in practical detail for their respective regions.
When the grass type, a recurring underlying problem, or a large damaged area makes ordinary overseeding unsuitable, sod, plugs, sprigs, or a fuller lawn renovation may be the more reliable path forward. A local extension office or lawn care professional can help identify what the lawn actually needs.
Seed that reaches soil and stays moist has a real chance – seed that never touches soil never did.