
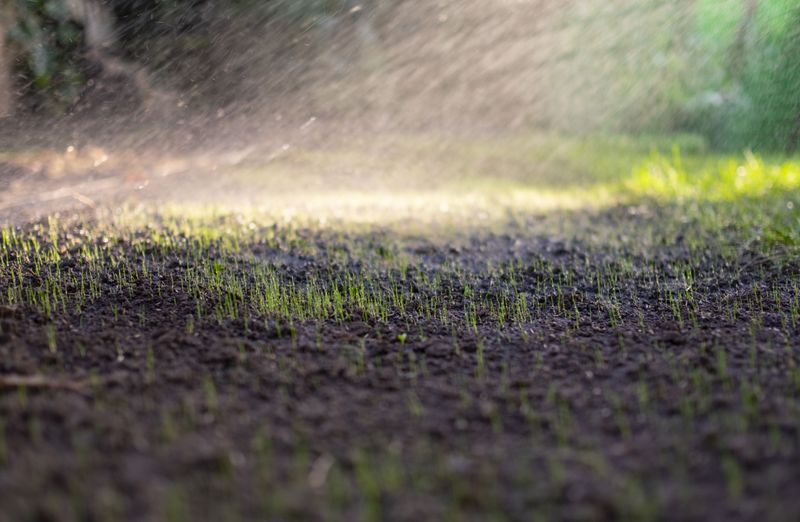
You spread seed, watered faithfully, and finally saw green shoots. Then the patches started thinning out and turning brown.
An early change in watering may play a part in that loss, though it is rarely the only suspect. Here is how to check your seedbed and sort out what is really going on.
Green shoots can still be vulnerable
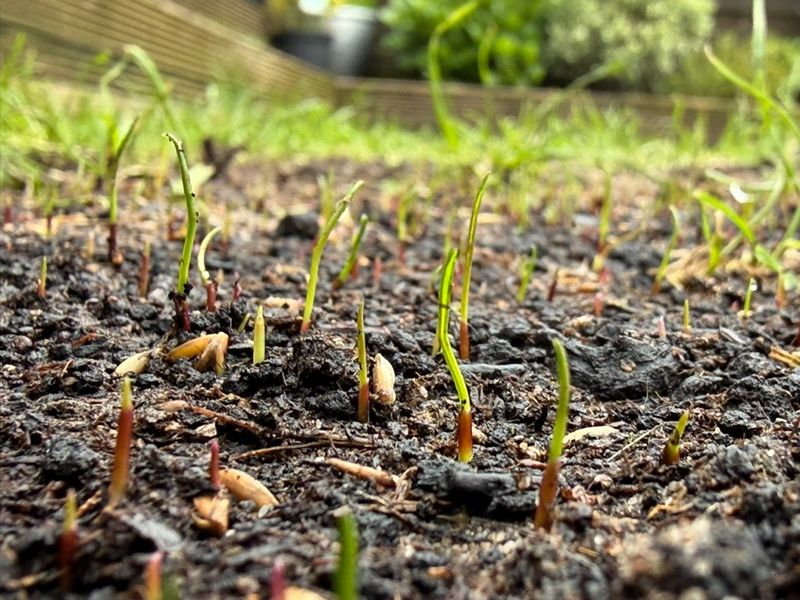
Seeing green shoots feels like the finish line, but those seedlings are still tiny and their roots are barely started. If the seedbed dries out after an early watering change, young plants may struggle or collapse.
That is a possibility to check, not a verdict, since other problems can look the same.
One practical cue comes from Missouri Extension’s watering guide, which uses a seedling height of about 2 inches as a signal that it may be time to start shifting your routine. Treat that number as a rough guide rather than a rule.
Grass type, weather, and soil all change how fast seedlings mature.
Other guidance ties the switch to seedling maturity and root development instead of a height or a date. UF/IFAS advice for Florida lawns frames it that way.
Tall-looking blades do not prove the roots underneath are ready for longer gaps between waterings, so keep watching the soil.
Keep the seedbed moist, not saturated

During germination and early growth, the goal is a seedbed that stays damp at the surface without turning soggy. Seeds and shallow young roots sit in the top layer of soil, and that layer dries fast.
Short, light waterings keep that layer from drying out between cycles.
UF/IFAS guidance describes small, frequent waterings early on, often a few times a day for roughly the first two weeks, then fewer and larger applications as seedlings and roots develop. Think of that as a starting point, not a script for every yard.
Conditions set the real pace. Texas A&M notes that hot, windy days may call for extra short watering periods.
Cloudy, humid stretches or recent rain may need far less. Puddles, shiny mud, or water running off mean you have gone too far, because saturated soil holds less oxygen and can slow root growth.
Check the seedbed before adjusting a timer
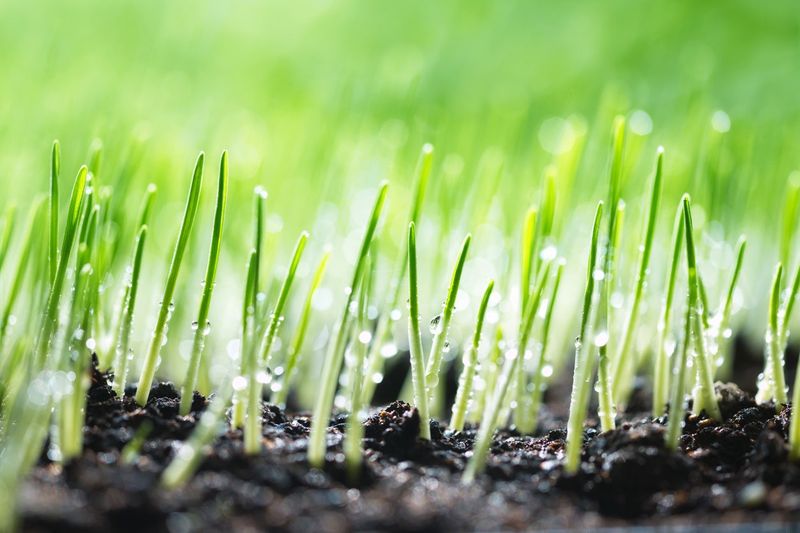
Your timer only knows the clock. Your seedbed knows the weather.
Before changing any setting, walk the seeded area in the morning and again in the afternoon and look at the soil surface.
Press a finger into the top inch. It should feel damp, not dusty and not muddy.
Pale, crusty soil, curling seedlings, or patches that look dry by midday suggest the bed is drying too fast.
Rain, heat, wind, mulch, and soil type all change how quickly moisture disappears. Sandy soil, common in much of Florida, dries quickly, while heavier clay can stay wet longer.
A light mulch layer may slow drying, and a breezy afternoon may undo the morning’s watering.
Coverage matters too. Set out a few empty cans to see whether your sprinklers reach every corner.
Dry edges may be a coverage issue rather than a schedule problem. Both UF/IFAS and Texas A&M point to conditions over fixed timers, and UF/IFAS suggests a fine spray or low-precipitation sprinkler at first to reduce seed washout.
Reduce frequency gradually as roots develop
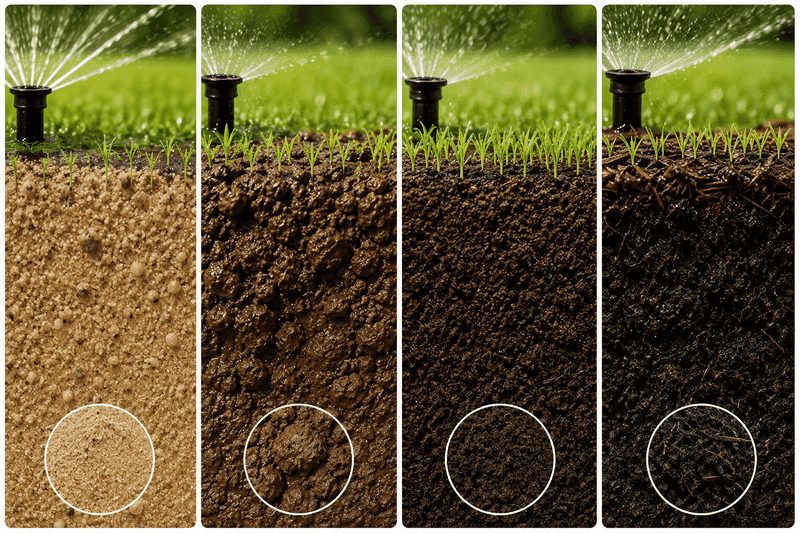
As seedlings mature, the plan shifts slowly. You water less often but apply more each time, so moisture reaches deeper into the developing root zone.
The change works best in steps, not as a sudden jump from several light sessions a day to one long soak.
A gradual path might mean dropping one session, watching the lawn for a few days, then trimming another if the soil holds moisture and the grass looks steady. UF/IFAS describes this same pattern of decreasing frequency while increasing the amount.
Missouri Extension offers its 2-inch height cue as one signal to start, though no fixed date fits every yard.
A bigger amount does not mean flooding. Texas A&M warns that saturated soil can impede roots.
If you see pooling, runoff, or seed and soil shifting, cut back. If patches wilt or dry out, ease the change and go back a step.
Consider seed choice and regional conditions
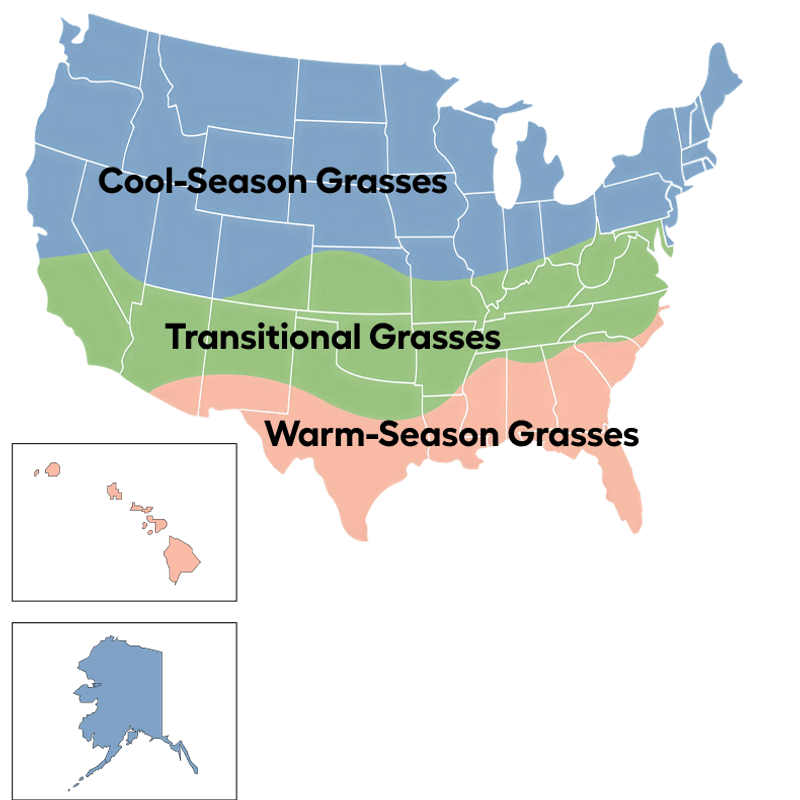
Sometimes the watering is fine and the seed is the problem. Seed quality, planting time, soil temperature, and how well the grass suits your site all affect establishment.
UF/IFAS lists quality, timing, rate, and method among the factors in success.
Florida readers have an extra wrinkle. Not every warm-season grass grows from seed there, and some retail blends include cool-season grasses.
Those can sprout fast, then die in warm weather, which can look like a watering failure. Check the label for the species in the bag.
Texas conditions differ. Texas A&M says warm-season seed germinates best when soil temperatures run roughly 70 to 95 degrees F, and the first few weeks are critical.
Seed-grown turf can take about a year to be truly established, so seedlings may stay vulnerable after the lawn looks covered. Florida and Texas practices are not interchangeable, so lean on guidance for your own area.
Look for signs that point beyond watering
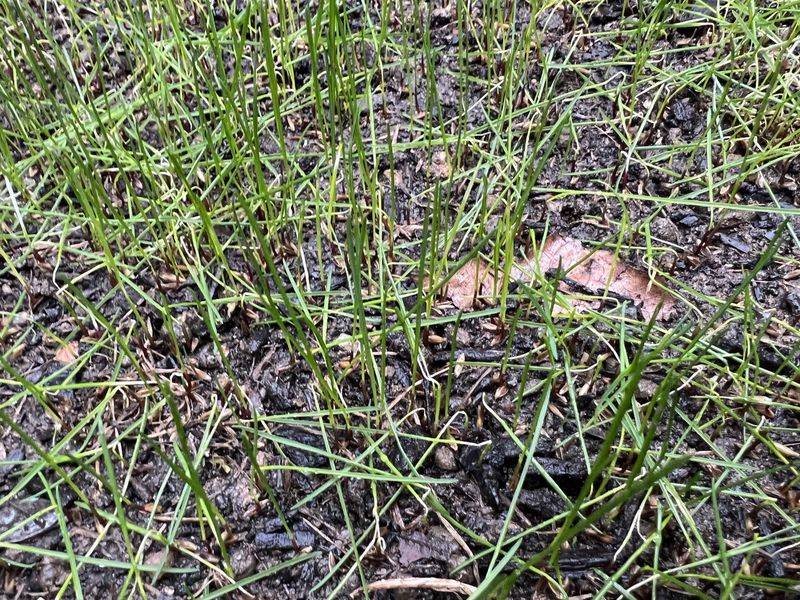
If seedlings collapse in patches even though the soil moisture seems right, consider disease. Damping-off is one possibility.
Penn State Extension describes it as blighted seedlings that collapse, with risk linked to hot, humid weather, waterlogged soil, heavy fertilizer or mulch, and dense seeding.
Collapse alone does not confirm it. Dry soil, poor seed, the wrong grass, and washed-out seed can leave similar patches.
Note when the damage started, whether the soil was soggy or dry, and whether the patches are spreading. Adding more water will not fix every patch, and it may worsen a disease problem.
Skip fungicide as a general rescue. Penn State notes that different damping-off pathogens may need different controls, so identify the problem first.
Your county Extension office can help. If treatment is considered, follow the product label closely.
Healthy seedlings usually reward patience and close observation.