
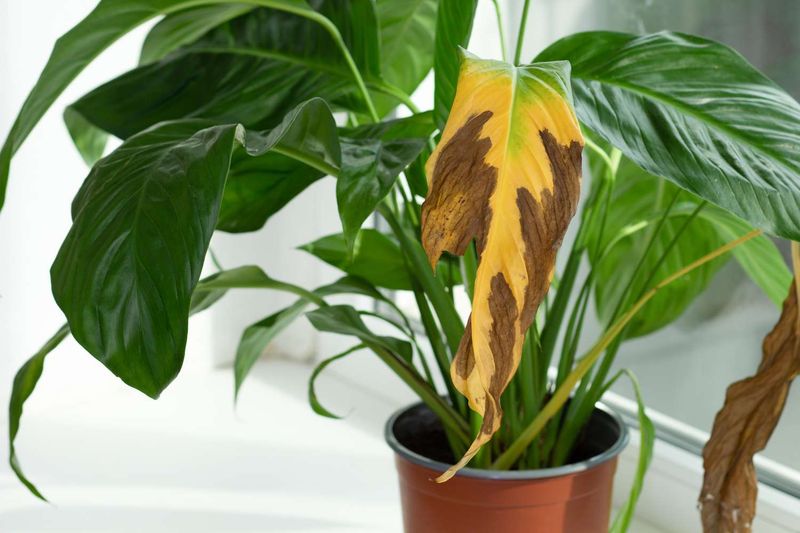
Peace lilies are some of the most forgiving houseplants around, but those crispy brown tips can show up and stubbornly stay no matter how carefully you tend them. Before you assume you’re watering too little or too much, there’s a good chance the real problem is hiding in your water or your potting mix.
Working through a short checklist of possible causes can save your plant and spare you months of frustration.
Brown tips are a clue, not a watering instruction
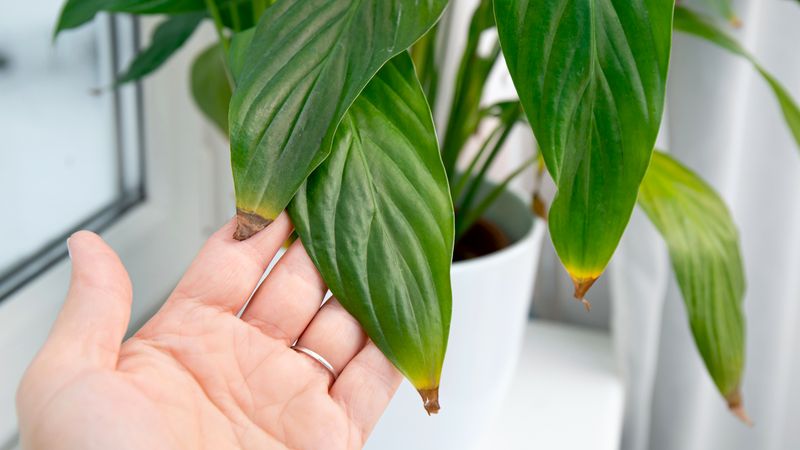
Crispy brown tips on a peace lily feel like an obvious signal: water more, or water less. The reality is more complicated, and acting on that instinct before checking the evidence can make things worse.
UC Cooperative Extension’s houseplant problem guide lists soluble salt buildup, fluoride sensitivity, low humidity, excessive light, dry soil, and root damage as separate causes that can all produce similar-looking brown, crispy tips or margins.
The first step is confirming that the plant actually receives appropriate moisture and has working drainage. If the soil routine checks out but tips keep browning while the rest of the leaf stays healthy and green, then the more useful question becomes what the water and fertilizer may be leaving behind in the root zone.
That is a different investigation from simply adjusting how often you water.
Brown tips alone do not establish one diagnosis. Iowa State University Extension notes that underwatering, overwatering, low humidity, excess light, and fertilizer injury can each produce the same symptom.
The sections ahead walk through a controlled troubleshooting sequence so you can separate these causes rather than guess at a single fix.
Confirm the roots are getting moisture—not staying soaked
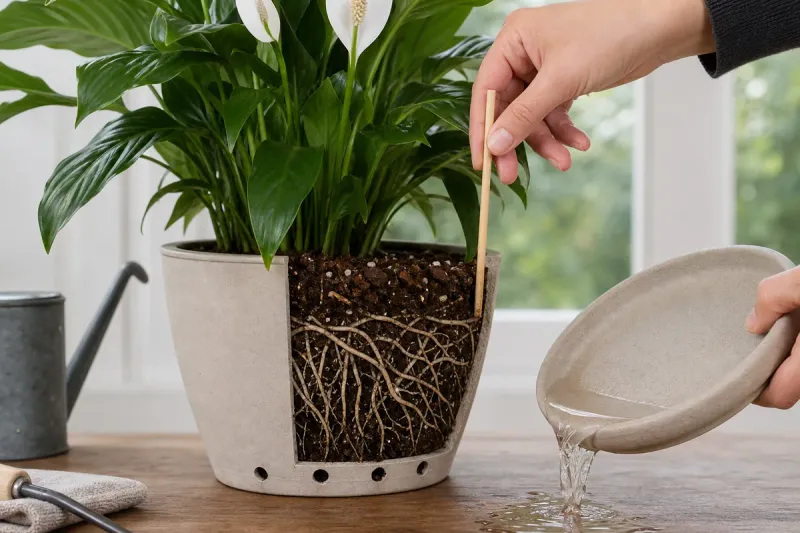
Before switching water sources or flushing the soil, spend a few minutes confirming that the plant’s moisture routine is actually working as intended. Missouri Botanical Garden’s Spathiphyllum profile describes the preference clearly: evenly moist soil, not prolonged wilting and not continuously saturated conditions.
Letting the surface or upper inch of soil begin to dry between waterings is a reasonable guide, but allowing the plant to wilt repeatedly stresses the roots and can itself cause tip browning.
When you water, pour slowly until water runs freely from the drainage holes. That thoroughness matters for two reasons: it ensures the entire root zone receives moisture, and it helps carry dissolved materials toward the bottom of the pot.
University of California Agriculture and Natural Resources guidance on houseplants recommends emptying any saucer or decorative cachepot promptly so the pot does not sit in standing water.
Roots that stay submerged in runoff lose access to oxygen and begin to deteriorate. UF/IFAS cultural guidelines for Spathiphyllum connect poor root health directly to leaf decline, including tip browning.
If the pot has no drainage holes, or if the soil feels soggy days after watering, root stress is a more likely culprit than water chemistry, and that problem needs to be addressed before anything else.
Check what the water and fertilizer leave behind
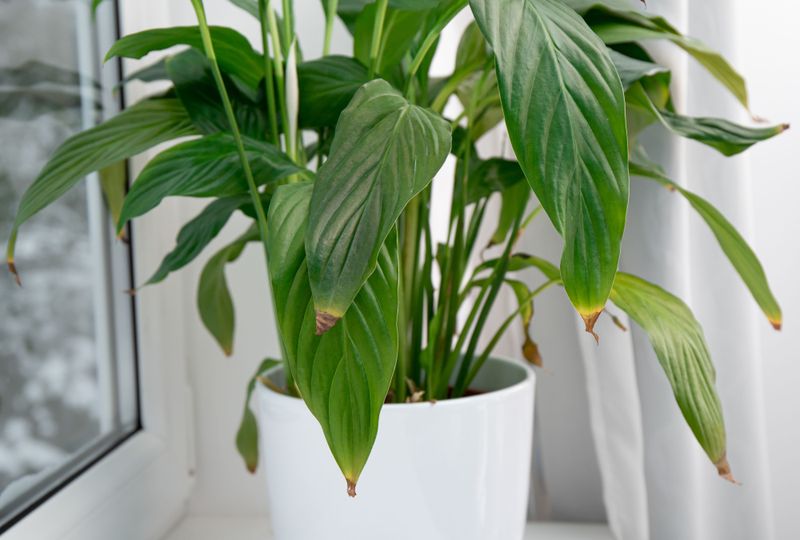
When the moisture routine is sound but brown tips persist, the next place to look is the potting mix itself. Soluble salts from tap water minerals, fertilizer residues, and fluoride can accumulate in the soil over time and burn the outermost leaf tissue.
UF/IFAS warns that excessive soluble salts are a documented cause of tip and margin burn in Spathiphyllum, and that fluoride sensitivity is a known characteristic of the species.
Tap water is not automatically harmful. Water chemistry varies considerably by municipality and even by household, so the goal is testing, not condemning your tap supply outright.
Maryland Extension clarifies that letting tap water stand overnight may reduce some chlorine but does not remove fluoride or dissolved mineral salts, so that common shortcut is not a reliable fix. Sodium-based softened water may actually worsen salt accumulation and is generally not a recommended substitute.
A controlled test is more useful than guessing. Switch to distilled, reverse-osmosis, or collected rainwater for several consecutive watering cycles while keeping everything else the same.
University of Illinois Extension guidance on peace lilies points to low-mineral water sources as the clearest troubleshooting option. An unspecified pitcher filter may not remove the specific contaminants involved, so distilled or reverse-osmosis water gives you a more consistent baseline.
Pause or sharply reduce fertilizer during this period as well, because UF/IFAS Nassau County extension notes that peace lilies have relatively low fertility needs and excess fertilizer salts can burn roots and tips on their own.
Flush suspected buildup without creating a root problem
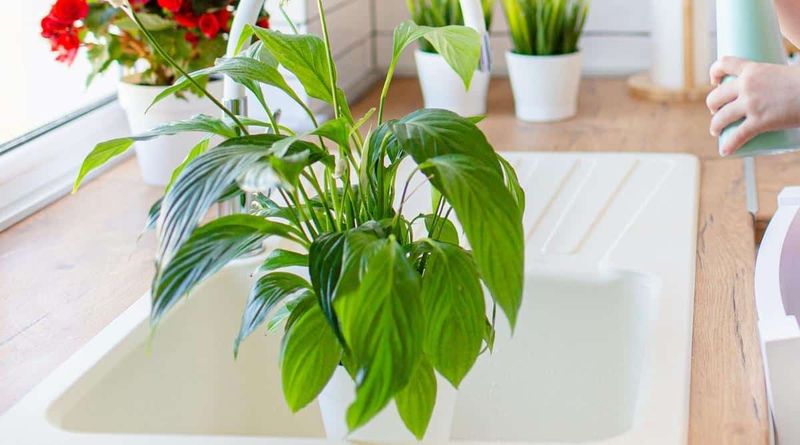
Visible white crust on the soil surface or pot rim is a reasonable sign that soluble salts have been building up over multiple waterings. When that pattern fits, a single thorough flush can help move accumulated material out of the root zone without causing additional stress to the plant.
Place the pot in a sink and slowly pour a low-mineral water source, such as distilled or reverse-osmosis water, through the soil. UC Agriculture and Natural Resources’ houseplant guide explains that thorough drainage helps carry dissolved salts downward and out through the drainage holes.
Allow the container to drain completely before returning it to its saucer, and empty the saucer again once any residual water collects. The plant must not sit in pooled runoff after flushing.
Flushing is a reasonable first response to suspected salt buildup, but it is not a guaranteed cure, and repeated flushing without addressing the source of accumulation is not a substitute for changing the water source or fertilizer routine. Washington State University Extension’s houseplant chapter and UF/IFAS Nassau County guidance both identify repotting into fresh potting mix as an appropriate next step when drainage is poor, crust is heavy, or the plant shows no improvement after flushing and a water-source change.
Rule out light, air, heat, and cold stress
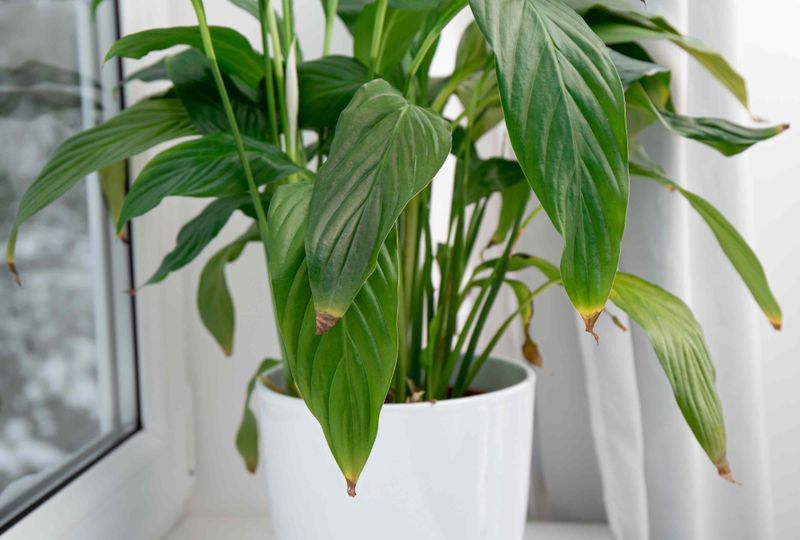
Sometimes the room itself is the source of the problem, and the symptoms look almost identical to water-quality damage. Missouri Botanical Garden recommends bright, filtered or indirect light for peace lilies.
Direct sun hitting the leaves can scorch tips and edges, and the damage often starts at the same points where salt or fluoride injury would appear.
Placement near heating vents, air-conditioning registers, drafty doors, or cold windows adds another layer of risk. UF/IFAS research on chilling injury in Spathiphyllum reports that cold damage begins at leaf tips and edges and progresses inward, which means a plant sitting near a frequently opened door in winter, or pressed against a cold window, can develop brown tips that look like a watering or water-quality problem.
In Southern states, air-conditioning set to very low temperatures can produce the same effect indoors during summer.
Dry air is another contributing factor worth checking. Iowa State University Extension links low humidity to tip browning, and Michigan State University Extension guidance suggests a humidifier, grouping plants together, or a pebble tray arranged so the pot sits above rather than in the water.
Misting is not a reliable fix; it delivers only a brief change in surface moisture and cannot restore tissue that has already browned. University of Georgia Extension’s houseplant care guide similarly recommends more stable humidity management over intermittent misting.
Read the plant’s new growth, not its old scars
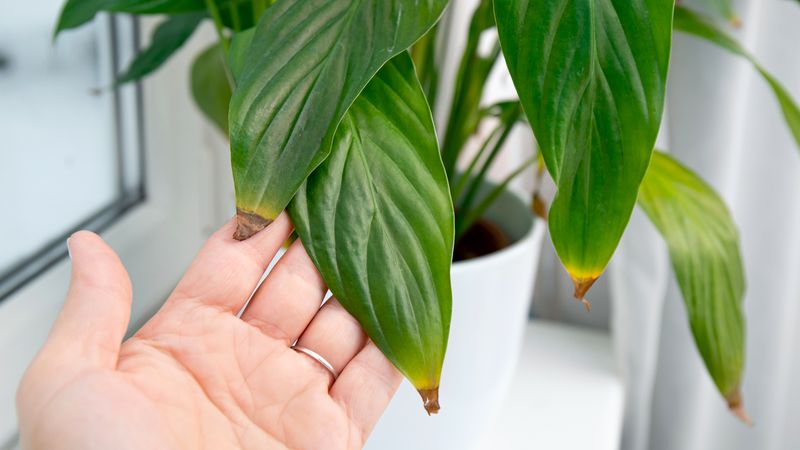
Brown tissue will not turn green again, so trimmed tips and damaged margins are permanent records of a past problem, not a real-time signal of what is happening now. Iowa State University Extension confirms that once leaf tissue dies, it stays that way regardless of how well conditions improve afterward.
You can trim the browned portion with clean scissors, following the leaf’s natural taper so the cut blends in, but that step only improves appearance. The underlying cause still needs to be addressed first.
The meaningful information comes from new growth. After making a controlled change, such as switching to distilled water, pausing fertilizer, or adjusting placement, watch whether fresh leaves emerge green and firm and whether new browning slows or stops over the following weeks.
That pattern, green new growth with less fresh tip damage, is the most practical sign that the adjustment is working.
A different pattern calls for a different response. UC Cooperative Extension and UF/IFAS both identify widespread yellowing, black or mushy tissue, continued wilting while the soil remains wet, and ongoing decline as signs that point toward root damage or broader environmental problems rather than a simple water-quality issue.
Washington State University Extension notes that those more serious symptoms may require repotting or a more thorough environmental correction. Localized crispy tips on otherwise healthy leaves are a very different situation from a plant in general decline.
Use a measured troubleshooting sequence
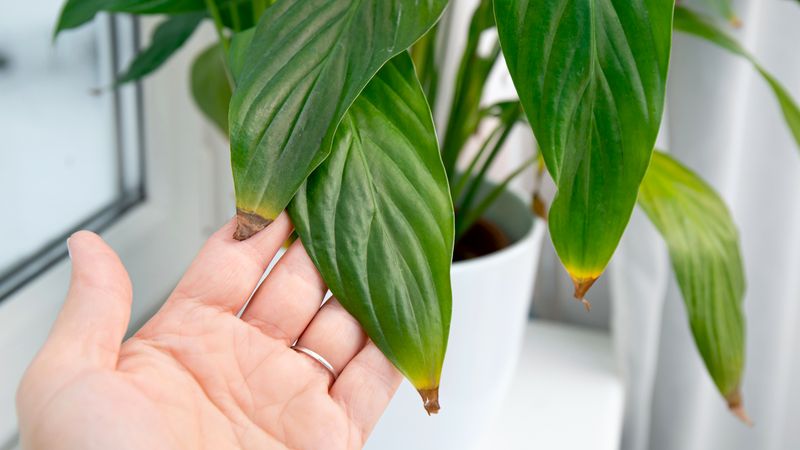
Working through a short, ordered sequence keeps the diagnosis from becoming guesswork. Start by confirming that the soil is evenly moist and draining well, and that the pot is not sitting in collected runoff.
UF/IFAS cultural guidelines for Spathiphyllum and Iowa State University Extension both place moisture and drainage verification before any other intervention.
Once the watering routine checks out, reduce or pause fertilizer and switch to distilled, reverse-osmosis, or collected rainwater for several cycles. If salt buildup appears likely based on visible crust or no improvement after the water change, perform a single careful flush as described earlier, following the drain-completely rule outlined in UC Agriculture and Natural Resources’ houseplant guidance.
Then check placement for direct sun, cold exposure, and proximity to vents or drafts, and address humidity if the room is dry.
Monitor new growth over the following weeks rather than judging recovery by the old, already-brown leaves. Persistent brown tips despite apparently good watering often do call for a closer look at water chemistry and salt accumulation, but the full growing environment, moisture, drainage, light, temperature, and fertilizer, shapes the final diagnosis.
No single change fixes every case.