
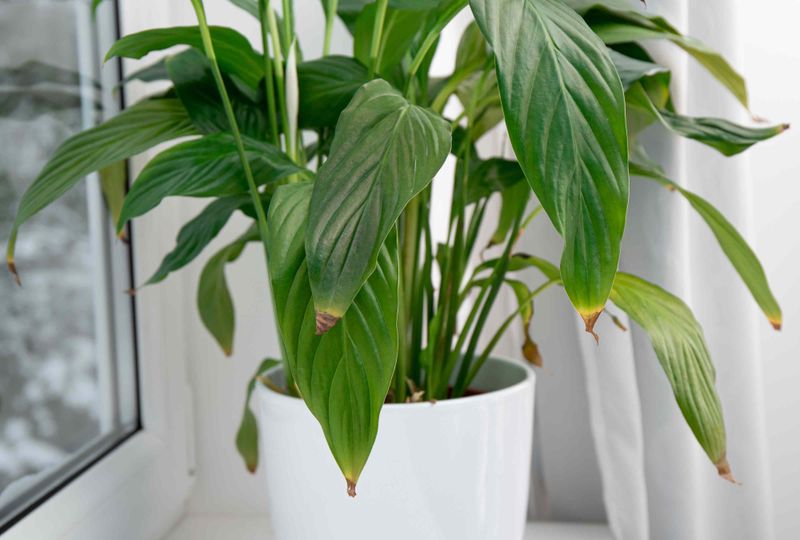
Peace lilies are popular houseplants because they look lush and elegant with very little fuss, but brown leaf tips or margins can appear without much warning and leave owners wondering what went wrong. Salt and mineral buildup in the potting mix is one of the first things worth checking, especially when you notice white or tan crust on the soil or pot, though it is far from the only possibility.
Several other conditions, including soggy soil, dry air, and fluoride in the water, can produce similar browning. Working through the clues systematically gives your plant a much better chance of putting out healthy new growth.
Treat the browning pattern as a clue, not a diagnosis
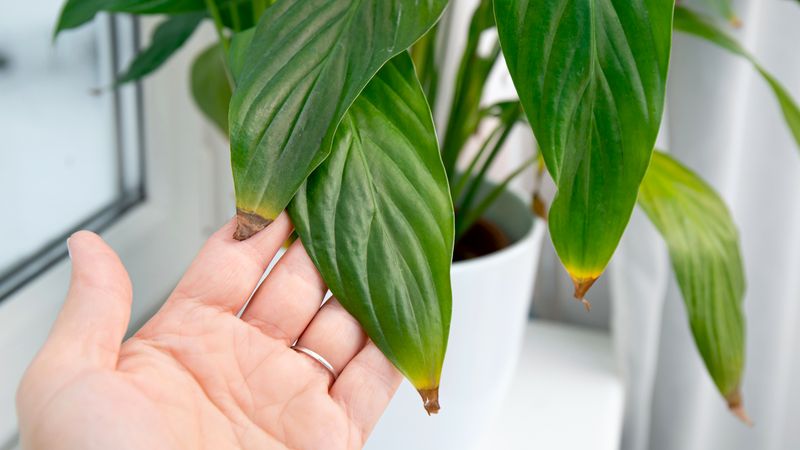
Brown foliage on a peace lily is a symptom, not a verdict. The pattern of the browning is the first thing to read carefully, because different causes tend to leave different marks.
Evenly crispy tips or margins that creep uniformly across the leaf edge are worth pairing with a close look at the soil surface, pot rim, drainage holes, and saucer. A white or tan crust in any of those spots is a meaningful clue that salts or minerals have been accumulating, and Colorado State University’s PlantTalk guidance on whitish crust in potting mixes confirms that this deposit is a common sign of soluble-salt buildup from fertilizer or irrigation water.
Finding that crust alongside uniform tip browning is consistent with salt stress, but it cannot prove it on its own. Other stressors can produce similar-looking damage, and the same plant may be dealing with more than one problem at once.
UC IPM’s houseplant problem guide lists salt buildup, fertilizer excess, dry or wet soil, fluoride, low humidity, drafts, excessive sun or heat, and mechanical or pesticide injury as separate possible causes of brown tips and margins.
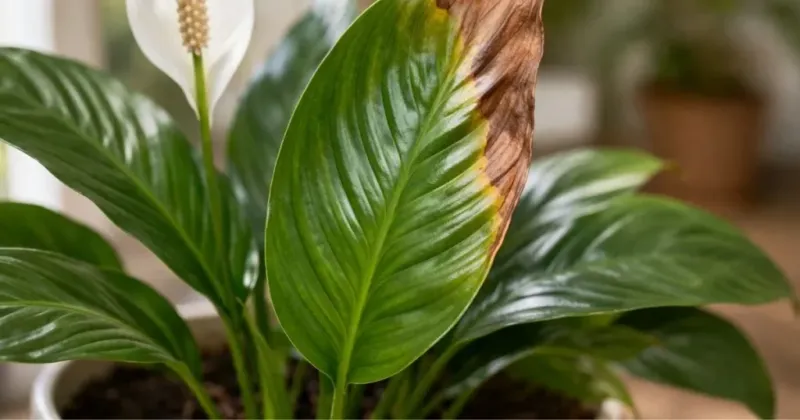
A distinct pattern looks quite different: circular spots, irregular blotches, water-soaked lesions, or marks with a yellow halo suggest leaf-spot disease, chemical injury, chilling, or sunburn rather than salt stress. Those require a separate investigation.
Treating salt buildup as an important first thing to check is reasonable, but the pattern on the leaves should guide your next step rather than a fixed assumption about the cause.
How salts can stress a peace lily’s roots
Every time you water a potted plant, dissolved minerals enter the mix. Every time you fertilize, additional salts go in too.
When the water and nutrients move through the roots and up into the plant, some of those dissolved minerals get left behind in the potting mix. Over time, particularly when drainage is limited or watering is shallow, those residues accumulate to levels the roots cannot tolerate.
Peace lilies are notably sensitive to this kind of buildup. UF/IFAS guidance on Spathiphyllum care specifically identifies peace lilies as salt-sensitive, and UC IPM’s overview of salt toxicity explains that high soluble-salt concentrations in the root zone can injure roots and interfere with the plant’s ability to take up water.
The result can look paradoxical: leaf tips appear scorched and thirsty even though the potting mix feels moist, because damaged roots are no longer moving water efficiently into the plant.
Fluoride deserves a separate mention here. It is one specific water-quality issue that peace lilies are documented to respond to, and it can contribute to brown tips independently of general mineral buildup.
Washington State University Extension’s houseplant chapter notes that peace lilies are fluoride-sensitive, though fluoride is one possible contributor among several rather than the explanation for every case. General salt accumulation from fertilizer and hard water is a broader and more common concern.
Rule out wet soil, dry conditions, and leaf disease
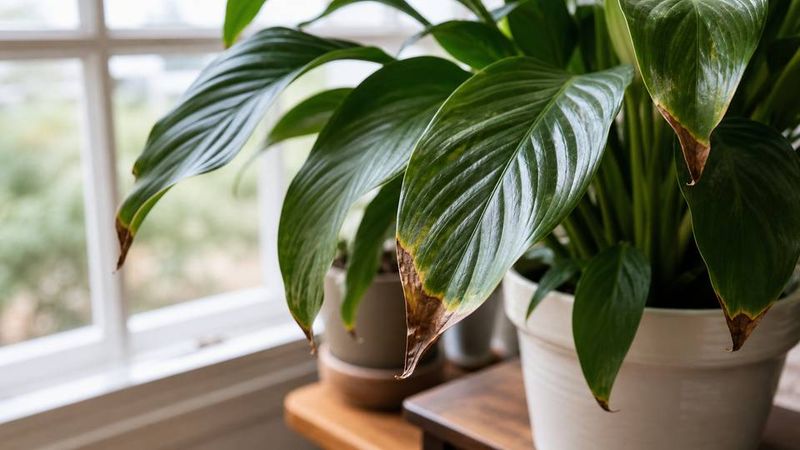
Before treating for salt buildup, spend a few minutes ruling out other common causes. The shape and distribution of the damage are your best tools here.
Uniform tip and margin browning that moves evenly across the leaf edge is more consistent with environmental or chemical stress. Separate circular lesions, irregular blotches, water-soaked patches, or spots with yellow halos are a different story.
Penn State Extension’s guide to indoor plant pest and disease problems explains that those patterns may point toward leaf-spot disease, chemical injury, chilling damage, or sunburn rather than salt stress, and flushing the soil will not address any of them.
Soil moisture is the next thing to assess. Constantly wet soil reduces the oxygen available to roots, which can cause foliage to yellow, wilt, or brown even when the pot feels heavy and damp.
UC IPM’s houseplant problem guide lists both excessively dry and excessively wet soil as separate contributors to brown leaf tips, and Mississippi State University Extension’s indoor plant care guide reinforces that overwatering is one of the most common houseplant problems overall.
Low humidity, excessive direct light, and drafts from air conditioning or heating vents can also produce tip browning on their own. North Carolina Extension’s Spathiphyllum profile lists low humidity, too much direct light, and salt buildup together as separate causes of brown tips.
A plant that is persistently wilting, yellowing broadly, or declining despite adequate moisture deserves a root inspection rather than another round of flushing.
Flush suspected buildup through the draining inner pot
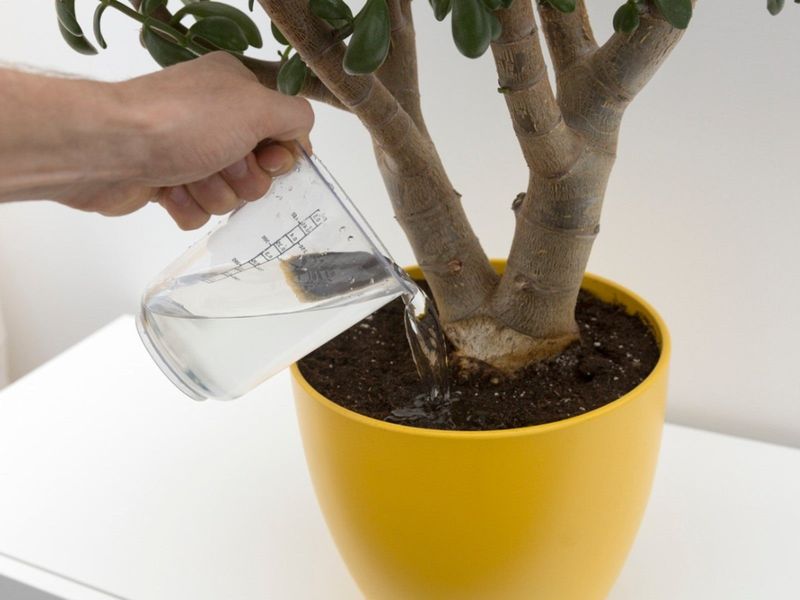
When the pattern of damage and the presence of crust point toward salt accumulation, flushing the potting mix with water is a reasonable next step, provided the pot holding the soil has usable drainage holes. A decorative cachepot without holes is only acceptable as an outer container that gets emptied after every watering.
Flushing into a holeless pot simply moves the problem around rather than removing it.
Start by moving the plant to a sink or bathtub. Scrape away any visible white or tan crust from the soil surface before adding water, but work carefully to avoid disturbing roots near the surface or removing a large layer of potting mix.
Colorado State University PlantTalk guidance on leaching salts from potting mixes recommends filling the pot with tepid water more than once and allowing it to drain fully between each pass. Washington State University Extension suggests using approximately twice the container’s volume as a practical reference point for flushing.
Those figures are useful starting points, not rigid rules. The goal is to move enough water through the mix to carry dissolved salts out through the drainage holes.
Use tepid water rather than cold water, since cold water can shock roots. Discard all the runoff that collects in the sink, tub, or saucer.
University of Wisconsin-Madison Extension’s healthy roots resource and Illinois Extension’s container drainage guidance both emphasize that water must be able to flow freely out of the pot for any of this to work, which is why drainage holes in the inner pot are non-negotiable for this process.
Prevent a salt flush from creating waterlogged roots
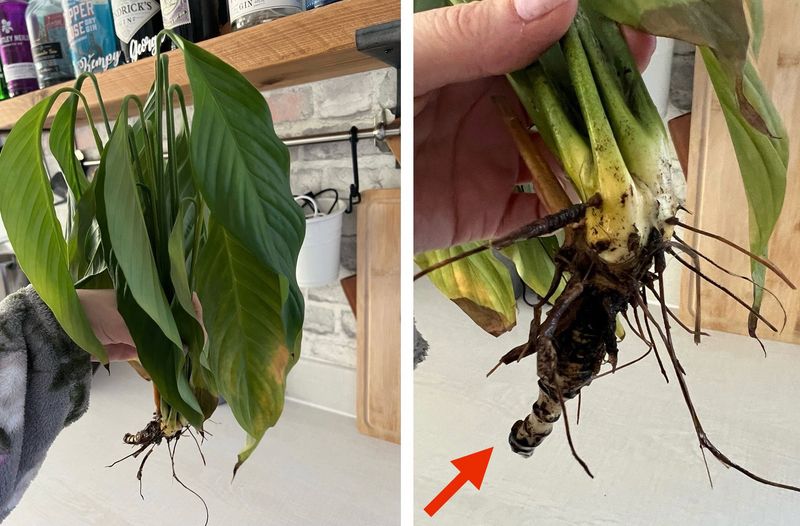
Flushing the potting mix is useful when salts have built up, but the step that comes right after matters just as much. Once water has run through the mix and drained from the holes, let the pot continue draining in the sink or tub until the flow stops on its own.
Then empty the saucer or outer decorative container completely before returning the plant to its spot. Leaving a peace lily sitting in a pool of runoff defeats the purpose of flushing and creates a new problem.
Chronically wet conditions reduce the oxygen available to roots. University of Wisconsin-Madison Extension’s guide to healthy houseplant roots explains that roots need air as well as water to function, and Illinois Extension’s container drainage guidance reinforces that standing water in the outer container is a reliable path to root decline.
A double-pot setup, where the nursery pot with drainage holes sits inside a decorative cachepot, is the safer arrangement as long as you empty the cachepot after each watering session. UF/IFAS guidance on Spathiphyllum recommends keeping the mix moist without allowing the plant to sit in water.
Brown, soft, or rotten roots are a signal to stop repeating flushes and address the root problem directly. UC IPM’s houseplant problem guide notes that root rot is a separate condition requiring removal of damaged roots and repotting into fresh, well-drained mix.
A flush will not reverse rot, and continuing to add water to a plant with failing roots will only worsen the damage.
Reduce the inputs that keep minerals accumulating
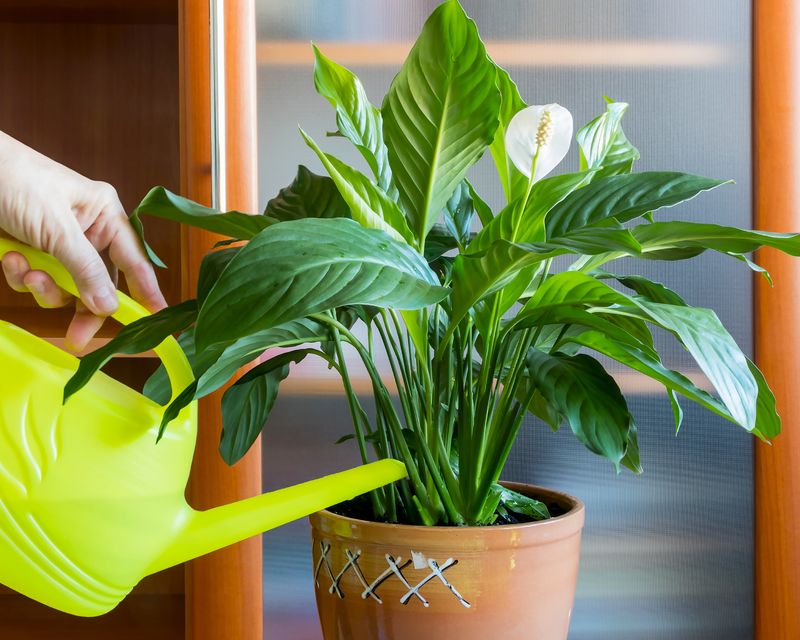
Fixing a salt problem once is less effective than reducing the rate at which salts re-accumulate. Fertilizer is a major source, and indoor peace lilies need far less of it than greenhouse-grown plants.
UF/IFAS cultural guidelines for interiorscape Spathiphyllum warn that excessive fertilizer can burn leaf tips and margins, and the practical takeaway is to avoid adding fertilizer to a struggling plant unless you have a clear reason to think it is nutrient-deficient. North Carolina Extension’s Spathiphyllum profile recommends using fertilizer at quarter strength and flushing between applications to prevent residue from building up between feedings.
Keeping the potting mix consistently moist without letting it stay soggy reduces the concentration of minerals that remain in the root zone between waterings. Shallow, infrequent watering that never moves water all the way through the pot allows salts to accumulate at the root level faster than thorough watering does.
Water quality is worth evaluating if browning continues after adjusting fertilizer and drainage habits. Washington State University Extension notes that peace lilies are unusually sensitive to fluoride and that softened water can add sodium, which creates its own salt problem.
Softened water is not a safe general substitute. Tap water, however, is not automatically harmful either: water chemistry varies considerably by location, and the EPA’s local drinking water information page can help public-water users find their annual water quality report.
Well-water users may need a separate test. University of Missouri Extension’s houseplant care guide advises that letting tap water sit overnight before using it may help with some fluoride-sensitive plants, though results depend on local water chemistry.
Judge recovery by new growth, not old brown tissue
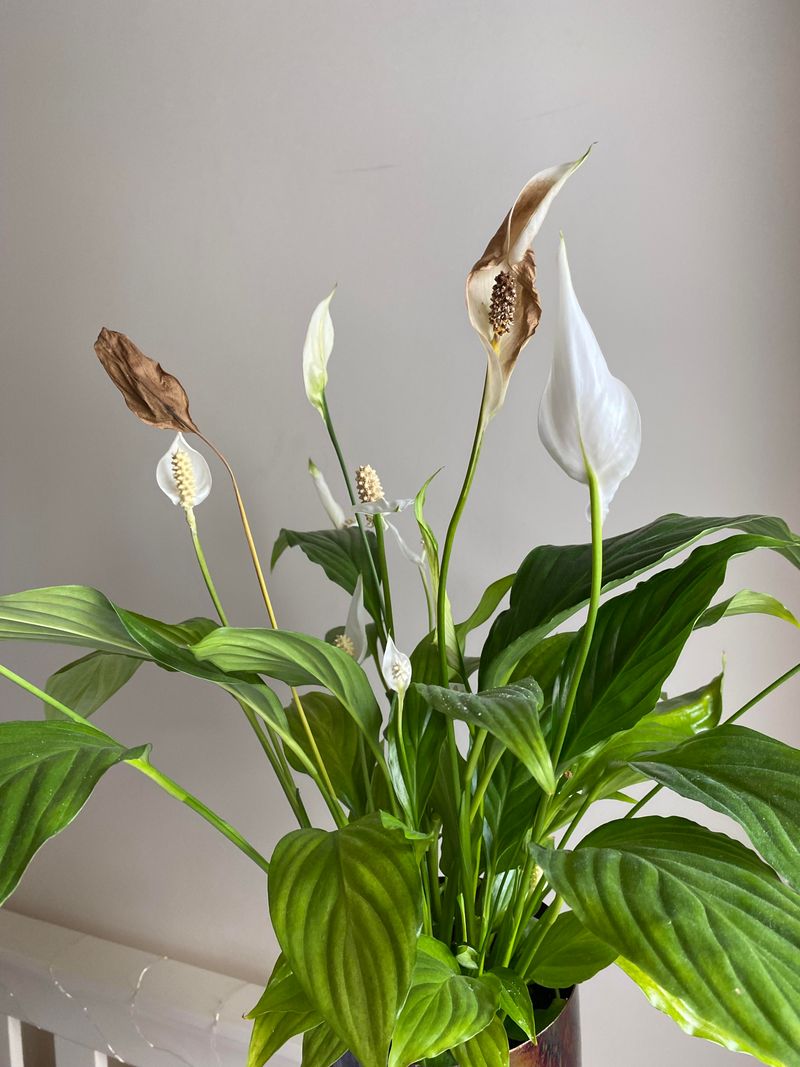
Once you have addressed the most likely cause of the browning, the waiting begins. Existing brown tissue will not turn green again, and trying to coax it back is a losing effort.
University of Georgia Extension’s guide to growing indoor plants recommends trimming damaged leaf margins back to healthy tissue for appearance, using clean scissors and following the natural leaf shape so the cut looks natural rather than blunt.
The real indicator of progress is what happens next. Watch the leaves that emerge after you have corrected the watering, drainage, fertilizer, or water-quality issue.
Healthy, fully green new growth tells you the underlying stress has been reduced enough for the plant to recover. Missouri Extension and UF/IFAS both frame new growth as the meaningful sign of a plant moving in the right direction.
Keep monitoring the soil moisture, drainage, fertilizer schedule, water quality, and the soil surface for returning crust. The goal is not to erase old damage but to stop the conditions that were producing new damage in the first place.
A peace lily that puts out clean, green leaves after a correction has told you everything you need to know.