
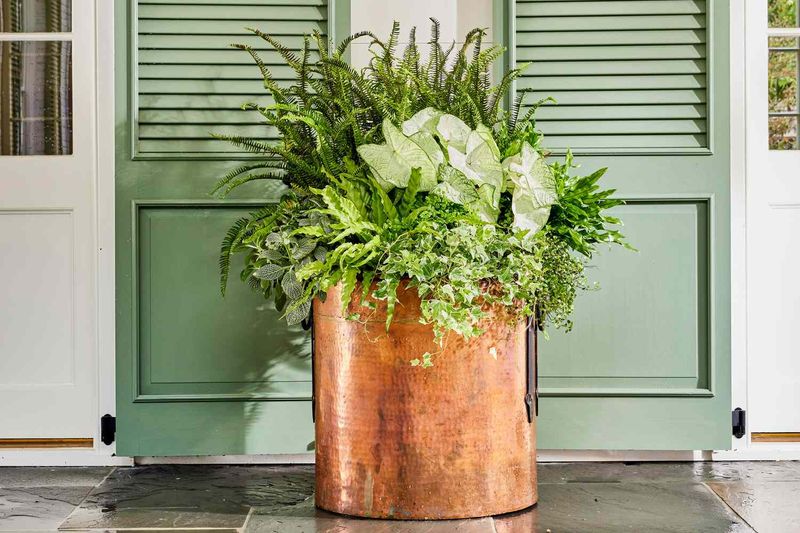
Potting mix is not cheap, and watching yourself pour bag after bag into a giant planter can feel like throwing money into a hole. Many gardeners have heard you can fill part of the bottom with something other than soil to cut costs, and that is largely true, but the method comes with real conditions attached. Get those conditions right and you save money without shortchanging your plants. Get them wrong and you end up with soggy roots, unstable containers, or crops that run out of room before the season ends.
Decide whether the planter is oversized for the plant
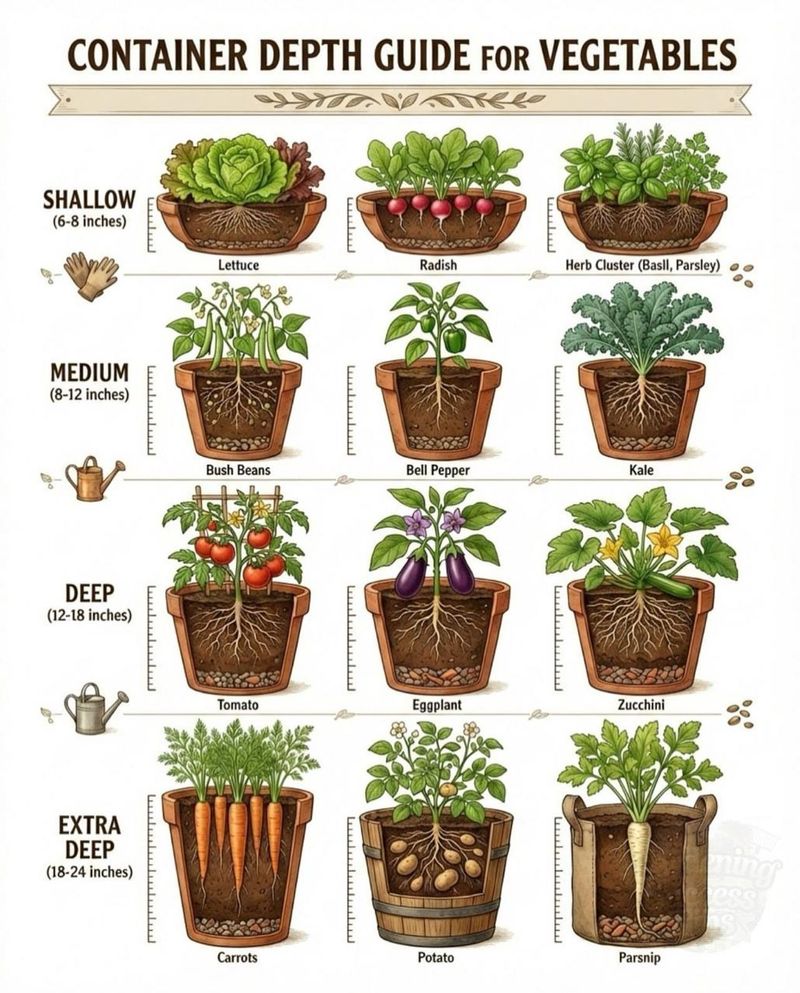
Not every large planter is actually too big for the plant going into it. A container that looks enormous next to a seedling may be exactly right once that plant reaches full size, and for certain crops, generous soil volume is an asset rather than a waste. Tomatoes, cucumbers, potatoes, and zucchini push roots 18 to 24 inches deep, and a roomy container gives them moisture reserves and room to grow without circling or drying out between waterings.
The real target is a container whose depth meaningfully exceeds what the plant will ever use. A 24-inch-deep pot planted with lettuce or radishes is a reasonable candidate for a filler insert; that same pot planted with a vining tomato is not oversized at all. NC State Extension’s container gardening guidance and similar university crop tables show root-depth needs varying from roughly 6 inches for shallow greens up to 24 inches for large fruiting vegetables, so the gap between your planter’s depth and your plant’s actual requirement is the number that matters.
Large planters also provide ballast. Perennials, tall ornamentals, and any plant on a windy deck or exposed patio benefit from the weight of a fully filled container. Reducing that mass is a trade-off worth naming before you start scooping out soil. When in doubt, matching the container size to the plant in the first place is the simplest and most reliable way to avoid wasting mix.
Verify drainage before changing the planter
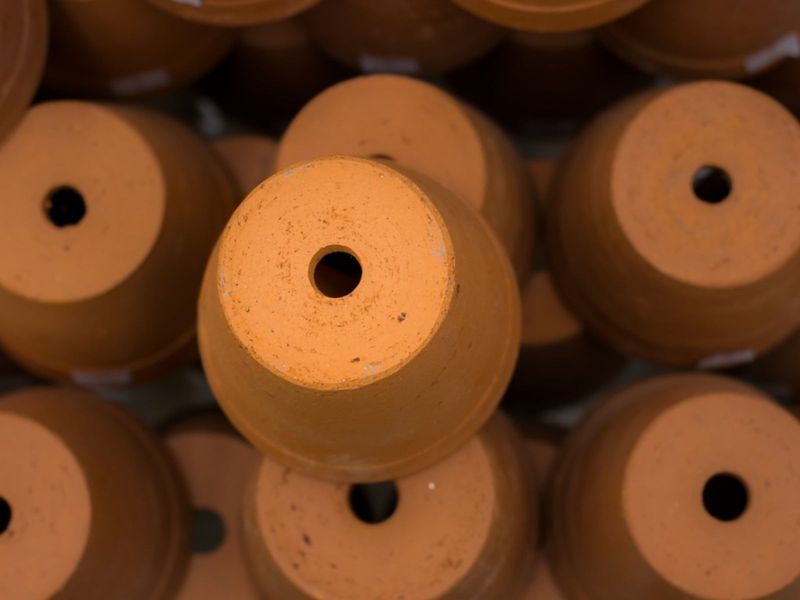
Before placing anything inside a large planter, confirm that water can actually leave it. Roots sitting in waterlogged media are deprived of the oxygen they need to function, and that oxygen starvation can cause the same wilting and decline that underwatering does, making it easy to misdiagnose. Colorado State University Extension’s container garden guidance is direct on this point: drainage holes are not optional. No insert, filler, or layer of material can compensate for a sealed or blocked container bottom.
Two ideas that readers often combine are worth separating here. A space-saving insert reduces how much potting mix you need; a gravel layer added to the bottom is something different, and it does not reliably improve drainage. Nebraska Extension explains the reason clearly: when a loose layer of coarser material sits below finer potting mix, water does not move freely across that boundary. Instead, the mix above the layer stays saturated until it reaches field capacity, creating what soil scientists call a perched water table.
Nebraska Extension’s analysis of rocks at the bottom of containers shows that adding gravel can actually move the saturated zone upward rather than push it down toward the drain.
That same physics concern applies to any loose internal layer, including cans, bottles, or packing peanuts. Drainage holes alone do not resolve the disagreement between extension sources about whether loose bottom layers help or hurt water movement. Knowing that going in lets you choose a method you are comfortable with, rather than one that surprises you mid-season.
Understand the loose-filler method—and its limitation
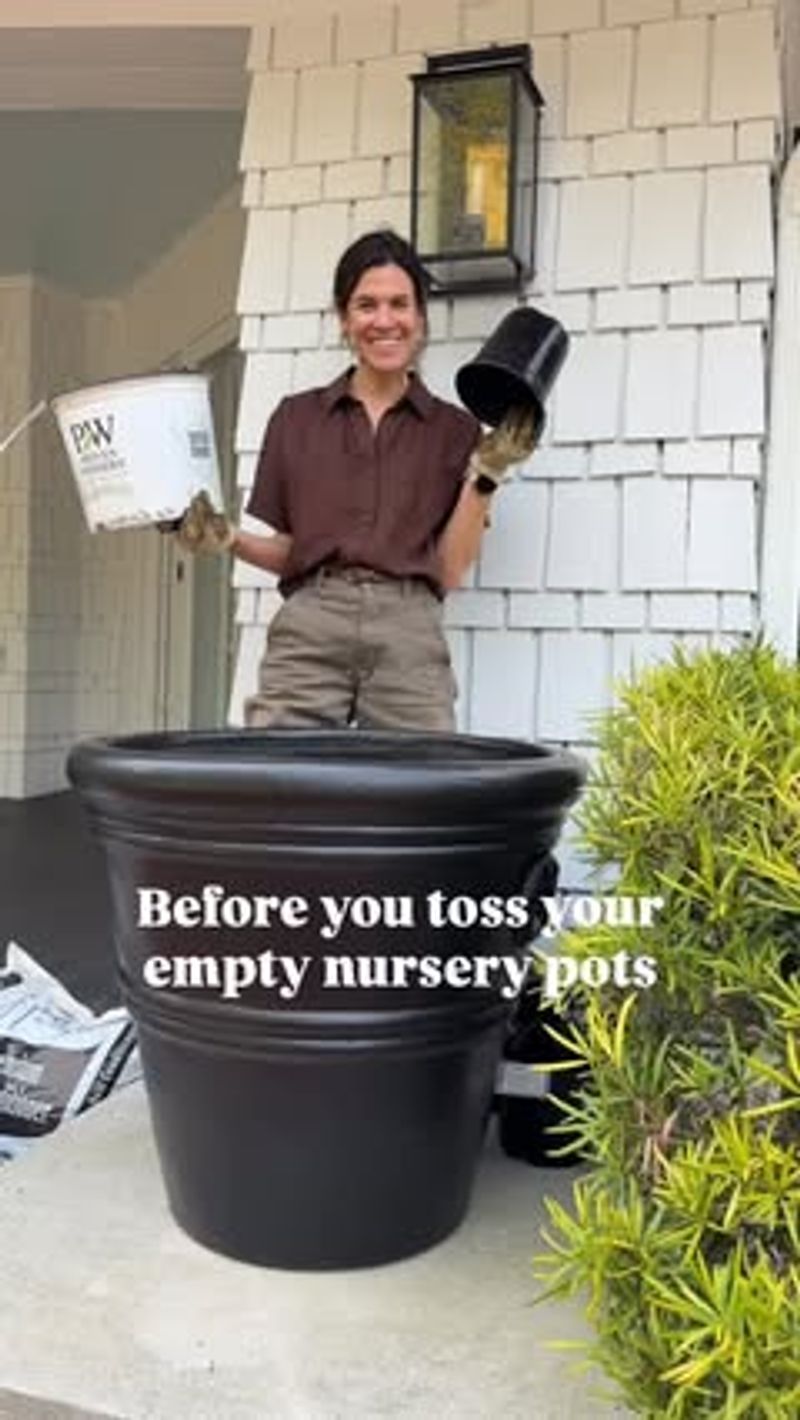
The core of the soil-saving approach comes from extension recommendations that have been in practice for years. Illinois Extension’s container soil guidance describes filling roughly the bottom quarter to one-third of a large planter with lightweight, inert, non-decomposing material, then covering it with a layer of landscape fabric before adding potting mix on top. The fabric is meant to keep mix from sifting down into the gaps in the filler while still allowing water to pass through.
Suitable materials for this layer include upside-down plastic nursery pots, clean plastic milk jugs with their caps on, crushed aluminum cans, and non-biodegradable packing peanuts. Oregon State University Extension specifically recommends placing upside-down 1-gallon plastic pots inside large containers to reduce the soil volume needed. These materials share the key traits: they are stable, they do not break down during a growing season, and they are light enough to make a heavy planter more manageable.
Here is where honesty matters. Illinois Extension’s recommendation is practice-based guidance, not a promise that water will move better because of the filler. Nebraska Extension’s perched-water-table concern applies to any distinct internal layer, and landscape fabric does not eliminate that concern. The fabric keeps mix from falling through, but it does not change the physics of how water crosses a boundary between materials of different textures.
If that uncertainty bothers you, the next two sections describe more controlled alternatives. The filler should also stay within the one-quarter to one-third range; pushing it further reduces root volume and can make the container less stable.
Choose safe materials for edible plantings
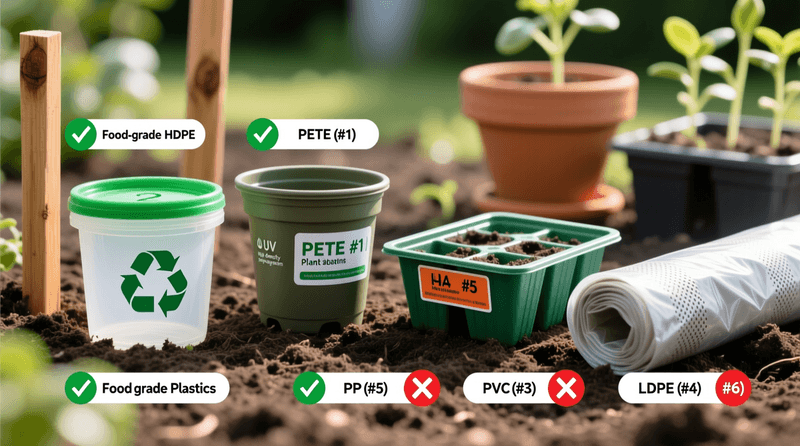
Ornamental planters and vegetable beds call for different standards when it comes to filler materials. Anything sitting inside a container growing food for your table should be clean, intact, and made from clearly identified food-safe plastic. University of Maryland Extension’s guidance on growing vegetables in containers specifically warns against containers that previously held chemicals, cracked or degraded plastics, and any material whose composition you cannot confirm. For food crops, the plastics identified as suitable include those labeled as #2 HDPE, #4 LDPE, or #5 polypropylene when they are clearly intended or approved for food use.
Packing peanuts deserve a specific note. Illinois Extension lists non-biodegradable packing peanuts as an option for filler, but the composition of packing materials varies widely. Some are made from starch and dissolve in water, which would change your planter’s volume and drainage mid-season. For edible crops, stick with materials whose identity you can confirm rather than whatever arrived in a shipping box.
A few categories are off the list entirely regardless of crop type. Leaves, grass clippings, untreated wood scraps, and actively decomposing compost should not be used as permanent filler. They break down over the season, shrinking in volume and potentially changing soil temperature, moisture retention, and nutrient dynamics in unpredictable ways. The goal is a stable, inert base that behaves the same in October as it did in May.
Measure the root zone above the insert
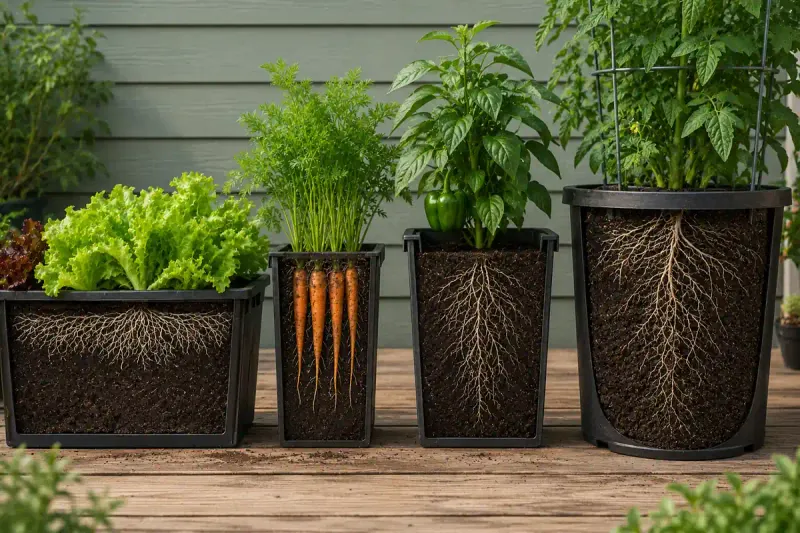
Once you have settled on a filler approach, the most important measurement you will take is the depth of potting mix sitting above the insert. That number needs to match what the plant’s roots will actually need at maturity, not just at transplant time. Getting this wrong by a few inches can mean roots hitting a barrier during the most productive part of the season.
Practical depth ranges vary considerably by crop. Shallow-rooted plants like leaf lettuce, spinach, radishes, and scallions generally do fine with approximately 6 to 9 inches of mix. Many herbs, peppers, eggplants, beets, and carrots need roughly 12 to 18 inches depending on the specific variety. University of California Agriculture and Natural Resources container gardening guidance and Washington State University Extension’s container tip sheet both provide crop-specific depth recommendations that reinforce how much variation exists across common vegetables.
Tomatoes, cucumbers, potatoes, zucchini, winter squash, beans, and corn routinely need 18 to 24 inches of root space. These crops are poor candidates for a deep filler insert in anything but an exceptionally tall planter. The idea that most or all roots need only 6 to 8 inches is a useful shortcut for a narrow group of shallow crops, not a universal rule. Before you add any filler, measure from the planned top of your insert to the rim of the container, subtract about an inch for watering headroom, and compare what is left with your specific plant’s needs.
Use a fitted false bottom when control matters
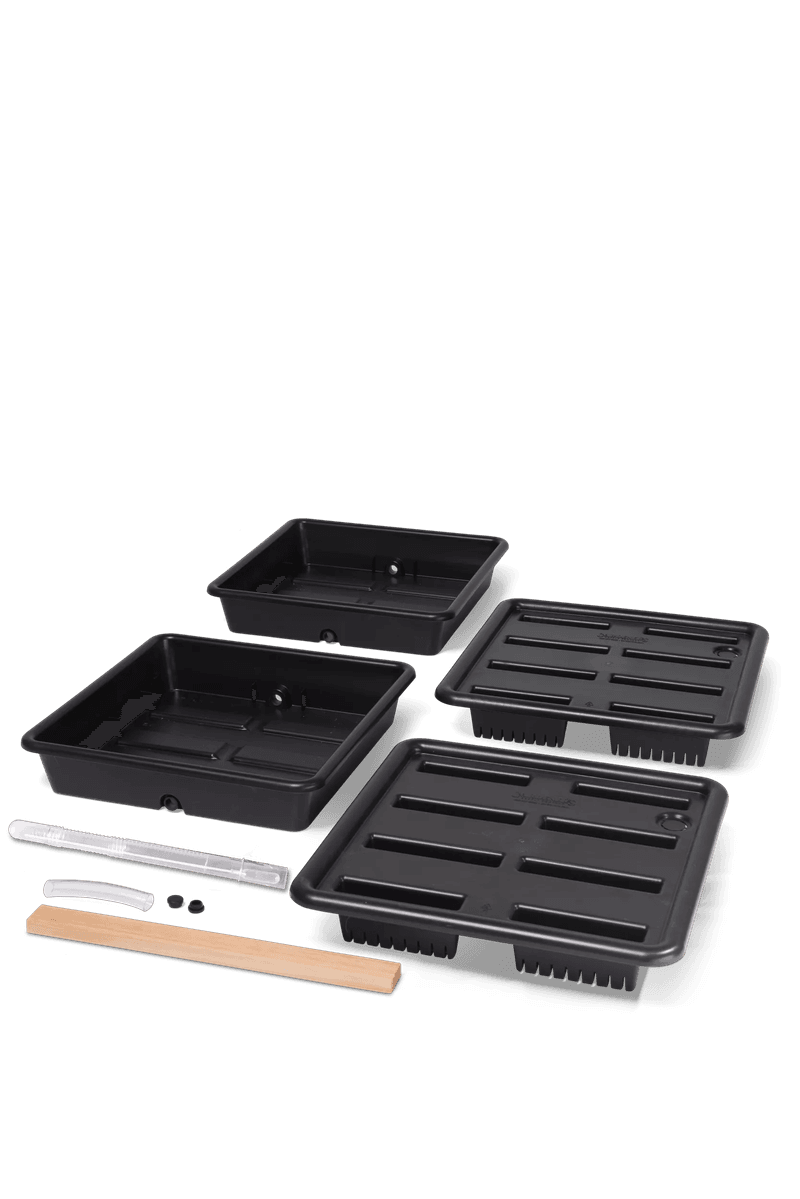
Gardeners who are uncomfortable with the uncertainty around loose filler layers have a more controlled option available. Rather than filling the bottom of a planter with scattered objects, you can build or place a rigid false bottom that creates a defined shallower compartment inside the larger container. Nebraska Extension describes a fitted platform concept where a properly supported piece of plywood with its own drainage opening acts as a raised floor, creating a smaller container within the larger one.
The distinction from loose filler is meaningful. A rigid platform with a defined opening gives water a clear, intentional path rather than forcing it to navigate through gaps between miscellaneous objects. The space below the platform remains air or empty, which avoids the mixed-material boundary that causes the perched water table problem. That said, the platform still needs to be stable enough to bear the weight of saturated potting mix through an entire growing season without shifting or warping.
A few non-negotiables apply regardless of the platform material. The root zone above it must still be deep enough for the plant you are growing, and the original container must have functional drainage holes below the platform level so water that passes through can exit. If building a fitted insert feels like more work than the project warrants, choosing a container that is actually sized for the plant is a perfectly reasonable alternative. Either approach sidesteps the loose-layer debate entirely and gives you a planting setup you can trust.
Finish with quality mix, water, and nutrients
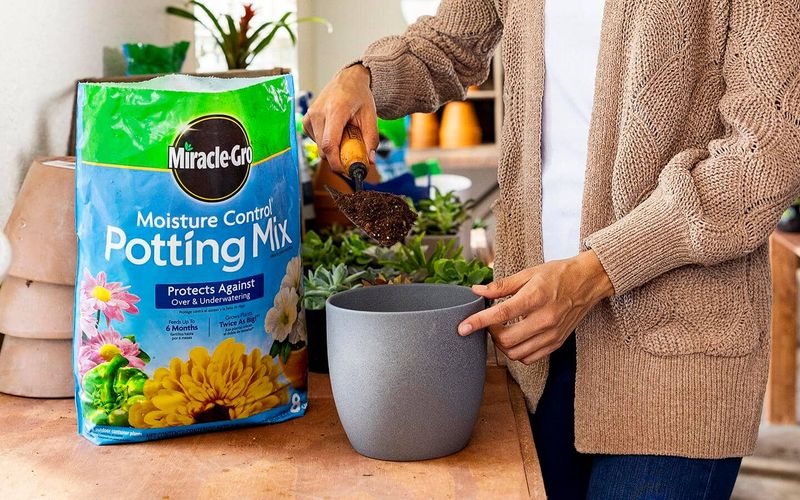
With the filler or false bottom in place, the upper portion of the planter gets filled with commercial potting or soilless container mix. Garden soil is not a substitute here. It compacts in containers, restricts the air movement roots need, and drains poorly in a confined space. Penn State Extension’s container vegetable gardening guidance recommends a quality soilless mix specifically because it supports the drainage and aeration that potted plants depend on.
Leave about an inch of space between the top of the mix and the rim of the container. Oregon State University Extension advises this headroom so water can pool briefly at the surface and soak in rather than running off the sides before it reaches the roots. Water thoroughly at each session until water exits the drainage holes, which confirms the mix is saturated. That observation does not mean a loose filler layer below is draining perfectly; it only tells you the mix itself received enough water.
Inert filler contributes nothing to plant nutrition. Every nutrient your plant needs must come from the potting mix and whatever fertilizer program you follow. Penn State Master Gardener container guidance notes that container plants cannot forage beyond the pot for nutrients the way in-ground plants can, making regular fertilization essential. Judge when to water by checking the moisture of the actual root zone, not by guessing from the planter’s reduced overall weight or size.
Monitor drying and stability through the season
Reducing the soil volume in a large planter has a trade-off that shows up most clearly during summer heat. A smaller root zone holds less water in reserve, which means it can dry out faster when temperatures climb, wind picks up, or the sun beats down on a dark container all afternoon. Penn State Extension notes that containers may need daily watering during hot weather, and that is even more likely when the effective soil volume has been reduced by a filler insert. Check the root zone by pressing a finger an inch or two into the mix rather than judging by the surface alone.
Weight is the other variable that changes. Filler materials are lightweight by design, which is often part of the appeal, but less mass means less ballast. A tall pepper plant or a climbing cucumber on a breezy patio can tip a lighter planter. University of Maryland Extension’s container vegetable resource and Colorado State University Extension’s container garden guidance both address stability concerns for large containers.
Heavier pots, ballast placed below the root zone, sturdy staking, or a low-profile plant caddy that widens the base are all practical responses depending on the site and the plant.
Before the season ends, run through a short checklist: the mature root depth is preserved above the filler, drainage holes are clear and functional, you chose stable and safe materials, and you are watering based on actual root-zone moisture rather than habit. Plants that look stressed mid-season often signal a problem with one of those four factors before anything else. A planter that saves you money at setup is only a win if the plant inside it reaches harvest.