
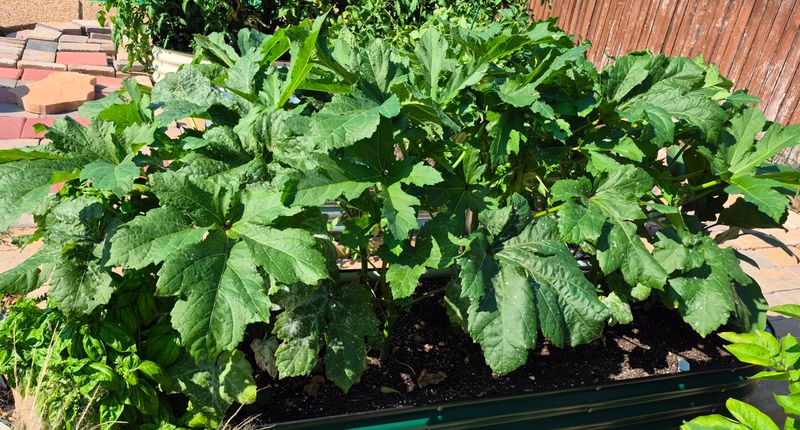
Central Texas okra is supposed to be the toughest vegetable in the summer garden, so when it suddenly stops producing pods, it is easy to panic and blame the heat. The truth is that late-summer slowdowns have several possible causes, and blaming September temperatures alone can send you after the wrong fix. Understanding what is actually happening with your plant, before you pick up a pair of pruners, is what separates a productive fall harvest from a wasted effort.
Late-summer heat may slow okra, but it is not the whole diagnosis
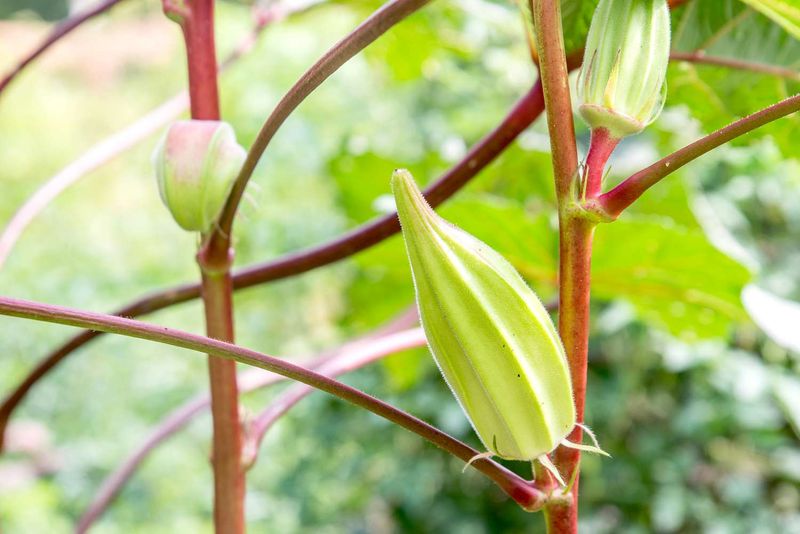
Okra earned its reputation as a Texas summer staple for good reason. Texas A&M AgriLife Extension describes it as dependable during summer and well-suited to most Texas soils when given full sun, fertile soil, and adequate drainage. Under those conditions, a healthy planting can push out pods steadily through the hottest months of the year.
Heat tolerance, though, is not the same as unlimited heat tolerance. Research has found that prolonged exposure to temperatures above roughly 40 degrees Celsius (about 104 degrees Fahrenheit), especially when combined with low humidity, can reduce okra growth and impair reproductive performance. A physiological screening study published in Horticulturae found that high-temperature stress affected flowering success and fruit set in okra, with results varying by cultivar and growing conditions. A Frontiers in Agronomy review on climate-resilient okra production similarly notes that extreme heat combined with moisture stress can reduce pod development.
Treat 104 degrees Fahrenheit as a research-context warning point rather than a precise Central Texas trigger that applies to every garden and cultivar on every hot afternoon.
September in Central Texas can certainly deliver the kind of sustained heat and low humidity that strains reproductive performance in okra. However, that same heat has been present since June, and many plantings hold up just fine through July and August. When production drops specifically in late summer, heat alone is rarely the complete explanation.
Other factors can look identical to heat stress from the outside. Plant age, irregular watering, missed oversized pods, nitrogen imbalance, pest pressure, root disease, and the plant’s own natural production cycle can all reduce pod counts in ways that have nothing to do with the thermometer. Before you decide on any course of action, spend a few minutes reading the plant’s actual symptoms. That diagnosis, not the calendar month, should drive what you do next.
Read the symptoms before reaching for pruners
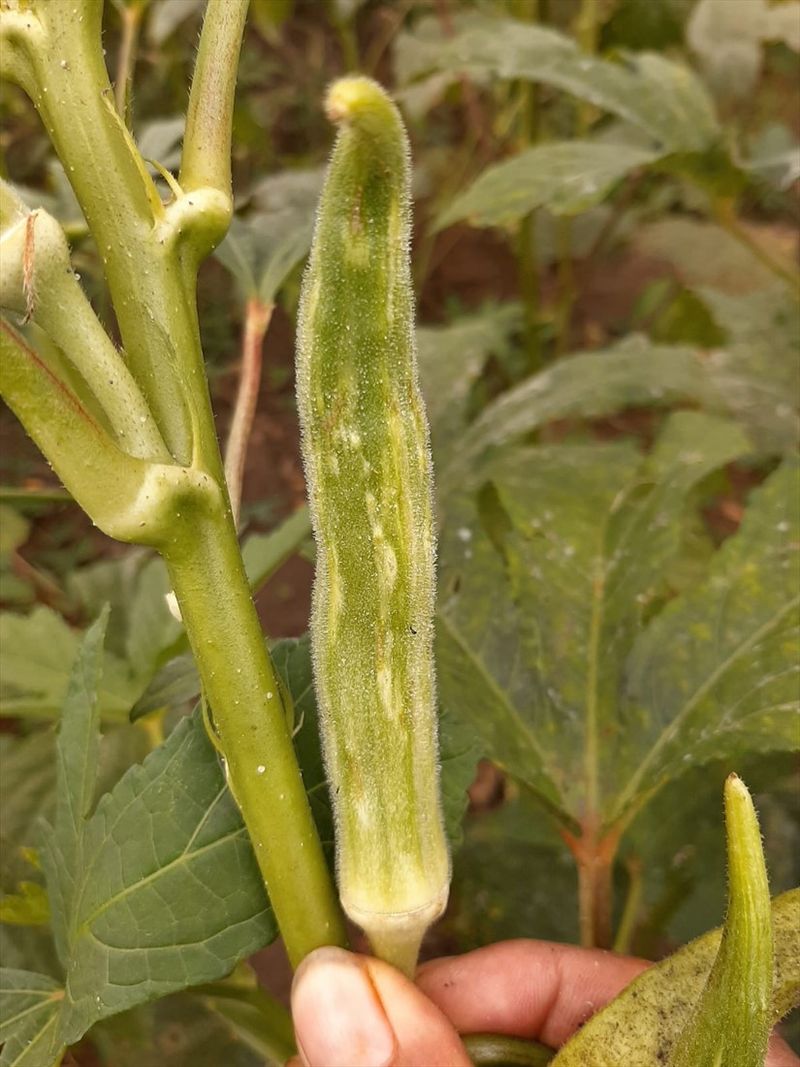
What you actually see on the plant matters more than what month it is. Flowers dropping before they set, or tiny pods shriveling and falling off shortly after forming, points toward heat and water stress as plausible contributors. Those are problems the plant’s reproductive system struggles with when conditions push it past its comfort zone, and correcting moisture or shading may help before any cut is made.
A complete absence of flowers is a different signal entirely. When no flowers are forming at all, the cause is more likely to involve plant vigor, nutrition, the plant’s natural production cycle, or something happening at the root zone. Utah State University Extension notes that root-knot nematodes are a significant okra problem, and a plant with a badly damaged root system will not respond to pruning the way a healthy one does. Excessive nitrogen can also push a plant toward lush green growth at the expense of flowering, so heavy feeding without a soil test can make a production slump worse rather than better.
Texas A&M’s home-garden okra guidance is direct on one overlooked cause: old, oversized pods left on the plant can signal it to stop producing new ones. University of Maryland Extension makes the same point, noting that mature pods restrict further flowering. A single missed pod that has gone woody and seedy can put the brakes on the whole plant.
Pest pressure and disease also deserve a look before any cuts are planned. Check the undersides of leaves for aphid colonies or spider mites, look at the stem base for signs of rot, and pull back a bit of soil near the crown to look for galling that suggests nematode damage. Mississippi State University Extension lists several foliar and root diseases that can mimic a general production slowdown. A pruning cut will not fix any of those problems, and on a diseased or nematode-damaged plant it may do more harm than good.
The best candidate for rejuvenation is a plant with viable roots and stems that has simply run out of productive momentum, not one that is fighting a systemic problem.
Remove old pods and correct water stress first
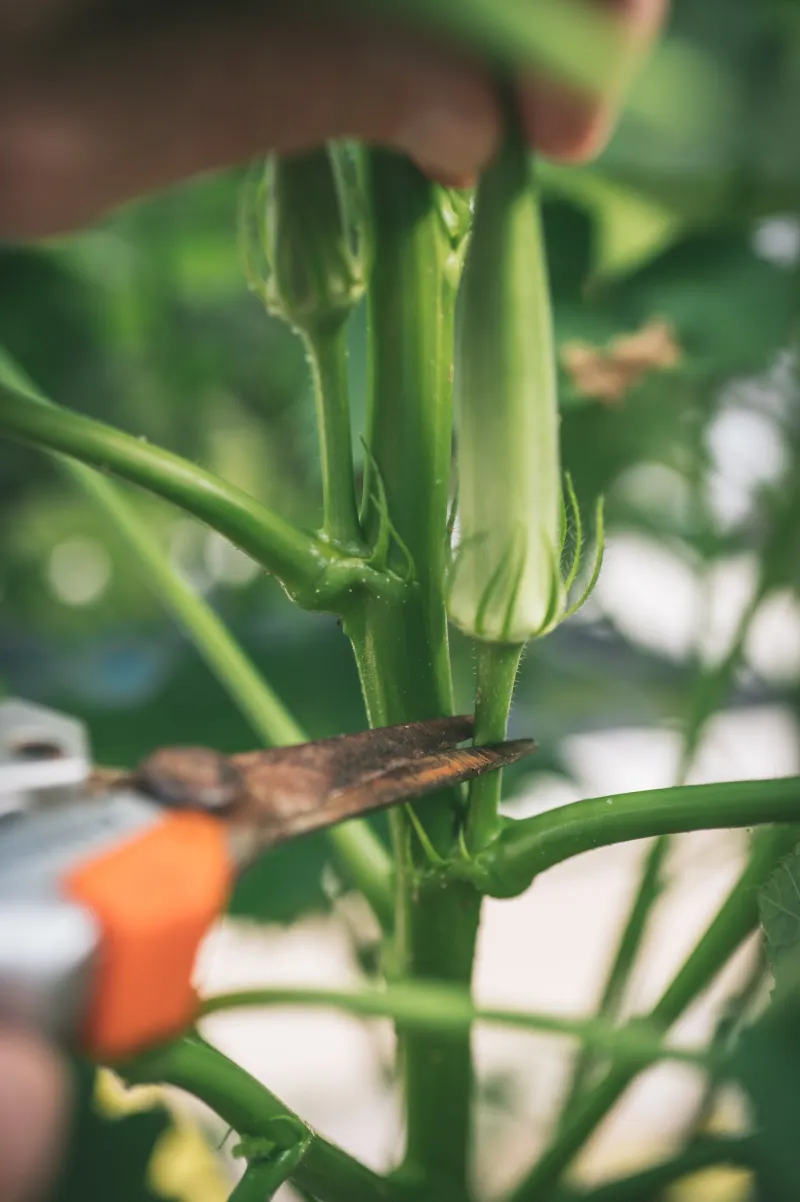
Before any pruning decision gets made, two immediate actions can improve production on their own: remove every oversized pod still hanging on the plant, and take a hard look at how consistently water is reaching the root zone. Both steps cost almost nothing and can restart flowering in a plant that is otherwise healthy.
Harvesting frequency matters more than most gardeners realize. Texas A&M’s home-garden guide notes that okra can reach harvest maturity in roughly four days after flowering during hot weather, which means a plant checked every three or four days may already have pods going woody. Alabama Extension gives a typical harvest window of about four to six days after flowering. Missing even one or two pods during a busy week can set the whole plant back.
Go through the entire plant carefully, remove anything that has gone tough or seedy, and plan to check every other day going forward.
Water consistency is the other lever. Texas A&M AgriLife Extension notes that okra tolerates relatively dry conditions but produces better when watered regularly. The Texas A&M commercial production guide emphasizes uniform moisture and cautions against both drought and overwatering. Utah State University Extension offers a maximum-yield guideline of roughly 1.5 to 2 inches every 7 to 10 days, though that figure needs to be adjusted for your soil type, recent rainfall, drainage, and any local watering restrictions.
The goal is steady, even moisture at the root zone, not a fixed schedule applied regardless of conditions.
While checking irrigation coverage, look at the soil surface around each plant. Dry, cracked soil in patches can mean a drip emitter has clogged or shifted. Also scan leaves and stems for visible pest damage or disease symptoms at this stage, since catching a problem early changes what step makes sense next. If removing old pods and fixing irrigation brings flowers back within a week or two, a cutback may not be necessary at all.
The remaining frost window determines the decision
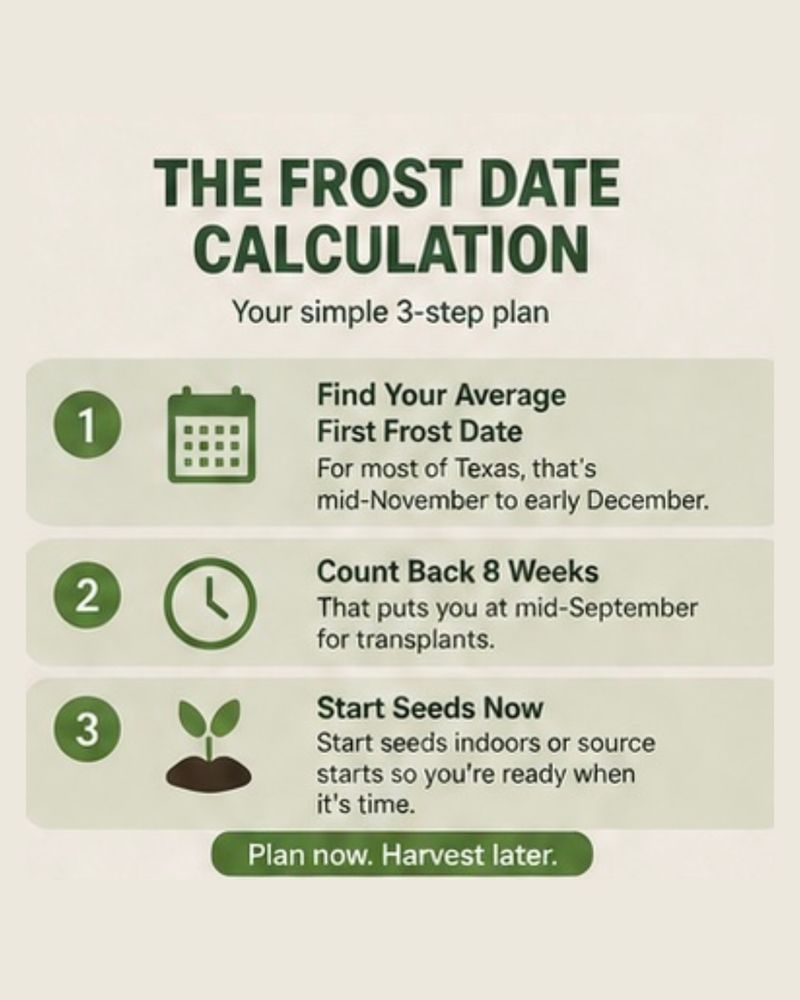
Timing is the most consequential variable in deciding whether a cutback makes sense at all. A healthy plant that needs a reset is only worth cutting if there is enough warm weather remaining to push out a new flush of pods before cold shuts the season down. In Central Texas, that calculation runs closer than many gardeners expect.
Texas A&M’s home-garden okra guidance says pruning should occur 80 to 100 days before the anticipated first fall frost if the goal is additional production. The Texas A&M commercial okra guide notes a roughly 70 to 80-day production window for fall-planted okra, giving a sense of how much regrowth time a rejuvenated plant needs. AgriLife Extension’s home-garden page similarly points to about three months before the first fall frost as the planning window for fall production.
For Austin, the National Weather Service 1991-2020 climate summary puts the average first freeze at December 1, but the historical record shows freezes arriving as early as October 26. Counting back 80 to 100 days from December 1 lands somewhere between late August and early September. An early-September cutback may still leave a plausible regrowth window for the Austin area under average conditions. A late-September cut compresses that window considerably, and in colder microclimates or during an early freeze year, it may leave no usable production time at all.
The average date is not a promise. A gardener in a low-lying area that collects cold air, or in a northern part of Central Texas with earlier frost dates, faces a tighter window than someone in a sheltered south-facing yard in south Austin. Use your local forecast, watch extended outlooks as October approaches, and treat the average date as a planning reference rather than a guarantee. A cutback cannot prevent frost, and it cannot guarantee a fall harvest regardless of how well the plant regrows.
That reality should shape the decision before the first cut is made.
Choose between a low ratoon cut and a higher branching cut
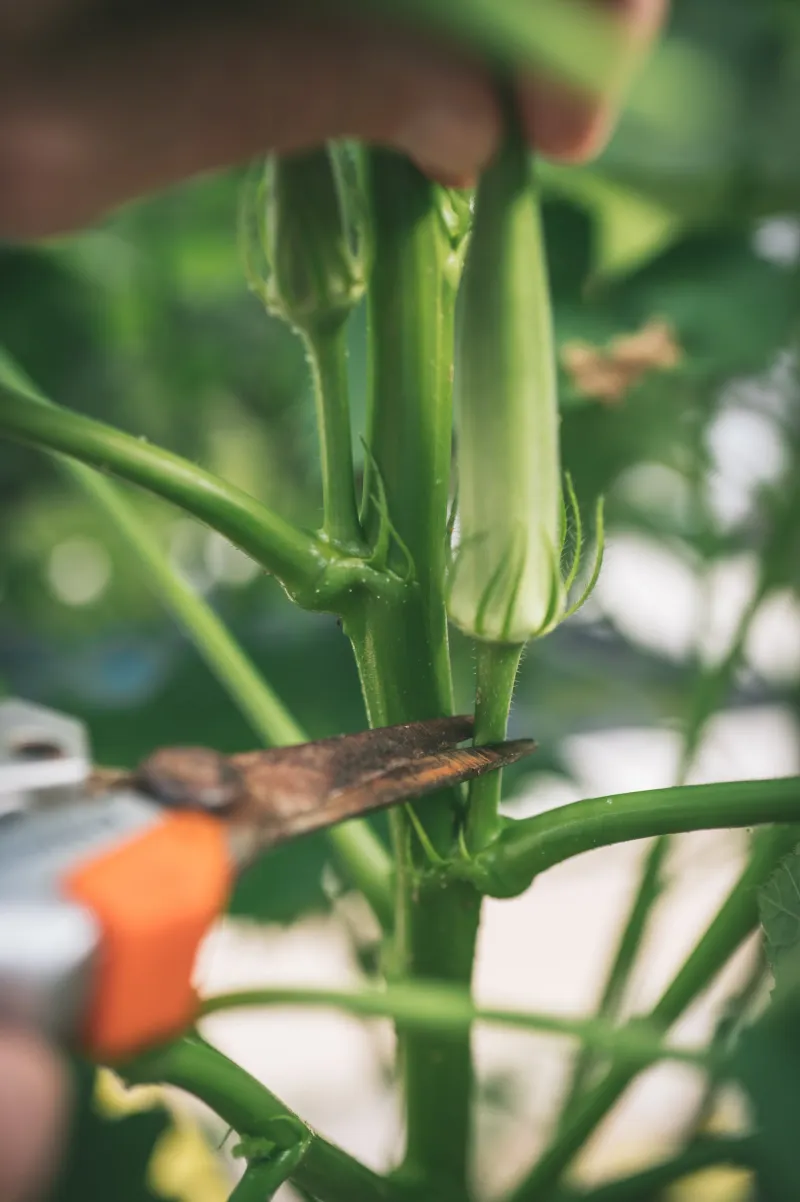
Not every okra cutback looks the same, and the height you choose reflects a specific goal. Two extension approaches cover most home-garden situations, and applying the wrong one to the wrong plant can waste what is left of the season.
Alabama Cooperative Extension’s ratooning guide describes cutting mature, declining plants to 6 to 12 inches above the ground as a method for producing a renewed fall crop from the same planting. At that height, the plant is essentially reset: most of the old, unproductive woody stem is removed, and the remaining stump pushes out fresh side shoots that carry new pods. This is a more decisive intervention, and it works best on a plant that is genuinely healthy at the root zone but has run out of productive energy above ground.
Mississippi State University Extension takes a different approach for tall home-garden plants, recommending a cut to 3 to 4 feet above the ground. That height retains more of the existing stem structure, encourages branching along the upper portion of the plant, and keeps the canopy at a height that is easier to manage and harvest. The result is a renewed, bushier plant rather than a ground-level reset. This approach suits a gardener who wants to tidy a sprawling, overgrown planting without committing to a full ratoon.
The two methods serve different purposes, and neither is universally correct. A plant that is 7 or 8 feet tall and becoming difficult to harvest may benefit more from the 3 to 4-foot cut, which brings the productive zone back within reach. A shorter, older plant that has simply declined but still has a strong base may be a better candidate for the low ratoon cut. Match the method to the plant’s actual condition, the amount of season remaining, and what you are trying to accomplish.
If the timing window is tight, the lower cut’s more aggressive reset may not leave enough regrowth time, making the higher cut or a new planting the more realistic choice.
Support regrowth without overfertilizing
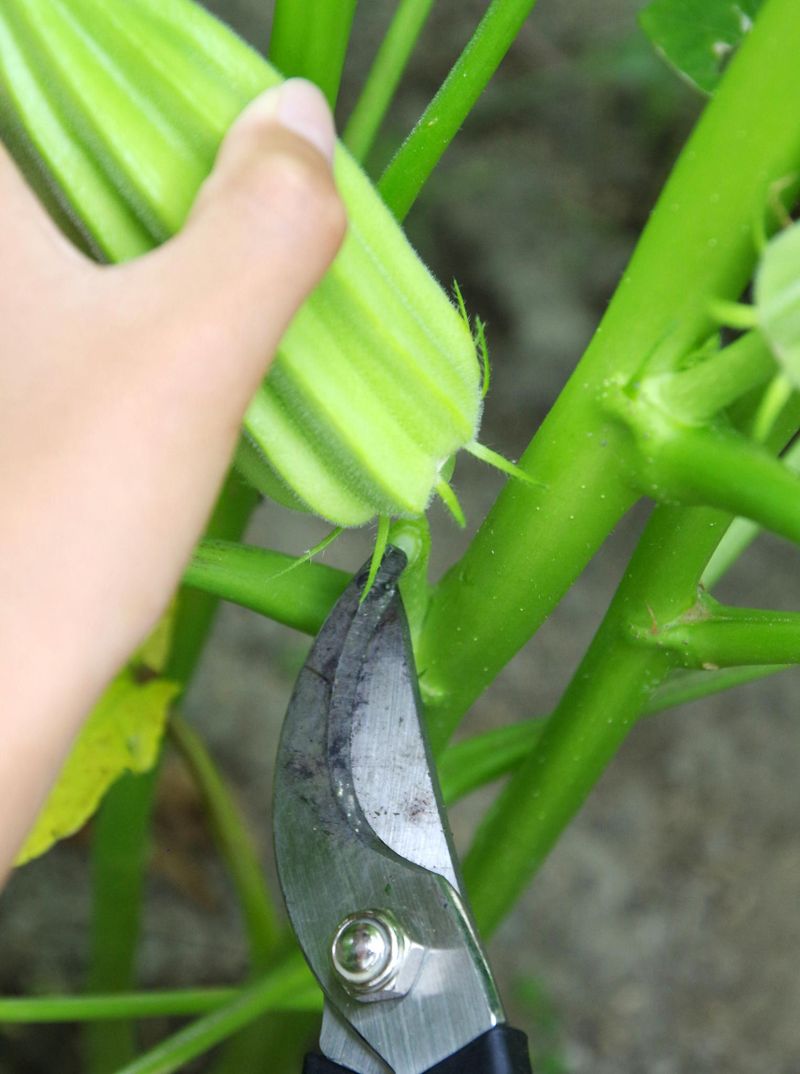
After the cut is made, what happens in the next two to three weeks will determine whether the plant actually produces a fall crop or simply pushes out leaves and stalls. Two inputs drive regrowth: consistent moisture and a measured dose of fertilizer. Getting either one wrong slows the process or redirects the plant’s energy in the wrong direction.
Alabama Cooperative Extension’s ratooning protocol pairs the cutback with refertilization, using a balanced or potassium-containing fertilizer to push side-branch development and renewed flowering. That guidance comes from a production-scale context, so commercial application rates are not appropriate to copy directly into a home-garden plan. For a backyard planting, follow the product label and, if possible, base the decision on a soil test. Utah State University Extension cautions that excess nitrogen shifts a plant’s energy toward foliage at the expense of pod production, which is exactly the opposite of what a post-cut plant needs.
A light, label-directed application of a balanced fertilizer is a safer starting point than a heavy feeding.
Water consistency after the cut matters just as much as the fertilizer choice. New shoots emerging from the stump are tender and more sensitive to drought stress than the established plant was. Keep the soil evenly moist but not waterlogged during the regrowth period. Check the root zone by pressing a finger into the soil near the base of the plant, and water when the top inch or two feels dry rather than on a fixed schedule that ignores recent rain or soil type.
Texas A&M’s home-garden guide notes that pruned okra becomes bushier rather than maintaining a single upright stalk, which can make the canopy harder to navigate at harvest time. Plan for that change before the first pods return. Leave enough space between plants to reach into the canopy, and consider staking or tying branches if the planting is dense. AgriLife Extension recommends harvesting every other day during peak production, and that frequency becomes even more important after a ratoon cut, when pods on new growth can reach tough and seedy very quickly in warm fall temperatures.
Resume frequent picking the moment usable pods appear.
Replace the planting when rejuvenation is a poor bet
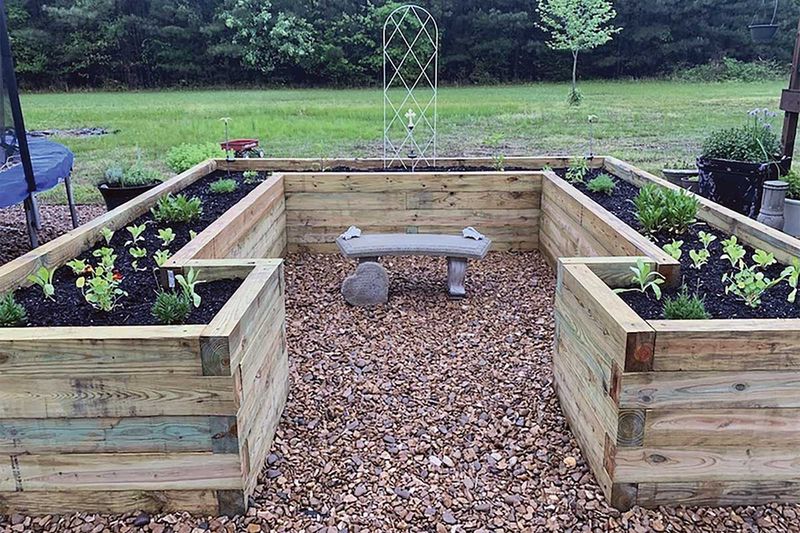
Pruning is a tool, not a remedy for every situation. Some okra plantings are past the point where a cutback will help, and recognizing that early saves both time and the remaining weeks of the growing season.
A plant showing signs of root-knot nematode damage, confirmed fungal or bacterial disease, or significant stem rot at the base is a poor candidate for rejuvenation. Cutting the top off a plant with a compromised root system or an active disease does not address the underlying problem. Utah State University Extension notes that nematode damage can mimic drought stress from the outside, so if the plant wilts repeatedly despite adequate watering, pull it and check the roots for the characteristic knots before deciding anything. A plant with severe pest damage or chronic drought stress that has never fully recovered may also lack the root reserve to push productive regrowth after a cut.
Timing alone can make replacement the better option. Texas A&M explicitly identifies a midsummer planting as a potentially preferable alternative to pruning spring plants, noting that pruned plants become bushier and harder to harvest. A fresh planting from transplants or fast-germinating seed started in midsummer can sometimes outperform a rejuvenated ratoon plant in terms of harvest ease and canopy manageability. If the frost window has already closed to fewer than 70 days, a new planting faces the same timing problem as a pruned one, but it avoids the unpredictability of how a stressed older plant responds to a drastic cut.
Alabama Cooperative Extension notes that fall yields can often exceed spring yields in a ratooned planting, but that finding reflects its production context and does not guarantee the same outcome in every Central Texas backyard. AgriLife Extension recommends supporting production with consistent care through the fall window rather than expecting a dramatic surge from the cut alone. If the plant is clearly struggling and the season is short, pulling it and amending the bed for next year is a reasonable and productive choice.
Treat the cut as a calculated reset
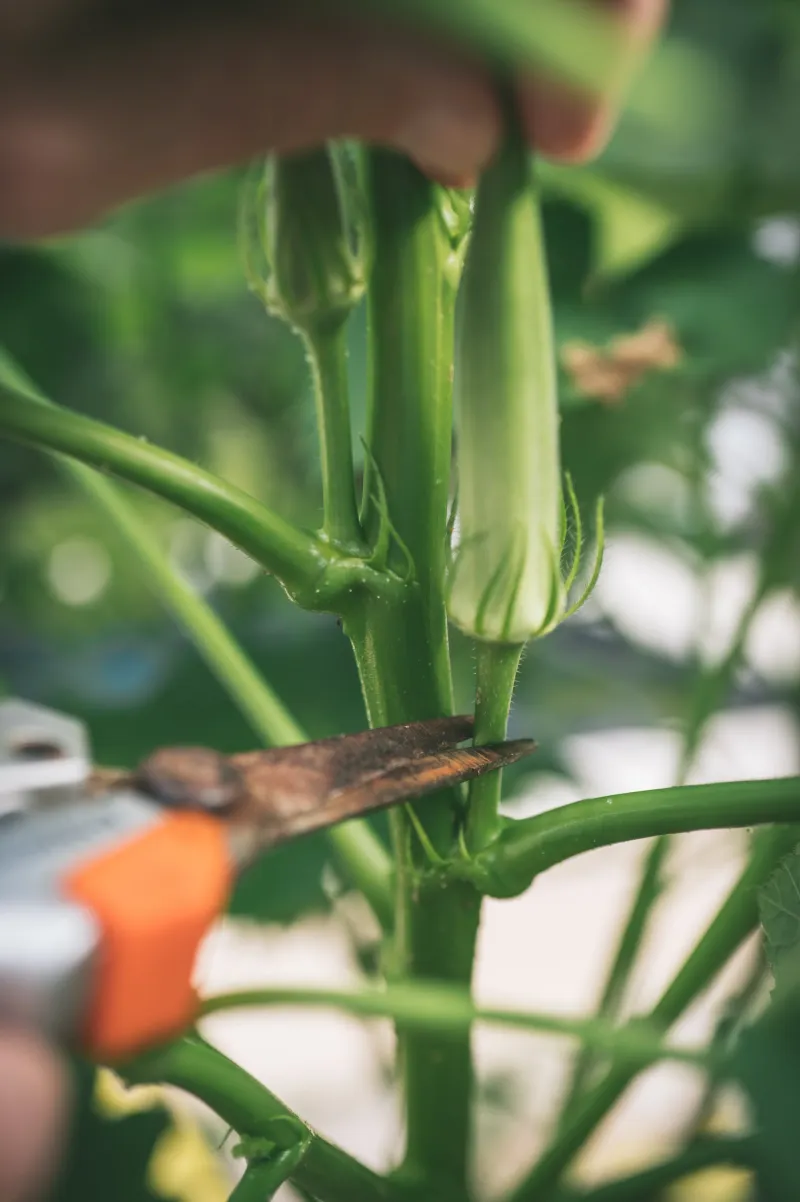
The sequence that gives a ratoon cut the best chance of working starts well before the pruners come out. Diagnose the plant first: check for missed pods, uneven watering, pest damage, and disease symptoms. Correct what you find. If the plant responds with new flowers within a week or two, the cut may not be necessary at all.
If the planting is healthy but clearly declining, and your local frost window still allows 80 or more days of warm weather, the 6 to 12-inch ratoon cut described by Alabama Cooperative Extension is a reasonable option for a decisive reset. A taller plant that is hard to harvest may respond better to a 3 to 4-foot cut. A planting with confirmed disease, nematode damage, or too little time left before frost is better replaced than pruned.
Texas A&M’s 80 to 100-day pruning window and Austin’s average first freeze of December 1 give a rough frame, but your microclimate and the extended forecast matter more than any average. A fall crop from a rejuvenated Central Texas planting is genuinely possible – the cut just has to be the right tool for the right plant at the right moment in the season.