
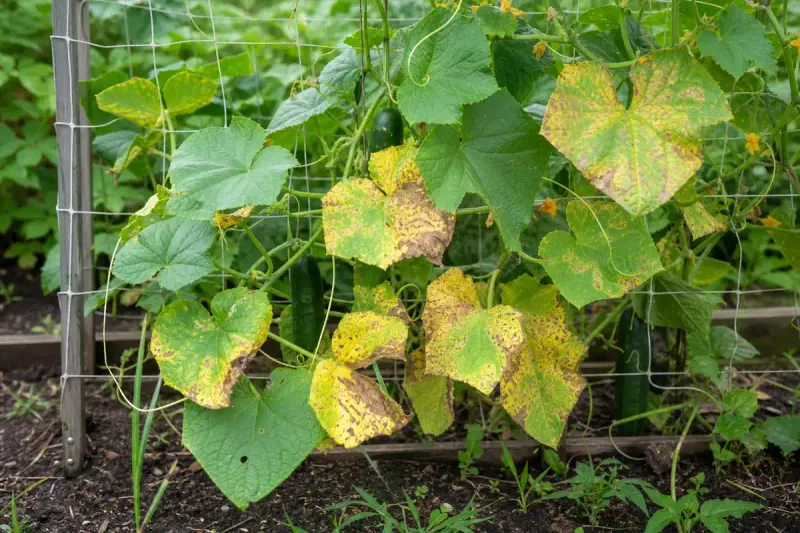
Starting a second cucumber crop in late summer is a smart move for Southern gardeners, but watching those tiny seedlings turn yellow and freeze up just days after sprouting can feel like a defeat. The heat is the obvious suspect, and it does play a role, but it rarely acts alone.
Several other problems can cause the same pale, stalled look, and treating the wrong one will not save the plants. This guide walks you through a practical triage process so you can figure out what is actually happening and decide whether to rescue or replace.
Heat Can Stall New Cucumber Seedlings Without Explaining Every Yellow Leaf
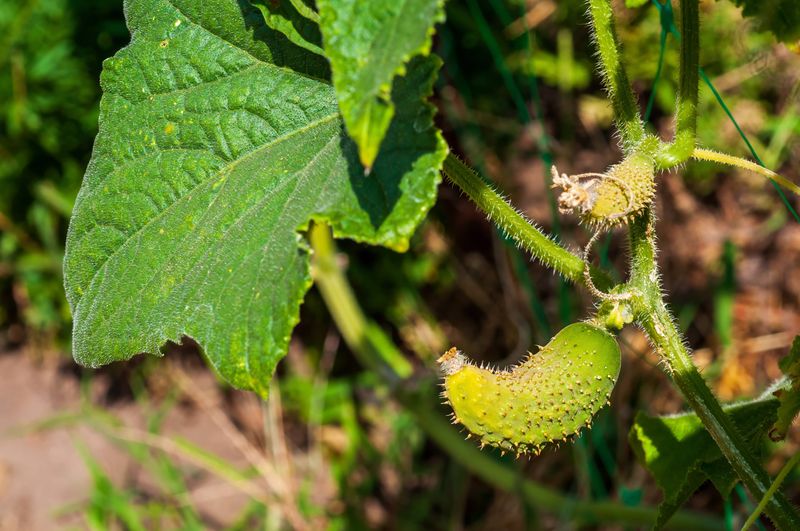
Newly emerged cucumber seedlings are small, fragile, and working with a root system barely the size of your thumbnail. Intense sun, dry wind, and uneven soil moisture can overwhelm that tiny root zone quickly, and the result often looks like stalled growth, wilting, leaf curl, or light scorching on the leaf edges.
Those symptoms make sense in late-summer heat, and University of Minnesota Extension guidance on heat stress confirms that high temperatures can slow vegetable growth and push plants into a temporary defensive crouch.
Yellowing is a different signal. Uniform yellowing right after sprouting is less typical of heat alone than wilting or curling, and it points toward a broader list of suspects: uneven moisture, waterlogged soil, root disease, insufficient nutrition, insect feeding, virus, or herbicide residue in the soil.
Each of those causes looks similar at first glance, and irrigation research from UMN Extension notes that both drought stress and excess water can damage seedling performance in ways that are hard to separate by sight alone.
Treating heat as the confirmed diagnosis before checking the soil, stem, and leaf pattern is a shortcut that often leads to the wrong fix. The sections that follow work through the most likely causes in order, starting with the root zone, so you can match the symptom to a real problem rather than guessing.
Think of this as a triage checklist rather than a single answer.
Check the Soil and Stem Before You Change the Care Routine
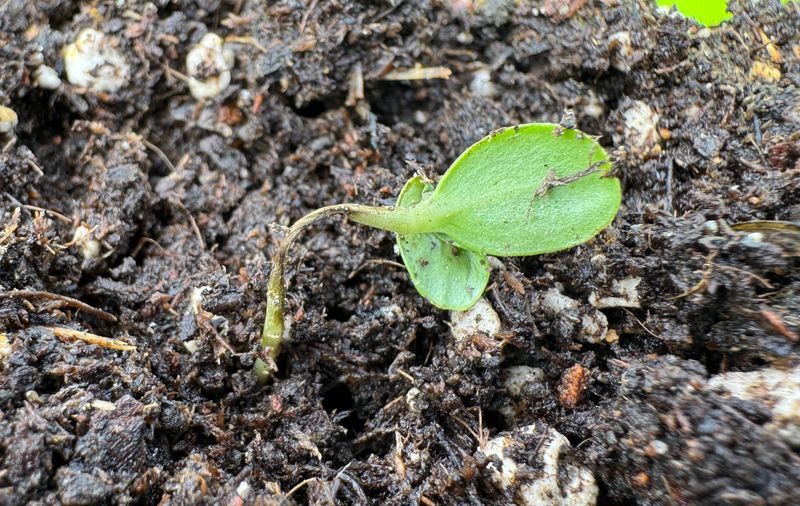
Before reaching for the watering can or a fertilizer bag, push your finger or a wooden skewer several inches into the soil right next to the seedlings. What you find there matters more than what the surface looks like.
Dry, crumbly soil that clings loosely to your finger points toward moisture stress; cool, sticky, or waterlogged soil that holds its shape and smells earthy or sour suggests the opposite problem, and adding more water to that situation will make things worse, not better.
Look for standing water around the base of the plants or soil that never seems to drain after rain or irrigation. Poor drainage is one of the most common reasons seedlings stall in warm-weather gardens, and UMN Extension’s vegetable watering guidance is clear that a wilted plant in already-wet soil needs drainage and air circulation, not another drink.
Once you have a read on the moisture, crouch down and look at the stem right where it meets the soil. A healthy seedling stem is firm and green or pale green all the way to the ground.
A stem that looks pinched, water-soaked, discolored brown or gray, or noticeably thinner than the rest of the plant is a warning sign. UMN Extension’s cucumber seedling diagnostic tool and their damping-off prevention guide both flag stem changes at the soil line as the key early sign of root disease rather than heat injury.
That distinction changes every decision that follows.
Stabilize the Root Zone With Even Moisture and Better Drainage
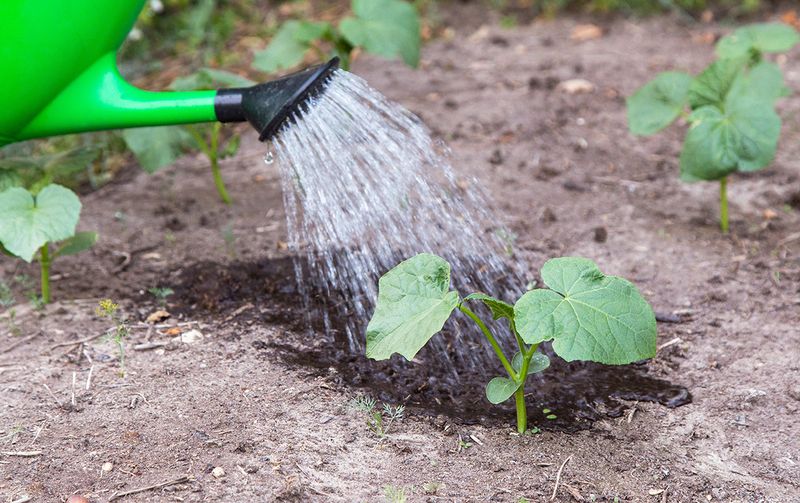
Once you know whether the soil is dry or wet, the first practical step is to bring moisture to a steady, consistent level rather than swinging between soaked and bone-dry. UF/IFAS guidance on seeding and young plant care recommends keeping the upper root zone reliably moist for newly established seedlings while allowing the soil to dry slightly between waterings and avoiding any standing water.
That balance matters more than hitting a specific schedule.
Water at the soil line rather than overhead when you can, and morning is the practical preference because wet foliage dries faster and disease pressure drops. That said, if a seedling is visibly wilting and the soil is genuinely dry during an afternoon heat spike, do not hold off just to follow the morning rule.
Withholding water from a drought-stressed plant during an active emergency causes more harm than the timing imperfection. UMN Extension irrigation research supports consistent moisture as a key tool for reducing heat stress without encouraging saturation.
If drainage is the problem rather than dryness, adding more water is counterproductive. Improve airflow around the root zone by loosening compacted soil at the edges of the bed, creating a slight slope or furrow to move water away, or raising the planting area if the layout allows.
A thin layer of organic mulch can slow evaporation and buffer soil temperature on the dry side of the spectrum, but keep it pulled back from tiny stems so it does not trap moisture against the base. Extension heat-stress guidance treats mulch as a moisture management tool, not a fix for yellow leaves or a substitute for functional drainage.
Use Temporary Afternoon Shade Without Trapping Heat
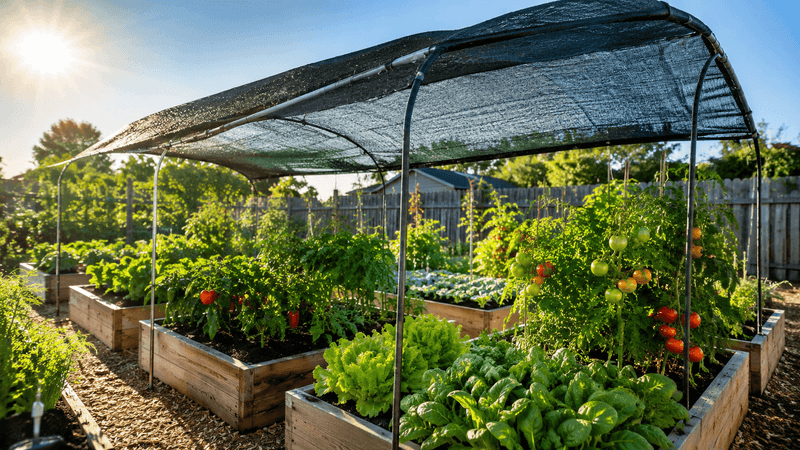
After moisture and drainage are under control, reducing direct afternoon sun load is the next lever worth pulling. Late-summer afternoons in Florida and Texas can push air temperatures well above what young seedlings handle comfortably, and that added heat intensifies water loss through the leaves faster than a small root system can compensate.
A physical barrier over the plants during the hottest part of the day can take meaningful pressure off while roots catch up.
UMN Extension’s heat management guidance identifies 30 to 40 percent shade cloth as a reasonable temporary option for heat-stressed garden plants. The covering must be elevated on stakes or a simple frame so it sits above the seedlings rather than resting on them, and the sides should remain open for airflow.
A cover that traps hot, still air against the plants can raise temperatures at the leaf surface rather than lower them, which defeats the purpose entirely.
Plastic sheeting is not a safe substitute here. Even with small holes, unventilated plastic can create a heat pocket that damages or kills newly emerged seedlings quickly.
Penn State Extension’s guidance on seed and seedling protection supports breathable covers over plastic for situations where seedling foliage is vulnerable. Remove or adjust the shade cloth as temperatures moderate in the evening, and plan to phase it out once the seedlings have a few days of stable growth under their belt.
Shade is a temporary bridge, not a permanent growing condition; too much of it for too long produces weak, stretched plants that struggle once the cover comes off.
Leaf Patterns Show When Heat Is Probably Not the Main Problem
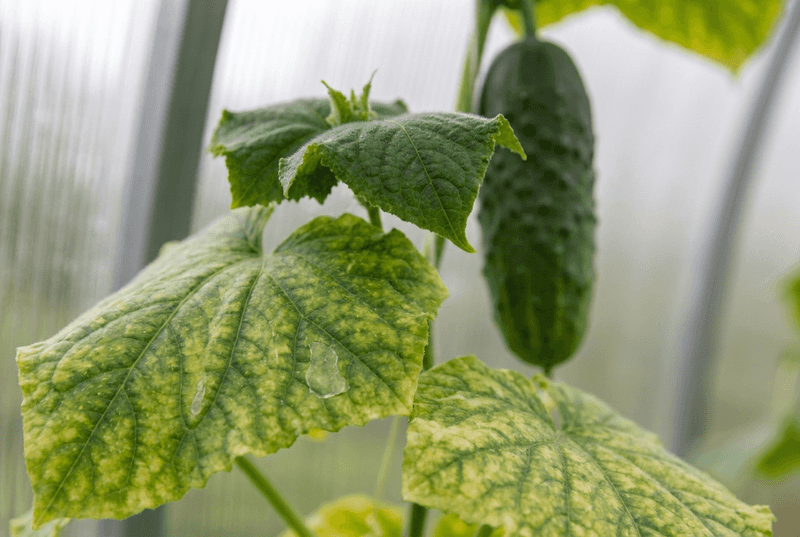
Leaf color tells a story when you know what to look for. A seedling that is pale all over, growing slowly, and losing color first on its oldest leaves may be running short on nitrogen.
That pattern is suggestive because nitrogen is a mobile nutrient, meaning the plant pulls it from older tissue to support newer growth when supply is limited. UMN Extension’s seedling troubleshooting resource notes that overall paleness and slow development can indicate a nutrition gap, but also cautions that nutrient symptoms overlap heavily with root damage, waterlogging, and salt injury.
Uniform yellowing across all leaf ages, or yellowing that starts on new growth rather than old leaves, is less consistent with a simple nitrogen shortage and points back toward root problems, soil chemistry, or another stressor. Heat on its own more commonly produces temporary wilting, leaf curl, or edge scorch rather than a clean, even yellow color across the plant.
Extension heat-stress guidance supports that distinction and reinforces that yellowing requires a broader look before drawing conclusions.
Resist the pull to add fertilizer as soon as you notice pale color. UMN Extension’s fertilizing guide explains that high fertilizer salt concentrations can injure tender roots and interfere with water uptake, making a stressed seedling worse rather than better.
Review what the potting mix or garden soil already contains, check whether the seedlings were started in a mix with added nutrients, and consider a basic soil test before applying anything concentrated. A diagnosis first, then a targeted response, is the safer sequence.
Collapsed Stems, Chewed Leaves, and Mosaic Growth Need Different Decisions
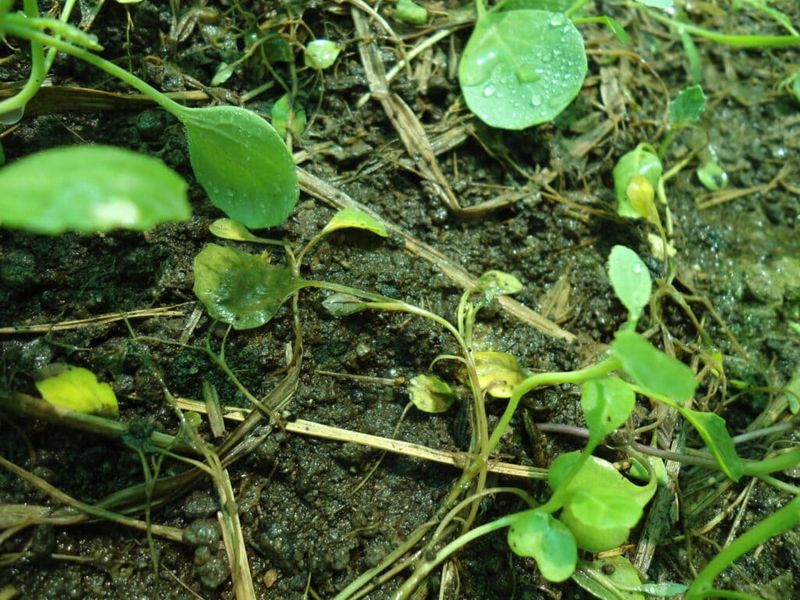
Some symptoms go beyond what moisture correction and shade can address, and recognizing them early saves time and protects nearby plants. A stem that looks pinched, sunken, water-soaked, or discolored at or just above the soil line is the signature of damping-off, a root and crown disease caused by soil fungi and water molds that thrive in wet, poorly drained conditions.
UMN Extension’s cucumber seedling collapse diagnostic is direct: seedlings that show these stem changes rarely recover, and the right move is removal rather than repeated treatment attempts.
Pull affected seedlings out completely, roots and all, and dispose of them away from the garden. Then correct the conditions that allowed the disease to take hold: improve drainage, reduce watering frequency, sanitize containers or tools, and avoid planting into the same spot immediately.
UMN Extension’s damping-off prevention page is clear that late-summer heat does not prevent this disease; the pathogen thrives when growth is slowed by overwatering, poor light, or other stress, so hot weather and wet roots can absolutely occur together.
While you are pulling plants or examining survivors, check the undersides and tops of every leaf for insects. Cucumber beetles are small, striped or spotted, and can show up at or just after seedling emergence.
UGA Extension’s cucumber growing guide notes that these beetles can transmit bacterial wilt, a disease that moves fast and kills plants that looked healthy days earlier. Remove beetles by hand when practical and use only products labeled for the crop.
A mottled yellow-and-green pattern on the leaves, yellow streaking, distorted or puckered new growth, or a plant that is dramatically smaller than its neighbors may suggest a virus. Penn State Extension’s cucumber mosaic virus resource cautions that these symptoms overlap with herbicide injury, heat stress, and nutrient problems, so appearance alone cannot confirm a virus.
Suspect plants should be isolated or removed rather than treated with fertilizer or a broad pesticide, neither of which addresses a viral infection.
Avoid Strong Fertilizer and Handle Cucumber Transplants Carefully
Yellow leaves create pressure to do something immediately, and fertilizer often feels like the logical response. For a seedling with a genuine nitrogen shortage and functional roots, a light, diluted application may help.
For a seedling already dealing with root damage, poor drainage, or salt stress, concentrated fertilizer can injure the root tips further and reduce the plant’s ability to take up water. UMN Extension’s plant fertilizing guide advises reviewing existing soil nutrient levels and understanding the cause of yellowing before adding any fertilizer, precisely because excess salts can worsen the problem.
Container-grown seedlings and small cell trays experience faster swings in root-zone temperature and moisture than plants seeded directly into a mulched bed. That means they need closer monitoring, but closer monitoring does not mean more frequent watering.
Each watering still needs to drain freely. UMN Extension’s seed-starting guidance emphasizes that containers must drain well and that overwatering in small cells is a common seedling killer.
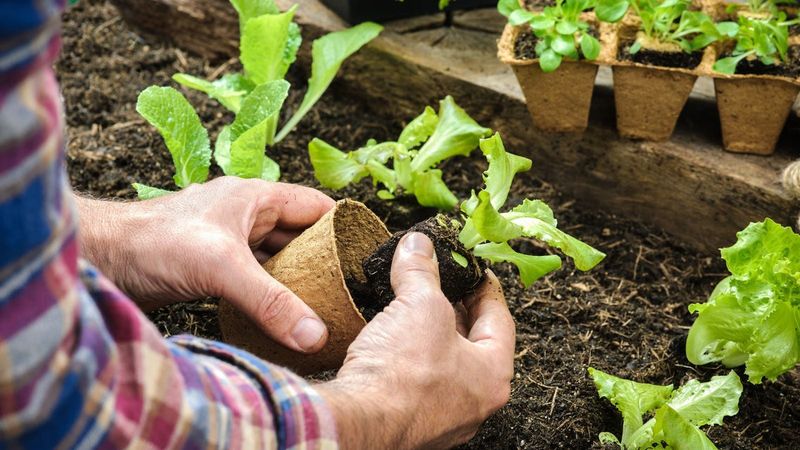
If you are replacing failed seedlings with transplants, handle them gently and choose plants with a small, intact root system rather than ones that have become root-bound or have been sitting in cells too long. UF/IFAS greenhouse cucumber production guidance suggests transplanting around the three-to-four true-leaf stage for controlled production, while Utah State Extension recommends two to three mature leaves with a well-developed root system for garden settings.
Those numbers are production guidelines tied to specific conditions, not a universal rule; what matters most is that the root ball stays intact and the plant goes into prepared soil with minimal disturbance. Direct seeding into the bed is often the lower-risk option when the timing and soil conditions allow it.
A Fall Crop Only Works If the Local Window Leaves Time Before Frost
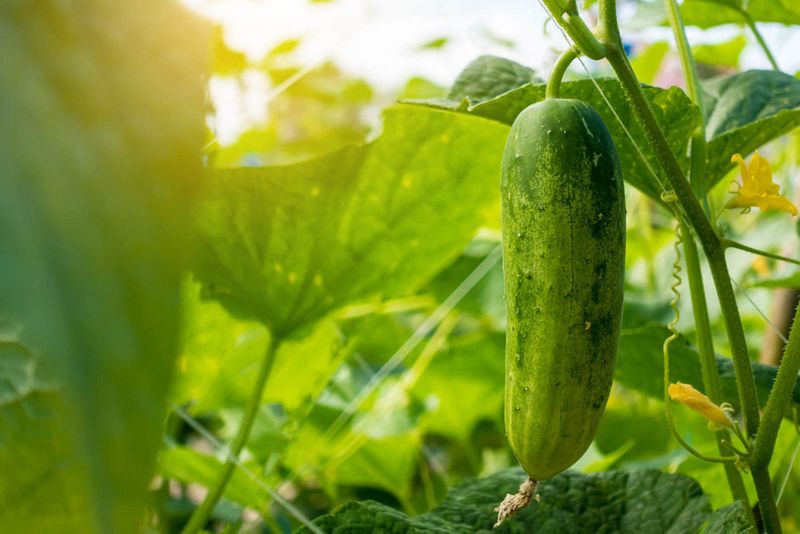
When seedlings collapse and cannot be saved, the next question is whether there is still time to start over. Cucumbers can fit a fall production window in parts of the South, but the workable dates are not the same across the region, and a generic recommendation to plant in late summer does not account for local first-freeze timing.
Getting this right matters as much as any rescue step, because a replacement crop planted too late will not mature before cold ends the season.
The UF/IFAS Florida Vegetable Gardening Guide shows that cucumber planting windows in Florida shift significantly by region, from August through September in northern areas to September through February in the southern part of the state. Florida gardeners should check their specific zone rather than assuming a single statewide date applies.
Texas spans an even wider range of climates. Texas A&M AgriLife Extension’s fall vegetable gardening guide lists cucumber fall planting dates running from roughly July 15 through October 1 depending on region, with Central Texas commonly planting in September.
A gardener in the Panhandle faces an earlier first-freeze risk than one in the Rio Grande Valley, so the regional table in that guide is worth consulting directly. The key calculation is simple: count back from your area’s average first-freeze date by the number of days your cucumber variety needs to mature, then confirm that a new planting started today still clears that deadline with a reasonable buffer.
Treat Improvement as Encouraging, Not Proof of the Diagnosis
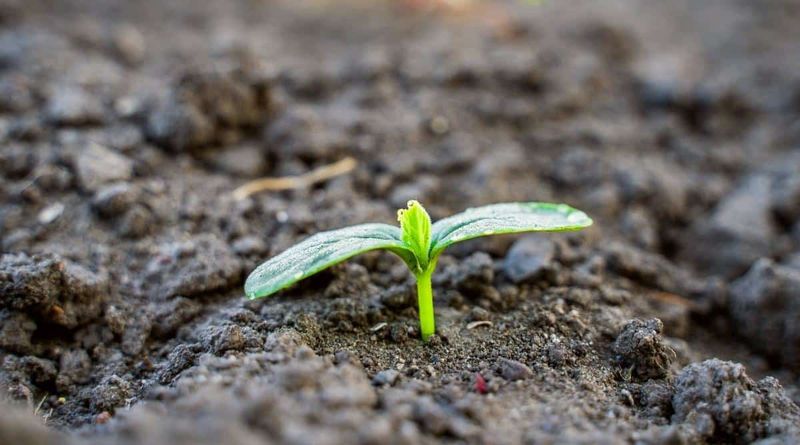
Seedlings that look a little less stressed after you stabilize moisture, improve drainage, and add temporary shade are a hopeful sign. Firmness returning to the stem, leaves holding their color, or a hint of new growth at the growing tip all suggest the plant is no longer in crisis.
Those observations are worth noting, but they do not confirm that heat was the cause or that the problem is resolved.
Keep checking. Extension heat-stress guidance supports continued reassessment rather than declaring a fix after one or two good days.
Look at the soil moisture and drainage again, inspect the stem at the soil line, watch for new pest activity, and track whether the yellowing is spreading or retreating. A seedling that looked better on Tuesday can still show collapse or worsening color by Thursday if the underlying problem was root disease rather than heat.
Seedlings with a pinched or mushy stem, severely rotted roots, or symptoms that match a virus pattern are poor candidates for recovery regardless of surface improvement. UMN Extension’s seedling diagnostic tool and the fall planting windows covered earlier both point toward the same practical conclusion: remove plants that are unlikely to recover, correct the underlying problem in the bed, and replant while the regional window is still open.
A seedling that surprises you with genuine recovery is a good outcome; a seedling that lingers without improving while your planting window closes is a cost worth cutting early.