
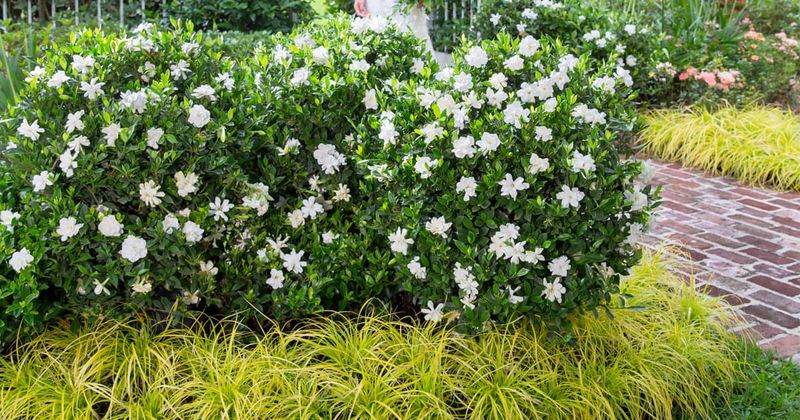
Gardenias are one of those shrubs that reward a little attention before the heat arrives, and one practical step taken as fall approaches can make a real difference for an established plant. Checking your root-zone mulch and making sure drainage is solid costs almost nothing, but it sets up the conditions gardenias need to handle long, hot summers.
This article walks through exactly how to do that, what to watch out for, and what not to bother with, so your gardenia has the best shot at a healthy growing season next year.
The useful fall preparation for an established gardenia
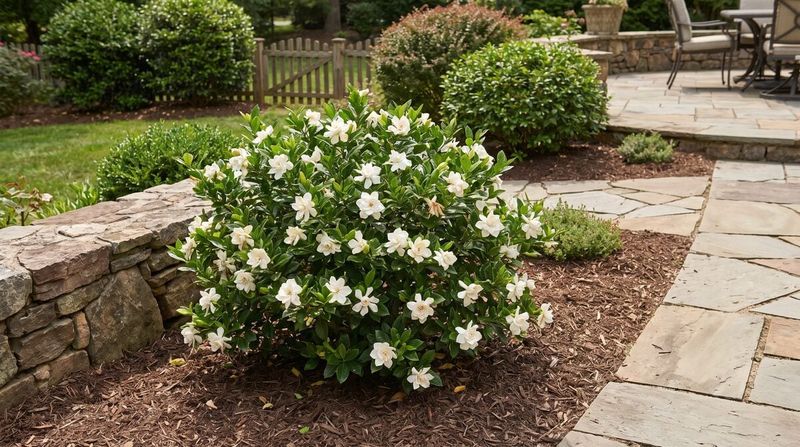
For an established gardenia growing in a North Carolina yard, the most practical thing you can do as fall approaches is straightforward: check that the soil drains well, then look at how much organic mulch is currently covering the root zone. Clemson Extension’s gardenia care guidance specifically recommends applying approximately 2 to 3 inches of organic mulch to support moisture retention and root health.
That does not mean piling on a fresh 2 to 3 inches every season. Measure what is already there, remove any excess, and add just enough new material to bring the total to that target depth.
Organic materials that work well include pine straw, compost, and ground bark. Any of these can help slow evaporation and moderate the temperature swings that shallow gardenia roots experience during summer heat.
UF/IFAS gardenia guidance also supports mulch as part of routine care for maintaining the consistent moisture these plants need.
Keeping the mulch layer at the right depth is a support measure, not a guarantee. Gardenia performance depends on multiple factors: drainage, soil acidity, light exposure, cultivar hardiness, pest pressure, and winter injury all play a role.
Refreshing the mulch improves the root environment and may help the plant handle heat more comfortably, but it does not protect against every problem that summer can bring.
One distinction matters here. This advice applies to an established gardenia already growing in your yard.
If you are buying a new shrub this season, the more directly supported preparation is fall planting, which gives roots time to settle before next summer’s heat arrives. That topic gets its own section later in this article.
How mulch supports gardenia roots in hot weather
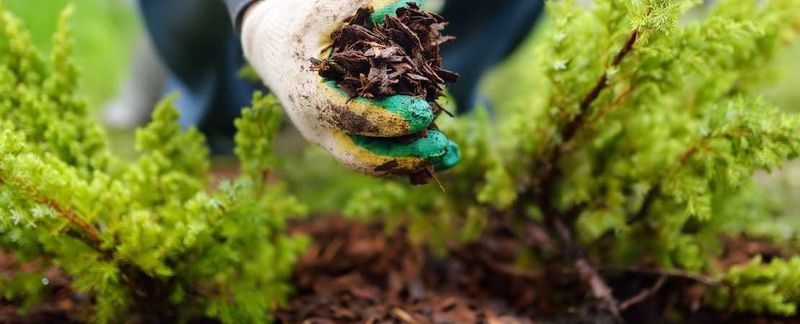
Gardenias have shallow roots that sit close to the soil surface, which makes them sensitive to rapid changes in soil temperature and moisture. When summer arrives in North Carolina and temperatures climb for weeks at a time, that shallow root zone can dry out faster than deeper-rooted plants.
A properly maintained mulch layer addresses this by slowing evaporation at the soil surface, which helps keep moisture available to the roots between watering or rainfall events.
Mulch also buffers the root zone against wide temperature swings. Bare soil heats up quickly under direct sun and cools sharply at night, and those repeated shifts can stress shallow roots.
An organic layer moderates that cycle, keeping the soil temperature more consistent. NC State’s plant profile for gardenia notes that these shrubs prefer moist but well-drained, acidic soil, and mulch helps maintain the steady conditions that preference requires.
Gardenias generally perform best with bright light or partial shade, often morning sun with some afternoon protection during the hottest months. Mulch supports the root environment, but it cannot compensate for a poorly chosen site.
A gardenia planted under a south-facing wall that radiates heat all afternoon, or one growing in compacted clay that holds water, will face challenges that no amount of mulch can fix.
NC State Extension’s common-name gardenia page also notes that cultivar hardiness varies across North Carolina’s regions, from the Coastal Plain through the Piedmont and into the mountains. Mulch improves the root environment, but the plant’s ability to handle summer heat still depends on whether it is suited to your specific location, soil, and conditions.
Check drainage before adding any mulch
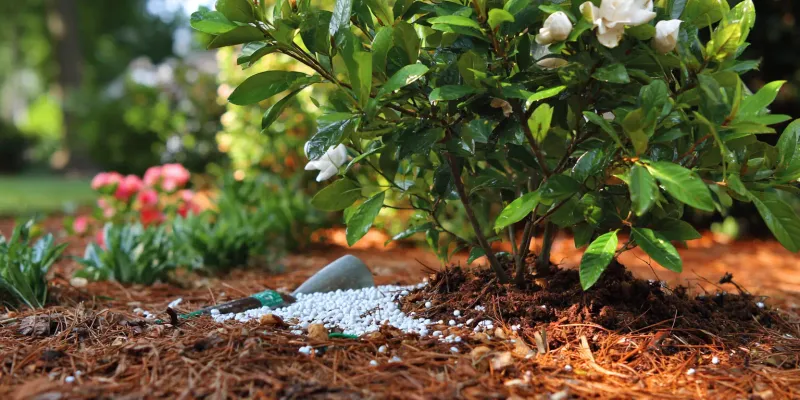
Before you add a single handful of mulch, look at what the soil is actually doing. Walk out after a rain and watch whether water pools near the gardenia’s base or whether the ground stays wet for a day or more after irrigation.
Soil that drains slowly, stays soggy, or shows standing water after normal rainfall is a problem that mulch cannot solve, and adding more material on top of saturated ground will make things worse, not better.
Gardenias need soil that is moist but well-drained. When roots sit in water for extended periods, the risk of root disease increases significantly.
Clemson’s guide to gardenia diseases and problems identifies Phytophthora root rot as a serious concern for gardenias in wet conditions. Overwatering and poorly drained sites are contributing factors, and once root rot takes hold, mulch will not reverse the damage.
If the soil around your gardenia stays persistently wet, address the drainage issue before proceeding. That might mean adjusting your irrigation schedule, improving the grade of the planting area, or reconsidering the site altogether.
Clemson Extension’s gardenia factsheet recommends moist but well-drained soil as a basic siting requirement, and that standard applies before any mulch goes down.
Once you have confirmed that water moves through the root zone reasonably well, the soil is ready to benefit from a maintained mulch layer. Skipping this check and adding mulch to a wet, poorly drained site can reduce oxygen near the roots, keep the soil too wet, and create conditions that favor rot and disease.
NC State’s gardenia profile supports the same basic requirement: good drainage is a prerequisite, not an optional detail.
Build a two- to three-inch layer without piling it on the stem
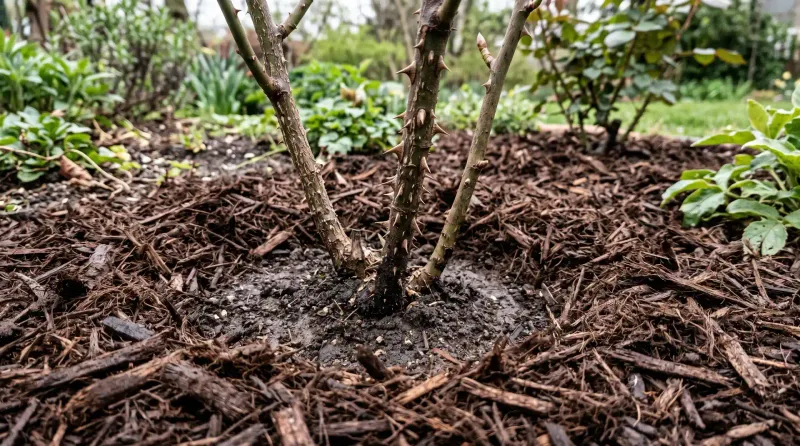
Once drainage is confirmed, the actual mulch application is simple, but a few details matter. Start by measuring the current depth of whatever material is already on the ground.
Push a finger or a ruler down through the mulch layer to the soil surface. If the existing layer is already at 2 to 3 inches, it does not need to be added to.
If it has compressed to less than that, top it up. If it is deeper than 3 inches, remove some material before adding anything new.
Clemson Extension recommends approximately 2 to 3 inches of organic mulch for gardenias, naming pine straw, compost, and ground bark as suitable materials. Pine straw is widely available across North Carolina and breaks down gradually, which suits gardenias well.
Compost can improve soil structure as it decomposes. Ground bark is durable and easy to spread evenly.
Any of these will support the moisture and temperature goals you are working toward.
Spread the mulch across the main root area, which generally extends out to the drip line of the shrub or beyond. Gardenias have shallow roots that spread outward, so covering only the area right at the base misses much of the root zone.
At the same time, keep a gap of roughly 2 to 3 inches between the mulch and the gardenia’s stem. Mulch pressed against the bark keeps it constantly moist, which can encourage decay and disease.
University of Maryland Extension’s guidance on excess mulch explains that piling mulch too deeply or too close to the trunk can reduce oxygen near roots, keep soil overly wet, and delay proper dormancy. A trunk-hugging mound is sometimes called “mulch volcano” style, and it creates more problems than it solves.
Keep the layer even, flat, and away from the stem. UF/IFAS Nassau County guidance on gardenia problems similarly reinforces keeping mulch clear of the stem to reduce moisture-related bark issues.
Maintain moisture without keeping the soil soggy
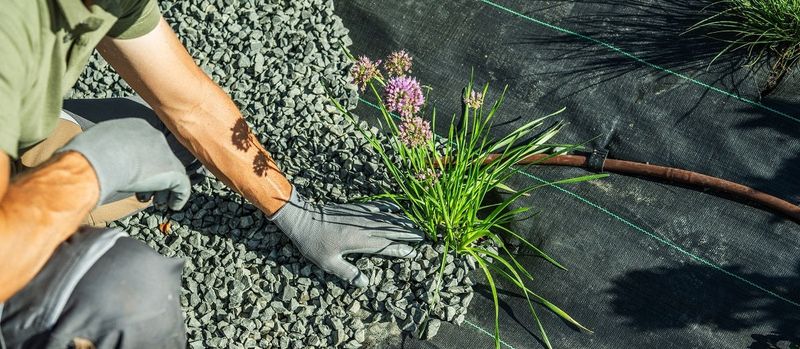
Mulch slows moisture loss, but it does not eliminate the need to water. After refreshing the mulch layer, the ongoing task is checking the soil and watering when it is actually dry, rather than on a fixed daily schedule.
Push a finger a couple of inches into the soil near the root zone. If it feels dry at that depth, water thoroughly.
If it still feels moist, wait and check again in a day or two.
Rainfall, drainage, plant age, and local weather all affect how quickly the soil dries out. A gardenia growing in sandy coastal-plain soil will need attention more often than one in heavier Piedmont clay.
During a stretch of hot, dry weather, Clemson Extension suggests deep watering about once a week as a summer-drought reference point, but that is a general guideline rather than a rule that applies to every site. The actual condition of the soil is a more reliable guide than any calendar.
When you water, aim at the soil surface rather than overhead. Routinely wetting gardenia leaves and flowers creates conditions where leaf-spot diseases and other fungal problems can develop.
Drip irrigation or a soaker hose placed at soil level delivers water where the roots can use it without keeping the foliage wet. Clemson’s gardenia disease guide links leaf-wetting practices to increased disease risk, so this is a practical habit worth building.
For newly planted gardenias, NC State Extension’s fall planting guidance emphasizes maintaining moisture around the root ball without saturating it, which captures the same principle: consistent, responsive watering beats a rigid schedule. That balance, keeping the soil moist but not waterlogged, is what gardenias need whether the concern is summer heat or fall establishment.
Skip automatic fall fertilizer and heavy pruning
Two common fall instincts, reaching for fertilizer and picking up the pruning shears, can actually work against your gardenia if the timing or approach is wrong. Fall fertilization in particular carries a real risk in North Carolina.
Applying nitrogen-rich fertilizer as temperatures begin to drop can push the plant into a flush of tender new growth that has no time to harden before cold arrives. That soft growth is vulnerable to frost and freeze damage, which can set the plant back rather than strengthen it.
NC State’s gardenia plant page and Clemson Extension’s factsheet both caution against fall fertilization for this reason. If you want to know whether your gardenia actually needs fertilizer, lime, sulfur, or iron, the right tool is a soil test, not a calendar.
NC State’s guide to soil testing explains that laboratory analysis is the reliable way to determine soil pH and actual nutrient needs. North Carolina homeowners can submit samples through the state’s agronomic laboratory soil testing program, with fees that vary by season.
Pruning in fall requires similar caution. Gardenias set next season’s flower buds on wood that develops after the current year’s bloom.
Heavy pruning in late fall removes that wood, which means fewer or no flowers the following season. Clemson and UF/IFAS suggest that any pruning after flowering should be completed before roughly October 1, while NC State’s plant toolbox recommends spring pruning.
The consistent practical point across all three is to avoid late or heavy cuts that expose the plant before winter.
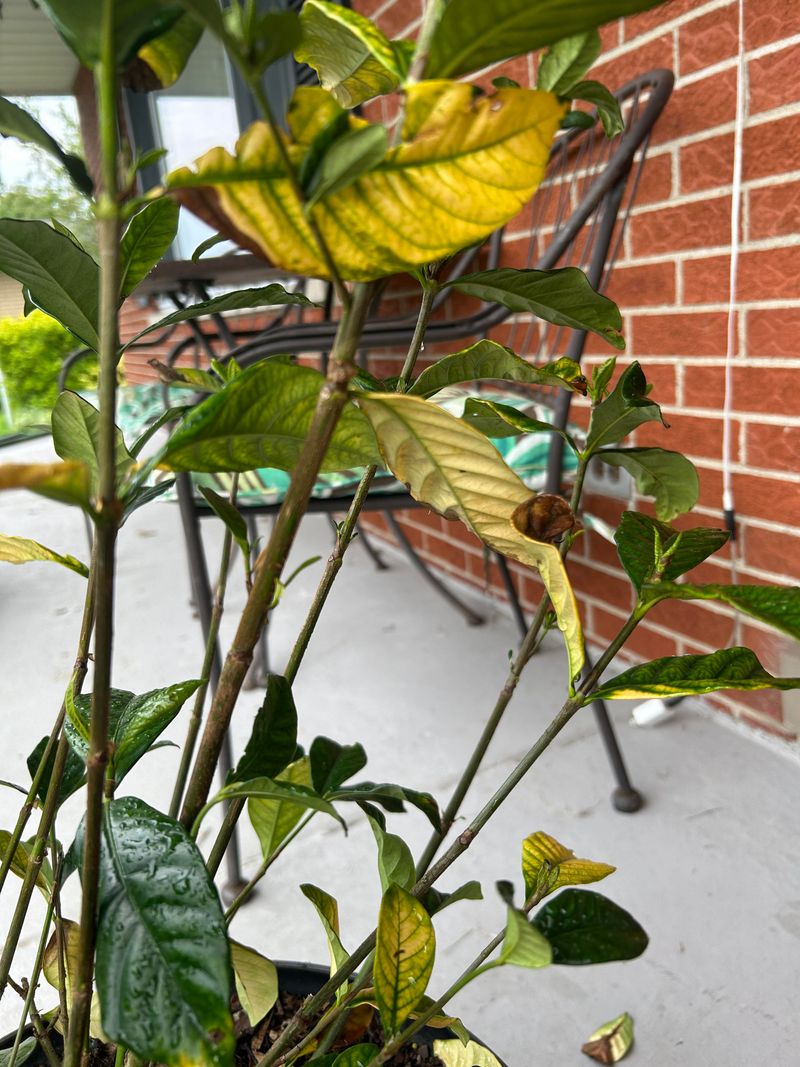
Yellow leaves are another situation where the automatic response can miss the actual problem. Older leaves naturally yellow and drop in fall as part of seasonal turnover.
Yellow new growth, on the other hand, may indicate high soil pH, iron unavailability, root damage, nematodes, or disease. UF/IFAS gardenia guidance notes that a range of conditions can produce similar-looking symptoms, and applying iron or fertilizer without knowing the cause may not help and could complicate the situation.
A soil test and a closer look at the plant are the right first steps.
Planting a new gardenia calls for a different fall step
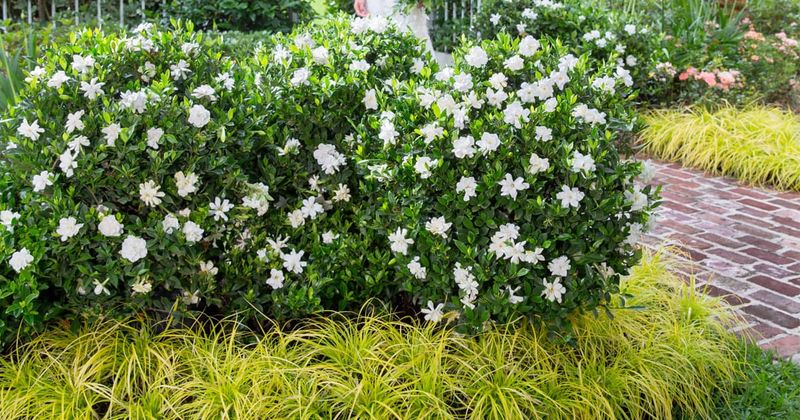
If the gardenia you are thinking about is still in a nursery container, the advice in this article does not quite apply yet. For a newly purchased shrub, the most directly supported preparation for next summer’s heat is fall planting itself.
Getting roots into the ground while air temperatures are cooling but soil is still warm gives the plant time to establish before it faces the demands of a full North Carolina summer.
NC State Extension’s fall planting guidance explains that shrubs planted in fall can develop roots under cooler top-growth conditions, with lower water demand than they would face in summer. That root development during fall and winter is what improves their chances when heat returns.
NC State Carteret County Extension’s fall planting tips reinforce the same timing advantage for woody ornamentals in coastal areas.
The planting method matters as much as the timing. Dig a hole no deeper than the root ball and about twice as wide.
A hole that is too deep can cause the plant to settle below the surrounding soil level, trapping moisture around the crown and increasing rot risk. Set the gardenia so the top of the root ball sits level with or slightly above the surrounding grade, then backfill with the soil you removed.
University of Georgia Extension’s landscape best management practices support this approach for establishing shrubs successfully.
After the plant is in the ground, water thoroughly to settle the soil around the roots and eliminate air pockets. Then apply the same 2 to 3 inch mulch layer described earlier, keeping it away from the stem.
From that point forward, monitoring soil moisture and watering when the root ball dries out are the main tasks through fall and into winter, building the root system that will carry the plant through next summer.
Use mulch as support, not as a guarantee
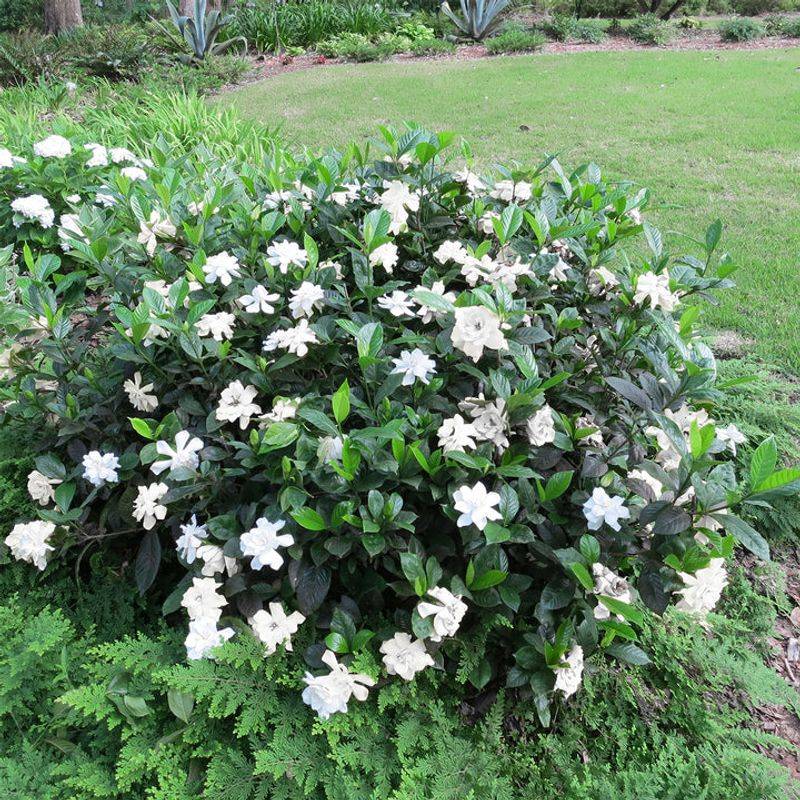
The practical sequence for an established gardenia comes down to a few connected steps. Confirm that the soil drains well.
Measure the existing mulch layer and bring it to approximately 2 to 3 inches of total organic material. Keep the mulch spread across the root zone but clear of the stem.
Then check soil moisture regularly and water when the ground is dry rather than on a fixed schedule.
Those steps create a better root environment, and that matters. But light conditions, soil acidity, cultivar hardiness, pest pressure, winter injury, and the specific climate of your part of North Carolina also shape how a gardenia performs from one season to the next.
NC State’s gardenia profile and Clemson’s disease and problems guide both reflect how many variables affect gardenia health across different regions and conditions.
Mulch is one tool in that broader picture. Clemson Extension’s gardenia care guidance supports it as part of sound routine care, and the evidence for its moisture and temperature benefits is consistent.
What mulch cannot do is override poor drainage, compensate for an unsuitable site, or protect a plant from every form of summer stress. A gardenia that goes into next summer with good drainage, a well-maintained root zone, and appropriate soil conditions has a better chance of handling the heat.
That is a meaningful improvement, and a realistic one.