
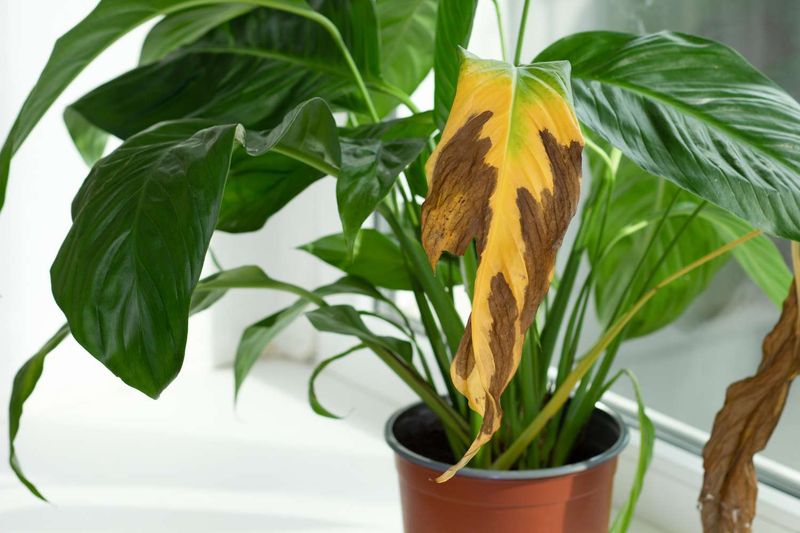
Trimming brown tips off a peace lily feels productive, but when fresh ones appear just a few weeks later, something deeper is going on. The plant is sending a signal, and cutting the damage away does not turn it off.
Brown tips can come from several different stresses, and figuring out which one is actually at work makes all the difference between a plant that recovers and one that keeps declining.
Recurring brown tips need a diagnosis, not another trim
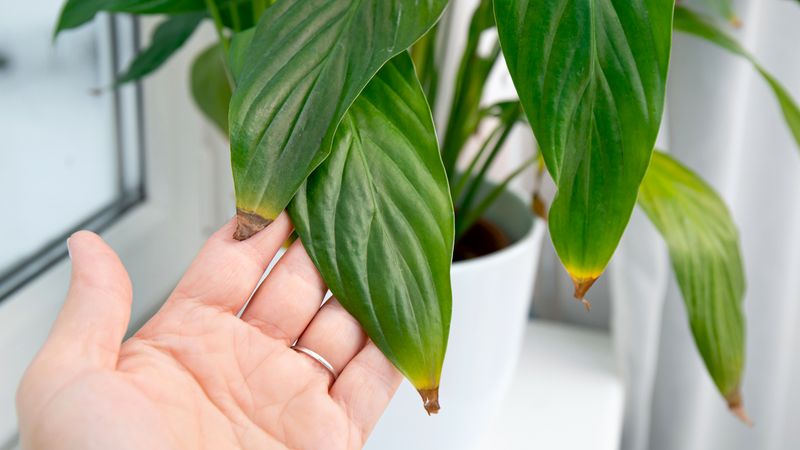
Trimming a brown leaf tip cleans up the plant’s appearance, but it cannot stop new tips from browning if the stress that caused the damage is still present. Penn State’s plant-diagnostics guidance makes this distinction clearly: pruning removes visible symptoms, while cultural corrections address the actual cause.
A peace lily that keeps producing brown tips after repeated trimming is telling you that something in its environment or care routine has not changed.
The tricky part is that brown tips alone cannot point to one confirmed cause. Illinois Extension’s houseplant troubleshooting resource lists improper watering, low humidity, direct sunlight, cold drafts, insect pests, excess fertilizer, salt accumulation, and disease as separate possibilities that can all produce similar-looking damage.
No single symptom locks in a diagnosis.
Before reaching for the scissors again, compare the pattern of browning with what you know about the plant’s recent history. Are the tips crispy or soft?
Is the damage spreading to leaf margins, or staying confined to the very tip? Did the problem start after a change in location, watering routine, or fertilizer schedule?
These details narrow the field considerably and point you toward the right check rather than the most common assumption.
Check moisture and drainage before disturbing the plant
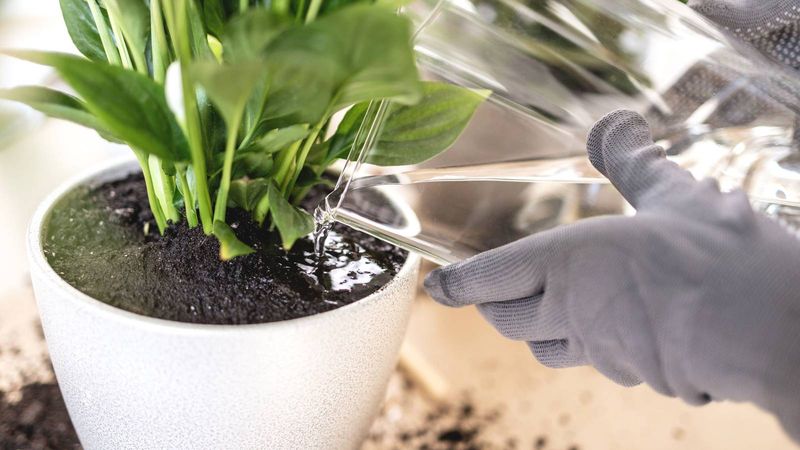
Soil moisture is one of the first things worth checking because both too much and too little water can produce brown tips, and the fix for each is opposite. Push a finger about 2 inches into the potting mix.
Illinois Extension recommends watering when that layer has dried out, then watering thoroughly until excess runs from the drainage holes. Peace lilies prefer a mix that stays lightly moist but dries slightly between waterings, not one that stays wet continuously.
Drainage matters as much as watering frequency. Confirm that the pot has functional drainage holes and that water actually moves through the mix rather than pooling at the bottom.
Clemson Cooperative Extension notes that a container holding too much moisture for too long can compromise root health, and that a pot sized appropriately for the plant drains more predictably than one that is too large. Empty the saucer after each watering so the roots are not sitting in standing water.
If the soil feels wet and the plant is still wilting, or if you notice a sour smell or persistent yellowing alongside the brown tips, those are signals that a root inspection may be warranted. Penn State Extension’s plant-health guidance describes dark, limp, or mushy roots as consistent with overwatering or root disease, while healthy roots should be firm and light-colored.
Isolated brown tips without those additional symptoms do not confirm root rot on their own.
Look for salt and fertilizer buildup
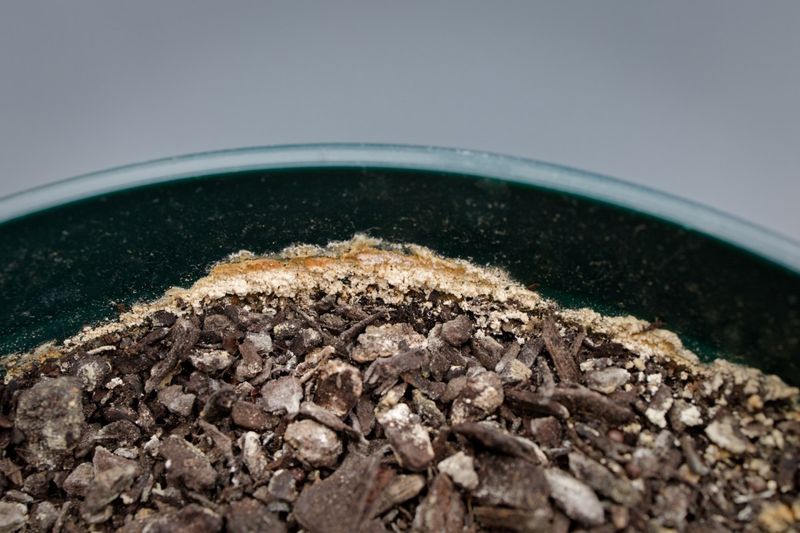
Soluble salts accumulate in potting mix over time from fertilizer residue, mineral-rich water, or softened water, and they can injure roots and pull moisture away from leaf tissue. The damage often shows up as brown, crispy margins or tips that look very similar to underwatering injury.
University of Connecticut Extension explains that high salt concentrations in the root zone interfere with a plant’s ability to take up water even when the soil appears adequately moist.
A useful clue is a white or yellowish crust on the soil surface, along the pot rim, or around the drainage holes. That deposit often signals salt accumulation worth addressing.
Keep in mind, though, that its absence does not rule salts out, since buildup can occur below the surface without visible crusting. UC Cooperative Extension recommends flushing the mix with low-salt water when the container drains freely, running water slowly through the soil for several minutes to carry dissolved salts out through the drainage holes.
If flushing does not stop new browning and the mix has been in use for more than a year or two, replacing the potting mix entirely may be the more effective step. UF/IFAS Extension also recommends stopping excess fertilizer applications when salt injury is suspected.
Peace lilies have modest nutritional needs, and more fertilizer will not compensate for brown tips; it will add to the salt load instead.
Review light, temperature, and indoor air
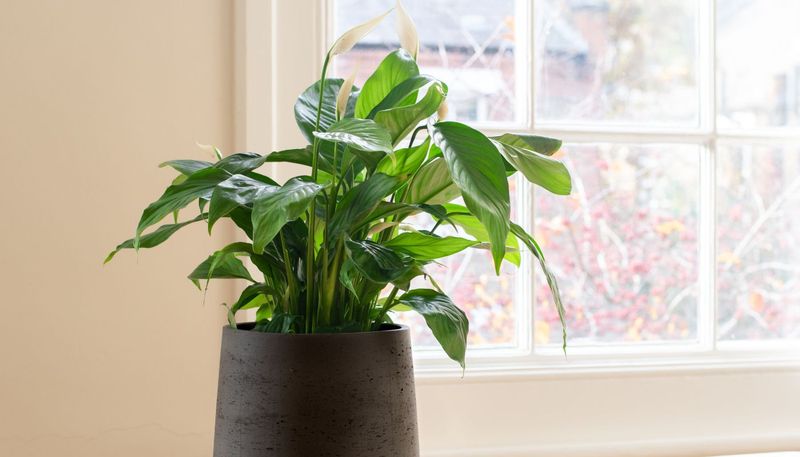
Environmental conditions inside the home can drive recurring brown tips without any problem in the soil or roots at all. UF/IFAS Florida Foliage guidance for Spathiphyllum recommends bright, indirect light and specifically cautions against direct sun exposure, which can scorch foliage and produce tip and margin damage that closely resembles watering or nutrient injury.
Moving a peace lily away from a south- or west-facing window that receives direct afternoon sun is a simple first step if the placement has recently changed.
Temperature extremes and moving air are equally worth examining. Heating and air-conditioning vents push dry, warm or cool air across foliage repeatedly throughout the day, and cold drafts from windows or exterior doors during winter can stress leaves into browning at the tips.
Check whether the plant sits within a foot or two of a vent, a frequently opened door, or a drafty window frame, and relocate it if so.
Dry indoor air, common in both heated and heavily air-conditioned Southern homes, can contribute to tip browning as well. Iowa State Extension and Penn State Extension both note that a humidifier or grouping plants together provides more sustained improvement than frequent misting.
Misting wets the foliage briefly but does not raise ambient humidity in any lasting way, and leaves that stay wet can become more susceptible to fungal disease.
Treat water quality as a troubleshooting test
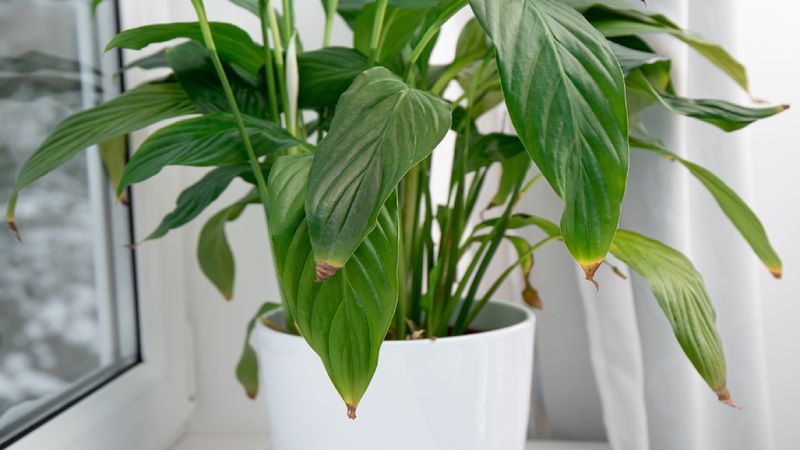
Water chemistry is worth investigating when other causes have been addressed but browning continues. Start with a few practical questions: Does the household use a water softener?
Are there visible white mineral deposits on the pot or soil? Did the browning begin after a change in water source?
Softened water can add sodium to the root zone with every watering, and UF/IFAS Extension specifically connects softened-water salts with brown leaf margins and recommends flushing or replacing the mix if softened water has been used regularly.
Fluoride is another compound that can injure sensitive plants, concentrating damage at leaf tips and margins. Research on plant fluoride tolerance confirms that fluoride accumulates in leaf tissue and can produce tip burn in susceptible species.
That said, the available evidence does not establish fluoride as the most common cause of peace lily browning in homes, and other stresses produce nearly identical patterns.
Washington State University Extension notes that water chemistry varies considerably by location, and ordinary tap water is acceptable for many houseplants. If local water appears to be a factor, switching to distilled, reverse-osmosis, or collected rainwater is a reasonable troubleshooting step.
One thing to avoid: leaving tap water out overnight is sometimes suggested as a fluoride fix, but Illinois Extension’s watering guidance does not support treating resting as a reliable method for fluoride removal. Distilled or reverse-osmosis water remains the more dependable option when water quality is genuinely suspect.
Make measured corrections instead of escalating care
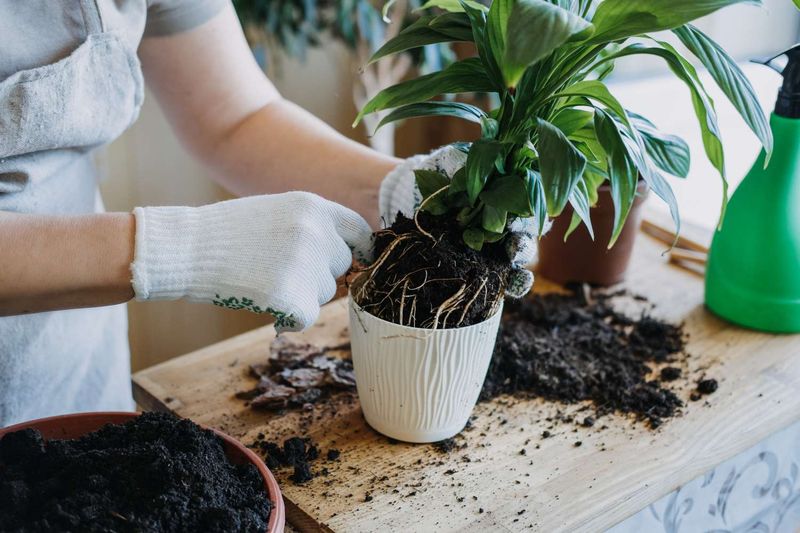
Once a likely cause has been identified, the most effective approach is to change one or two conditions at a time rather than overhauling everything at once. Start with whatever the assessment pointed to most clearly: adjust watering frequency, improve drainage, switch water sources, or move the plant away from a vent or direct sun.
Giving the plant a few weeks to respond before layering in additional changes makes it easier to tell what is actually helping.
When a root inspection reveals dark, limp, or mushy roots, remove the damaged material carefully, rinse the healthy roots gently, and repot into fresh, well-drained potting mix. Penn State Extension’s plant-health resource supports removing decayed root tissue and improving drainage as a corrective step for root disease.
Choose a container only slightly larger than the root ball, roughly 1 to 2 inches wider, as Clemson Cooperative Extension recommends, since an oversized pot holds excess moisture and can perpetuate the same problem. Peace lilies contain insoluble calcium oxalate crystals and can cause oral irritation, drooling, or vomiting if chewed by pets or children, so keep them away from the workspace during repotting.
Fertilizer corrections should also be measured. University of Connecticut Extension and Illinois Extension both caution against feeding a stressed or dry plant.
During active growth in spring and summer, a balanced liquid fertilizer diluted to about one-quarter of the label rate every six to eight weeks is a reasonable starting point. Never increase fertilizer in response to brown tips; the extra salts will compound the problem rather than correct it.
Trim dead tissue and watch the new growth
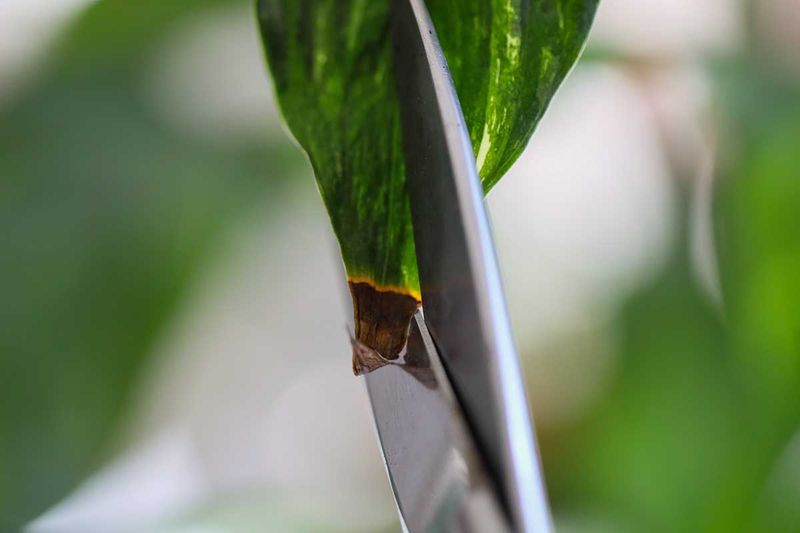
After addressing the most likely stress, trimming the existing brown tissue is a reasonable finishing step. Use clean, sharp scissors and follow the leaf’s natural tapered edge rather than cutting straight across, which leaves a more obvious flat scar.
Angle the cut to match the surrounding leaf shape and stop well before reaching healthy green tissue. Penn State’s diagnostics guidance reinforces that trimming is a cosmetic correction; it will not reverse tissue that has already died or prevent new browning if the underlying stress has not been resolved.
The real measure of progress is what the new leaves do. Healthy new growth that stays green at the tips, combined with an absence of fresh browning on established leaves, is better evidence that a correction is working than any change in the trimmed tissue itself.
Brown areas will not green up again, so focus your attention forward rather than on the already-damaged leaves.
Keep a simple running check on the conditions that matter most: soil moisture before each watering, saucer drainage after, water source, fertilizer timing, light exposure, proximity to vents or drafts, and general humidity. Clemson Cooperative Extension’s peace lily care sheet also recommends watching for pests and signs of disease as part of routine monitoring.
A peace lily that gets consistent, calibrated attention will always outperform one that gets corrective trimming on a loop.