
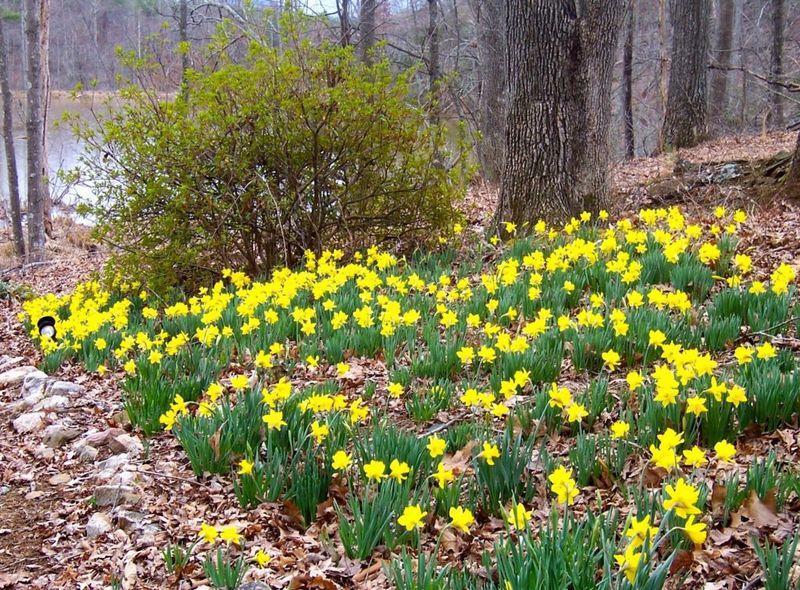
Daffodils are one of the most reliable spring flowers a North Carolina gardener can grow, but plenty of beds that looked great one year come back thin and pale the next. A loose layer of organic mulch spread after the soil cools is one protective fall step that often gets skipped, and it can make a real difference, especially for newly planted or shallow bulbs.
Mulch is not a magic fix, and several other factors shape how well daffodils flower, but understanding when and how to use it, alongside a few other basics, gives your bulbs a better shot at a strong spring return.
A cool-soil mulch layer can protect the bed
Weak daffodil displays have more than one cause, and skipping a single fall step is rarely the whole story. Bulb quality, planting depth, drainage, shade, crowding, and the care given after spring bloom all play a role.
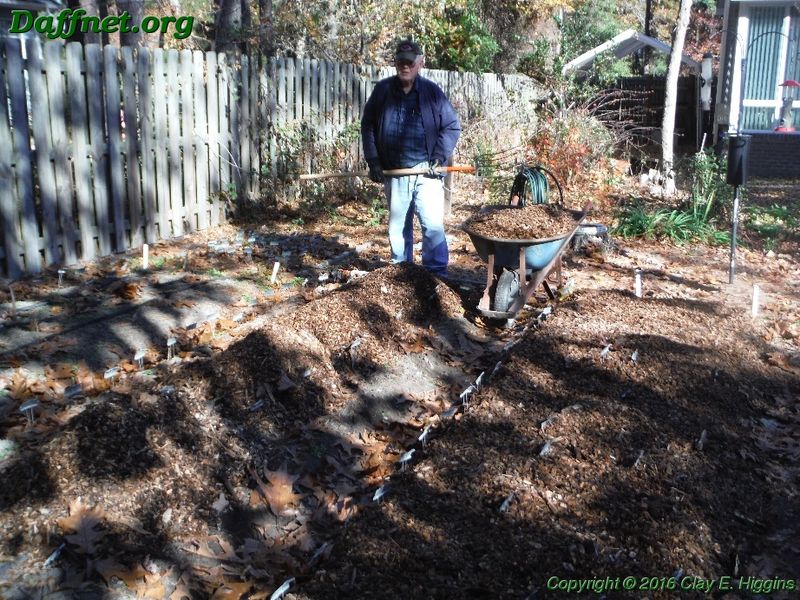
That said, one fall action that North Carolina gardeners commonly overlook can genuinely improve conditions for the bulbs over winter: spreading about 2-3 inches of loose organic mulch over the daffodil bed after the soil has cooled.
The purpose of that mulch layer is specific. According to NC State Extension’s herbaceous ornamentals guidance, mulch moderates soil temperature fluctuations, delays premature spring warming, conserves moisture, and suppresses weeds.
Shallow bulbs are especially exposed to winter temperature swings and early warming, conditions that can contribute to smaller bulbs and reduced flowering the following year. A modest mulch layer can reduce that exposure without eliminating it entirely.
Mulch cannot guarantee more blooms or larger flowers. What it can do is create more stable soil conditions through the winter months, which gives bulbs a better environment for root development and reduces the risk of stress from repeated freezing and thawing.
Think of it as reducing a known risk rather than unlocking a certain reward.
Planting depth is a necessary companion to mulching and should not be treated as an afterthought. A bulb set too close to the surface will not benefit much from a mulch layer, because the real protection comes from the combination of soil depth and an insulating cover above it.
Getting depth right before mulch goes down is the more fundamental step, and both practices work together rather than independently.
Shallow planting exposes bulbs to bigger temperature swings
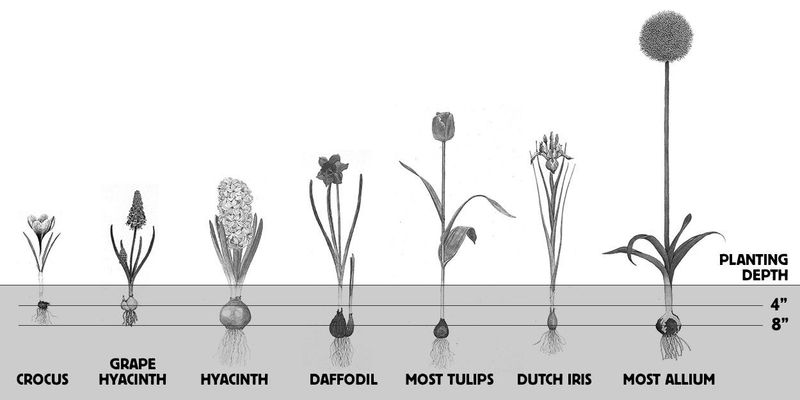
Planting depth matters more than many gardeners expect. A bulb sitting just a couple of inches below the surface is exposed to far greater temperature variation than one buried at the proper depth.
During a North Carolina winter, especially in the Piedmont and coastal plain, temperatures can swing dramatically within a single week, and a shallow bulb feels every one of those shifts more intensely than a deeper one.
NC State Extension recommends a general planting depth of roughly 2.5 to 3 times the bulb diameter. For practical reference, that typically means smaller bulbs go in about 5 inches deep and larger bulbs about 8 inches deep.
These are approximate guides rather than fixed rules, but they reflect the principle that more soil coverage provides more stable conditions around the bulb through winter and into early spring.
One detail gardeners frequently miss is accounting for the mulch layer when calculating depth. If you plan to add 2-3 inches of mulch on top of the bed, you are effectively raising the surface level above the bulb.
That mulch layer does contribute some insulation, but it should supplement adequate soil depth rather than substitute for it. A bulb planted at 4 inches with 2 inches of mulch on top is not the same as a bulb planted at 6 inches with bare soil.
Premature spring warming is another consequence of shallow planting worth understanding. When the soil above a shallow bulb warms early in the season, the bulb responds accordingly, sometimes pushing growth before conditions are fully stable.
NC State notes that this kind of early warming can contribute to smaller bulbs and poorer flowering over time. Correct depth, combined with a loose mulch layer applied at the right moment, can delay that warming and give the bulb a more gradual, protected transition into spring.
Wait for cool soil before spreading loose mulch

Timing the mulch application correctly is just as important as choosing the right material. Spreading a thick layer of mulch over warm soil in early fall misses the point entirely.
The goal is to lock in cool, stable temperatures once the soil has already begun to cool, not to insulate warmth that you want the soil to shed. Applying mulch too early can actually slow the natural cooling process that bulbs need before they begin root development.
For most of North Carolina, the right window arrives sometime in November, though conditions vary between the mountains, Piedmont, and coastal plain. In the mountains, soil cools earlier and more sharply, while the coast stays warmer later into fall.
Watching local soil temperatures rather than following a calendar date gives you a more reliable signal. A soil thermometer is inexpensive and takes the guesswork out of timing.
Pine bark, straw, and shredded leaves are all suitable materials. NC State Extension specifically recommends loose organic materials like these because they allow air and moisture to move through the layer without compacting tightly over the bed.
Large whole leaves, by contrast, can mat together and create a dense barrier that interferes with emerging shoots in spring. If you have an abundance of fallen leaves, shredding them before spreading solves that problem.
Keep the layer at about 2-3 inches. More than that can be counterproductive, especially with materials that pack down, and less than that may not provide meaningful insulation.
Apply the mulch evenly across the bed without piling it against any visible foliage stubs or crown tissue. The goal is a consistent, breathable layer that moderates temperature and holds moisture without smothering the bed or creating conditions favorable for rot.
New bulbs need correct timing, water, and drainage
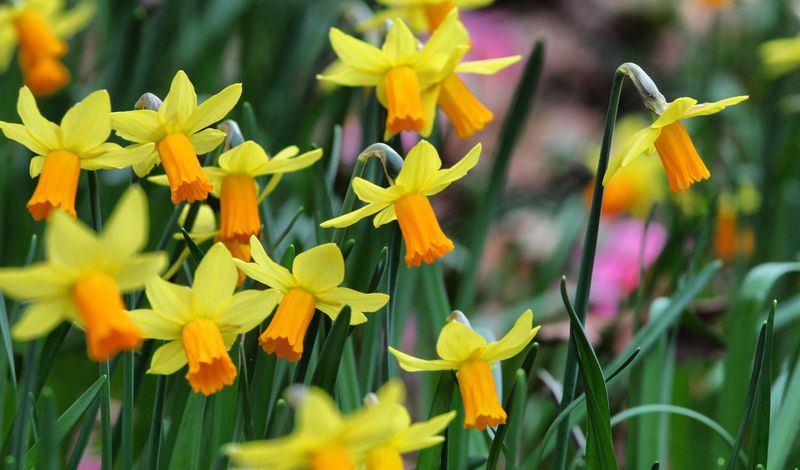
Newly planted bulbs have different needs than established clumps, and fall planting comes with its own set of fundamentals that mulch alone cannot replace. Getting timing, water, and drainage right from the start gives new bulbs the best chance of rooting well before winter and flowering reliably in spring.
NC Cooperative Extension in Wayne County recommends planting spring-flowering bulbs in November, generally when soil temperatures drop below 60 degrees Fahrenheit. Many spring bulbs need a chilling period to produce flowers, and planting when the soil has already cooled helps ensure they get it.
That said, November is a guideline rather than a hard deadline. Workable, unfrozen soil and local conditions matter more than the calendar date, and mountain gardeners may need to plant earlier while coastal gardeners may have a bit more flexibility.
Watering after planting is not optional. A thorough soaking right after you finish settles the soil around the bulbs, closes air pockets, and gives roots the moisture they need to start growing.
NC State Extension is clear that newly planted bulbs benefit from this initial watering, but the bed should not stay saturated. If your soil holds water for hours after rain or irrigation, that is a drainage problem that needs addressing before bulbs go in.
Supplemental watering during a dry autumn may also be needed, particularly under trees where surface roots compete aggressively for moisture. University of Missouri Extension guidance on spring-flowering bulbs notes that watering during fall dry spells supports root development in ways that benefit the bulb’s first winter.
The key distinction is between deliberate, occasional watering during dry stretches and keeping the bed continuously wet. Daffodils are not tolerant of waterlogged conditions, and no amount of mulch can compensate for soil that drains poorly.
Established clumps need the leaves left behind
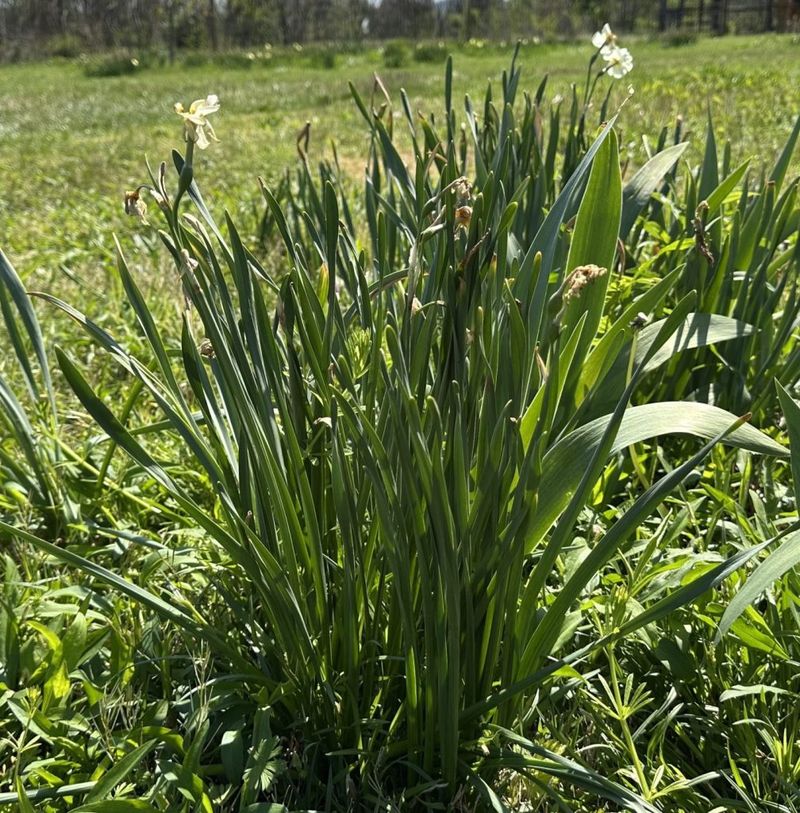
Fall mulching gets most of the attention in seasonal bulb guides, but for daffodils already growing in your garden, the single most consequential practice for next year’s flowering happens in spring and early summer, not autumn. After daffodils bloom, the green leaves do the slow work of replenishing the bulb’s stored food through photosynthesis.
Cut, braid, tie, or bend those leaves too soon, and the bulb goes into summer with less energy than it needs to produce flowers the following year.
According to NC State Extension’s ornamentals guidance, daffodil foliage should remain untouched until it yellows and dies back naturally. That process typically takes several weeks after the flowers fade.
Removing it early, even neatly, reduces the bulb’s ability to store the carbohydrates it needs for next season’s bloom. The foliage may look untidy during that period, but it is doing essential work.
Deadheading, meaning removing the spent flower head after bloom, is optional. Iowa State Extension’s daffodil guide notes that seed formation has little effect on bulb vigor, so removing spent flowers is a cosmetic choice rather than a necessary one.
What is not optional is leaving the green foliage alone. Braiding it to make the bed look tidier, binding it with rubber bands, or folding it over and securing it interrupts the leaf’s ability to photosynthesize efficiently.
Fall mulching and spring foliage care serve different parts of the bulb’s annual cycle. Mulch helps protect the bulb through winter and moderates soil conditions as spring begins.
Foliage preservation rebuilds the bulb’s energy reserves after flowering ends. Both practices support repeat performance, but they operate at different times and address different needs.
Relying on one while ignoring the other leaves a gap in the bulb’s care that can show up as a thinner display the following spring.
Troubleshoot light, crowding, and fertilizer before adding more
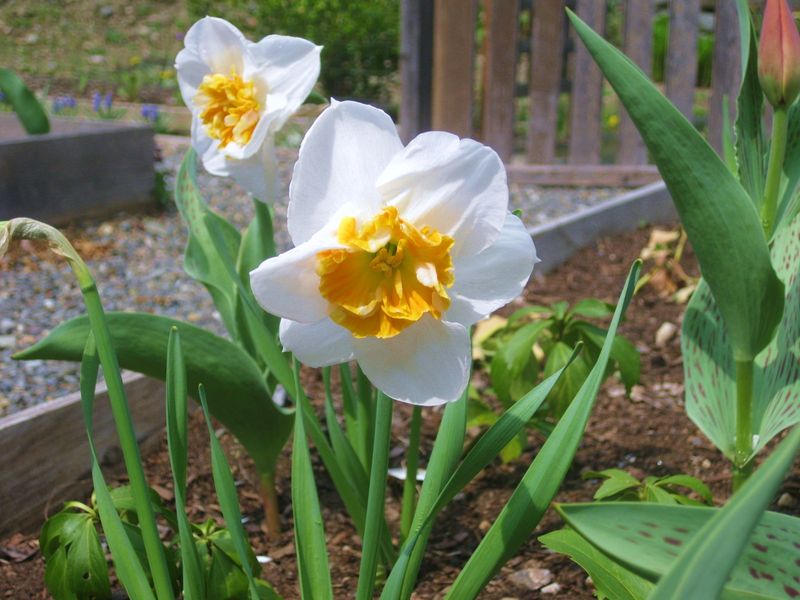
Before assuming that skipped mulch or missing fertilizer explains a weak daffodil display, it is worth checking a few other factors that have a direct and well-documented effect on flowering. Light, crowding, and fertilizer habits are among the most common contributors to poor repeat performance, and addressing the right one matters more than adding more of something the bed does not need.
Sunlight is a basic requirement that is easy to underestimate. Iowa State Extension’s guide on non-blooming daffodils recommends at least six hours of direct sun during spring and early summer, when the foliage is actively feeding the bulb.
A bed that receives full sun in March but sits in deep shade by May, because of nearby deciduous trees leafing out, may not be giving the bulb enough light during the weeks that matter most. Moving clumps to a sunnier location is worth considering if shade is the likely cause.
Crowding is another factor that reduces flowering over time without any obvious single cause. Large established clumps can be dug and divided after the foliage dies back naturally in early summer.
Dividing gives each bulb more room and access to soil nutrients, but it comes with a short-term cost: smaller bulbs that were separated from a large clump may need a season to rebuild their stored energy before they flower reliably again. Plan for that adjustment period rather than expecting immediate improvement.
Fertilizer is the area where more is most often the wrong answer. Iowa State Extension notes that daffodils rarely need routine fertilizer, and that excess nitrogen in particular can push the plant toward producing abundant foliage at the expense of flowers.
Fertilizer runoff from nearby lawns can contribute to this problem even if you have never fertilized the daffodil bed directly. NC State Extension adds that any fertilizer applied should be incorporated into the soil rather than placed against the bulb, and that applications should stay off leaves and away from roots to avoid burning.
A soil test is the most reliable guide to whether your bed actually needs supplemental nutrients at all.
Give the bulbs better conditions, not a guaranteed result
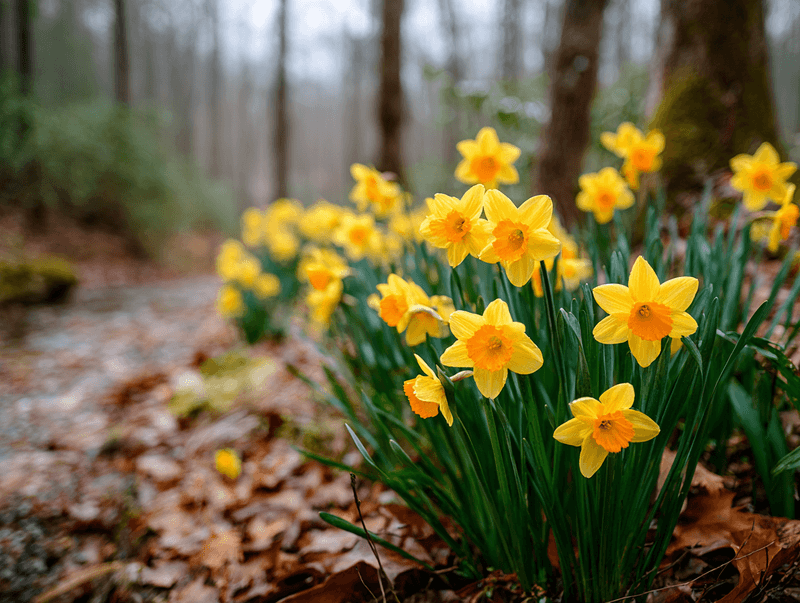
Pulling the key practices together into a clear sequence makes the whole approach more manageable. Plant bulbs at the right depth, roughly 2.5 to 3 times the bulb’s diameter, accounting for the mulch layer that will go on top.
After the soil cools in fall, spread about 2-3 inches of loose organic material such as pine bark, straw, or shredded leaves across the bed. Water thoroughly right after planting, and add supplemental water during dry autumn spells, but let the bed dry between waterings and never let it stay soggy.
Make sure the planting site drains well before bulbs go in the ground. If water pools after rain and lingers for hours, that site will work against the bulbs regardless of how carefully you mulch or water.
NC State Extension recommends choosing a different location, improving drainage, or using a raised bed where standing water is a consistent problem.
After spring bloom, let the green foliage run its course completely. Do not cut it, fold it, or tie it back before it yellows and dies on its own.
That foliage is rebuilding the bulb’s reserves for the following year, and interrupting that process is one of the most direct ways to reduce next season’s flower count. Deadhead the spent flowers if you prefer a tidier look, but leave everything green untouched.
Iowa State Extension’s non-blooming daffodil guide is a useful reference if problems persist after addressing depth, mulch, water, drainage, and foliage care, since shade, crowding, cultivar limitations, disease, bulb quality, and weather can all still shape the outcome. These practices give daffodils a better chance at reliable spring flowering, and sometimes that is exactly enough.