
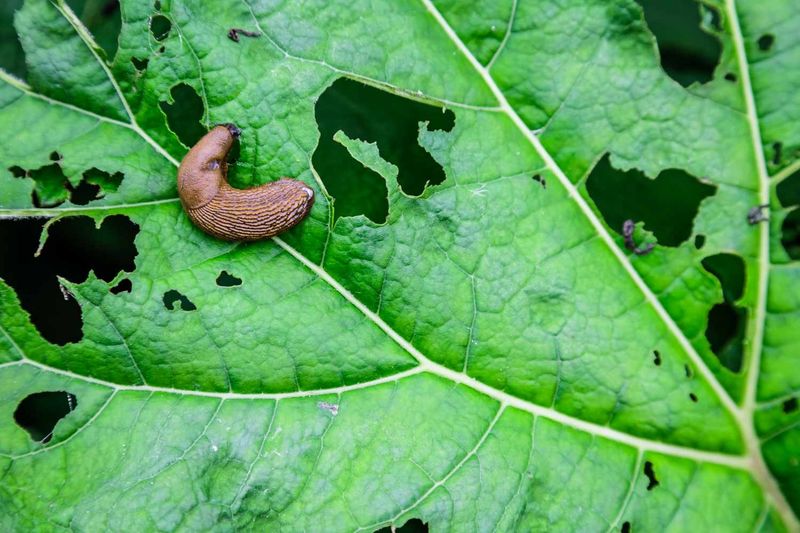
Stepping out to check your fall kale bed and finding silvery streaks across the leaves is a jarring way to start the morning. Those glistening trails are a strong clue that slugs or snails visited your seedlings, but they do not tell the whole story on their own.
Young kale and other tender fall greens planted during Texas’s prime September-through-November window can lose significant leaf tissue before a gardener even realizes what is happening. Knowing how to read the evidence, confirm the pest, and act quickly can mean the difference between a thriving bed and bare soil.
Young fall kale becomes vulnerable when the bed stays cool and moist

Newly transplanted kale seedlings have something that slugs and snails find irresistible: soft, water-rich tissue that is easy to chew through. That succulence is exactly what makes fall greens grow so fast in Central Texas, and it is the same quality that puts them at risk when conditions favor mollusks.
A small population of slugs can cause damage that looks far worse than their numbers suggest, especially when the seedlings are still short enough to be clipped to the soil line overnight.
Texas A&M AgriLife Extension identifies September through November as the ideal planting window for kale and other cool-season greens in Texas, a period when moderating temperatures encourage fast germination and steady growth. Those same conditions, combined with fall rainfall or regular irrigation, can also create the moist microenvironments that slugs and snails need to thrive.
The calendar alone does not cause slug pressure, though. What matters is what is happening in your specific bed right now: how much shade it receives, how well it drains, whether mulch or debris is holding moisture against the soil surface, and how recently it rained or was watered.
Kale is not the only target. Slugs and snails feed readily on other brassicas, lettuce, beans, and young seedlings of many kinds, so the concern here is really about any vulnerable fall planting rather than kale specifically.
If your bed checks several of these boxes, namely shady corners, slow-draining soil, a thick mulch layer, and recent wet weather, the risk of mollusk damage rises regardless of what you planted. Recognizing that combination early gives you a real head start on protecting seedlings before significant feeding begins.
Silver trails strongly suggest mollusks, but they do not prove the diagnosis
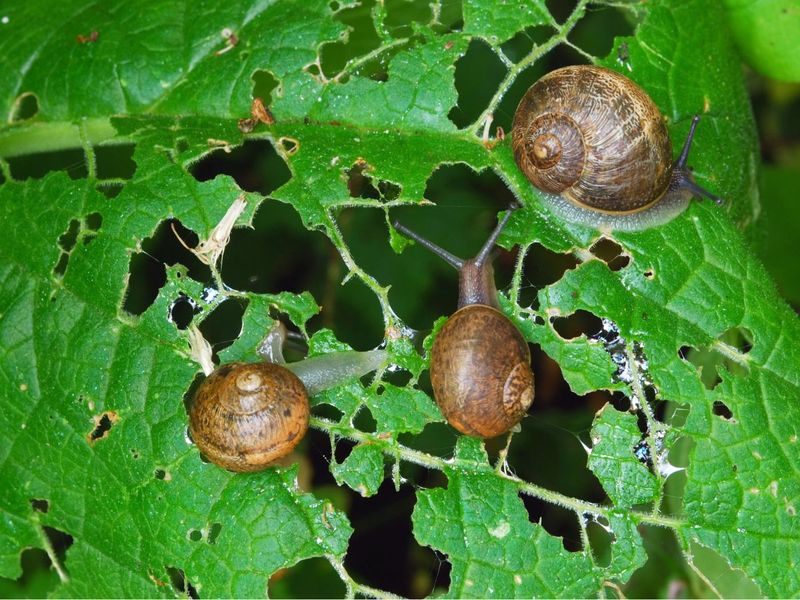
A glistening line across a kale leaf catches the eye immediately, but what it actually tells you is narrower than most gardeners assume. Silvery or whitish slime trails are produced when slugs or snails move across a surface, leaving behind a film of mucus that dries to a reflective streak.
UC IPM notes that both slugs and snails leave these trails, and the pattern of damage they cause, irregular holes with relatively smooth edges, clipped tender stems, or seedlings that simply vanish, is the same for both pests.
The trails are a strong clue, not a verdict. Fungus gnat larvae, which thrive in overly moist potting media, can produce similar silvery streaks on the surface of containers or seed-starting trays.
A trail that appears without any accompanying chewing damage may indicate the pest passed through without feeding, or it may have dried from a previous night’s activity. The diagnosis becomes far more persuasive when you find a fresh trail running directly to a leaf with smooth-edged holes, or when you discover a stem that was intact the evening before and is now clipped at soil level.
UC IPM’s floriculture and nursery guidance reinforces that slime trails combined with characteristic feeding damage are the key confirming clues for mollusk activity, while caterpillars, earwigs, and other chewing insects can produce holes with more ragged or torn edges. Checking the shape of the damage alongside the trail gives you a more complete picture.
If the holes are smooth-rimmed and the trail leads straight to them, slugs or snails move to the top of the suspect list. If the edges look torn or frayed, or if you find frass nearby, a different pest may be responsible and a different response is needed.
Inspect after dark to confirm active feeding
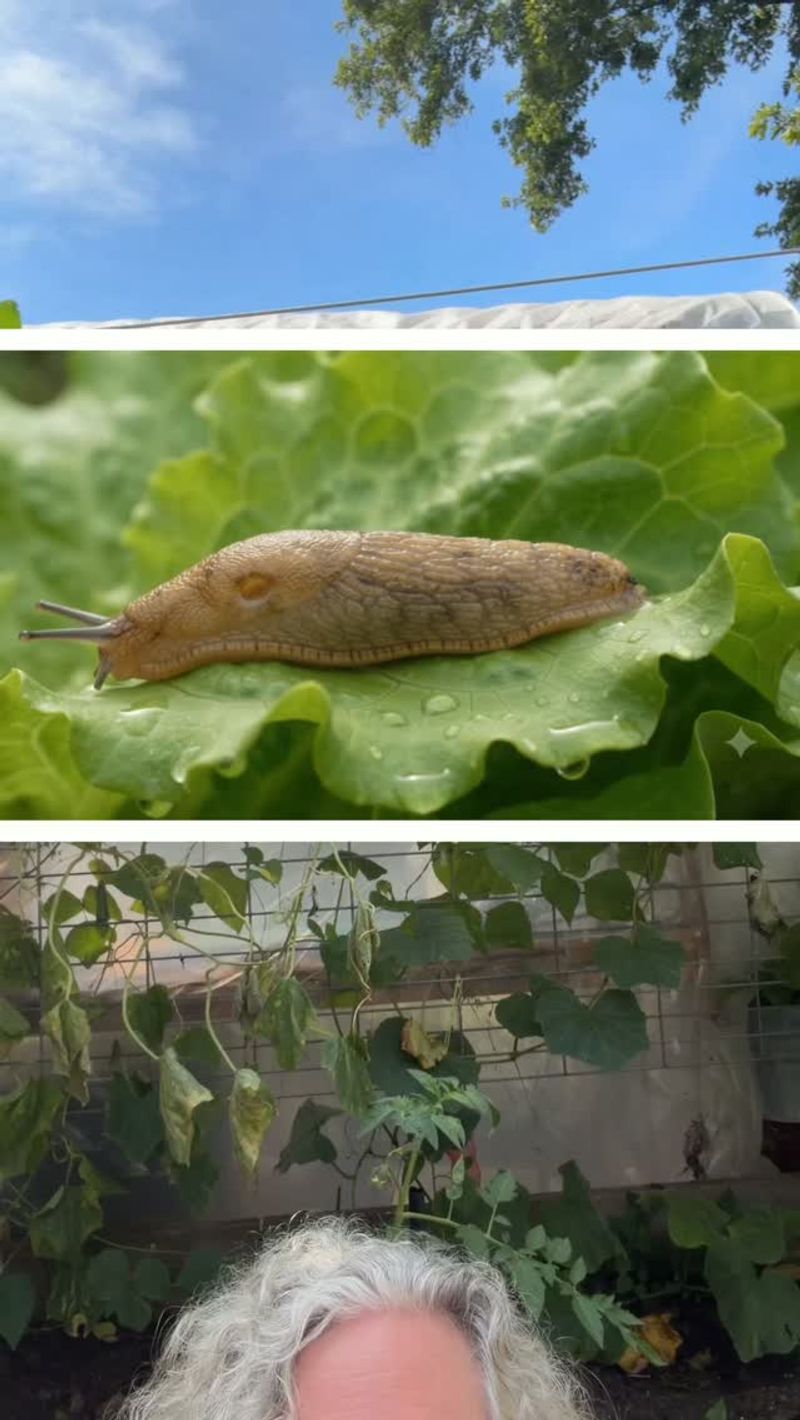
Grabbing a flashlight and heading out to the garden after dark is the fastest way to turn a suspicion into a confirmed diagnosis. Slugs and snails are mainly nocturnal, emerging when temperatures drop and surface moisture rises, but they can also move during cool, cloudy, foggy, or rainy daytime conditions.
Waiting until an hour or two after sunset gives them time to become active and visible on the soil surface, on plant stems, and across leaf faces.
Work methodically through the bed. Shine the light along the soil line first, where slugs often rest or feed on tender stems right at the base of the plant.
Then check the undersides of leaves, which provide cover and moisture even after the upper surface has dried. Lift any boards, stones, containers, or dense mulch mats near the bed and look underneath; these spots function as daytime refuges and may hold pests that have not yet moved out for the night.
UC IPM confirms that slugs and snails shelter during daylight under exactly these kinds of cool, moist hiding places and move out to feed when conditions favor them.
A dawn inspection can also work, catching pests that are still active or just beginning to retreat. What you are looking for is the actual animal: a soft-bodied, shell-less slug or a coiled snail, moving across or resting on the plant.
Seeing one or more during inspection confirms current activity in a way that a dried trail cannot. Keep in mind that finding two or three slugs does not reveal the full population; others may be sheltering elsewhere in the bed or in adjacent areas.
A single nighttime check is a confirmation tool, not a census, and repeated visits over several nights give a clearer sense of pressure level.
Reduce damp shelter and prolonged surface moisture
Making the bed less hospitable to slugs and snails is the foundation of any lasting control effort. Start by walking the perimeter and looking for anything that holds moisture or provides cover during daylight: boards left near the bed, decorative stones pushed close to the planting area, piles of pulled weeds, low-hanging foliage from neighboring plants, and any clutter that creates a cool, dark gap against the soil.
Removing or relocating these items reduces the number of places where pests can rest safely between feeding bouts.
Mulch is worth examining carefully rather than eliminating entirely. A thick, consistently damp layer of organic mulch directly against kale stems can shelter slugs through the day and put them within inches of tender tissue when they emerge at night.
Pulling mulch back a few inches from the stem zone and allowing it to dry between waterings reduces that risk without stripping the bed of its moisture-retention and temperature-buffering benefits. The goal is reducing damp hiding places, not creating bare, stressed soil.
UC IPM emphasizes combining shelter reduction with moisture management rather than relying on any single change.
Irrigation timing matters more than most gardeners expect. Watering early in the morning gives foliage and the soil surface several hours to dry before the cooler, moister conditions of evening arrive.
Drip irrigation, which delivers water directly to the root zone without wetting leaves or the soil surface broadly, is especially useful in this regard. Overhead watering in the late afternoon or evening keeps the entire bed damp right through peak activity hours.
Local drainage, shade, and recent rainfall all influence how much these adjustments help, so a bed in a low, shaded corner of the yard may need more aggressive habitat changes than one in a well-drained, open spot that dries quickly after watering.
Hand-pick pests and inspect daytime shelters repeatedly
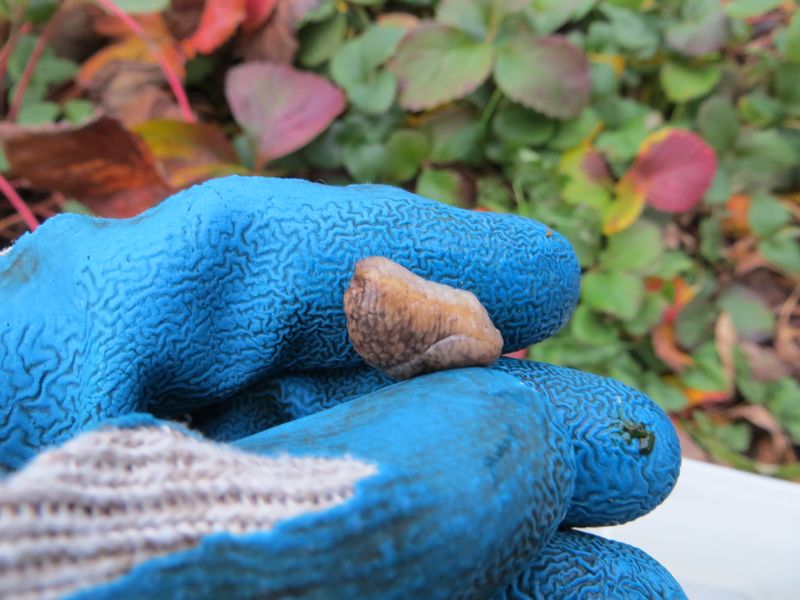
Once you have confirmed active pests during a nighttime inspection, the most direct response is to pick them off by hand. Wear gloves, since slug mucus is stubborn to wash off skin, and carry a container of soapy water or a sealed bag to collect what you find.
Drop each slug or snail directly into the soapy water, which kills them quickly, or seal them in a bag for disposal. Work the entire bed systematically, checking the soil line, stem bases, and leaf undersides before moving to the surrounding area.
Daytime traps extend your removal effort without requiring another late-night session every evening. A slightly raised board, a few overlapping roof shingles, a damp folded newspaper, or an inverted plastic container placed near the bed gives slugs and snails a cool, dark refuge to retreat into before sunrise.
UC IPM recommends these simple shelters as a reliable way to concentrate pests where they are easy to find and remove. Check the traps each morning, collect whatever has gathered underneath, and dispose of them the same way as the hand-picked pests.
Repeating this process every night or two while the seedlings are small is more effective than a single thorough removal session. A first pass may catch the most active individuals, but others will move in from adjacent areas or emerge from deeper soil crevices in the nights that follow.
Consistent removal during the most vulnerable stage, roughly the first three to four weeks after transplanting or germination, gives seedlings time to develop tougher, larger leaves that are harder to damage significantly. One good inspection session will not end the problem on its own, but a run of repeated removals can reduce the population noticeably and give the bed a real chance to establish.
Use copper and fermenting-odor traps as limited supplements
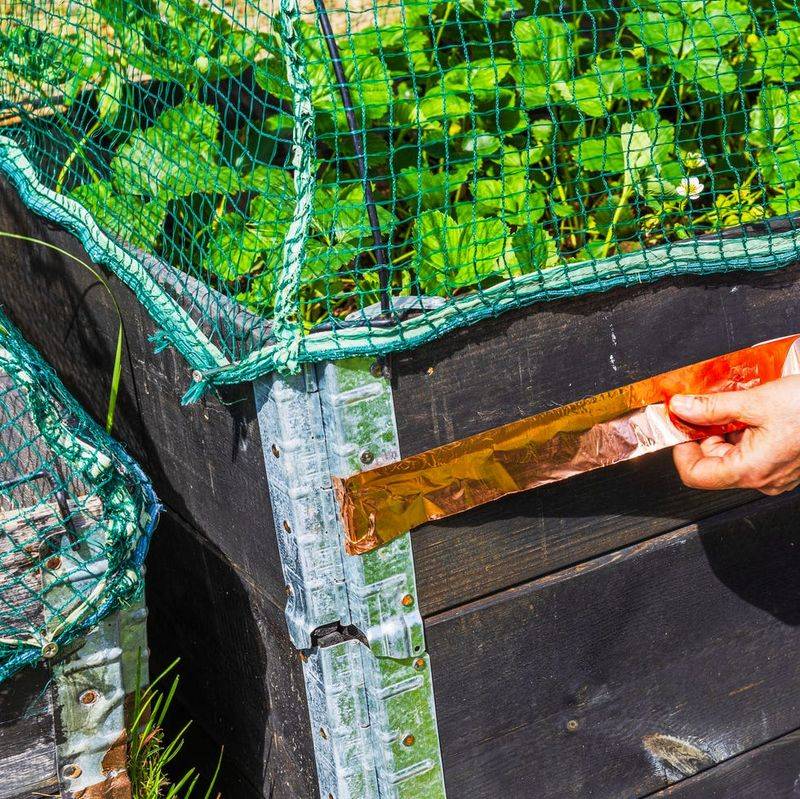
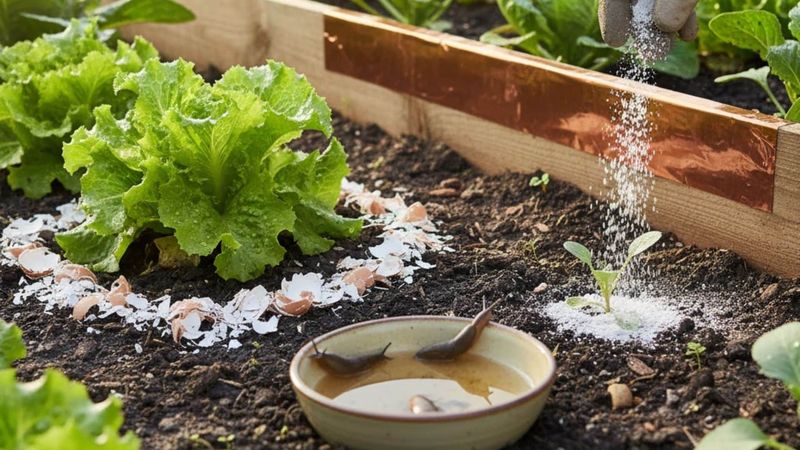
Copper barriers and fermenting-odor traps can play a supporting role after you have already reduced shelter and moisture, but neither one replaces the habitat changes described earlier. Copper works by producing a mild reaction when it contacts slug or snail mucus, which discourages the animal from crossing.
For it to have any effect at all, the copper strip or tape must be wide enough to contact the animal’s body, typically at least two to four inches, it must stay clean and free of oxidation, and there must be no bridges of foliage, debris, or mulch arching over it that allow pests to bypass the barrier entirely. A copper strip around a raised bed does nothing to remove slugs already inside the barrier when it was installed.
UC IPM notes that copper barriers may deter mollusks under these specific conditions but cannot be relied upon as a complete solution. Treat copper as a supplemental deterrent around a small, clean bed rather than a guaranteed perimeter defense.
Beer traps attract slugs through the fermenting odors produced by yeast, not through alcohol itself. Utah State University Extension clarifies that snails are not attracted to alcohol, so the common belief that slugs seek out the beer itself is a misconception.
A yeast-and-water mixture works just as well as beer and costs far less. Use a container deep enough that captured pests cannot crawl back out, and cover it loosely to reduce dilution from rain.
Empty, clean, and refill the trap every day or two; a stale, diluted trap loses its attractiveness quickly. Each trap covers only a small area, so one container is rarely enough for a full bed.
University of Minnesota Extension confirms that traps require consistent maintenance to remain effective.
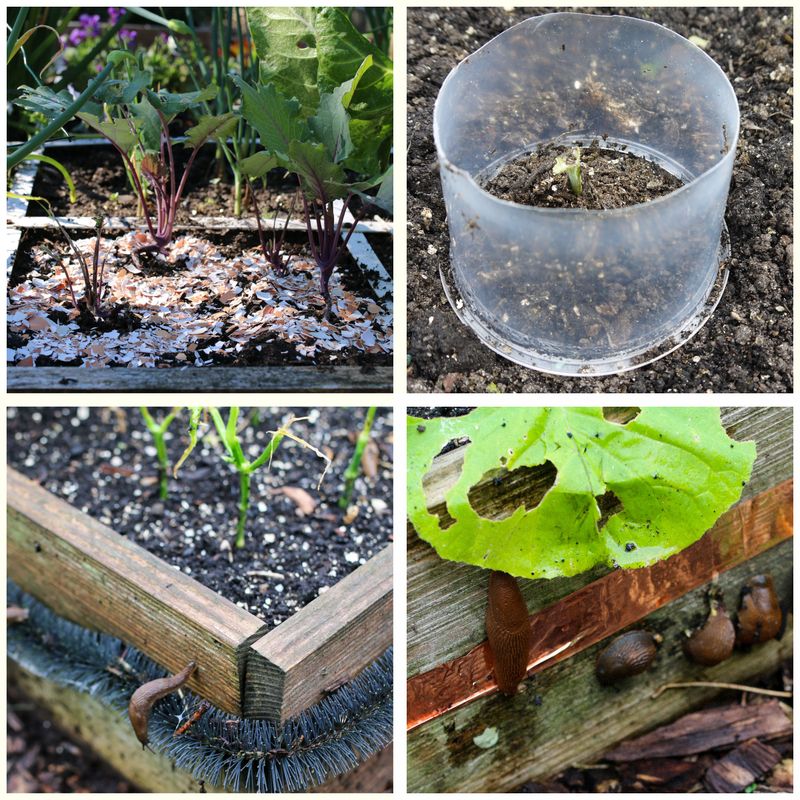
Salt, casual eggshell rings, coffee grounds scattered around the bed, sharp grit, and diatomaceous earth are not dependable fixes in a wet Central Texas fall bed. Salt raises soil salinity and harms roots.
Eggshells and grit lose their edge quickly when wet. Oregon State University Extension notes that coffee grounds show some research-backed slug deterrence at specific concentrations, but a casual layer around seedlings does not replicate those conditions and may alter soil chemistry.
Diatomaceous earth clogs and loses its abrasive action the moment it gets wet, which is essentially guaranteed in an irrigated fall bed.
Choose slug bait by its label and its risk profile
Chemical control makes sense only when nonchemical measures have not given the seedlings enough protection. Before reaching for any bait product, check the label to confirm it is registered for use on the crop you are treating and in the type of garden space where you plan to apply it.
The EPA requires that pesticide labels specify the legal crop, application site, rate, placement, precautions, and reentry interval, and those instructions are legally binding. Never apply any slug bait directly to kale leaves or other edible plant parts unless the product label explicitly permits that specific use.
Two active ingredients dominate the consumer slug bait market: iron phosphate and metaldehyde. Iron phosphate products are generally considered less hazardous to dogs than metaldehyde formulations, but that comparison does not make them safe.
The National Pesticide Information Center explains that some iron phosphate baits contain chelating agents such as EDTA, which can increase toxicity if a pet consumes enough of the product. Illness after ingestion is possible regardless of the formulation, so iron phosphate should never be described as pet-safe or wildlife-safe.
Metaldehyde carries a more serious risk profile. NPIC’s guidance on snail bait and dogs identifies metaldehyde as a significant poisoning concern, particularly for dogs that may be drawn to the bait’s smell or texture.
Keep pets out of treated areas for the full reentry period listed on the label, store the product in a locked or inaccessible location, and contact a veterinarian immediately if you suspect ingestion.
For either product, scatter granules thinly across the soil surface near the plants rather than concentrating them in piles. Piles are more likely to attract pets and wildlife and may exceed the label’s recommended rate.
Apply only as directed, and revisit the label each time you reapply, since conditions and coverage areas change. Bait works best as part of an integrated approach that includes the shelter reduction, moisture management, and hand-picking described in earlier sections, not as a stand-alone fix.
Follow a confirmation-first plan before the next feeding period
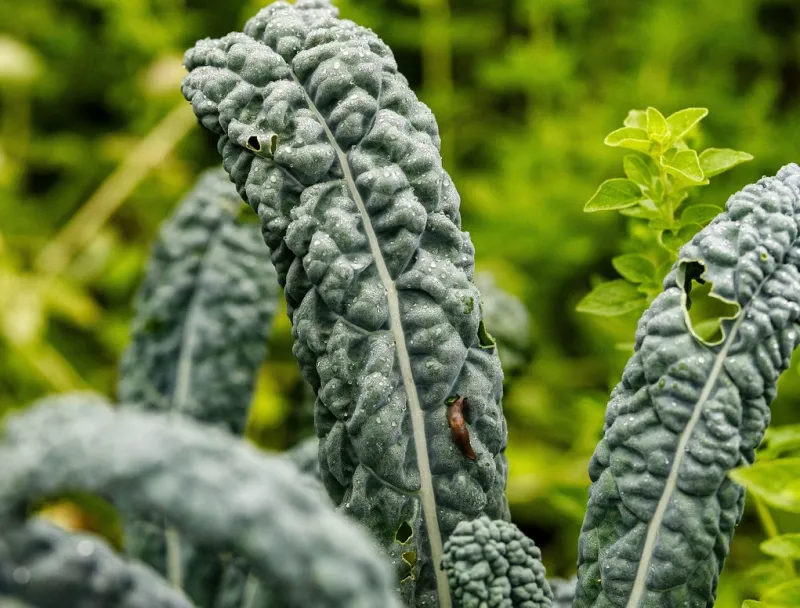
Before the sun goes down tonight, run through a short sequence that puts the evidence ahead of any treatment decision. Head out after dark or around dawn with a flashlight and compare what you find: are there fresh slime trails running to leaves with smooth-edged holes, clipped stems, or missing seedlings?
If yes, look for the actual pest on leaf surfaces, stem bases, and the soil around the plants. Visible slugs or snails during inspection confirm current activity and give you a clear target.
UC IPM’s integrated approach puts confirmation before chemical response for exactly this reason: acting on trails alone may lead you to treat for a pest that is no longer present or is present in much smaller numbers than the damage suggests.
After inspecting, remove any pests you find by hand and collect them in soapy water. Pull back clutter, boards, and damp debris near the bed to reduce daytime shelter.
Adjust your watering to the morning hours if you have not already. Add a trap or copper barrier only if the bed layout makes either option practical and maintainable.
If seedlings are still being damaged after several nights of this routine, then a label-compliant bait scattered thinly around the bed is a reasonable next step. A slime trail is a useful starting clue, but it does not identify the exact pest, confirm that feeding happened only after dark, or reveal how many animals are working the bed.
The gardener who inspects first and acts on confirmed evidence will spend less time treating the wrong problem and more time watching their kale grow.