
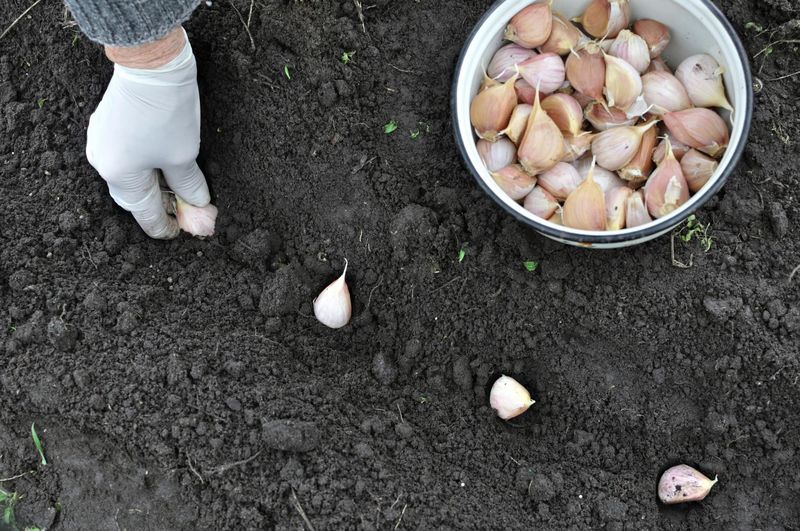
Garlic planted into soggy fall soil can face a real problem in North Carolina, where heavy autumn rains leave beds waterlogged for days at a time. Saturated ground reduces the oxygen around roots and raises the risk of fungal and bacterial rot that can turn cloves soft and unusable.
That risk is manageable, but only if you act before the cloves go in the ground. Getting the drainage right first is the step that separates a healthy spring harvest from a bed full of mush.
Wet soil increases garlic-rot risk without proving one disease
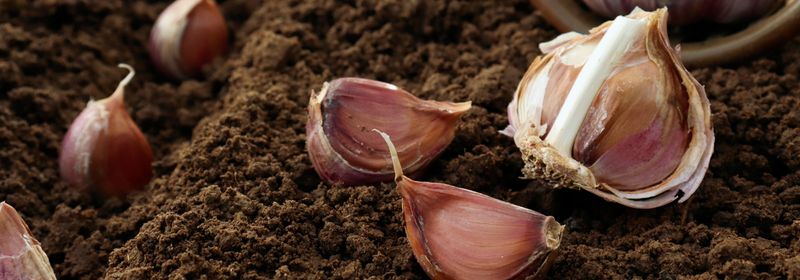
Garlic roots need oxygen to function, and waterlogged soil cuts off that supply. When soil stays saturated for extended periods, the spaces between soil particles fill with water instead of air, and root function deteriorates quickly.
That oxygen deficit does not cause one specific disease on its own, but it creates the kind of weakened, stressed tissue that multiple pathogens find easy to invade.
According to NC State Extension guidance on soil modification for plant growth, prolonged saturation reduces root aeration and can contribute to a range of rot problems. The organisms that take advantage of wet conditions include white rot, Botrytis neck rot, Fusarium basal rot, bacterial soft rot, blue mold, southern blight, bulb mites, and nematodes.
Each of those problems produces overlapping symptoms, and a mushy clove by itself does not tell you which one you are dealing with.
That distinction matters for how you respond. A soft, foul-smelling clove is a symptom, not a diagnosis.
University of Minnesota Extension’s garlic disease diagnostic tool lists wilting, yellowing, and water-soaked tissue as signs shared by several different diseases, which means the correct response is removal and identification rather than a single blanket treatment.
The practical takeaway here is that wet fall soil raises your risk, but it does not guarantee that every clove planted in moist ground will fail. Plenty of North Carolina gardeners plant garlic in October with no problems at all.
The issue is when soil stays saturated, not just damp, and when that condition persists around the developing root zone. Understanding that distinction helps you focus on the one preparation step that actually reduces risk: fixing drainage before the cloves go in the ground.
Choose a workable planting window for your North Carolina region
Regional planting windows for garlic in North Carolina vary more than many gardeners expect. The NC State Southeastern US Vegetable Crop Handbook lists approximately September 15 through November 10 for eastern North Carolina and August 15 through October 15 for western North Carolina.
Piedmont gardeners commonly target around October 15 as a traditional planting date, according to NC State’s community food gardening management calendar.
Those date ranges are useful starting points, but soil condition should take priority over the calendar. A gardener in the western mountains who is sitting at October 10 with a waterlogged bed is better off waiting a few extra days for the soil to dry down to a workable state than forcing cloves into mud just to hit a target date.
Conversely, a gardener on the coastal plain who has a well-drained sandy loam bed and dry conditions in late September has no reason to wait.
The practical test is simple: squeeze a handful of soil into a ball and press it with your thumb. If it crumbles apart rather than holding a slick, sticky shape, the bed is ready to work.
If water oozes out or the ball stays shiny and compacted, the soil is still too wet. Planting into saturated ground compresses pores further and surrounds cloves with the exact anaerobic conditions that favor rot.
Site selection matters as much as timing. University of Georgia Extension’s garlic production guide recommends choosing the driest, sunniest part of the garden, away from low spots where rainwater collects.
Even the best timing will not protect cloves planted in a spot that stays wet after every rain. Sun exposure also supports faster soil drying between rain events, which reduces the window when pathogens have favorable conditions to establish.
Raise the planting zone before the next wet spell
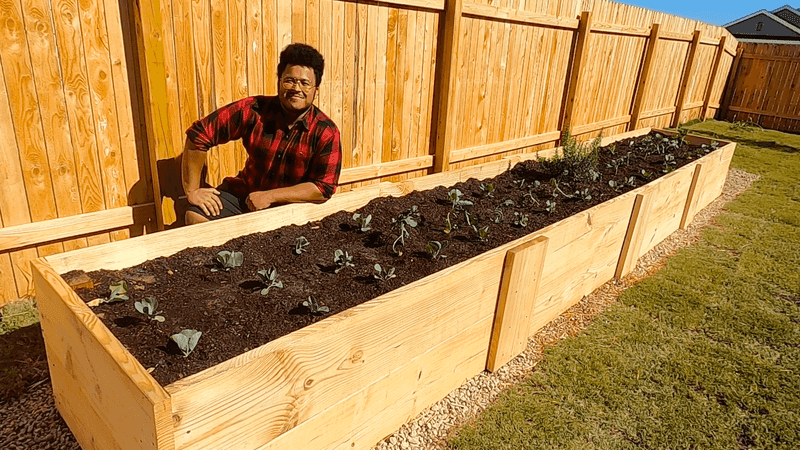
Raising the planting zone above the surrounding grade is the central preventive step for garlic growers dealing with wet fall conditions. When the root zone sits a few inches higher than the adjacent soil, gravity pulls excess water away from the root zone rather than letting it pool around the cloves.
That simple change in elevation can reduce the duration of saturation after a heavy rain, which is precisely the condition that increases rot risk.
A ridge or slightly mounded bed does not need to be elaborate. University of Georgia Extension’s guide to garlic, elephant garlic, and leek production supports planting on raised beds when drainage is a concern, and University of Maryland Extension’s raised bed guidance explains that the drainage benefit comes from placing the soil above the surrounding grade so water has somewhere to go.
A ridge six to eight inches tall and 18 to 24 inches wide is enough for a home garlic bed. Fill it with loose, friable soil that has been amended with well-aged organic matter rather than packed in.
Several limits apply. A raised bed placed over compacted subsoil can still stay wet if water cannot move downward through the subsoil layer.
Similarly, a low-lying spot in the yard that collects runoff from surrounding areas will refill the bed from the sides even if the surface drains. Building height alone does not solve either of those problems.
Never line the bottom of a raised bed with plastic sheeting. NC State’s soil modification guidance reinforces the principle that roots and excess water need a continuous drainage path.
A sealed bottom turns a raised bed into a container with no outlet, which can concentrate moisture rather than remove it. Hardware cloth or open-weave landscape fabric along the bottom is acceptable for pest exclusion, but any barrier that blocks downward water movement defeats the purpose of raising the bed in the first place.
Improve compacted soil without relying on a sand shortcut
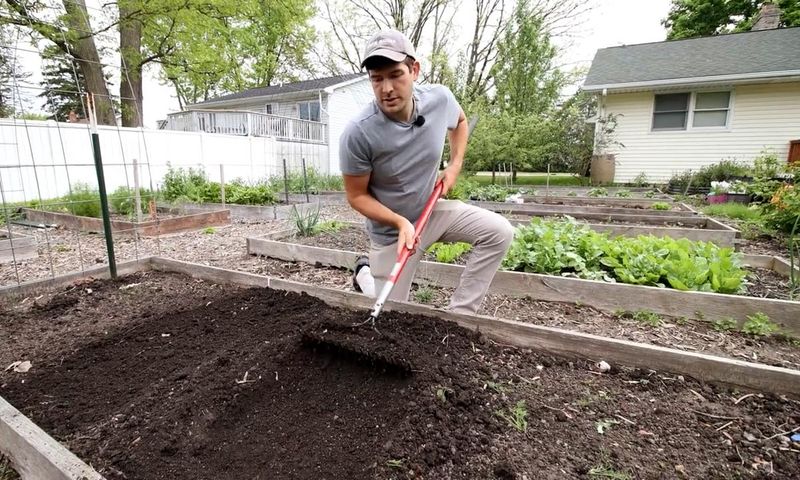
Clay-heavy or compacted soil resists drainage not because of one missing ingredient but because its particles pack tightly together, leaving little room for air or water to move. The practical fix is to change the structure of the root zone before planting, and well-aged compost is the most reliable tool available to home gardeners for that job.
According to Oregon State University Extension’s guidance on organic matter in garden soils, incorporating mature compost into clay soil increases pore space, improves aggregation, and allows water to move through the profile more freely. The improvement is not instant, but working several inches of well-aged compost into the top 8 to 12 inches of a raised bed before planting gives garlic roots a meaningfully better environment than unmodified clay.
Fresh or incompletely composted material is a different matter. Immature compost can introduce additional pathogens, tie up nitrogen, and create uneven decomposition pockets in the root zone.
Use only finished, earthy-smelling compost that no longer resembles the original source material. The same principle applies to fresh wood chips or green plant debris mixed directly into the planting zone.
Oregon State Extension’s detailed guide to improving garden soils and Penn State Extension’s soil preparation guidance both caution against using small amounts of sand as a quick drainage fix in clay. When sand is added in insufficient quantities, the particles can fill the existing pore spaces without creating a continuous drainage network, sometimes producing a denser, harder-to-work mixture than the original clay.
Unless you are adding enough sand to fundamentally change the soil texture – a quantity well beyond what most home gardeners can practically manage – a raised bed filled with amended, organic-rich soil is a more defensible approach. Focus on building a loose, well-structured root zone in the planting ridge rather than trying to transform the underlying clay bed.
NC State Extension’s soil modification resource supports this framing: organic matter improves structure and aeration in compacted soils, but it does not eliminate soilborne pathogens or guarantee that a previously contaminated site is safe for repeated garlic planting.
Plant large, healthy cloves in the prepared ridge
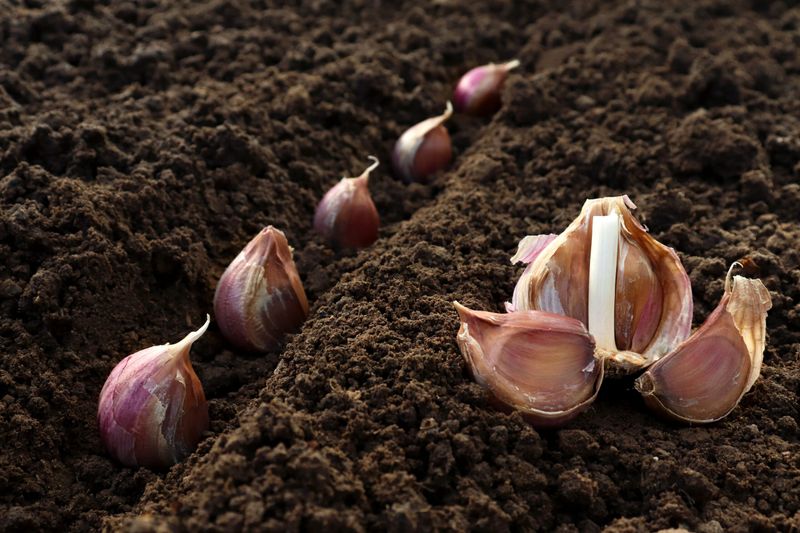
Once the bed is raised and the soil is workable, the quality of the planting material itself becomes the next variable you can control. Starting with large, healthy, disease-free cloves reduces the pathogen load entering the bed from the beginning.
The NC State Southeastern Vegetable Crop Handbook notes that larger cloves generally produce larger bulbs, so selecting the biggest, firmest cloves from your seed stock is both a disease-management and a yield decision.
Discard any clove that feels soft, shows discoloration, has a foul smell, or shows visible mold before it goes into the ground. Planting a compromised clove does not give it a fresh start; it introduces the problem directly into the root zone you just prepared.
If you are buying seed garlic rather than saving your own, look for certified or inspected stock from a reputable source rather than grocery-store garlic, which may be treated to inhibit sprouting or carry undisclosed disease history.
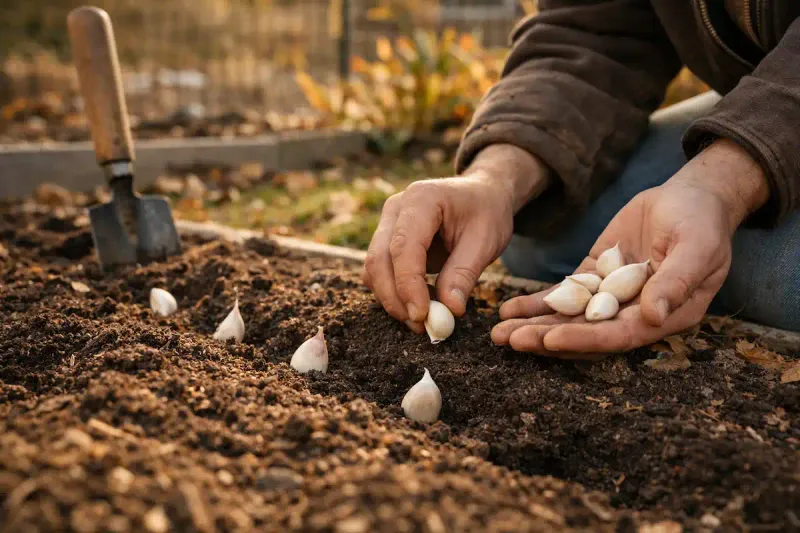
Placement technique matters too. University of Georgia Extension’s garlic production guide recommends planting cloves approximately 1 to 3 inches deep and 6 inches apart, with the pointed end facing up.
The pointed tip is where the shoot emerges, so an upside-down clove wastes energy trying to reorient itself before it can establish. Firm the soil gently around each clove to close air pockets without compacting the loose structure you worked to create.
Spacing at 6 inches supports airflow around the developing plants as they emerge in late fall, which reduces the surface moisture that some foliar diseases prefer. Crowded plantings stay wetter between the rows and give pathogens a shorter distance to travel from plant to plant.
Water for establishment without re-saturating the bed
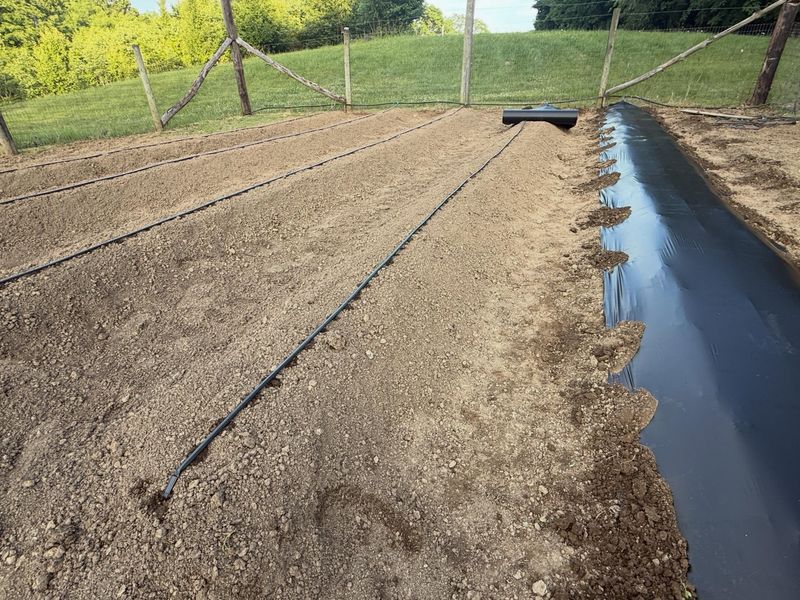
After planting, garlic needs enough moisture to settle the soil around the cloves and trigger root development, but that requirement does not mean keeping the bed continuously wet. The goal is to support establishment, not to maintain the same saturated conditions you just worked to eliminate.
Water once after planting to settle the soil, then hold off until the top inch or two of the bed dries down before watering again.
If the bed is already saturated from recent rain, skip the post-planting irrigation entirely and let natural drainage do the work. University of Georgia Cooperative Extension’s garlic fact sheet describes keeping garlic evenly moist but not waterlogged as the practical standard throughout the season.
Adding irrigation water to a bed that is already holding more moisture than it can drain simply extends the anaerobic window around the roots.
When you do need to water, method matters. UC Statewide IPM’s onion and garlic pest management guidelines note that overhead sprinklers can splash soilborne bacteria onto foliage and maintain wet conditions around the neck of the plant, both of which are associated with increased bulb rot risk.
Drip irrigation or a gentle soaker hose delivers moisture to the root zone without wetting the leaves and neck, which is the more defensible approach for a bed where drainage is already a concern.
Mulch is a useful tool after planting, but not for drainage. A light layer of straw or shredded leaves helps moderate soil temperature through winter fluctuations and suppresses weeds that would compete with emerging shoots.
NC State Extension’s winterizing guidance for herb gardens supports mulching for temperature management, and University of Minnesota Extension’s garlic growing guide recommends a few inches of straw mulch after planting. Keep the layer light – two to three inches is enough – and pull it back slightly from the base of emerging shoots.
Heavy or poorly placed mulch holds surface moisture against the neck of the plant, which works against the dry-neck conditions you are trying to maintain.
Remove mushy cloves and identify the cause
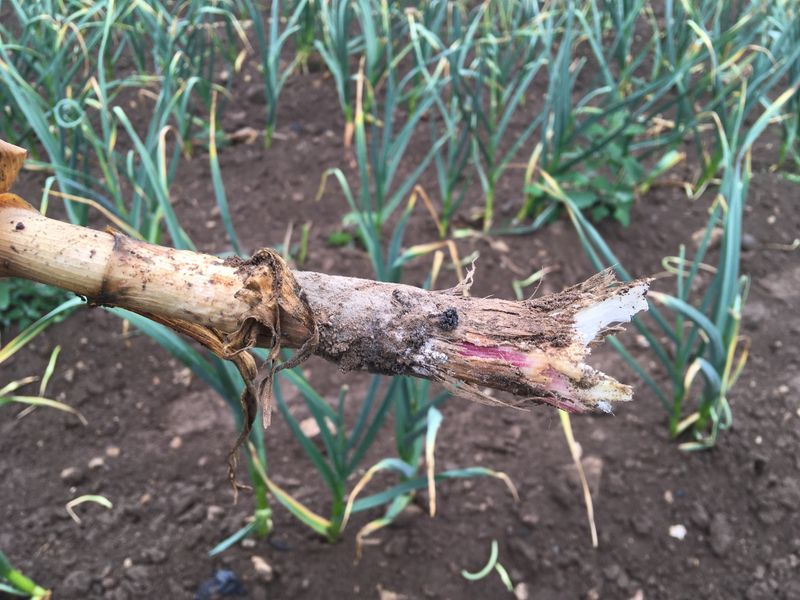
When a clove or plant shows soft decay, a foul smell, yellowing leaves, wilting, water-soaked tissue, or white fungal growth at the base, the right response is removal first and diagnosis second. Do not leave affected material in the bed hoping it will recover, and do not assume that all soft cloves have the same cause.
The symptoms produced by white rot, Botrytis neck rot, Fusarium basal rot, bacterial soft rot, and blue mold overlap enough that visual inspection alone cannot reliably separate them.
University of Minnesota Extension’s garlic diagnostic resource lists wilting, yellowing, and soft decay as signs associated with several different pathogens, and both Ask Extension’s garlic wet-condition FAQ and a related Ask Extension garlic disease entry recommend removing affected material and contacting a diagnostic service when symptoms are unclear. Your state’s university plant disease clinic can distinguish between these problems from a submitted sample, which matters because the management steps for white rot differ substantially from those for bacterial soft rot.
White rot deserves specific attention because of what a confirmed case means for the bed going forward. University of Maryland Extension’s white rot resource describes the disease as producing dense white fungal growth and small black sclerotia – hard, seed-like survival structures – at the base of infected plants.
The pathogen that causes white rot, Sclerotium cepivorum, favors cool, moist conditions and can persist in soil for many years, even in the absence of a host plant. A confirmed case means that drainage improvement alone does not make that bed safe for repeated garlic or onion planting.
Recent research published in Plant Disease on integrated management strategies for white rot reinforces that rotation, sanitation, and use of certified disease-free seed stock are more appropriate responses to a confirmed contaminated site than simply amending soil or applying a single treatment. If you have had white rot confirmed in a bed, move garlic and onion family crops to a different location rather than replanting in the same spot.
Build drainage before you plant the next clove
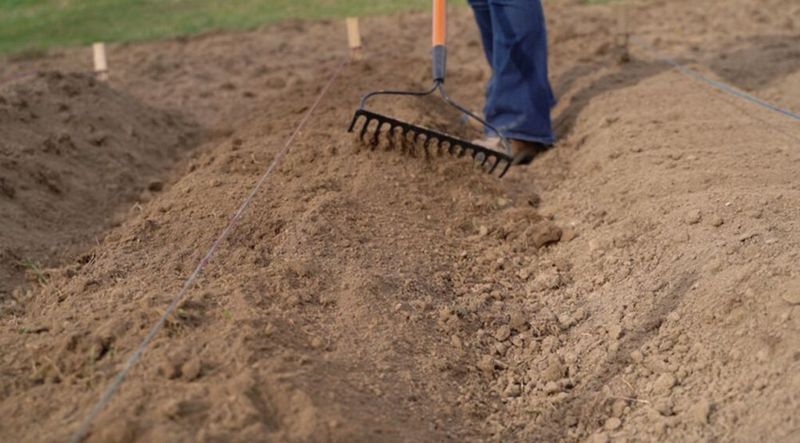
The sequence that reduces wet-soil rot risk comes down to a few connected steps, each of which sets up the next. Pick a sunny spot that does not collect standing water after rain.
Wait until the soil passes the squeeze test before working the bed. Raise the planting zone above the surrounding grade with loose, well-amended soil and leave the bottom open for drainage.
Use large, firm, disease-free cloves with the pointed end up, spaced 6 inches apart at a depth of 1 to 3 inches. Water only as needed after planting, and skip irrigation while the bed is already saturated.
University of Georgia Extension’s garlic production guide, University of Maryland Extension’s raised bed resource, and NC State’s soil modification guidance all support this preparation-first approach. None of these steps can rescue a clove that is already infected, but together they reduce the conditions that make infection likely in the first place.
A bed you prepare well this week is a different growing environment than the saturated ground that raises the risk of rot – and that difference is worth the extra hour of work before the cloves go in.