
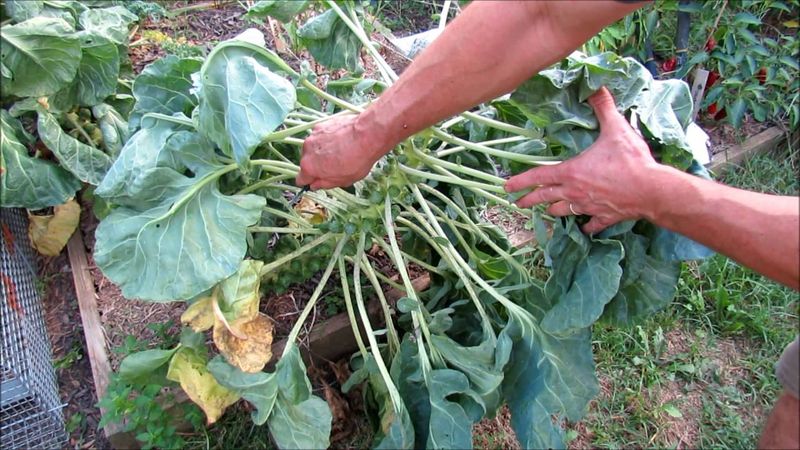
A tall Brussels sprout stalk covered in tiny, open sprouts can leave any gardener scratching their head. Many growers hear that cutting off the top of the plant will fix it.
Topping can help in the right situation, but it is a timing choice, not a cure. Here is how to tell whether your plants are ready and what else matters for firm sprouts.
Loose sprouts can have more than one cause
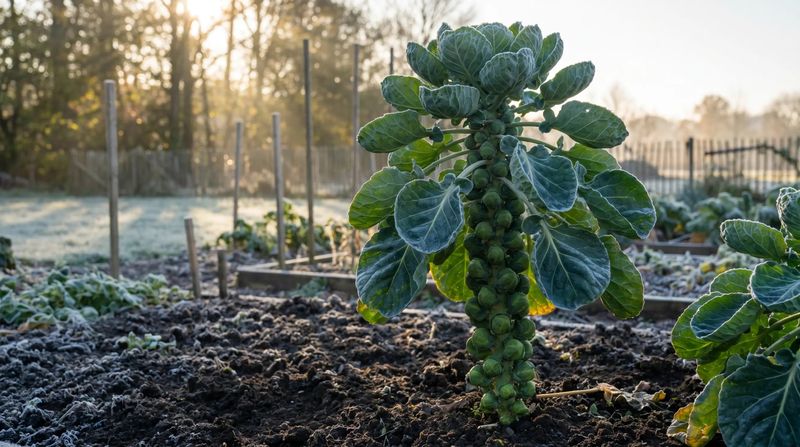
A tall stalk with small or open sprouts looks like a clear case of a plant that needs help. Height alone, though, does not tell you why the sprouts look that way.
Topping is one tool among several, and it does not address every cause.
Warm weather is one possible factor. University of Illinois Extension notes that heat can interfere with compact sprout development, which matters for Southern gardens where warm spells often linger into fall.
Water and fertilizer play a role too. Utah State Extension links uneven moisture and excess nitrogen during sprout formation to loose or splitting sprouts.
Mississippi State Extension also points to growing conditions as a driver of sprout quality.
So before you reach for the pruners, think back over the season. Did a hot stretch hit as sprouts formed?
Did watering swing between soggy and dry? Did you feed heavily late?
Those clues may explain more than the plant’s height ever could.
Wait until the lower sprouts start sizing up
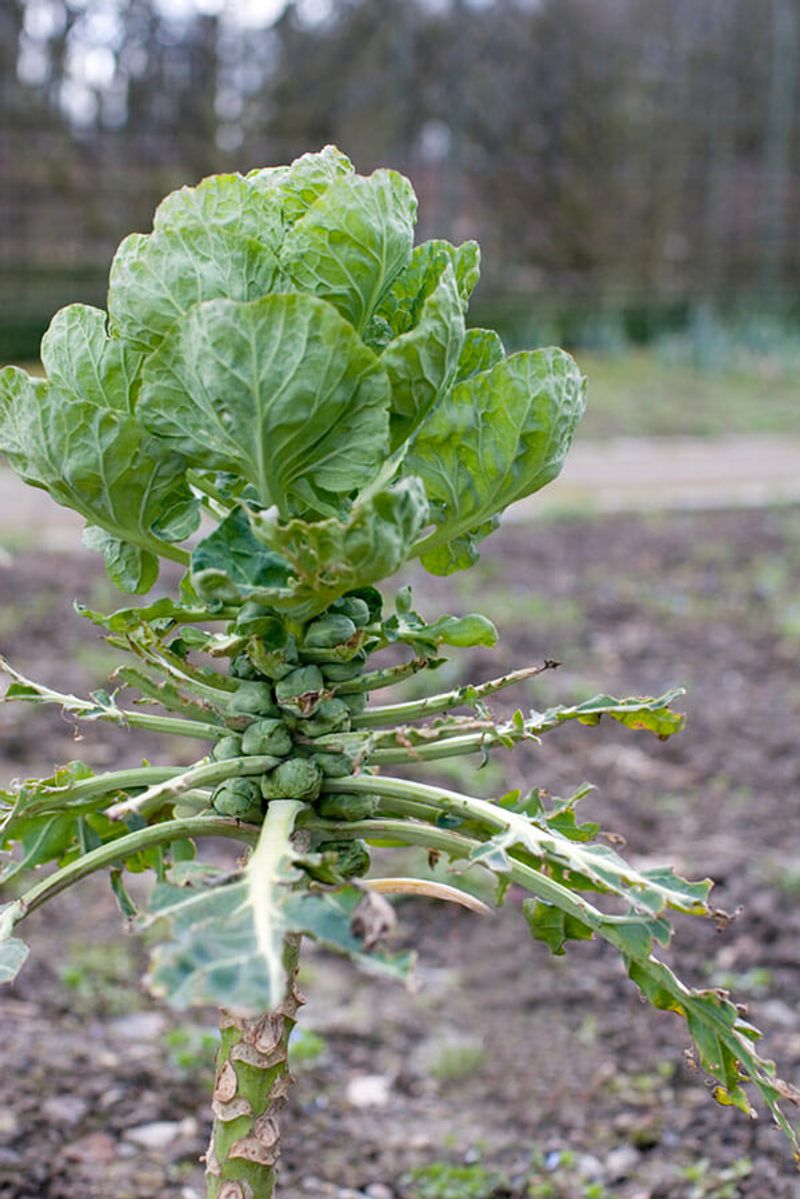
Plant size is a better guide than the calendar. Look at the sprouts at the bottom of the stalk, since they form first.
Iowa State Extension suggests topping when those lower sprouts are about ½ to ¾ inch across.
A University of New Hampshire topping study discussed a slightly wider range, with the largest sprouts around ½ to 1 inch. It also suggested topping roughly 30 to 60 days before you expect to harvest.
Treat that as a rough guide, because variety and weather can shift the timing.
Grab a ruler and check a few plants. If the lower sprouts are barely visible, or harvest is still far off, hold back.
Topping too early may reduce your yield, and in the UNH trial very early topping led plants to grow new stalks.
Waiting costs you little. You can check again in a week or two and decide then.
Remove the growing point, not the stalk
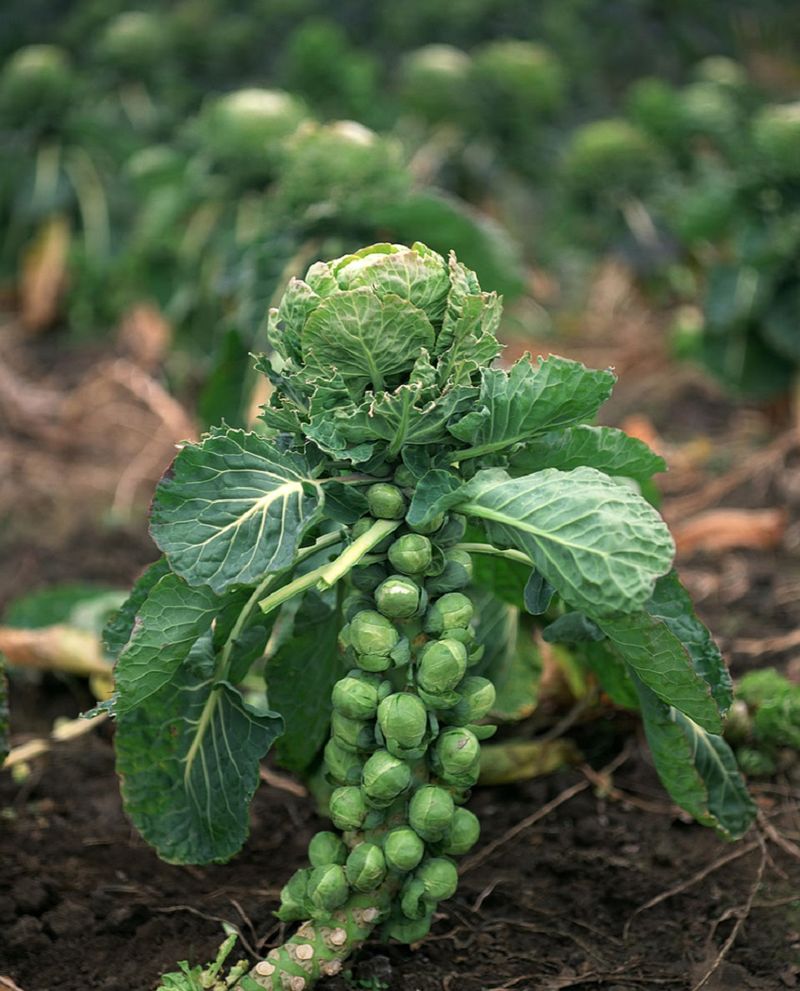
Gardeners sometimes hear “topping” and picture chopping the plant down. It means something much smaller.
You remove only the terminal growing point, the cluster of new leaves at the very top of the plant.
The stalk stays standing, and the sprouts keep growing along it. Removing the tip stops the plant from adding height, which is why Iowa State Extension recommends it once the lower sprouts have started to size up.
Tie the action to what you saw in your garden. If the lower sprouts are in the right size range and harvest is coming, topping fits.
If they are still tiny, it is better to wait.
Extension sources do not give a precise cut depth or tool recommendation, so keep it simple and take only the growing tip.
Choose topping to suit your harvest plan
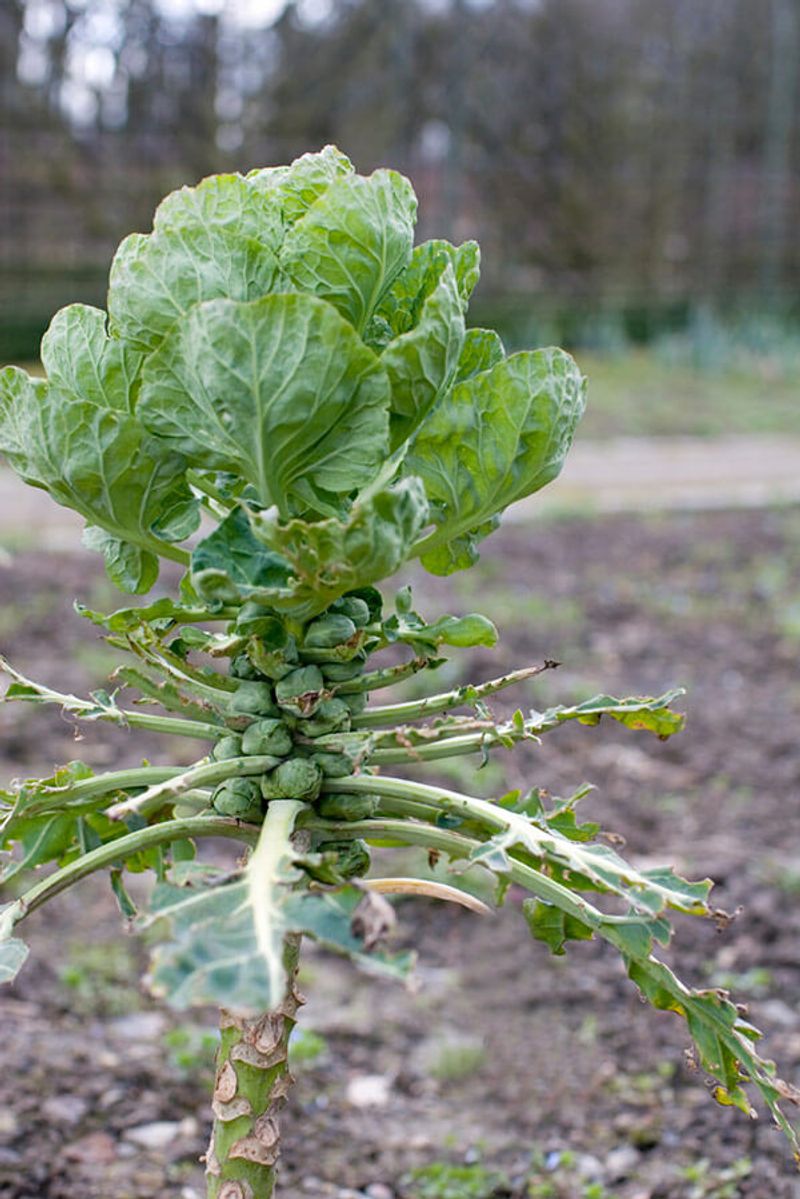
How you plan to pick matters as much as how the plant looks. Topping may hasten upper-sprout development or even out growth along the stalk.
That can suit a gardener who wants one big harvest or plans to cut the whole stalk.
If you would rather pick a few sprouts at a time, topping is not necessarily needed. Utah State Extension describes harvesting from the bottom as sprouts become firm, which leaves the upper sprouts time to keep growing.
Iowa State’s guidance also notes that lower sprouts mature first.
The research gives mixed signals, so neither result fits every garden. A University of New Hampshire trial found potential benefits under particular timing and harvest conditions.
Meanwhile, Arkansas Extension says topping a spring crop can hasten development but reduce yield by about one-third.
Neither source promises firm sprouts or bigger harvests. Match the choice to your goal: speed and uniformity, or a longer, steady picking season.
Support sprout quality with steady care
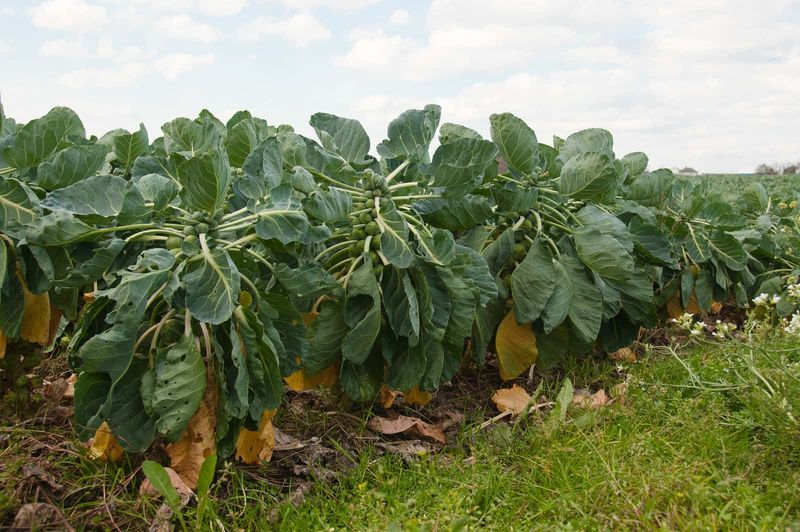
Some things topping cannot touch, and watering is the biggest. Aim for reasonably even moisture rather than cycles of dry soil and heavy soaking.
Utah State Extension advises deep, infrequent watering and reports that moisture swings during sprout development can contribute to splitting or bitter flavor.
A layer of mulch can help the soil hold steady between waterings. Check the soil a few inches down before you water, especially during hot, dry spells.
Fertilizer timing counts as well. Once sprouts begin forming, skip added nitrogen.
Utah State notes that excess nitrogen at that stage can contribute to loose sprouts and splitting, and Mississippi State Extension also ties growing conditions to sprout quality.
These steps are supportive care. They may improve your odds, but they will not guarantee tight sprouts or undo damage from a heat wave.
Use regional timing and harvest cues
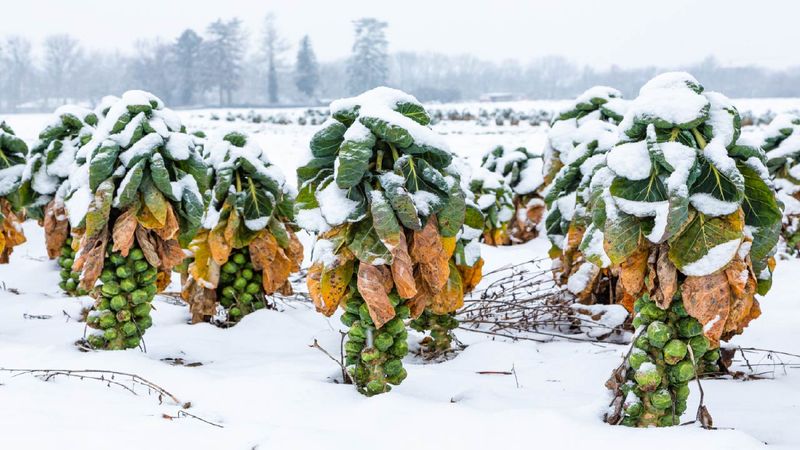
The South does not share one calendar. UF/IFAS lists Brussels sprout planting windows of September to November in North Florida, September to February in Central Florida, and October to January in South Florida.
It also lists 90 to 120 days from seed to harvest.
Texas varies too. Texas A&M AgriLife gives region-specific fall planting dates and calls Brussels sprouts frost-tolerant.
Because dates differ so much, sprout size and expected harvest are better cues than a fixed “late fall” deadline.
Keep the topping decision separate from harvest readiness. Lower sprouts mature first, and University of Maryland Extension suggests picking when they are firm and compact, generally around 1 to 1½ inches across, before they split or leaves yellow.
Utah State likewise points to picking as sprouts become ready.
Your plants will tell you more than the date on the wall.