
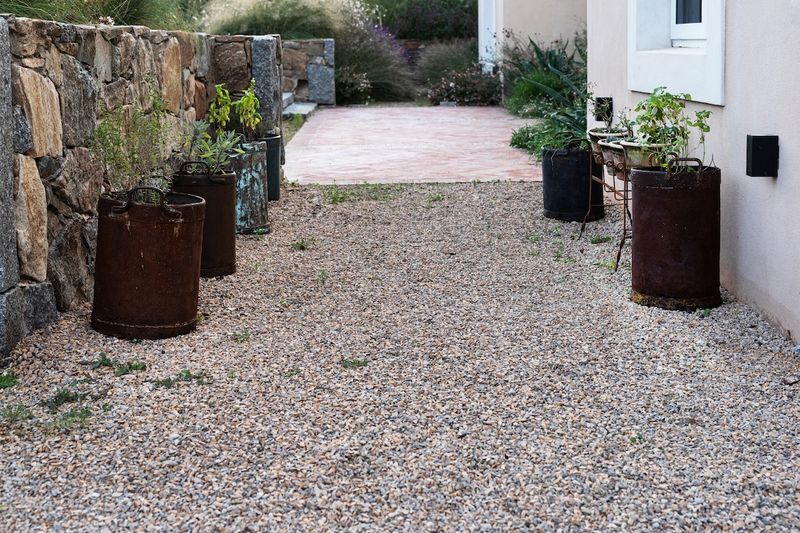
Gravel paths look clean and low-maintenance right after they go in, but within a season or two, weeds tend to push through and make the whole thing feel like a losing battle. Pulling them by hand helps a little, but the roots and seeds left behind just keep sending up new growth.
The real fix is not about pulling harder or more often – it starts underneath the gravel, with a proper rebuild that removes the conditions weeds need to thrive. Once you understand what actually drives recurring weed pressure, you can put together a path that stays cleaner with far less effort.
Repeated pulling removes visible weeds but not the growing site
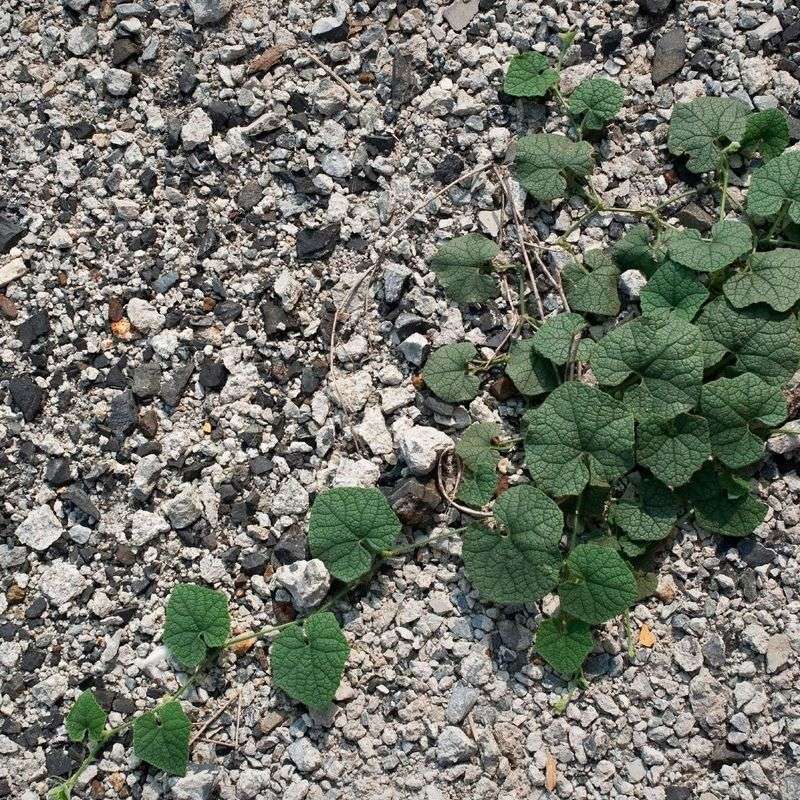
Hand-pulling works well enough for a few isolated seedlings, especially when you catch them early and get the roots out cleanly. The problem with gravel paths is that the conditions producing those seedlings rarely go away.
Established perennial weeds regrow from roots, rhizomes, and stolons left in the soil below the gravel, and pulling the top growth does not touch those underground structures.
Gravel paths also collect windblown seeds, fallen leaves, and fine soil particles that settle between stones over time. That organic layer acts as a shallow seedbed sitting right on top of whatever is underneath, which is why a path that looked fine in spring can be covered in new sprouts by midsummer.
UC IPM’s landscape weed management guidance points out that seeds arrive continuously from wind, water, birds, animals, tools, and even foot traffic, so there is no single clearing event that stops the cycle.
Pulling small seedlings before they flower and set seed is still worth doing because it limits the next generation of growth. But treating hand-pulling as the main strategy for a path with recurring pressure means you are managing symptoms rather than the source.
Colorado State University Extension’s weed management guidance makes clear that mulch and fabric do not reliably control established perennial weeds growing from roots or rhizomes already in the soil. The practical fix targets the soil-to-gravel interface directly, which is what the rest of this article covers.
Prepare the foundation before installing any barrier
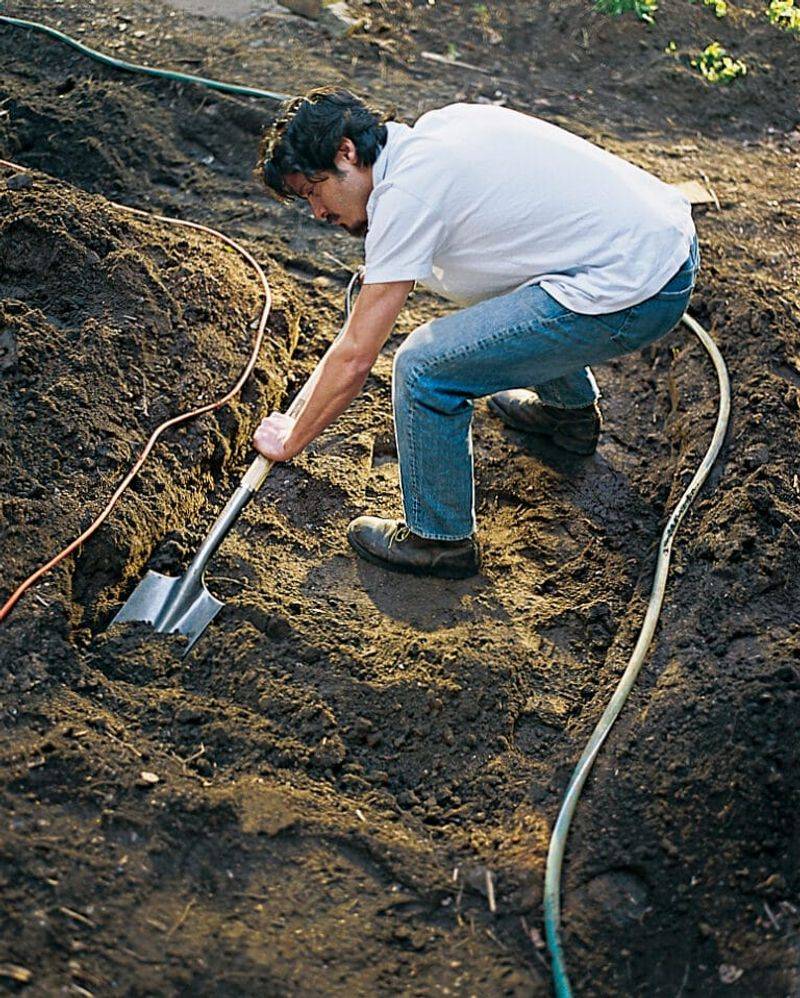
Clearing the path surface is only the beginning. Before any fabric goes down, you need to remove existing vegetation and dig out as much root material as practical, including rhizomes and stolons from perennial grasses.
Any established root system left in place can push through or around a fabric layer, so thoroughness at this stage directly affects how well the barrier performs later.
Once the vegetation is out, grade the soil so the path sheds water rather than holding it. Low spots collect moisture and fine debris, which creates exactly the conditions that encourage weed establishment.
Penn State Extension’s guidance on all-weather surface construction emphasizes that proper grading and a stable, compacted base are foundational to any durable surface – weed suppression included. A fabric barrier laid over soft, uneven, or poorly drained soil will shift, wrinkle, and develop gaps that weeds exploit quickly.
Compact the prepared surface firmly before laying anything on top of it. A stable base protects the fabric from shifting under foot traffic and helps maintain consistent gravel depth across the path.
Utah State University Extension’s water-wise landscaping guidance treats soil preparation as a prerequisite for a functional gravel walkway, not an optional step. Fabric cannot correct poor drainage or unstable ground, and no amount of gravel on top will compensate for a foundation that was not properly prepared.
Choose permeable woven fabric for an unplanted gravel path
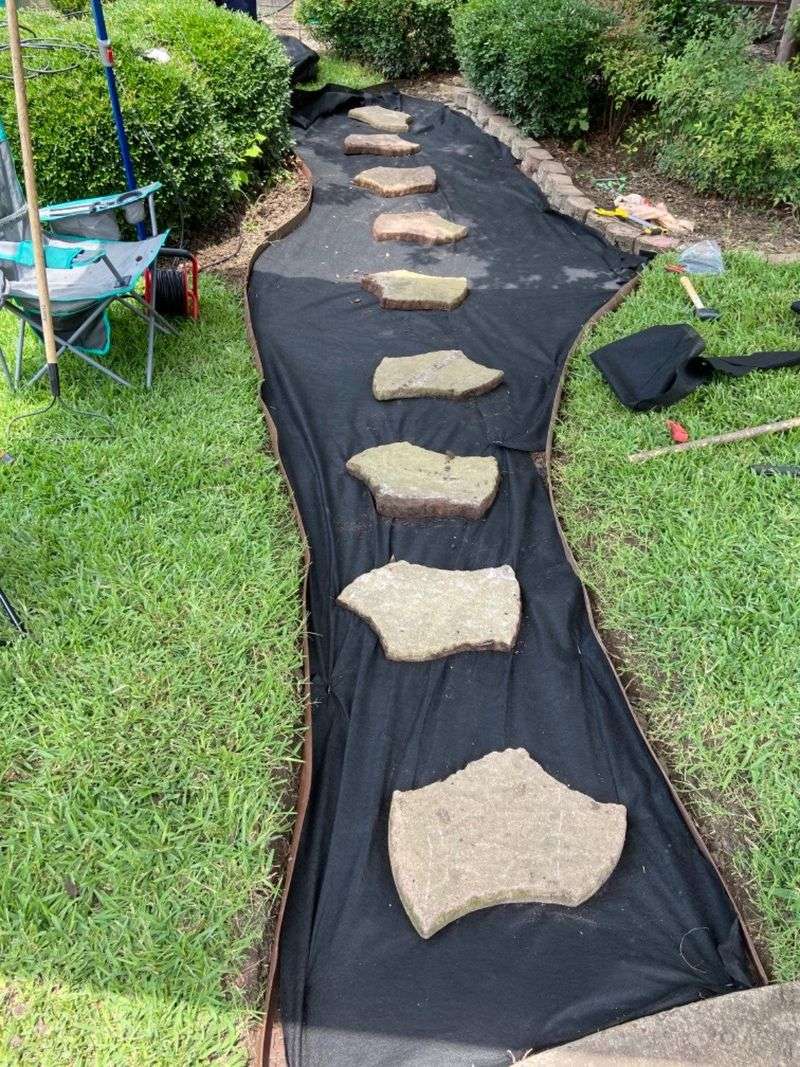
Not every product sold as landscape fabric or weed barrier performs the same way. For a gravel walkway, you want a woven, permeable fabric or a path-suitable geotextile – one specifically designed to block light at the soil surface while still allowing some air and water to pass through.
That combination keeps the path from becoming waterlogged while cutting off the light that weed seeds need to germinate.
Thin plastic sheeting is a common substitution, but extension sources consistently advise against it for this application. Plastic blocks air and water exchange more completely than woven fabric, can become brittle after UV exposure, and tends to trap heat near the soil surface.
Utah State University’s water-wise landscaping principles favor permeable fabric over black plastic specifically because fabric maintains better soil exchange. When plastic tears or shifts, the gaps it creates can actually funnel water and debris rather than dispersing them evenly.
Fabric also fits an unplanted gravel walkway better than it fits a perennial bed. University of New Hampshire Extension notes that in planted beds, roots from trees, shrubs, and perennials can grow through fabric over time, making later removal difficult and potentially damaging.
A bare gravel path does not carry that complication, which is why this is one of the applications where woven fabric genuinely earns its place. Check the product label to confirm the fabric is rated for ground-contact, load-bearing foot traffic, and the expected path conditions before purchasing.
Secure seams and edges to keep the barrier continuous
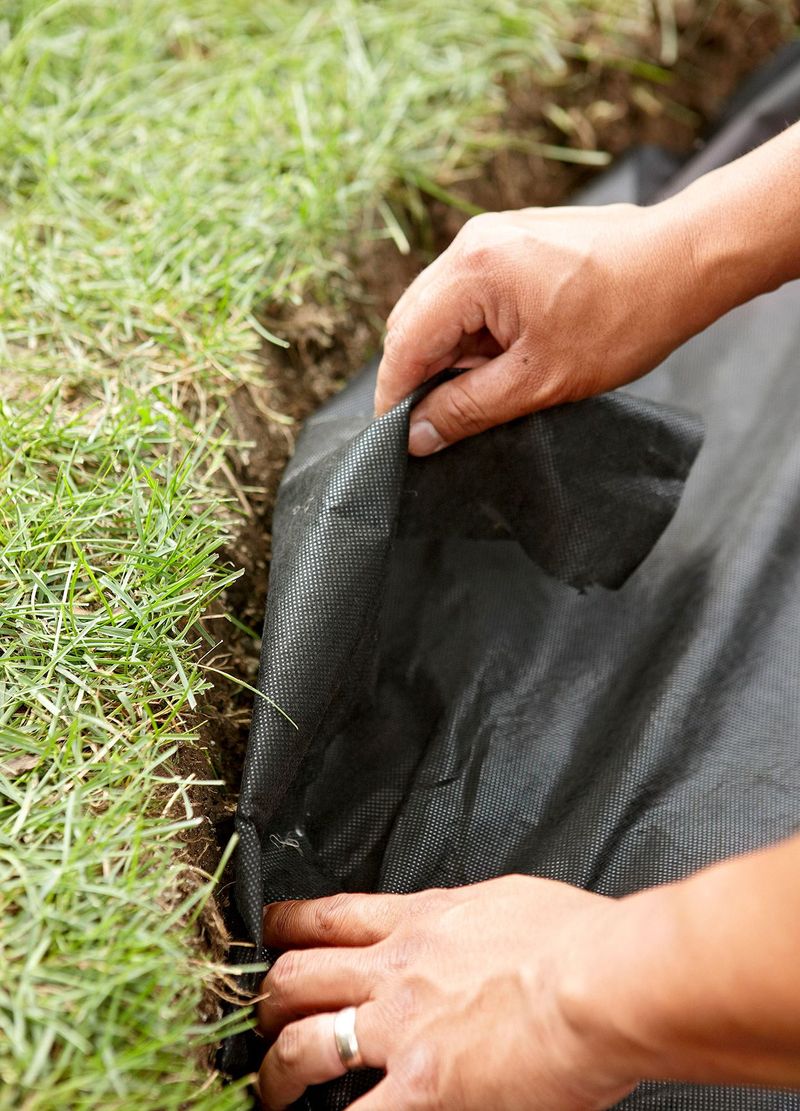
A fabric barrier is only as effective as its weakest opening. Weeds are opportunistic, and any gap at a seam, edge, or anchor point becomes a route for growth.
Lay the fabric tightly across the prepared path surface with no bunching or loose sections, and use landscape staples or pins at regular intervals to hold it flat against the soil.
When you need more than one strip to cover the path width, overlap the adjoining pieces rather than butting them edge to edge. How much overlap you need depends on the fabric product, the width of the path, the amount of foot traffic expected, and whether the edges are properly anchored.
Utah State University’s water-wise landscaping guidance references approximately 4 inches of overlap for standard landscape fabric applications, while heavier-use geotextile construction contexts call for overlaps of 12 inches or more. Neither measurement is universal.
Follow the specific product instructions and err on the side of a generous overlap, especially at any seam that will carry regular foot traffic or sit near a path edge where soil movement is more likely.
Path edges deserve particular attention. Fabric that is left exposed or loosely folded at the sides tends to lift, shift, or allow weed rhizomes to sneak underneath from adjacent turf.
Bury the edge fabric or secure it firmly under a border material such as edging stakes or a stone border. Penn State Extension’s all-weather surface construction guidance reinforces that edge integrity is critical to maintaining a continuous barrier.
Cover the fabric with gravel as soon as possible after laying it, since UV exposure degrades most fabric materials relatively quickly and reduces their long-term effectiveness.
Cover the barrier with an adequate gravel layer
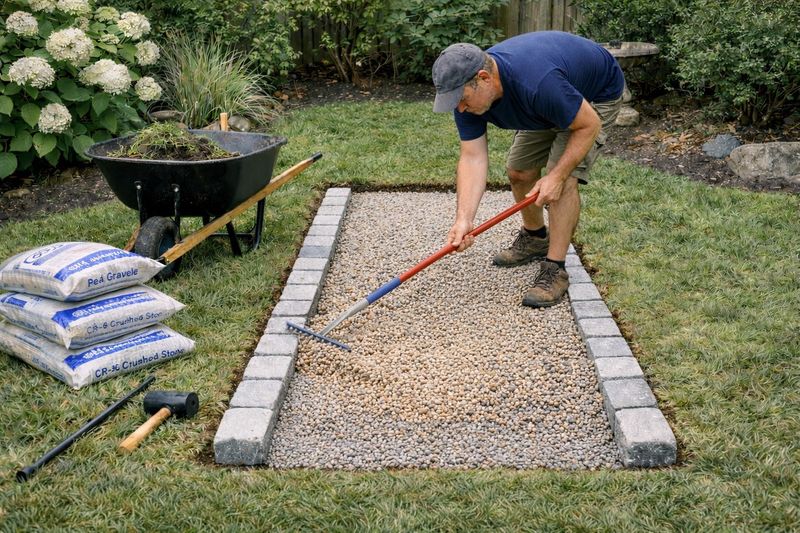
Gravel depth matters more than most homeowners expect. A thin layer of stone looks similar to a proper one but provides much less weed suppression, settles unevenly under foot traffic, and allows light to reach the fabric surface more easily.
Utah State University Extension identifies approximately 3 inches of pea gravel or 3/4-inch gravel as the target depth for an acceptable walkable path surface. That depth is a reasonable starting point for a standard residential walkway, though soil type, drainage conditions, and expected traffic can all influence what works best for a specific path.
Gravel selection also affects weed suppression over time. UC IPM’s pest notes on landscape weed management recommend coarse mulch particles roughly 1/4 to 3/4 inch in size with relatively low water-holding capacity for better weed control.
Finer material holds more moisture and organic debris, which creates a more hospitable seedbed on top of the barrier. Coarser stone also tends to drain better and stay more stable underfoot, which matters for comfort and path longevity alongside weed control.
Adding more gravel is not a substitute for the barrier and root removal steps described earlier. A peer-reviewed study on gravel mulch effects found significant reduction in seed-propagated weeds but no comparable suppression of rhizomatous weeds, and ongoing control of root-propagated species remained necessary regardless of gravel depth.
Gravel depth supports the system – it does not replace it.
Expect new weeds at edges, seams, and debris deposits
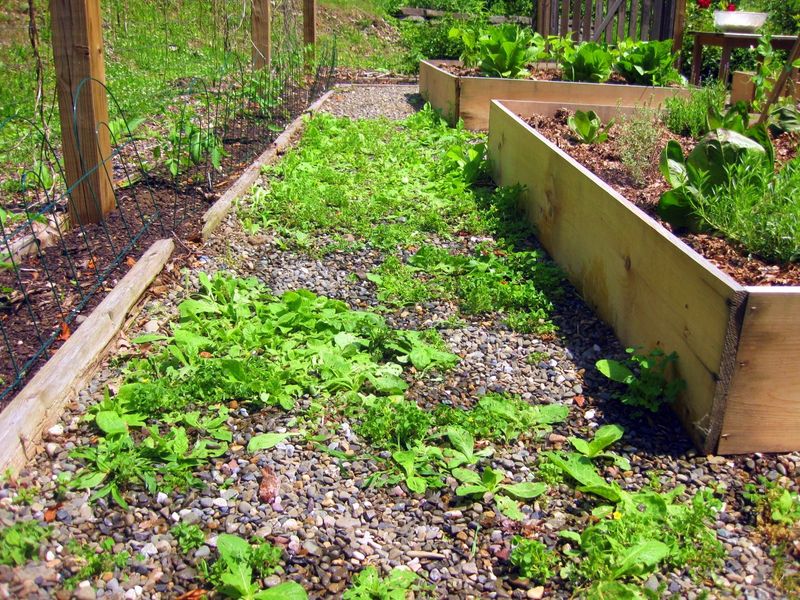
A properly built path will have noticeably less weed pressure than a bare gravel surface, but it will not stay weed-free on its own. Seeds arrive from outside the path continuously – carried by wind, water, birds, and foot traffic – and any organic debris that collects between stones gradually forms a thin seedbed sitting above the barrier.
That is why a path that performed well in its first year may show new growth in its second or third year without any change in the underlying installation.
University of Florida IFAS research on landscape weed management notes that deposited organic matter on top of a barrier creates new germination opportunities independent of what is happening in the soil below. Leaves, pine needles, grass clippings, and windblown soil are the primary contributors on most residential paths in warm regions, and they accumulate faster in areas with heavy tree canopy or adjacent turf.
Rhizomatous grasses are a specific concern worth planning for. Bermudagrass, which is widespread across warm-climate yards, spreads aggressively through stolons and rhizomes and can exploit any gap at a path edge, seam, or area of damaged fabric.
Colorado Master Gardener guidance on weed management identifies bermudagrass as one of the more persistent perennial grasses in warm-season landscapes, noting that gravel mulch alone is unlikely to provide reliable control once it establishes. UF/IFAS integrated weed management guidance reinforces that warm regions benefit most from combining multiple techniques rather than relying on any single method, precisely because growing conditions remain favorable for much of the year.
Use routine inspection to preserve the rebuild
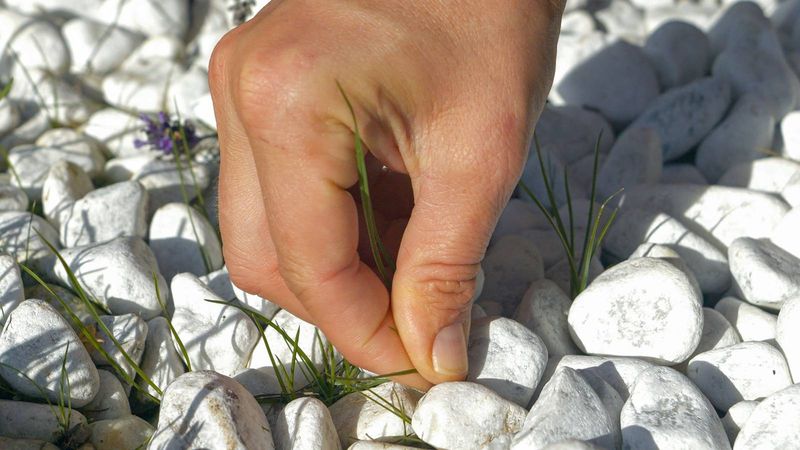
A good installation reduces the work, but it does not eliminate it. The most effective post-installation habit is regular inspection rather than waiting until weeds are visible from a distance.
Walking the path every few weeks lets you catch small seedlings before they root deeply, spot debris accumulations before they build into a seedbed, and notice any fabric damage or edge gaps before they widen.
Clearing leaves and fine soil from the gravel surface is one of the highest-value maintenance tasks because it removes the raw material that new weeds need. A leaf blower, a stiff brush, or a light raking is usually enough for routine cleanup.
Utah State University’s landscaping principles frame hand-pulling as a low-disruption follow-up task rather than a primary control strategy – exactly the role it performs best. Removing a seedling at two inches is much easier than removing one at eight inches with a developed root system.
Inspect seams and path edges specifically, since those are the areas most likely to develop gaps as the path settles and adjacent turf encroaches. Repair any torn or exposed fabric promptly by cutting a patch from spare material and securing it with landscape staples before recovering with gravel.
UF/IFAS nonchemical weed control guidance consistently emphasizes prompt removal of small weeds as the most practical way to prevent seed production and limit the next cycle of growth. The rebuild reduces the frequency and scale of that work – it does not end it.
Avoid shortcuts that can damage nearby soil and plants
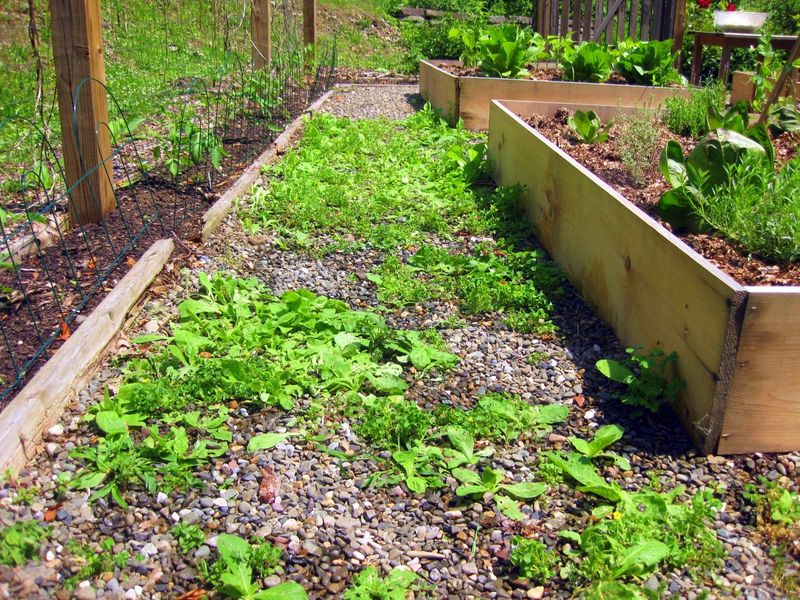
When weeds keep coming back, the temptation to reach for a quick chemical fix is understandable. Salt is one remedy that shows up repeatedly in informal gardening advice, but it carries real risks.
Salt can injure or kill nearby plants, persist in the soil long after application, and move with runoff into adjacent lawn areas or waterways. Penn State Extension cautions against salt-based weed control specifically because of its potential to damage soil structure and harm desirable plants in the surrounding landscape.
Household vinegar mixed with dish soap is another popular suggestion that does not hold up well in practice. Standard kitchen vinegar may burn the foliage of very young seedlings on contact, but it generally does not kill established perennial roots.
Oregon State University Extension notes that even stronger acetic-acid products are nonselective, can be hazardous to handle, and often fail to kill perennial weed root systems despite damaging the top growth. Dish detergents are not formulated or evaluated as landscape herbicides and should not be treated as a routine weed control tool.
Pre-emergent herbicides and glyphosate products can play a role in some situations, but neither should be applied casually near a gravel path. The EPA is clear that pesticide labels are legally enforceable, and any product must be used only on the sites and in the manner the label specifically permits.
Runoff, overspray, drift, and proximity to waterways, children, and pets all matter when choosing and applying any pesticide near a residential path. The most durable result still comes from rebuilding the path correctly and managing new growth promptly – chemical shortcuts tend to create new problems faster than they solve old ones.