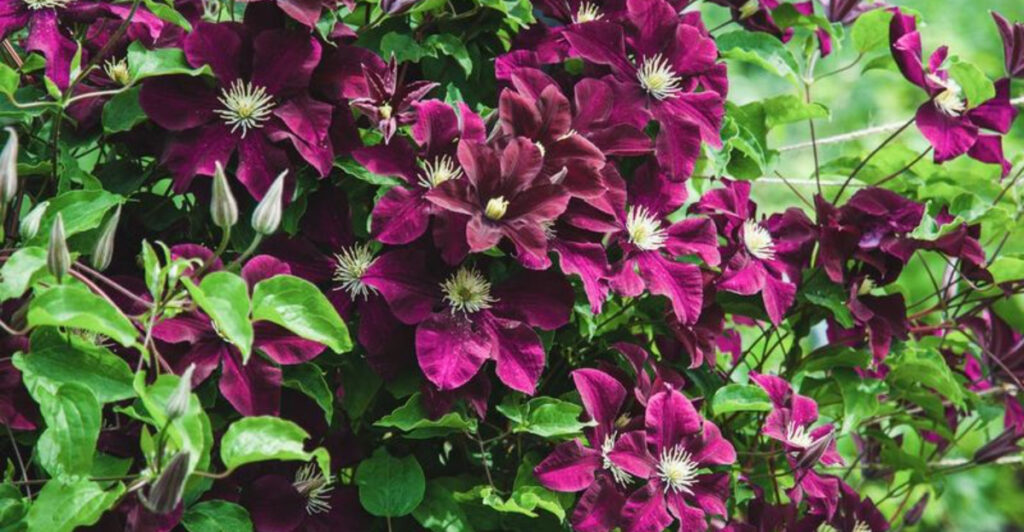
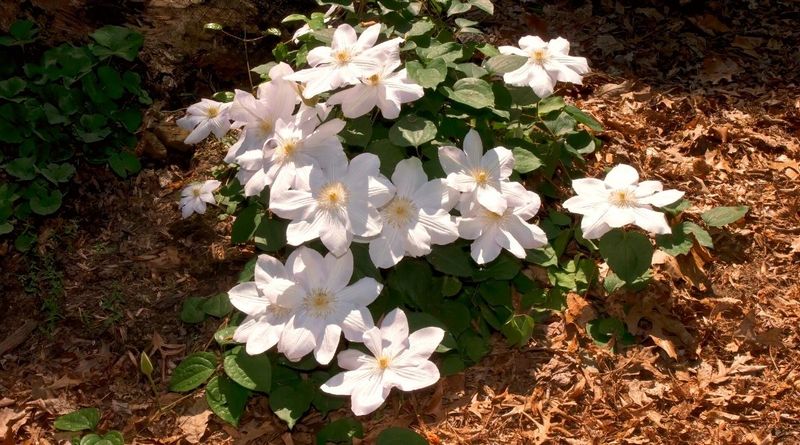
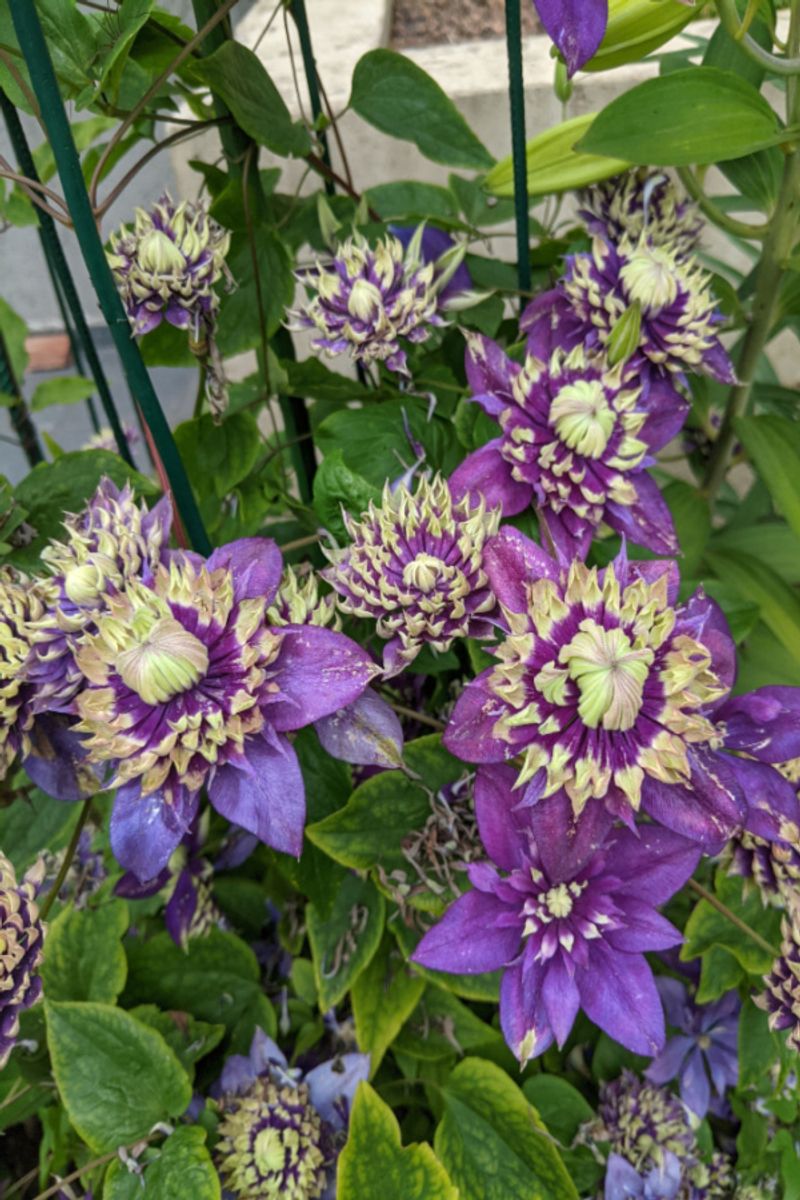
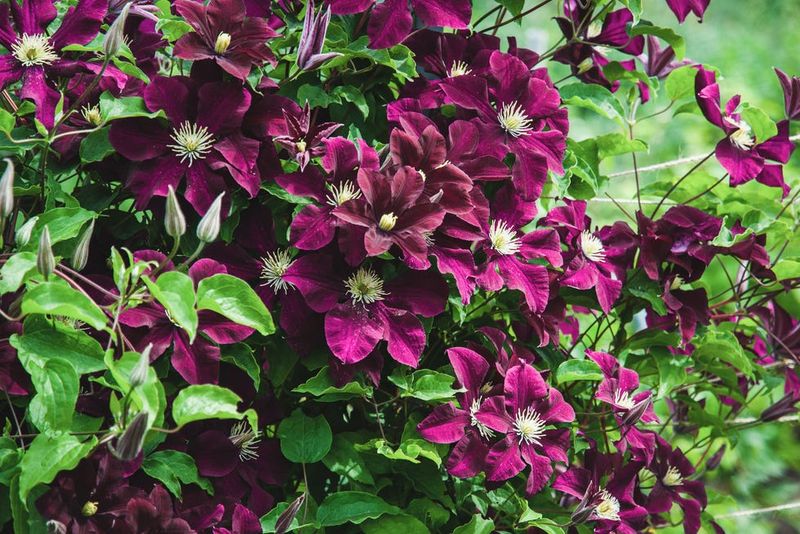
Enhance the beauty of your clematis with these post-bloom care steps. Following these nine detailed techniques can increase your flower yield by up to 300% next year.
Transform your garden with vibrant, flourishing clematis blossoms.
1. Pruning Wisely
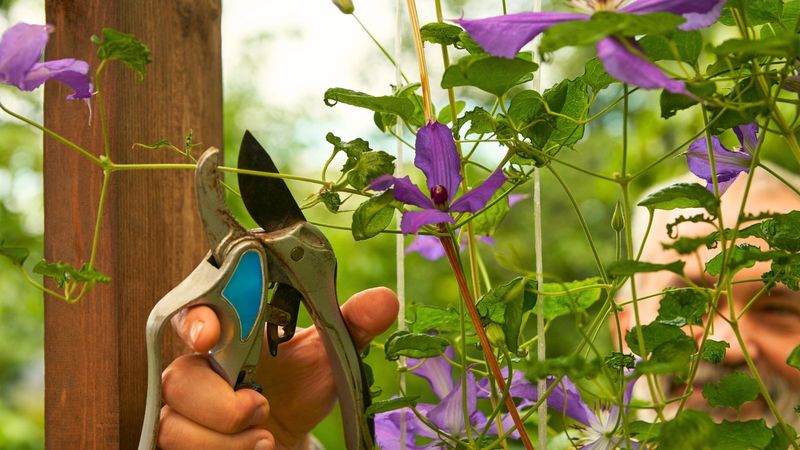
Pruning is an art for clematis lovers. After the blooms fade, carefully trim the vine. This encourages new growth. Focus on removing dead or weak stems. Observe how the plant responds. Does it appear rejuvenated? Pruning helps direct energy to healthy parts. Each snip promises more blooms next year. Ensure tools are sharp and clean. This avoids plant injury. Remember, different clematis types need different pruning times. Consult your plant’s needs. The reward? A tapestry of flowers. Pruning transforms potential into reality.
2. Fertilizing at Right Time
Timing is everything with fertilizing. Post-bloom, your clematis craves nutrients. Think of it as a feast for the plant. Use a balanced, slow-release fertilizer. This ensures steady nourishment. Apply around the base, not touching stems. Water thoroughly afterward. This helps roots absorb nutrients. Fertilizing strengthens the plant’s structure. It prepares clematis for winter and next year’s bloom. Remember, more is not better. Follow package instructions closely. With this care, anticipate lush, vibrant growth.
3. Watering Deeply
Watering deeply is vital for clematis vitality. Picture roots stretching deep into the soil. Weekly, provide a generous soak. This encourages strong root systems. Avoid shallow watering; it fosters weak growth. Use mulch to retain soil moisture. This practice mimics nature’s rhythms. Consider the weather; more during dry spells. Less if rain is abundant. Deep watering supports robust blooms. Healthy roots equate to thriving plants. Balance and consistency are key. Celebrate each blossom as a testament to your care.
4. Mulching for Health
Mulching is more than just decoration. It’s a barrier against weeds and moisture loss. Spread 2-3 inches of organic mulch around your clematis. This keeps roots cool and moist. Mulching mimics nature’s protective layer. It enriches the soil as it decomposes. Avoid placing mulch against stems. This prevents rot. Observe the transformation in plant health. Mulching reduces maintenance and enhances growth. Witness increased blooms and improved vigor. Nature’s cycle is respected and mirrored.
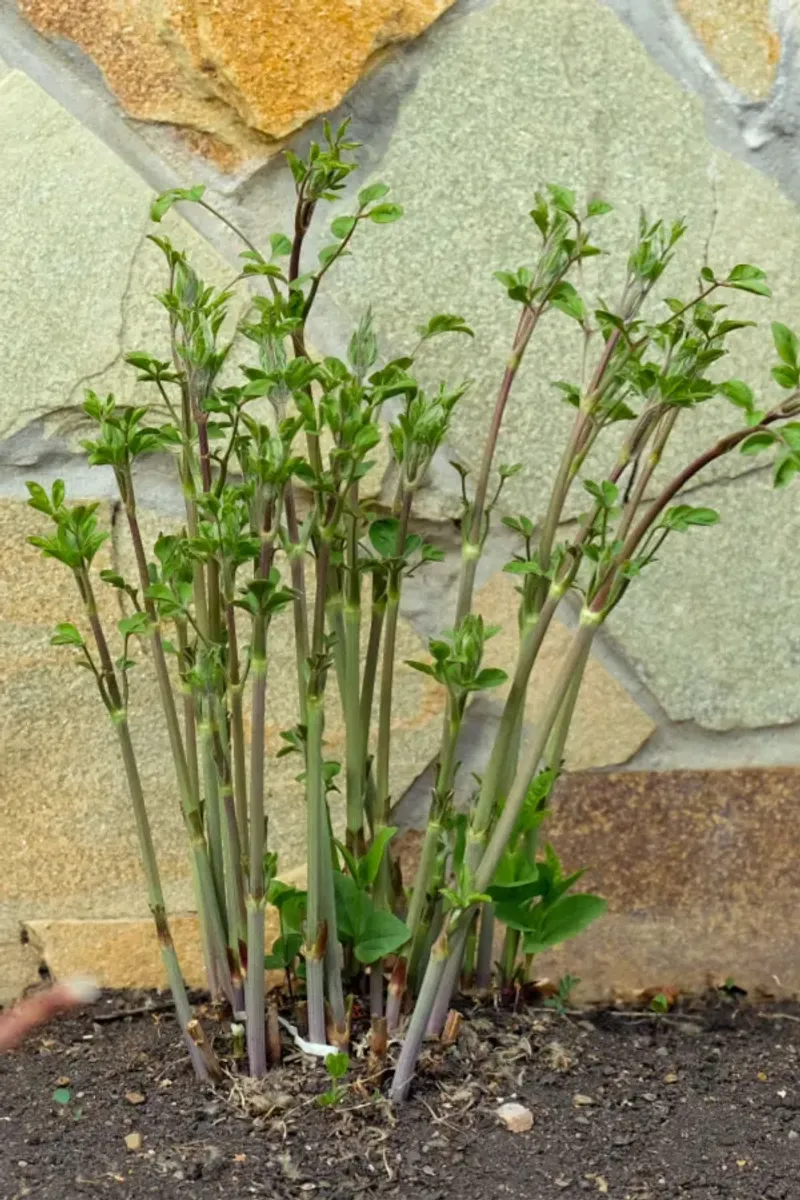
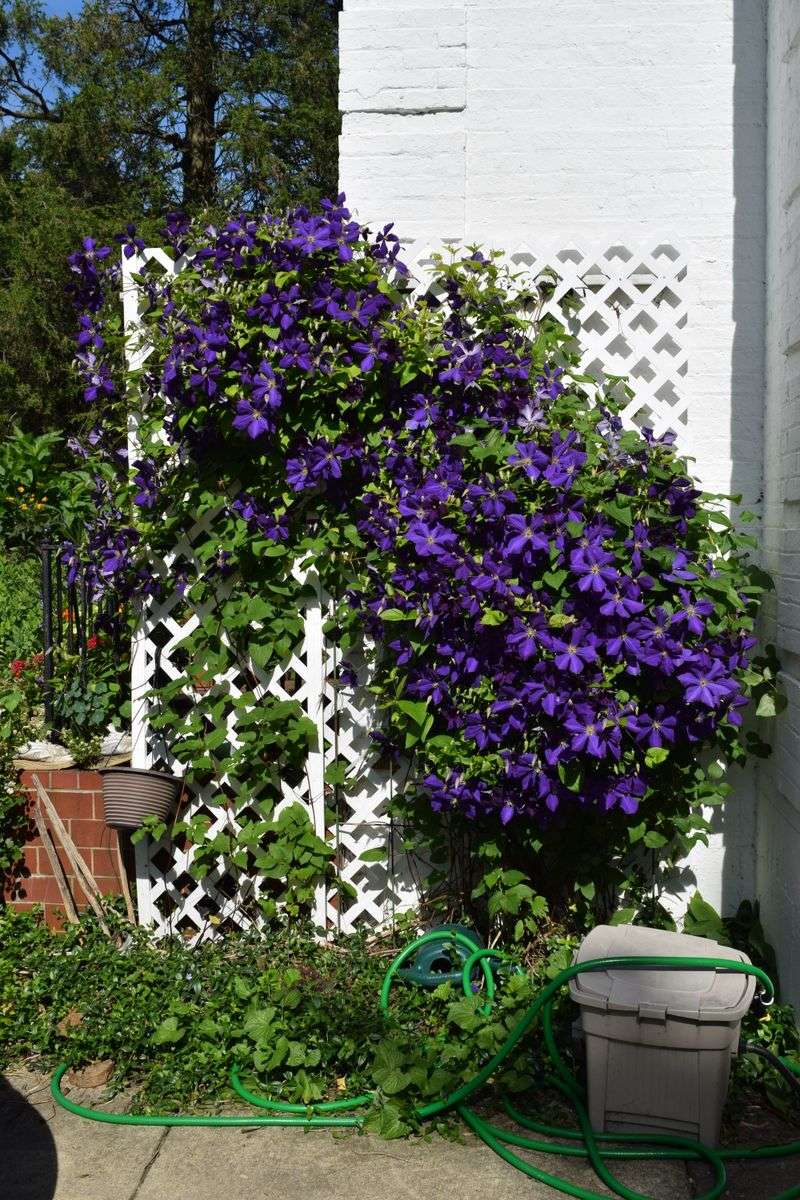
5. Supporting Vines
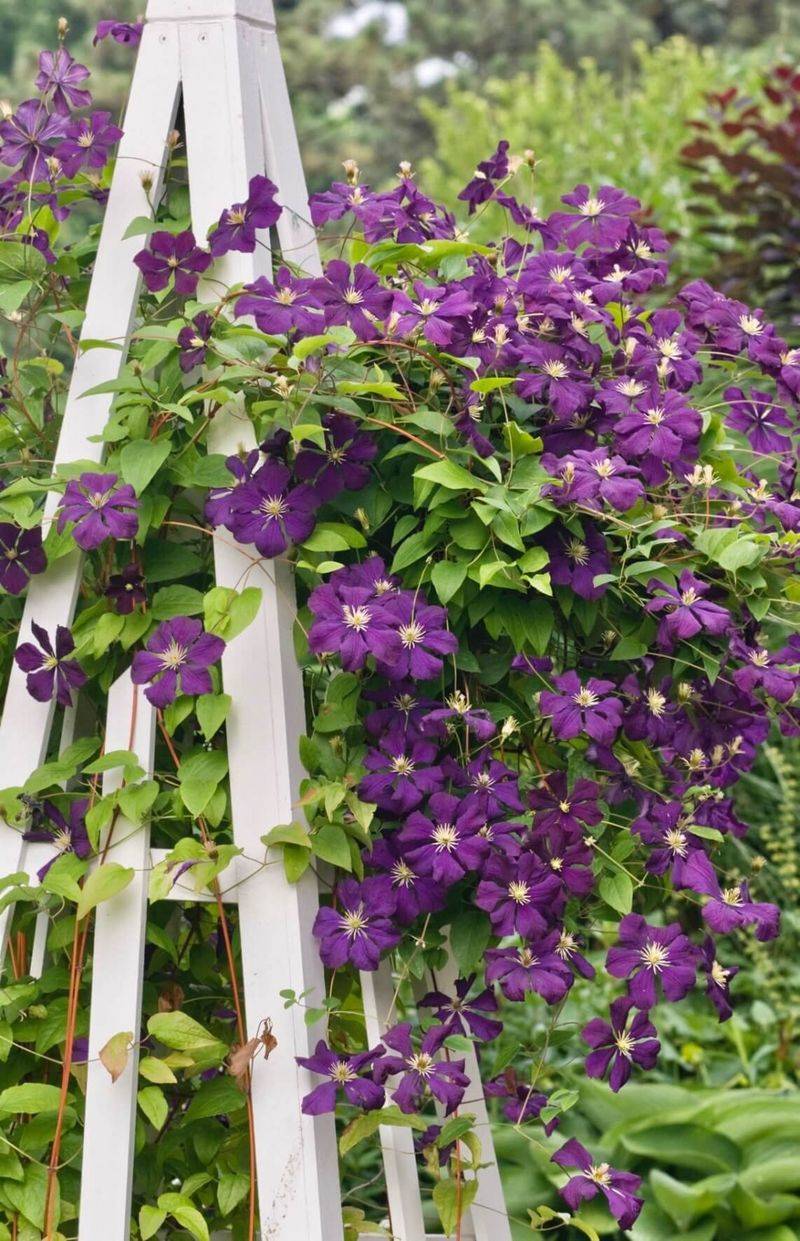
Clematis vines are like dancers needing support. Install trellises or stakes post-bloom. This guides their growth. Allow vines to weave naturally. Secure gently with garden ties. Be cautious of pinching or restricting growth. The right support prevents breakage. It enhances exposure to sunlight and air. This leads to healthier stems and leaves. A robust support system equals abundant flowers. Your garden becomes a tapestry of color. Each vine tells a story of resilience and grace.
6. Inspecting for Pests
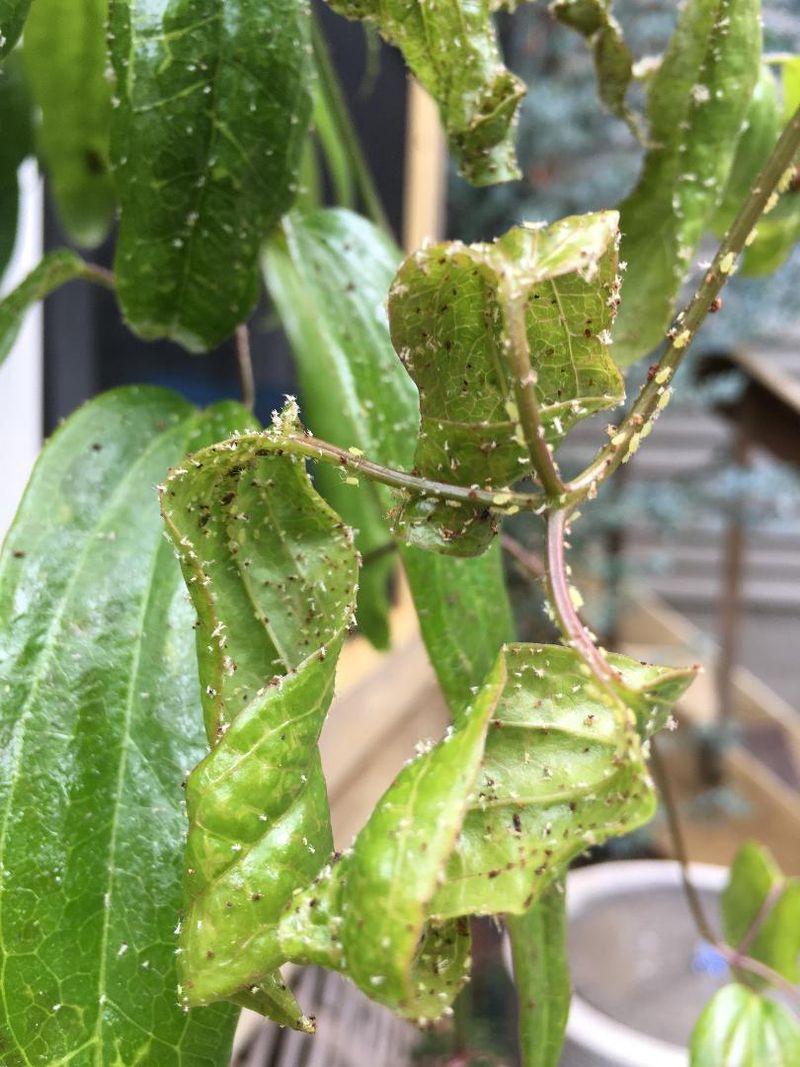
Vigilance is key in pest control. Post-bloom, inspect leaves and stems. Look for discoloration or holes. These indicate pest presence. Aphids and slugs are common culprits. Act swiftly if detected. Use organic insecticides or introduce beneficial insects. Regular checks prevent infestations. Healthy plants repel pests naturally. Maintaining cleanliness around the garden helps. A pest-free clematis is a happy clematis. Notice the vitality in pest-free blooms. This care leads to robust, thriving plants.
7. Trimming Yellow Leaves
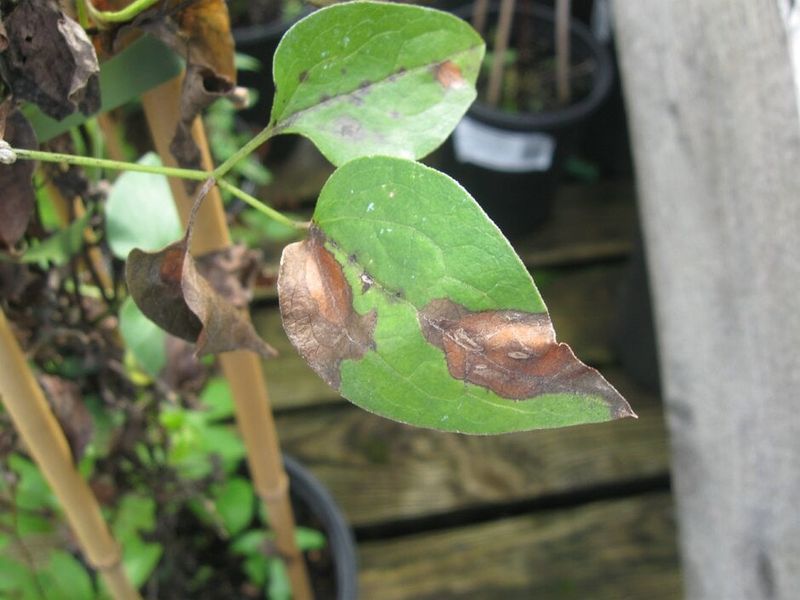
Yellow leaves signal distress. Post-bloom, remove them promptly. This prevents disease spread. It also redirects energy to healthy growth. Use clean, sharp scissors. Trim close to the stem without damage. Yellowing indicates nutrient issues or water imbalance. Address these to prevent recurrence. Each trimmed leaf is a step towards vitality. A tidy plant is a healthy plant. Watch how clematis responds with new vigor. The garden sings with renewed life. Engage in this simple yet transformative task.
8. Protecting Against Winter
Winter protection is crucial for clematis. As temperatures drop, insulate roots. Use burlap or frost cloth. This shields against cold snaps. Ensure soil is well-drained to prevent root rot. Winterizing strengthens the plant’s resilience. It prepares clematis for spring growth. This step is like tucking the plant in for winter. The reward? A vigorous start after the thaw. Each layer of protection is a promise of blooms. Safeguard your garden’s beauty now.
9. Planning Next Year’s Growth
Dreaming of next year’s blossoms? Start planning now. Consider where clematis thrived. Identify areas needing improvement. Document this season’s successes and challenges. Rotate planting areas if possible. This prevents soil nutrient depletion. Envision color combinations and structures. Planning guides future actions. It shapes your garden’s destiny. With foresight, expect a spectacular display. Each decision now influences next year’s beauty. A well-thought-out plan is half the success. Gardens thrive on dreams and diligence.