
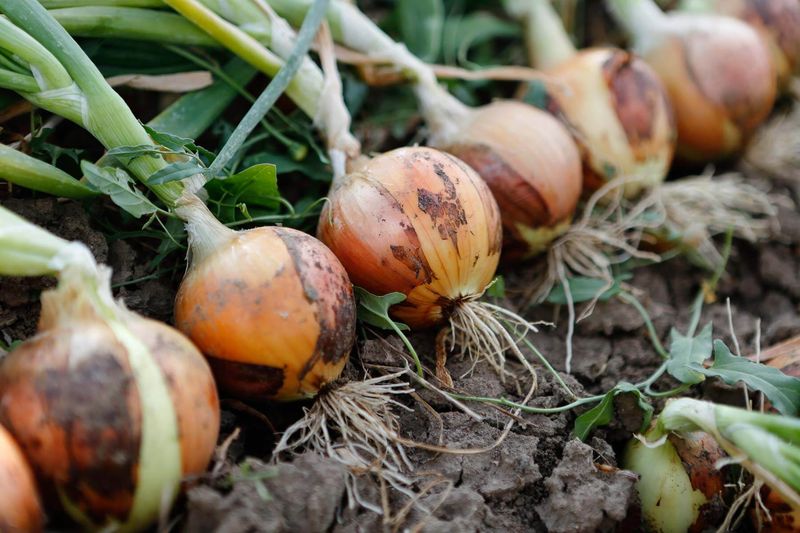
Texas 1015Y onions have a loyal following because of their mild flavor and big-bulb reputation. The catch is that fall is for sowing onion seed, while Central Texas transplants go in the ground later, in winter.
Getting the timing right for your part of the state can make the difference between a good crop and a frustrating one. Here is how to plan, plant, and harvest with realistic expectations.
Fall is for onion seed, not Central Texas transplants
Plenty of Texas gardeners hear the word fall and assume it applies to every kind of onion planting. It does not.
Texas A&M AgriLife guidance on onions lists October through December for sowing bulb-onion seed, and January or February for setting out transplants.
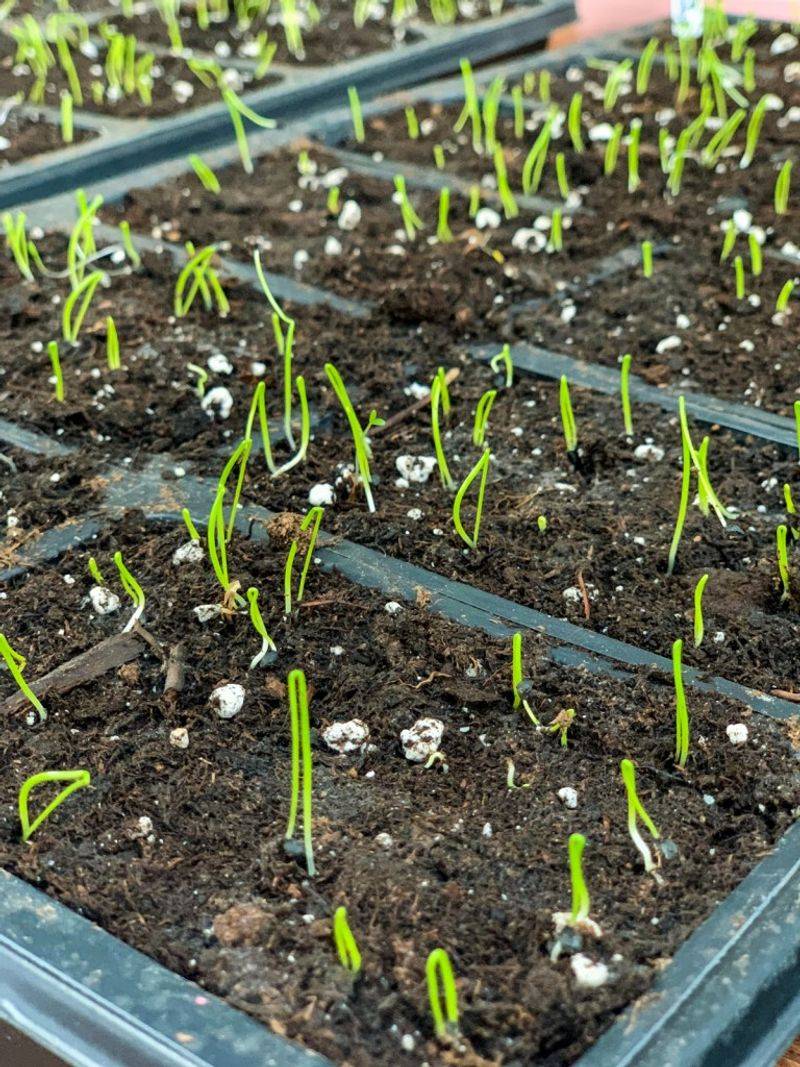
That split matters because a seed and a transplant are at different stages of life. Seed goes into the soil and has to sprout, then grow into a pencil-sized seedling before winter cold slows it down.
A transplant is a small started plant that already has roots and leaves, so it goes in later, closer to the stretch of the year when it can settle in and grow through spring.
The number 1015 adds to the confusion. The name is tied to an October 15 planting date associated with the variety’s seed planting in the Rio Grande Valley, according to a Texas A&M vegetable varieties list.
That is a South Texas seed date, not a Central Texas transplant date.
So if you bought a bundle of onion starts in October because the name sounded like a calendar, hold off. Starts are for winter.
If you want to work in fall, the job is sowing seed, and the next section explains what you are actually growing when you do.
A quick check at the garden center helps: look at the package. If it says seed, fall sowing is on the table.
If it says plants, bundles, or transplants, wait for the winter window for your area.
1015Y is a mild, short-day option—not a guaranteed result
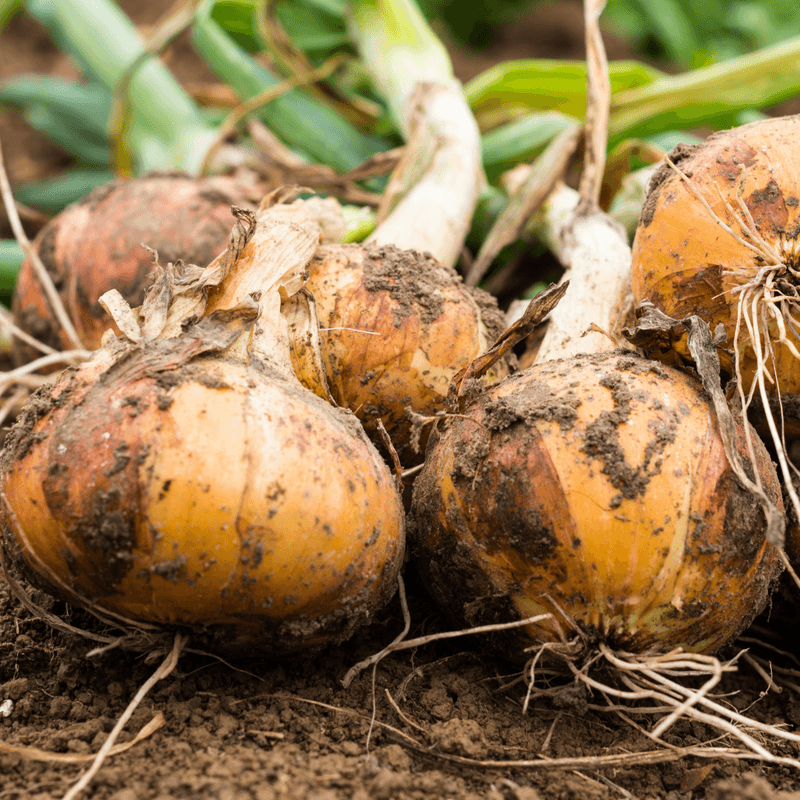
Texas 1015Y is a short-day yellow onion developed for South Texas conditions. It is described as mild and large, which is why it has such a following.
Those are descriptions of the variety, not promises about every bulb in every yard.
Day length is the key idea. Onions start forming bulbs when days reach a certain length.
AgriLife lists 1015Y among the short-day onions, which start bulbing in response to shorter days than long-day types need. Central Texas guidance favors short or intermediate types that bulb as spring days lengthen and finish before summer heat.
Is 1015Y a fair pick for your garden? The Austin-area variety guide lists it as an option, so it is a reasonable choice locally.
Still, the variety was bred for South Texas, and the Texas A&M variety document describes it that way. Performance in your garden may differ from what growers see in the Valley.
Treat 1015Y as a promising candidate and not a sure thing. Soil, weather, watering, and care all shape what comes out of the ground.
Many gardeners plant a few different short-day types side by side to see which does best for them.
Choose the transplant window for your part of Central Texas
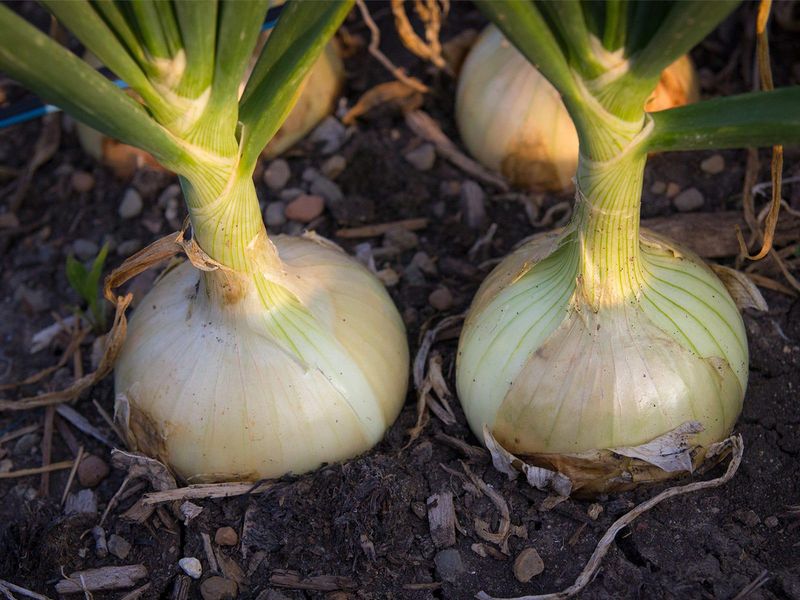
Central Texas does not run on a single planting date. The right window depends on where you live, so start with the guidance written for your area.
For the Austin area, Travis County AgriLife Extension recommends setting out onion transplants in mid-January. That puts the job in the heart of winter, when many gardeners are not thinking about planting anything.
Farther north, the timing shifts. North Central Texas recommendations list February 10 through March 5.
If you garden near Dallas or Fort Worth, that is your window, not the Austin one.
A practical way to use this: find your county Extension office or the guide that matches your region, and follow its dates. If you sit between the two areas, pick the guidance for the nearest one and watch the weather.
A hard freeze forecast right after planting is worth planning around, for example by being ready to cover the bed.
Notice that neither window is in fall. Both land in winter, giving transplants time to grow leaves while days are still short and temperatures are cool.
Plant transplants in sun and well-drained soil
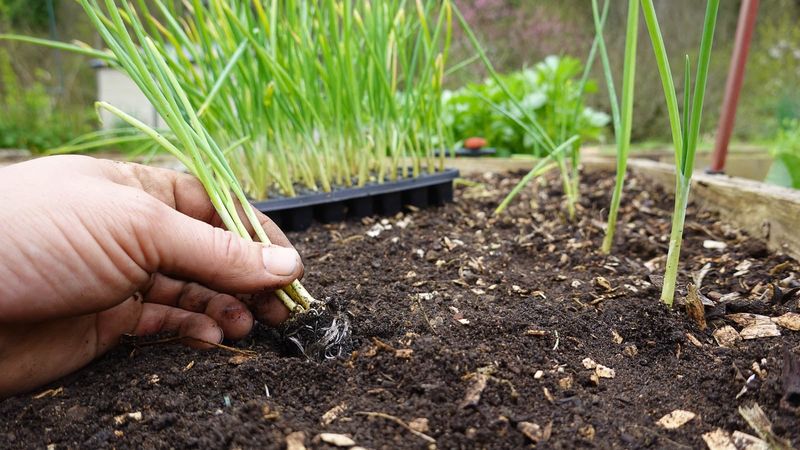
Once your window opens, choose the right spot. AgriLife recommends full sun and well-drained soil for onions.
Pick a bed that gets sunlight most of the day and does not hold standing water after a rain.
Water that lingers around roots is a problem in many Texas yards, especially those with heavy clay. A raised bed is one way to help water drain away, and it is easy to build before planting day.
Next, set the plants. The general guidance is to plant transplants about three-quarters of an inch deep and about three inches apart.
Make a small hole, tuck the roots in, and firm the soil lightly around the base.
Here is the rule to remember: do not plant deeper than one inch. Burying onions too far can interfere with how the bulb forms, so shallow is better than deep.
A simple trick keeps spacing easy. Lay a ruler or a three-inch stick along the row and drop a plant at each mark.
Do this along rows with space between them so you can walk and weed without stepping on roots.
After planting, water to settle the soil. Then move on to ongoing care, which is where leaf growth takes over as the main goal.
Support the leaves that build the bulb
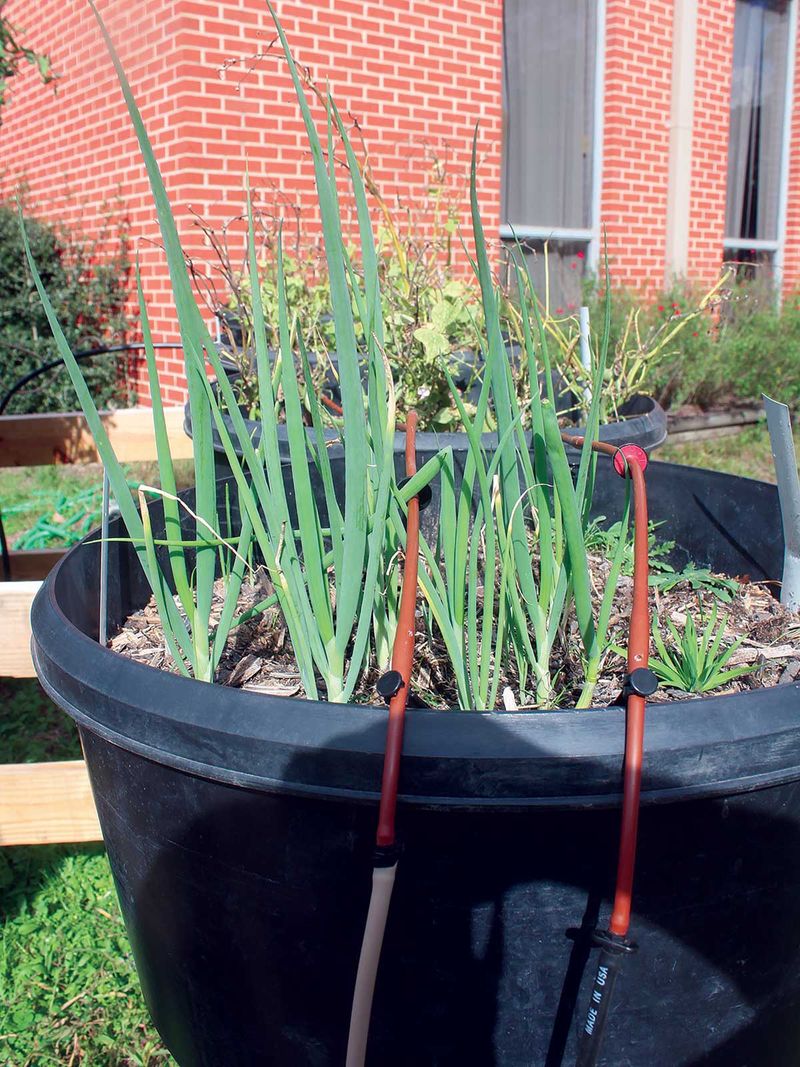
Here is a fact that changes how you care for onions: each leaf contributes a ring to the bulb. More healthy leaves generally means more potential for a bigger bulb.
Your job through winter and spring is to keep those leaves growing.
Weeds are the first thing to manage. AgriLife notes that weeds compete with onions, and onion roots are shallow.
Deep hoeing can damage them, so pull weeds by hand near the plants or scratch the surface lightly.
Watering matters just as much. The recommendation is slow, deep watering.
In spring, once a week is usually enough, though dry, windy weather may call for more. Check the soil a couple of inches down before you decide.
Then there is feeding. AgriLife recommends a fertilizer application when plants have five to six leaves.
Count the leaves on a few plants and use that as your cue, not the calendar.
Fertilizer rates in general guides are a starting point. They do not replace advice based on a soil test, which tells you what your own bed actually needs.
If you have not tested your soil, a test through your county Extension office is a sensible next step.
Keep an eye out for problems, but do not reach for a spray by default. If you see pests or disease, identify what it is first, and use only products labeled for onions and your intended use.
May is possible, but harvest timing and bulb size vary
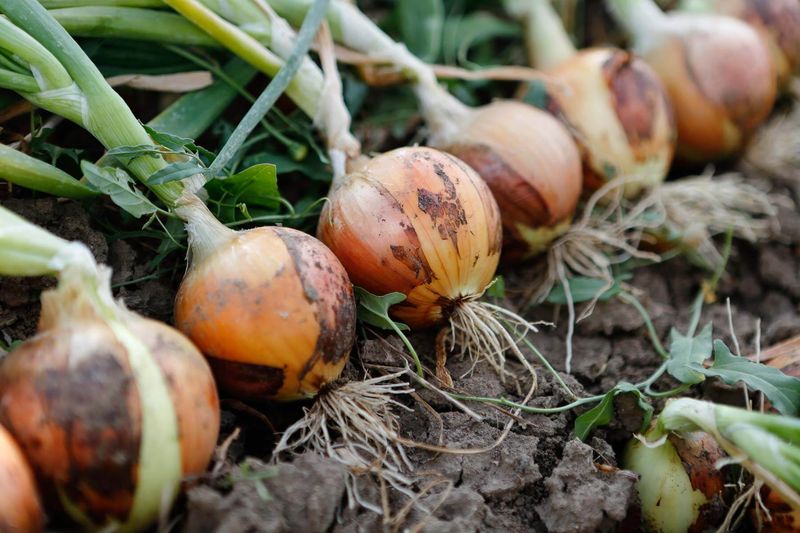
May is a reasonable thing to hope for, but it is not a deadline. AgriLife gives May through July as the broader Texas harvest period for onions seeded in fall or transplanted in winter.
Your garden could fall anywhere in that range.
The Austin-area variety guide, from Travis County Extension, offers about 110 days to harvest. Treat that as an estimate for the variety.
Count forward from your planting day if you like, but expect to adjust with the weather.
Bulb size is also not locked in by a date. Size depends on the variety and on growing conditions, including leaf growth, watering, fertility, and weed control.
A warm snap, a dry spell, or crowded plants can all change the outcome.
So what should you watch instead of the calendar? Look at the plants.
Healthy tops, bulbs swelling at the soil line, and gradual changes in the foliage tell you more than a date on a wall.
A small note-keeping habit helps. Jot down your planting date, any freezes, and when you fed the bed.
Next year, those notes will tell you far more about your own garden than any general estimate can.
Harvest when stems weaken, then dry the bulbs
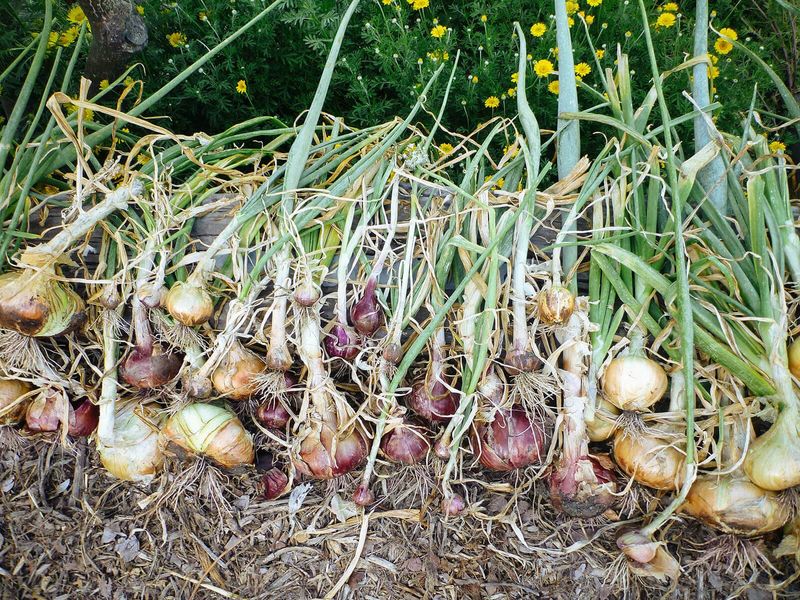
When the time comes, the plant tells you. Harvest dry bulbs when the main stem weakens and begins to fall over.
That softened, bent neck is your cue to start pulling.
Loosen the soil gently and lift each onion by hand. Try not to nick the bulbs, since damaged ones do not store as well.
Set aside any that look bruised so you can eat them first.
Drying comes next. AgriLife advises leaving pulled onions in the garden for one to two days to dry.
After that, keep drying them in baskets or boxes where air can move around them.
A porch or a covered patio works well for this step. Spread the bulbs in a single layer if you can, and check them every few days.
Once the outer skins feel papery and the necks are dry, they are in good shape for the kitchen.
Some of your onions will come out larger than others, and that is normal. Slice a mild one onto a burger and you will see what the work was for.