
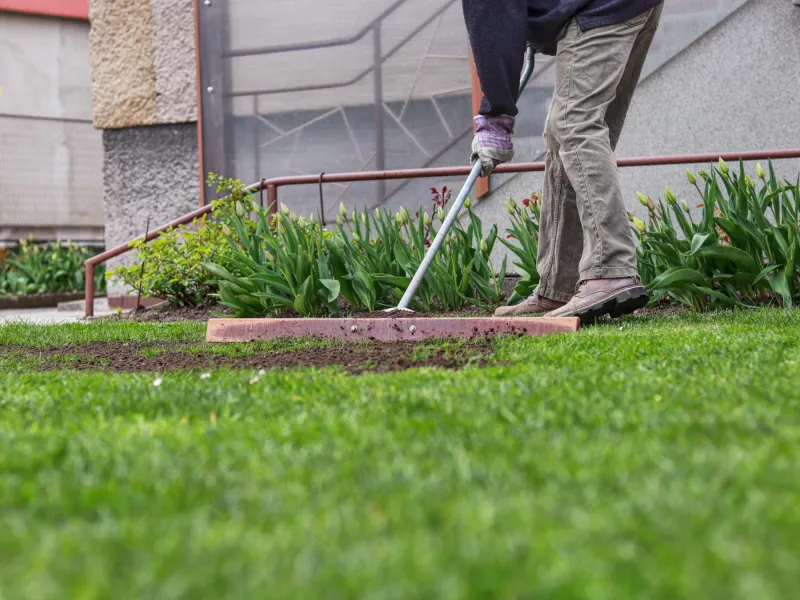
A bumpy lawn is more than an eyesore – it can make mowing dangerous, collect standing water, and give new grass seed nowhere to settle. Many North Carolina homeowners head into fall wondering whether they can fix those rough spots before the seeding window closes, and the answer depends heavily on what is actually causing the problem.
Hand tools can smooth shallow surface irregularities surprisingly well, but they cannot fix every lawn issue, and the right timing varies from the mountains to the coast.
Hand leveling fits only shallow surface problems
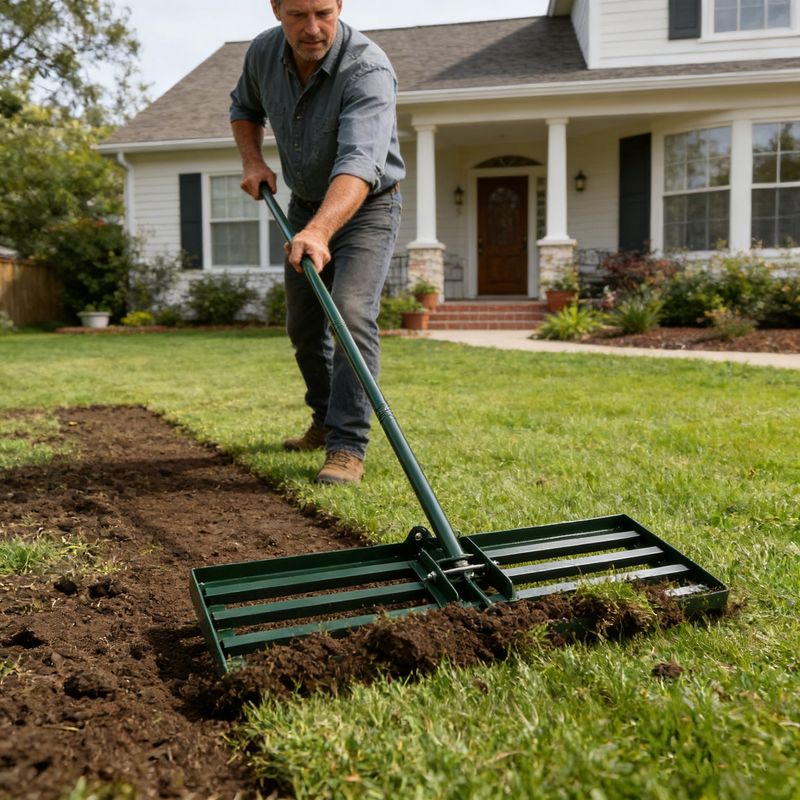
A rake, a square-edged shovel, a garden fork, and a wheelbarrow are genuinely useful for small lawn corrections – but only when the problem is a shallow one. Shaving down a small hump by a half inch or filling a shallow depression with a thin layer of compatible topsoil is a realistic afternoon project for one person working by hand.
What these tools cannot do is correct a grade, redirect drainage, or fix a problem that starts several inches below the surface.
University of Maryland Extension guidance on lawn repair draws a clear line between light surface correction and actual regrading. Shallow ruts in an otherwise established lawn can sometimes be filled gradually with compatible material, but deep ruts, persistent wet depressions, and areas where the ground feels soft or unstable underneath indicate a soil or drainage problem that topdressing will only mask.
Stop and reassess if you find any of these during your inspection: ruts deeper than an inch or two, standing water that does not drain within a day after rain, exposed tree roots running across the surface, ground that heaves or sinks when you press on it, or a broad slope running toward a foundation or neighboring property. Oregon State University Extension’s lawn establishment guide notes that grading, drainage correction, and large-scale soil preparation are distinct operations from surface smoothing and often require equipment or professional help.
Hand leveling is worth doing when the surface has minor high and low spots, the grass is otherwise reasonably healthy, and you can see that the variation is truly at the surface rather than caused by something below. Set a realistic target before you start: a smoother seedbed, not a perfect billiard table.
Check the grass and regional seeding window first
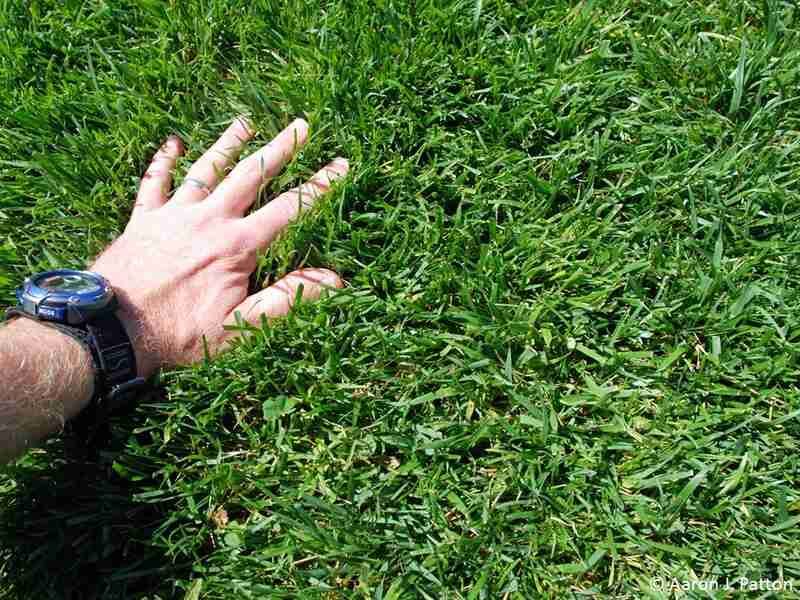
Before moving a single shovelful of soil, confirm what grass you have and where in North Carolina you live. Those two facts determine whether fall seeding is urgent, already past, or not yet here.
Treating this step as optional is how homeowners end up smoothing and seeding at the wrong time and losing the work entirely.
NC State Extension’s lawn management handbook lists the recommended tall fescue seeding windows by region: August 15 through September 1 in the mountains, September 1 through 15 in the Piedmont, and September 15 through October 15 in the Coastal Plain. Those windows are not interchangeable.
A mountain homeowner who waits until late September is seeding outside the ideal window and risks winter injury to seedlings that have not established. A Coastal Plain homeowner who rushes in late August may be working ahead of the optimal window.
Tall fescue is the primary cool-season option for the mountains and Piedmont. It is less reliable in the Coastal Plain, particularly in full sun on sandy soil, where the summer heat and drought stress can thin it significantly.
Kentucky bluegrass is occasionally used in the mountains. Bermudagrass, zoysiagrass, centipedegrass, and St. Augustinegrass are warm-season grasses with entirely different establishment schedules – fall seeding does not apply to them, and smoothing the surface in September is not a prelude to seeding those species.
The deadline that matters is the one for your specific grass in your specific part of the state. Confirm your region, confirm the grass, and then decide whether leveling now still leaves enough time for seed to germinate and develop roots before cold weather arrives.
If the window is already closing, seeding may need to wait until next fall regardless of how smooth the surface is.
Determine whether the problem is a bump, a turf-health issue, or both
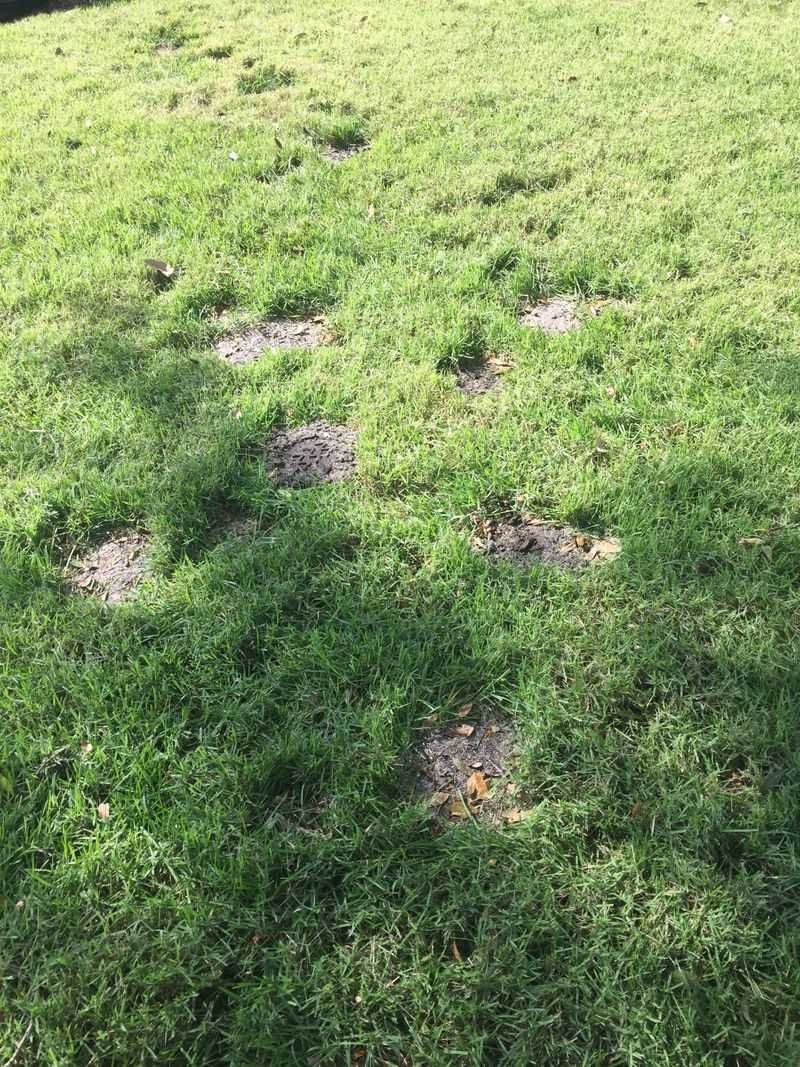
Walking the lawn before touching any tools is the most useful thing you can do. The goal is to figure out whether the ground surface has actually changed elevation or whether thin, bare, or declining turf just makes it look uneven.
Those two situations call for different responses, and mixing them up wastes time and materials.
Press down on the high spots with your foot. If the ground gives and springs back, moles or voles may have tunneled underneath, leaving a raised crust with hollow space below.
Penn State Extension’s mole management guidance explains that moles create raised ridges and soft runways just below the surface – and that simply tamping the ground down does not eliminate the animals or stop future tunneling. Addressing the mole problem separately is necessary before the leveling work holds.
Look for standing water or soil that stays wet for more than a day after rain. That pattern points to a drainage problem, not just an uneven surface.
Similarly, exposed roots running across the lawn indicate that tree competition, not settling, is driving the irregular surface. Cutting major roots to smooth the ground can seriously harm the tree and is not a recommended approach.
Now look at the turf itself. Penn State Extension’s lawn renovation guide separates physical surface problems from turf-decline problems, noting that disease, unsuitable grass selection, shade, thatch, poor fertility, and compaction can thin a stand without creating any actual elevation change in the soil.
A patchy or bare lawn does not automatically mean the ground is uneven – it may mean the grass is struggling for reasons that topdressing will not fix.
Once you have sorted physical unevenness from turf-health decline, you can decide what each area actually needs. Some spots may have both issues at once, and each deserves its own remedy rather than a single layer of soil spread over everything.
Smooth shallow depressions with thin, soil-matched topdressing
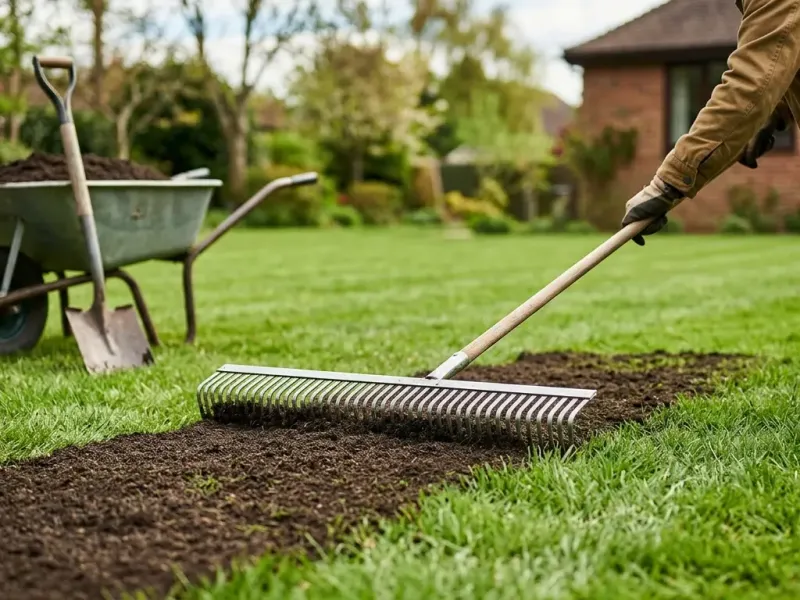
Mow the lawn at its normal height before starting, and remove clippings so you can see the surface clearly. A short canopy makes it easier to spot high and low spots and to work the topdressing material into the grass without burying it.
Do not mow lower than usual hoping to gain extra room – scalping the turf before adding soil puts stress on the grass at exactly the moment you need it to recover and compete with new seed.
Use a landscape or bow rake to shave down small high spots first. Pull the loosened soil toward nearby low areas rather than hauling it away, since it is already a match for the existing soil profile.
For depressions that need more material than the humps provide, bring in compatible topsoil or finished compost and apply it in thin passes. University of Maryland Extension’s lawn repair resource notes that roughly a quarter inch to three-quarters of an inch may be tolerated over living turf in shallow ruts, but that heavier applications risk smothering crowns.
For routine topdressing of established grass, extension guidance commonly supports the more cautious range of about one-eighth to one-quarter inch per application.
Feather the edges of every filled area so the material blends gradually into the surrounding grade rather than forming a visible edge or shelf. Work the topdressing gently into the canopy with the back of the rake so it filters down toward the soil surface.
Stop and look: the grass blades should still be visible above the material. If the crowns are buried, you have applied too much in one pass.
Match the topdressing material to the existing soil. A sandy lawn benefits from a sandy loam or similar material.
A clay-heavy Piedmont lawn does better with a blended topsoil or finished compost than with straight sand, which can create a distinct layer that interferes with water movement and root development. Repeat the process in thin passes over several weeks if the depression needs more correction – patience here protects the turf.
Mostly bare areas need grading and seedbed preparation
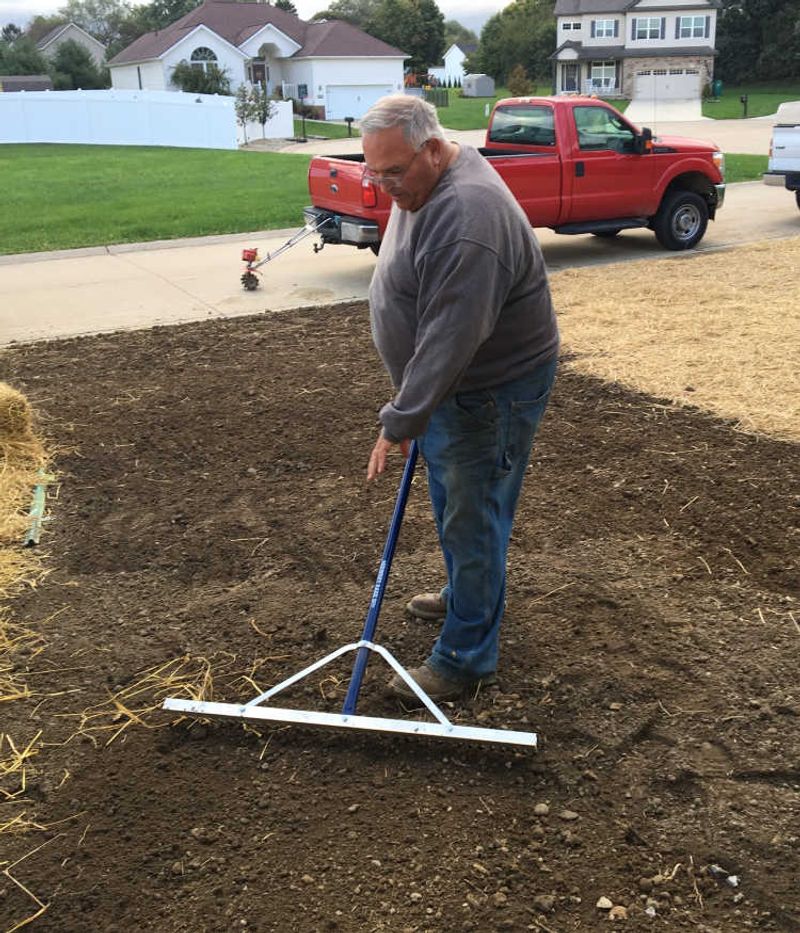
Bare or mostly bare ground plays by different rules than an established lawn with scattered shallow defects. When the turf is gone, you have access to the actual soil surface and can do more substantial preparation without risking buried crowns.
That access also means the work shifts from topdressing into actual grading and seedbed preparation, which is a more involved process.
Start by removing or redistributing high spots with a rake or flat shovel, then fill low areas with compatible soil to create a reasonably uniform surface. The finished grade should not be perfectly flat.
Penn State Extension’s lawn establishment guidance recommends a general slope of 1 to 4 percent away from foundations to move water away from structures without creating runoff problems for neighboring properties. A flat lawn may look smooth but can collect water in low spots after heavy rain.
Oregon State University Extension’s renovation guide describes grading, soil preparation, and rolling as distinct operations in a full lawn renovation – not steps that hand tools can replicate at scale. A small bare patch of a few square feet is manageable by hand.
A large area with significant elevation changes, drainage problems, or construction-related grading issues exceeds what a rake and shovel can correct reliably.
Once the surface is graded, firm it lightly by foot-tamping or with a hand roller if available, aiming for uniform firmness without packing the soil so tightly that water and roots cannot penetrate. University of Maryland Extension’s new lawn guide emphasizes that good seed-to-soil contact depends on a firm, settled surface rather than loose, fluffy soil.
If the bare area is large, widespread, or tied to a drainage or grading problem, professional help or equipment rental is the more reliable path.
Prepare the smoothed surface for seed contact
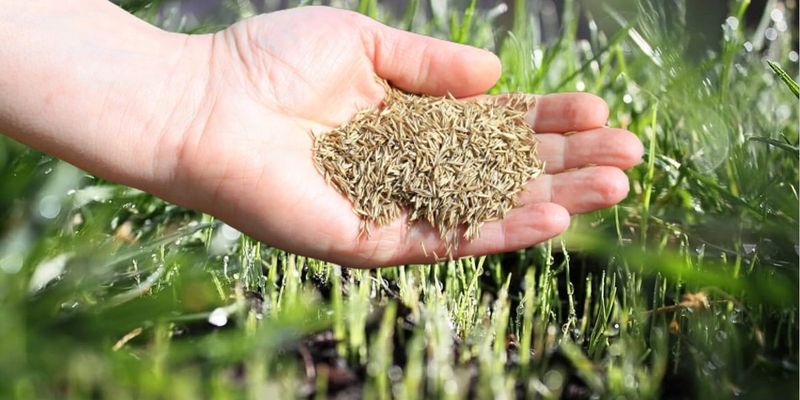
A smooth surface only helps if the seed can reach the soil. Seed sitting on top of loose organic material or thatch has poor contact with the mineral soil it needs to germinate reliably, so the final step before seeding is a light surface pass to create that connection.
NC State Extension’s Carolina Lawns guide recommends incorporating seed and starter fertilizer into roughly the top one-eighth inch of soil with a light raking after spreading – enough to settle seed into the surface without burying it.
Spread seed in two directions, making perpendicular passes with the spreader, to get more uniform coverage than a single-direction application provides. NC State recommends a blend of improved tall-fescue cultivars rather than a single variety, and the suggested rate is approximately 6 pounds of seed per 1,000 square feet for overseeding.
Using more seed than recommended does not produce a faster or denser stand – it can actually lead to crowded, weaker plants that are more vulnerable to heat and disease stress.
After seeding, keeping the surface consistently moist is the most critical job. NC State’s tall fescue and Kentucky bluegrass lawn calendar advises light watering several times per day during germination and early establishment, and warns that allowing seedlings to dry out even briefly can kill them before they root.
The frequency can taper as the seedlings develop, but the first two to three weeks require consistent attention.
Keep foot traffic off the newly seeded areas. NC State Extension’s lawns chapter notes that new seedlings have shallow roots and are easily dislodged or compacted by traffic before they establish.
Mark the areas clearly if pets or children use the yard regularly.
Avoid shortcuts that create new lawn problems
A few common shortcuts can undo careful leveling work or create new problems that are harder to fix than the original bumps. The first is applying a thick layer of soil or compost in one pass to save time.
Excessive material can bury grass crowns, create a distinct layer that interrupts water movement between the topdressing and the existing soil, and make conditions worse for roots rather than better. Existing thatch is a separate issue – assess it independently rather than assuming that adding topdressing will either fix it or worsen it.
Texas A&M AgriLife Extension’s thatch management guide treats thatch buildup as its own diagnosis requiring its own management approach.
Sand is not a universal substitute for compatible topsoil. Some turf systems use sand topdressing, but applying heavy or repeated sand layers to a clay-based lawn can alter the root-zone profile in ways that affect water retention, drainage, and fertility for years.
Match the material to the existing soil rather than defaulting to sand because it is easy to spread.
Aeration belongs in this project only when compaction is part of the diagnosis. NC State Extension specifically warns against spike aeration, noting that it can further compact soil rather than relieve it.
Core aeration – which removes plugs – is the appropriate method when compaction is confirmed, and it should be done before seeding when the soil is suitably moist and the turf is actively growing.
Check the herbicide label before seeding anything. Pre-emergent products applied earlier in the season can prevent desirable grass seed from germinating for weeks or months afterward.
EPA-registered pesticide labels specify required reseeding intervals that vary by product and application rate – a general rule of thumb is not a substitute for reading the actual label of the product you used.
Before digging, aerating, or driving stakes, locate underground utility lines and irrigation pipes. OSU Extension’s renovation guide and Penn State Extension’s lawn establishment resource both emphasize this precaution.
Avoid cutting major tree roots when working near established trees, and never raise the soil level around tree trunks – piling soil against a trunk can harm the tree over time regardless of how shallow the addition seems.
Use hand leveling only when the lawn can support it
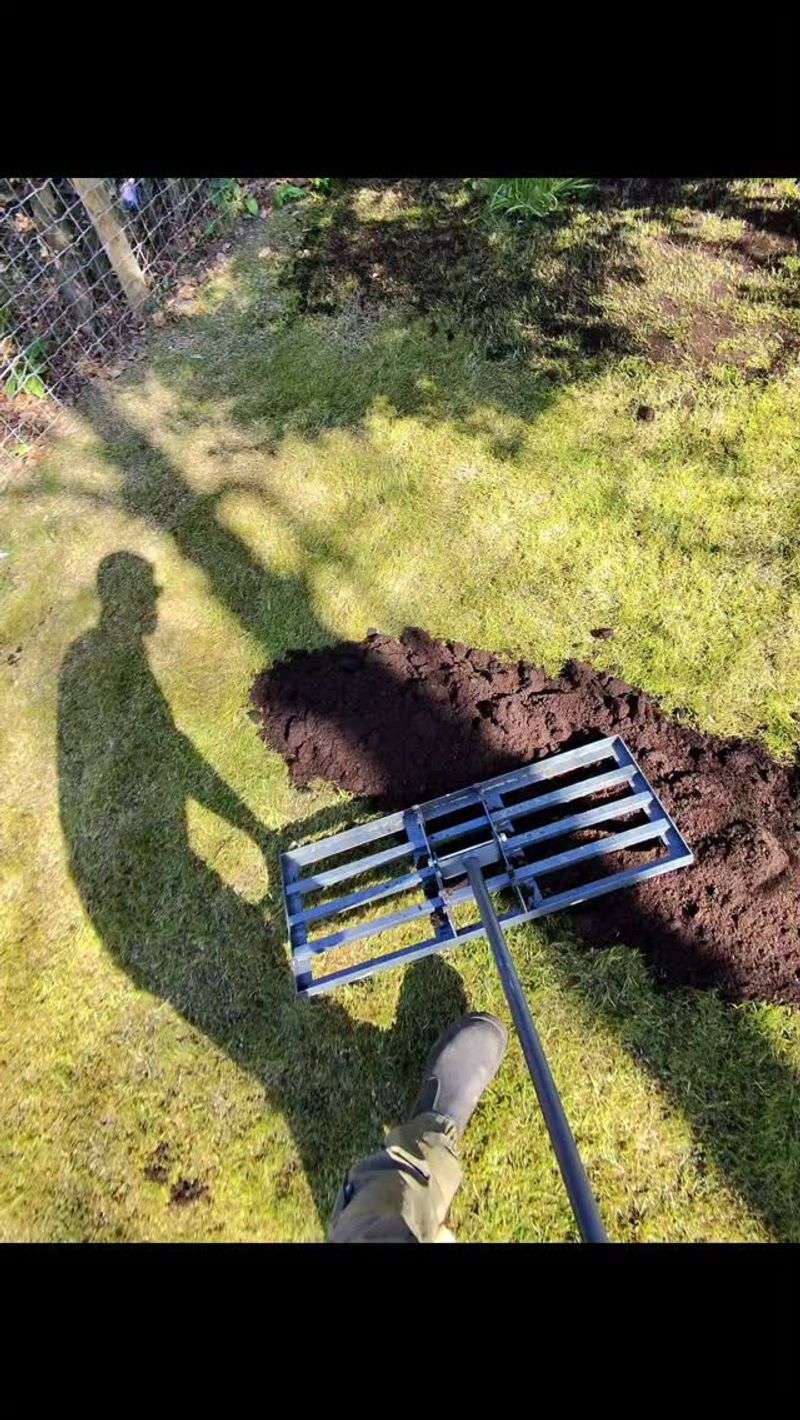
Pulling together the right sequence matters as much as any individual step. Confirm your region and grass type first, then check the regional seeding window to see how much time remains.
Inspect the surface carefully to separate a physical elevation problem from a turf-health problem – or confirm that both exist and need separate attention. Hand-level only shallow defects, apply topdressing in thin passes with the grass crowns always visible, and seed within the appropriate window for your location.
University of Maryland Extension’s lawn repair guide frames light topdressing as one tool in a larger repair process, not a standalone fix. Smoothing the surface improves the seedbed and gives new grass a more consistent start, but it does not replace drainage correction, grading, compaction relief, or a grass-selection change when any of those are the real underlying problem.
Hand tools are well suited to a small, clearly defined repair in an otherwise established lawn. When the problem covers a large area, keeps recurring after each correction, involves drainage or grade issues, or is tied to a turf-health failure rather than a surface irregularity, the honest next step is to escalate – to a soil test, a drainage assessment, or professional grading help.
NC State Extension’s lawn handbook offers region-specific guidance for exactly those situations. A good fall seed job starts with an honest diagnosis, and the lawn that gets that right tends to reward the extra few minutes of inspection every time.