
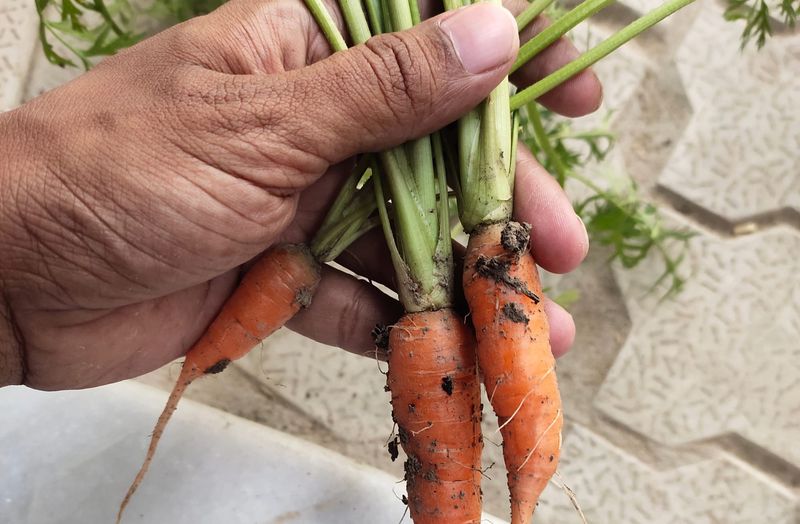
You pull a carrot expecting a plump, colorful root and find something closer to a pencil. Meanwhile, the leafy green tops look almost too healthy. That mismatch is frustrating, and it points to something happening underground that you cannot see from above. Understanding what your soil received before planting is a good first step toward growing fuller roots next time.
Lush tops point to nitrogen—but they do not prove it
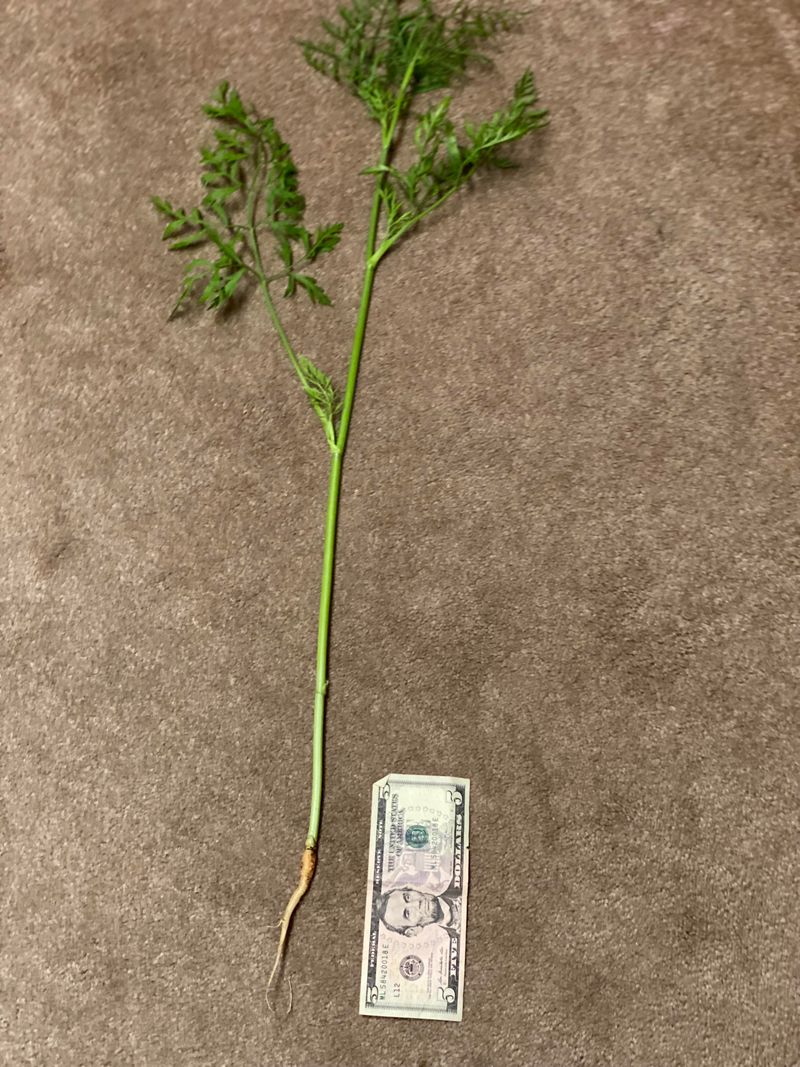
Vigorous carrot foliage can be a clue worth investigating, but it is not a diagnosis on its own. Utah State University Extension notes that overapplying nitrogen causes excessive leaf growth at the expense of root sizing, which is a real and documented pattern. The key word is “overapplying” – a normal, correctly timed fertilizer application does not automatically cause the problem.
Lush foliage can also result from favorable weather, a moist season, a rich soil type, or simply a variety that produces strong tops. Skinny roots, separately, can come from crowding, compacted or rocky soil, irregular watering, weeds competing for resources, heat, early harvest, pest damage, or disease. University of Minnesota Extension and Illinois Extension both list these nonfertility causes alongside fertility concerns.
The pattern that makes nitrogen a plausible suspect is specific: unusually vigorous foliage combined with a history of substantial nutrient inputs – manure, compost, a preceding legume crop, or repeated fertilizer applications. Even then, it is a working hypothesis that needs checking, not a conclusion. Utah State’s carrot production guidance reinforces that spacing, soil structure, water, and variety all belong in the same diagnostic conversation.
Review what the bed received before planting
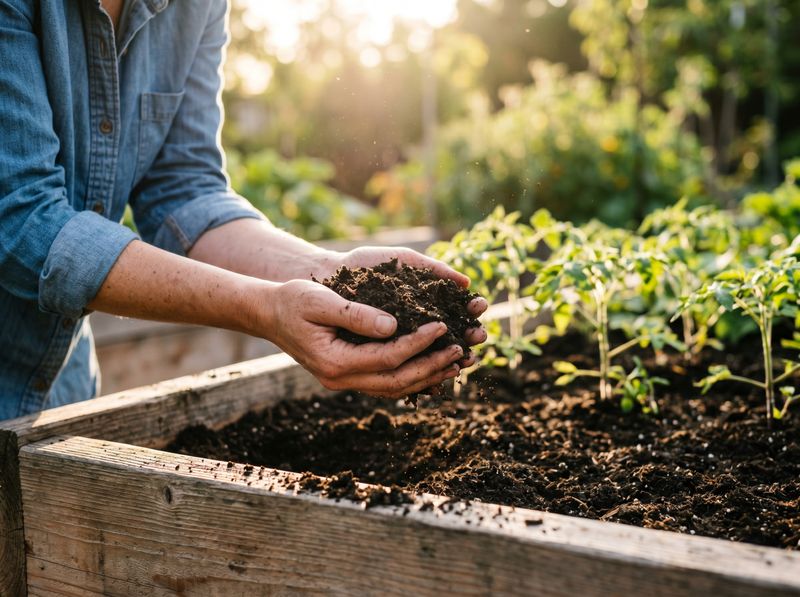
Before reaching for any product or amendment, walk back through what the bed received in the past one to two seasons. Manure, compost, a fertilizer application, or a legume cover crop like clover or beans can all supply nitrogen to the current planting – sometimes well into the following season. Utah State University Extension specifically advises using less nitrogen when manure or compost has been added or when carrots follow a legume cover crop, because those inputs are already contributing to the soil’s available nitrogen supply.
Compost deserves a closer look here, because many gardeners treat it as a neutral soil builder with minimal fertility impact. That assumption is not always accurate. Repeated compost applications can raise nitrogen, phosphorus, and other nutrients to levels that exceed what the crop needs. Penn State Extension recommends testing both the compost and the soil and, without a compost analysis, applying a thin layer rather than assuming more is better.
The goal of this review is not to assign blame to a single bag or bucket but to get an honest picture of the bed’s cumulative nutrient load. That picture is what makes a soil test meaningful – it tells you where you actually are, not where you assumed you were after each amendment you added.
Test before adding or balancing nutrients
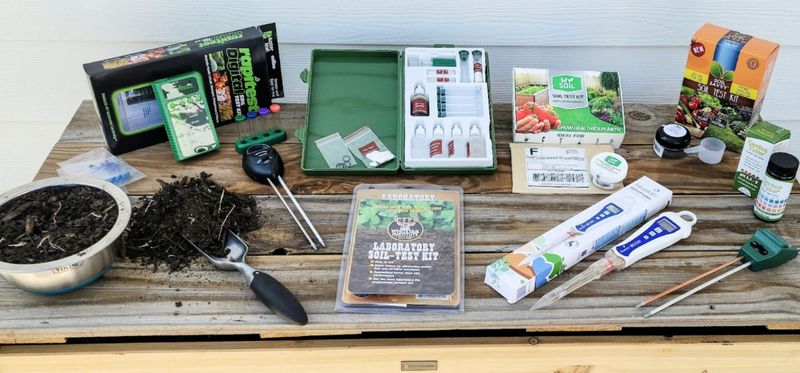
A soil test is the most practical tool available when you suspect a fertility problem. It can show existing nutrient levels, pH, and organic matter, and most cooperative extension services return a fertilizer recommendation alongside the results. Penn State Extension explains that soil testing helps gardeners avoid both deficiencies and excess, which protects plants and prevents wasted money on nutrients the soil does not need.
If your carrot tops look unusually lush right now, hold off on adding more nitrogen unless a test or a local crop recommendation specifically identifies a deficiency. Adding nitrogen to a bed that already has plenty will not rescue small roots – it is more likely to push more foliage. University of Minnesota’s vegetable garden planting guidance treats soil testing as a standard starting point rather than an advanced step, and Minnesota’s guide to interpreting soil tests for fruit and vegetable crops explains how to read results in a crop-specific context.
There is no single universal nitrogen rate for home carrot gardens. The right amount depends on soil texture, organic matter, prior amendments, fertilizer analysis, variety, climate, and irrigation practices. Penn State’s guide to tailoring fertilizer recommendations walks through how to translate a soil test result into a practical rate for the specific product you have on hand. Starting from a test rather than a guess protects both the crop and local water quality.
Support the current crop without promising a reset
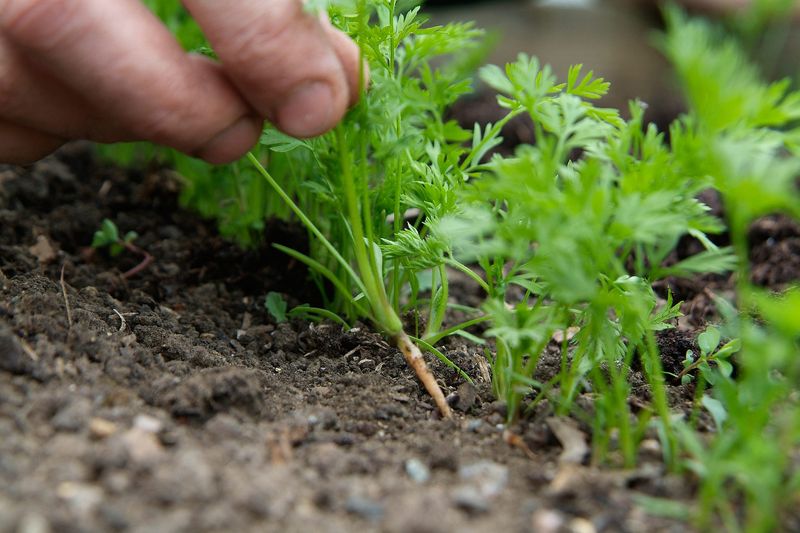
Once carrots are in the ground and showing lush tops, the options for the current season are limited but still worth taking. The first step is to stop adding nitrogen unless a soil test says otherwise. Applying more of a nutrient that may already be excessive will not correct the imbalance and could make foliage growth even more vigorous at the expense of the roots still developing underground.
Thin any crowded rows promptly if you have not already done so. Illinois Extension and University of Minnesota Extension both identify crowding as a direct cause of restricted root development, and thinning is one of the few corrective steps that can still benefit roots partway through the season. Control weeds by shallow cultivation only – deep hoeing near developing roots can prune or injure them. Mulch can help hold moisture and suppress weeds without disturbing the soil.
Maintain steady moisture throughout the season. Utah State Extension recommends regular watering and mulch to support consistent root development. One thing to avoid is heavy irrigation as a way to “flush” excess nitrogen out of the soil. EPA guidance on yard nutrient management points out that overwatering can move nutrients into groundwater and nearby waterways.
These steps support continued development but cannot guarantee that roots already behind schedule will reach a target size.
Give roots room to size up
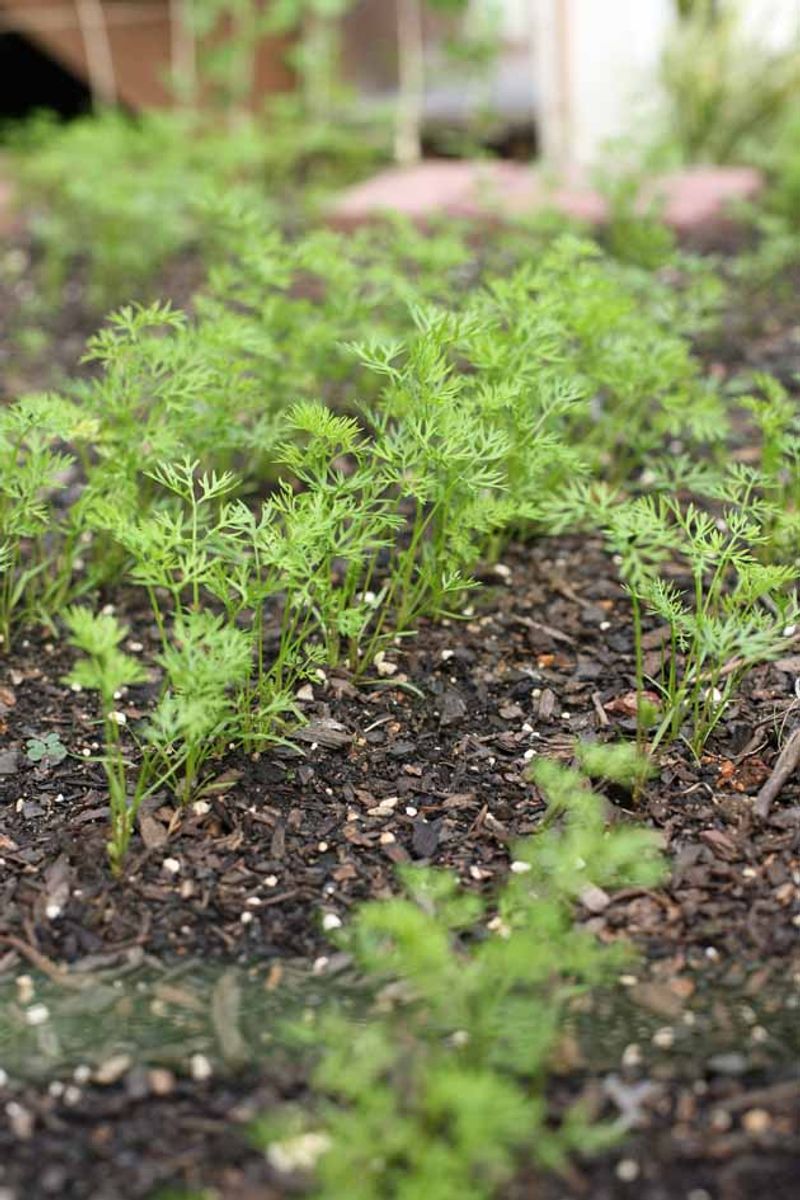
Physical growing conditions matter as much as fertility when carrots stay small. Crowding is one of the most common and correctable causes of thin roots. When seedlings are left too close together, they compete for water, light, and nutrients, and none of them develops the way it would with adequate space. Illinois Extension lists approximately 1 to 2 inches between mature carrots as a general spacing guide for larger types, while finger carrot varieties can be spaced more closely depending on their intended harvest size.
Thinning early, before roots start expanding, gives the remaining plants the best chance.
Soil structure is equally important. Clods, stones, and compacted layers force roots to fork, twist, or stop growing rather than push downward. University of Minnesota Extension recommends light, well-drained, uncompacted soil for well-shaped roots, and Utah State Extension supports preparing a loose growing medium before seeding. Illinois horticulture guidance recommends loosening the bed roughly 8 to 9 inches deep and breaking up any clods before planting.
Steady moisture ties into root sizing too. Drought or uneven watering can produce undersized, fibrous, or bitter roots. Illinois guidance cites about 1 inch of water per week as a general home-garden benchmark, though actual needs vary with soil type, weather conditions, and how far along the crop is. Think of that figure as a starting point rather than a fixed rule.
Check maturity, variety, and root shape before blaming fertilizer
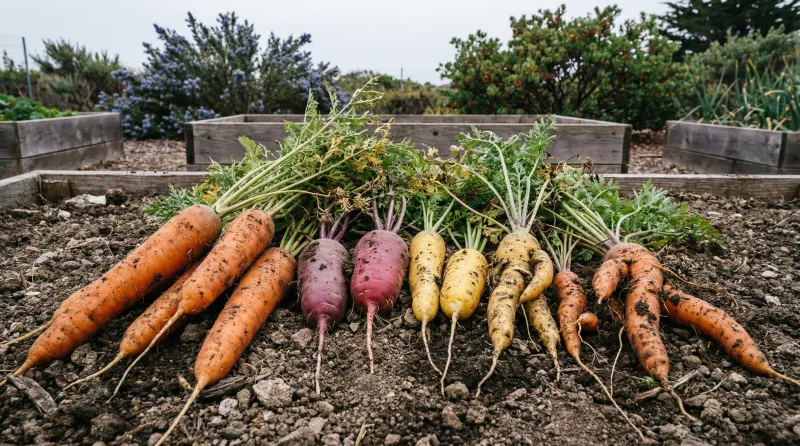
Harvest timing catches a lot of gardeners off guard. Carrots continue to size in the ground after the foliage looks mature, and pulling them too early is one of the most straightforward explanations for small roots. Illinois Extension gives roughly 50 to 60 days for finger carrot types and around 60 to 70 days or more for larger varieties, while Utah State Extension puts the full range at approximately 70 to 100 days from seeding for mature roots. Weather, soil temperature, and growing conditions all shift those numbers, so treat calendar estimates as approximate guides.
Variety matters just as much. Some cultivars are naturally short or slender – a Thumbelina or a Parisian type will never look like a Danvers or an Imperator, and comparing them to a standard grocery-store carrot will always make them look undersized. Check the seed packet for the expected mature size and shape before deciding something went wrong. University of Minnesota Extension notes that variety selection plays a real role in what the finished root looks like.
Root shape is also a useful diagnostic. Uniformly slender roots across the entire bed suggest a systemic issue like fertility, spacing, or water. Forked, hairy, cracked, or otherwise misshapen roots point in a different direction – stones, compacted layers, root injury, root-knot nematodes, carrot fly damage, disease, or inconsistent moisture are more likely culprits in those cases. Sorting out which pattern you are actually seeing helps focus the next steps on the right problem.
Avoid quick fixes that create new risks
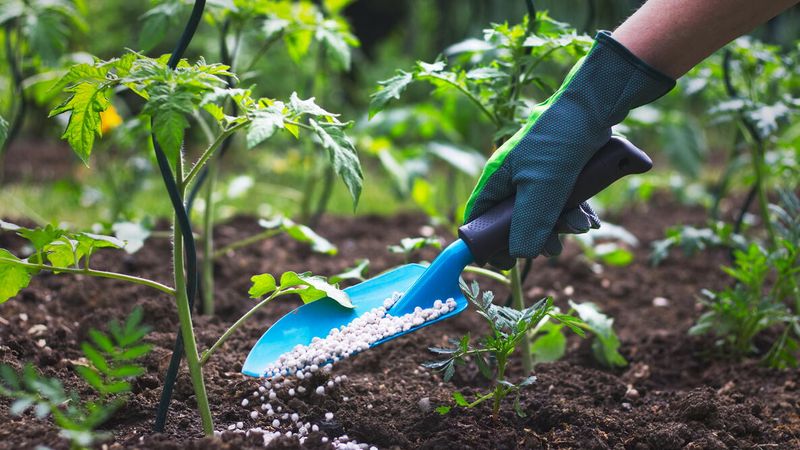
When roots look disappointing, the instinct to add something – phosphorus, bone meal, potassium, Epsom salts, or another fertilizer – is understandable but potentially counterproductive. Each of those nutrients belongs in the bed only when a soil test or a crop-specific recommendation identifies an actual need. Penn State Extension explains that phosphorus applications should be guided by soil testing, because repeated manure and compost use may already have raised phosphorus to excessive levels. University of Minnesota warns that Epsom salts are only appropriate for confirmed magnesium deficiency and that unnecessary applications can harm soil and scorch leaves.
Raw or untreated manure carries a separate concern for root crops. The FDA notes that untreated manure can contain pathogens, and applying it during the growing season to a soil-contact crop like carrots is not recommended. The 120-day pre-harvest interval is an USDA organic-standard requirement for crops whose edible portions contact the soil; FDA’s produce safety guidance describes avoiding raw manure during the growing season as prudent practice. Use properly composted material instead, and follow applicable guidance for your production context.
Lawn fertilizer deserves a clear distinction here. Plain lawn fertilizer is a potentially nitrogen-rich product that should not be applied to vegetable beds without a soil- and crop-based reason. Products labeled “Weed and Feed” or similar herbicide-containing formulations are a different matter entirely: University of Minnesota Extension specifically warns against using weed killer-containing products in vegetable gardens. Beyond the garden itself, excess nutrient applications contribute to runoff and leaching.
EPA guidance on nutrient pollution connects home fertilizer overuse with broader water quality problems, which is one more reason to apply only what a test or recommendation supports.
Use the whole bed to make the next decision
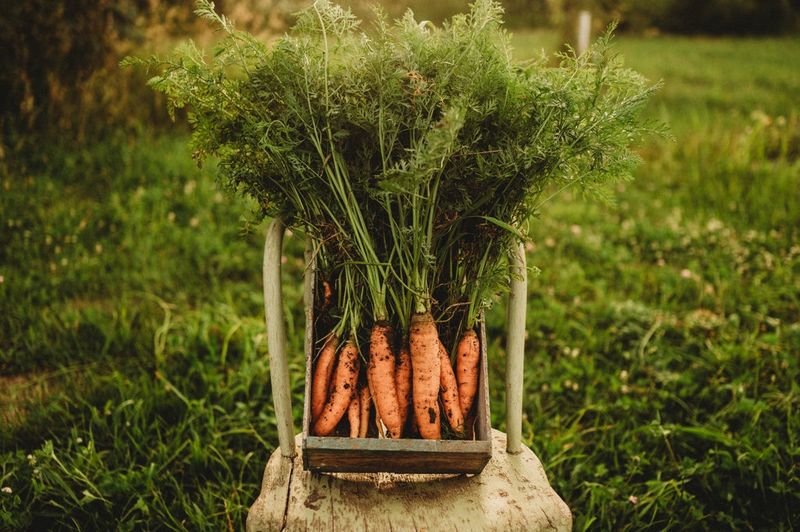
The most useful thing a disappointing carrot harvest can do is tell you something about the bed. Review the amendment history honestly – what went in, how much, and when. Get a soil test before the next planting so that any correction you make is based on actual nutrient levels rather than guesswork. If the history shows heavy inputs and the test confirms elevated nitrogen, pause unneeded applications and adjust the plan accordingly.
Utah State University Extension frames balanced, site-specific fertility as the goal, not zero nitrogen.
Carrots require nitrogen to grow well, and research published in peer-reviewed journals including HortScience and Communications in Soil Science and Plant Analysis shows that yield responds positively to nitrogen up to crop- and site-specific optimums. The problem is excess or poor timing, not the nutrient itself. Improve spacing, loosen the soil, maintain even moisture, and check maturity before the next harvest. The bed already gave you the evidence; the next planting is where you use it.