
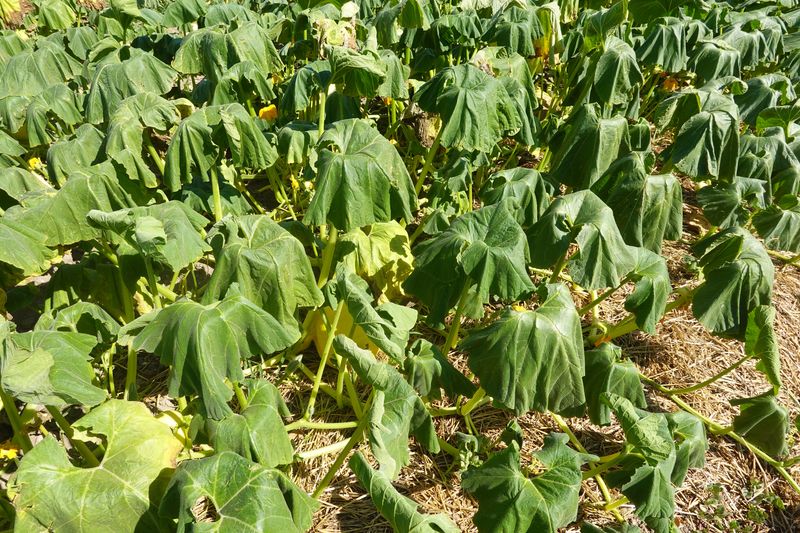
Planting fall squash in August feels like a race against the calendar, and watching your seedlings pop up overnight is genuinely exciting. Then the heat hits, the little plants stall, and the leaves go pale or limp, and you start wondering what went wrong.
The answer is rarely as simple as blaming the temperature, and knowing how to read your seedlings before reaching for the watering can or fertilizer bag can mean the difference between a productive fall crop and a frustrating restart.
Fast Sprouting Does Not Prove the Seedlings Can Handle Late-Summer Heat
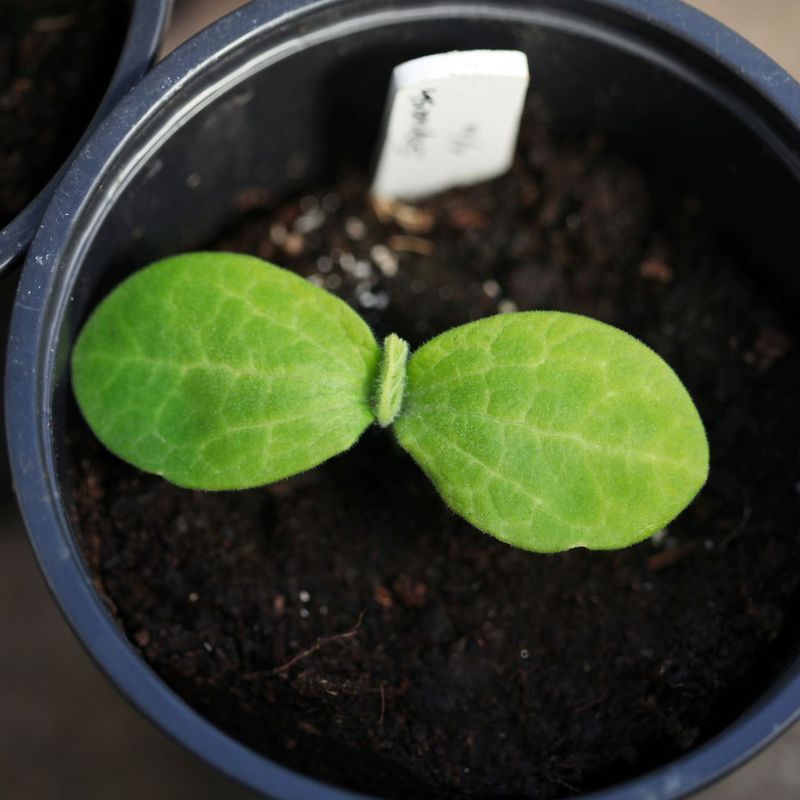
Squash seeds are remarkably good at sensing warmth. Soil temperatures in the 85 to 95 degree Fahrenheit range can push seeds to germinate in just a few days, which is why a late-summer planting in Florida or Texas often produces a flush of seedlings almost overnight.
UC Master Gardener germination guidance notes that squash germination can peak near 95 degrees, while the crop’s preferred growing range sits considerably lower, closer to 65 to 75 degrees.
That gap matters. A seed does not need to photosynthesize, manage water loss, or build new tissue, so it can tolerate conditions that a young seedling cannot sustain.
Once those first leaves open and the plant starts drawing moisture through a root system that is still tiny and shallow, the same heat that triggered fast emergence can begin working against it.
Stalled growth, wilting in the afternoon, and yellowing are all plausible outcomes when heat stress compounds the vulnerability of young plants with limited root reach. Still, heat is the first condition to investigate, not the final answer.
Drought, waterlogging, transplant shock, pest pressure, and disease can produce nearly identical symptoms, so treat rapid emergence followed by stalling as a signal to look closer rather than a confirmed diagnosis.
Check the Root Zone Before You Blame the Leaves
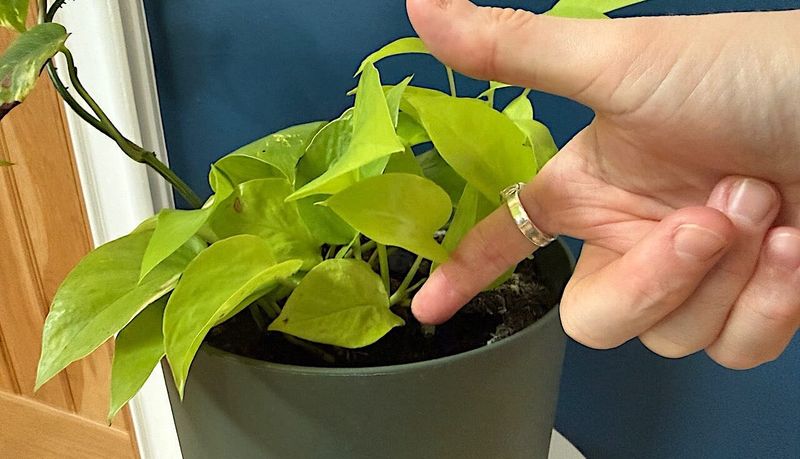
Before drawing any conclusions from leaf color or posture, push a finger or a thin trowel two to three inches into the soil right next to the seedling’s stem. What you find there tells you far more than the surface does.
Bone-dry soil at that depth, even when the surface looks damp, means the root zone is not getting enough water to keep pace with what the plant loses on a hot afternoon.
UF/IFAS vegetable garden watering guidance recommends thoroughly wetting the root zone while giving soil and foliage time to dry between cycles, and notes that sandy soils dry out much faster than heavier soils or mulched beds. The goal is consistent moisture in the root zone, not a fixed watering schedule.
A seedling in a sandy Florida bed may need water sooner than one growing in amended clay, even on the same day.
Soggy soil is equally worth flagging. Waterlogged roots are deprived of oxygen, and Purdue Extension research on water stress explains that damaged roots cannot move water effectively to the rest of the plant, producing wilting and yellowing that look almost identical to drought symptoms.
If water pools after rain or irrigation and takes more than a few hours to drain, the problem may be drainage rather than heat. Adjust your watering based on what you actually find below the surface, not on what the calendar or the air temperature suggests.
The Yellowing Pattern Narrows the Possibilities
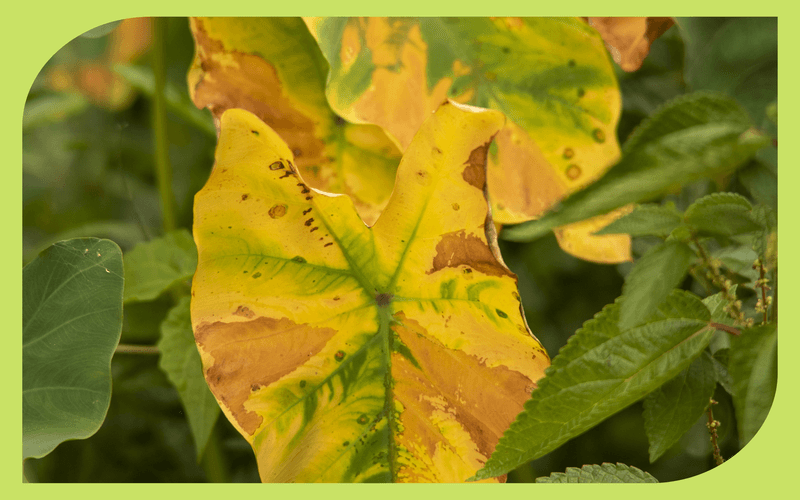
Yellowing is a symptom, not a verdict. The pattern and location of color change on the plant can point you toward a likely cause without requiring a lab test, though visual clues alone are rarely definitive enough to act on without a closer look at the whole plant.
Older leaves turning uniformly pale yellow while the plant as a whole looks stunted is one of the more recognizable patterns associated with nitrogen deficiency, as described in Texas A&M’s cucurbit problem-solver resource. Even then, poor roots, overwatering, or drought can produce nearly the same picture, because a plant that cannot absorb nutrients behaves like one that has none.
Adding nitrogen fertilizer without confirming the cause can injure already-stressed roots or push excessive vine growth at the expense of fruit.
Stippling, tiny pale dots across the leaf surface, combined with fine webbing underneath, points toward spider mites. Mosaic patterns with irregular yellow-green patches and distorted or puckered new leaves raise concern for a viral infection.
University of Maryland Extension’s squash problem guide lists several of these patterns alongside the insects and pathogens most likely to cause them. A few leaves turning bright yellow while newer growth stays green may also reflect a varietal trait: some squash carry a gene that produces temporary bright yellowing under stress, often without lasting harm.
Check new growth and the whole plant before reaching for any product.
A Soft Stem Base Signals a Different Emergency
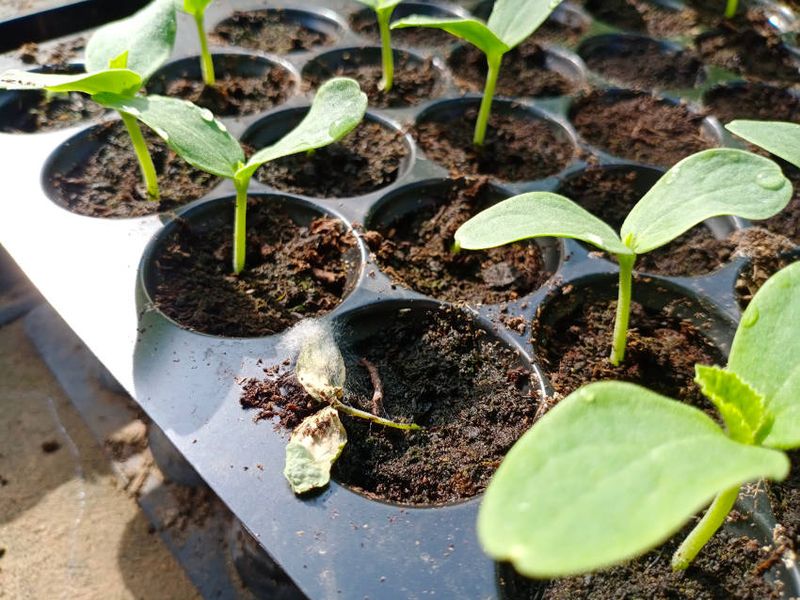
Foliage tells part of the story, but the stem base tells another. Crouch down and look at the point where the seedling’s stem meets the soil.
Healthy tissue at that junction is firm, green or pale tan, and about the same diameter as the stem above it. Trouble shows up as constriction, a pinched or shrunken look, water-soaked discoloration, softness, or visible rot.
Those signs point toward damping-off or a related crown and root problem. UC IPM’s damping-off overview identifies excess moisture, poor drainage, compacted soil, and vulnerable seedlings as the main conditions that support the fungal and water-mold pathogens responsible.
August heat may be present at the same time, but it is not the defining cause. The pathogens thrive when the root zone stays wet and oxygen-poor, which can happen in any season when drainage is inadequate.
Kentucky Extension’s cucurbit scouting resource notes that seedlings with collapsed or rotted crowns generally cannot be saved once the damage reaches a certain point. Pulling the plant gently and checking the roots confirms the situation: brown, mushy, or absent roots with no white growing tips leave little to work with.
The practical response is to remove the affected seedling, improve drainage before replanting, and avoid overwatering the surrounding area. Treating the remaining seedlings with fungicides after the fact rarely reverses established crown rot.
Scout Undersides and Growing Tips for Pests and Disease
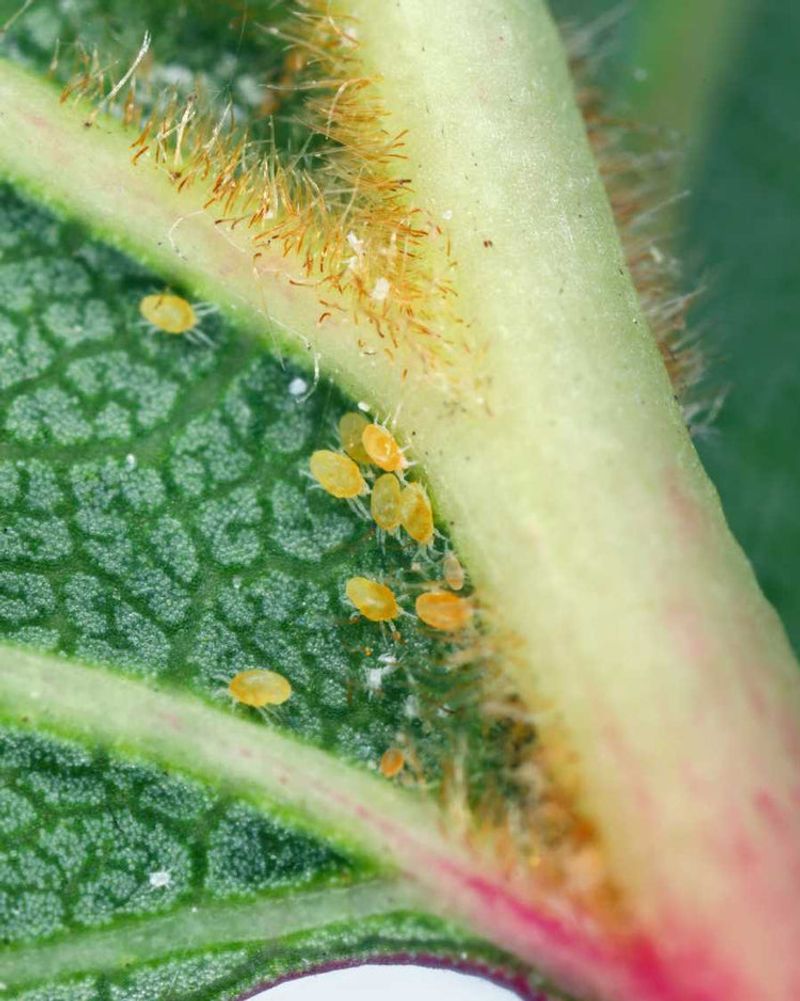
Turning a leaf over takes about five seconds and can completely redirect your diagnosis. The undersides of squash leaves and the tender tissue at growing tips are where many of the most damaging insects and pathogens show up first, often before the topside of the plant gives any clear sign.
Look for clusters of soft-bodied aphids, tiny white whiteflies that scatter when disturbed, or the dusty stippling and fine webbing left by spider mites. Cucumber beetles, which are yellow with black stripes or spots, feed on foliage and can also vector bacterial wilt.
University of Maryland Extension’s squash problem resource also flags angular water-soaked lesions as a bacterial disease sign, distinct from the mosaic and puckering associated with viral infection.
Viruses deserve particular attention in the Southeast. UF/IFAS guidance on cucurbit viruses explains that aphids and whiteflies can transmit cucurbit viruses before a contact insecticide has time to kill them, meaning that spraying after the fact may not prevent transmission and can harm pollinators and beneficial insects in the process.
The Southeast Vegetable Crop Handbook also notes that warm, wet conditions support a range of fungal and bacterial problems that can mimic heat stress. Identify what you are actually looking at before applying any product, and if the pattern suggests a virus, removal of affected plants may be a more effective response than treatment.
Reduce Heat and Moisture Stress Without Smothering the Plants
Once you have ruled out root rot, viruses, and serious pest damage, there are practical steps that can genuinely help seedlings cope with late-summer conditions. Start with water: check the root zone before irrigating, and when the soil two to three inches down feels dry, water deeply enough to wet the full root zone rather than just the surface.
UF/IFAS irrigation guidance recommends early-morning watering and, when possible, drip or microirrigation that delivers water directly to the root zone without wetting foliage. Wet leaves heading into the afternoon and evening create conditions that fungal pathogens appreciate.
A 2 to 3-inch layer of organic mulch, such as straw or wood chips, can reduce evaporation and buffer soil temperature without adding heat. UF/IFAS mulching guidance advises keeping mulch pulled back from the stem to avoid trapping moisture against the crown.
Piling mulch against the base of a seedling creates exactly the damp, poorly ventilated conditions that encourage the stem problems described in the previous section.
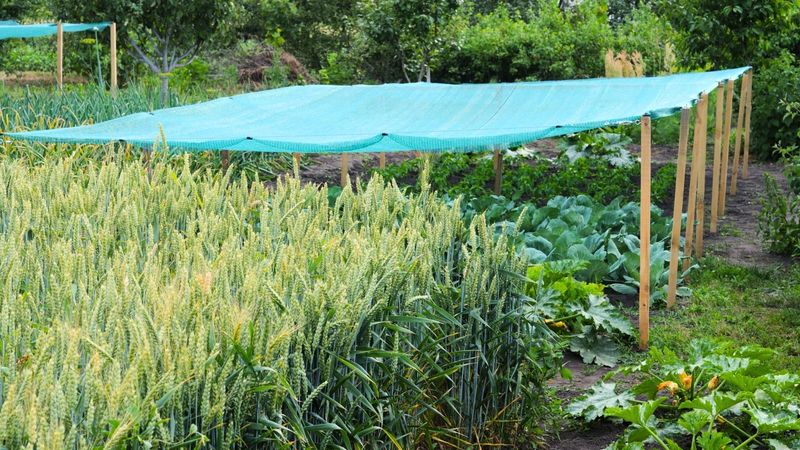
Temporary shade can take the edge off extreme afternoon heat. University of Delaware Extension guidance on heat stress suggests approximately 30% shade cloth as a reasonable starting point for vegetables, with the cloth supported on hoops or a frame so it does not rest directly on the leaves.
Too much shade reduces the photosynthesis the seedling needs to recover, so remove or adjust the cloth as temperatures moderate. Shade will not correct rot, viral infection, or a nutrient problem that needs a different solution.
Fall Timing Determines Whether Recovery Is Worth Pursuing
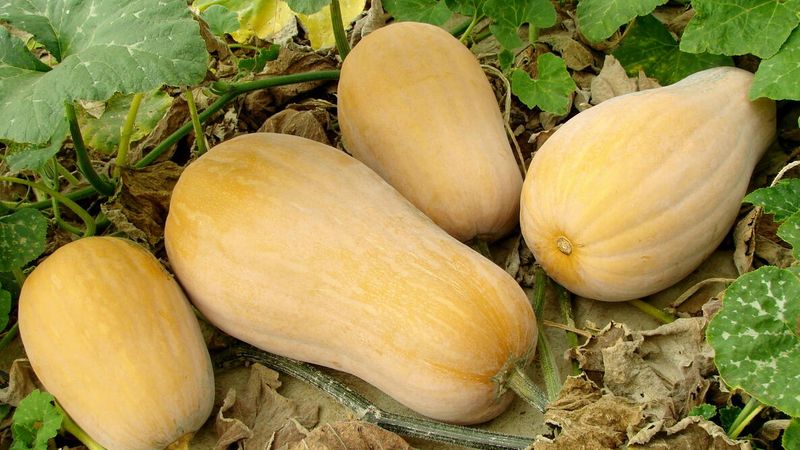
Even a seedling that is struggling with heat stress can recover if it has enough time left in the season to mature before the first killing frost. Whether that window exists depends on where you garden and what variety you planted, and those two factors should drive your decision about whether to nurse the current crop or start over.
UF/IFAS summer squash guidance lists August through September as a common fall planting window in North and Central Florida, with South Florida extending that window into March because of its milder winters. These are not interchangeable: a gardener in Gainesville and one in Miami are working with very different heat loads and frost risks.
Summer squash varieties that mature in 50 to 60 days fit the fall window in most of Florida comfortably, while winter squash types that need 80 or more days require earlier planting and more careful variety selection.
Texas planting windows vary just as much by region. Texas A&M’s fall vegetable gardening guide lists summer squash dates ranging from August 1 in far West Texas to October 10 in the Lower Rio Grande Valley, so a single statewide date is not useful.
Check your county extension office for local guidance. One practical note for fall replanting: Clemson Extension recommends white plastic mulch for fall crops rather than black plastic, which absorbs heat and can raise soil temperatures further when the goal is to keep roots cooler.
Direct seeding is also often preferable to transplanting because squash seedlings are sensitive to root disturbance, and UC Cooperative Extension notes that transplants need an established root system and gradual hardening before going into a hot outdoor bed.
Use the Whole-Plant Check to Choose the Next Move
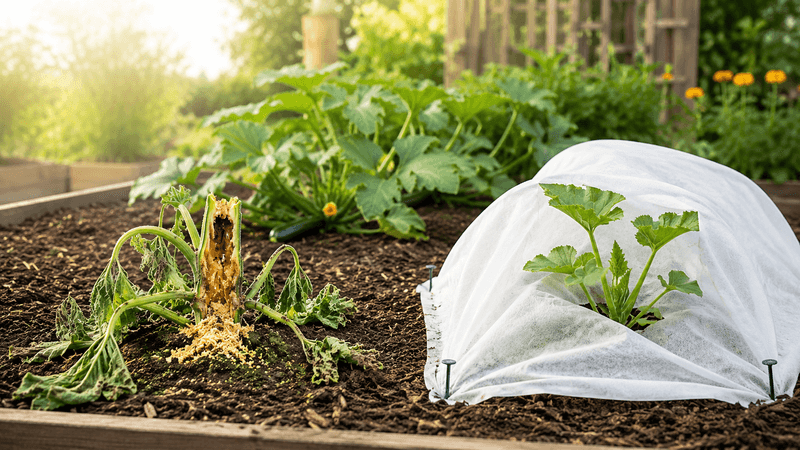
After working through the root zone, stem base, leaf color pattern, and pest inspection, the picture should be clear enough to act on. Dry soil with a firm, healthy stem and new growth that still looks normal means heat and moisture stress are the most likely culprits.
Correct the root-zone moisture, add mulch if you have not already, and monitor the newest leaves over the next few days rather than treating the older damaged ones as the measure of recovery.
Saturated soil, a soft or rotted stem base, strong mosaic or stippling patterns, or visible insect colonies each call for a different response, and none of them improve with more water or a shade cloth. Purdue Extension’s plant water stress guidance and Penn State Extension’s plant health diagnostic resource both reinforce the same principle: inspection should come before fertilizer, pesticides, or a fixed watering routine.
University of Maryland Extension’s squash resource adds that some problems, particularly viruses and severe crown rot, are better resolved by removing the plant and replanting under improved conditions.
A squash plant that passes the whole-plant check with a sound stem and intact roots has a reasonable chance of settling in once temperatures ease. One that does not is better replaced now, while the fall planting window is still open.