
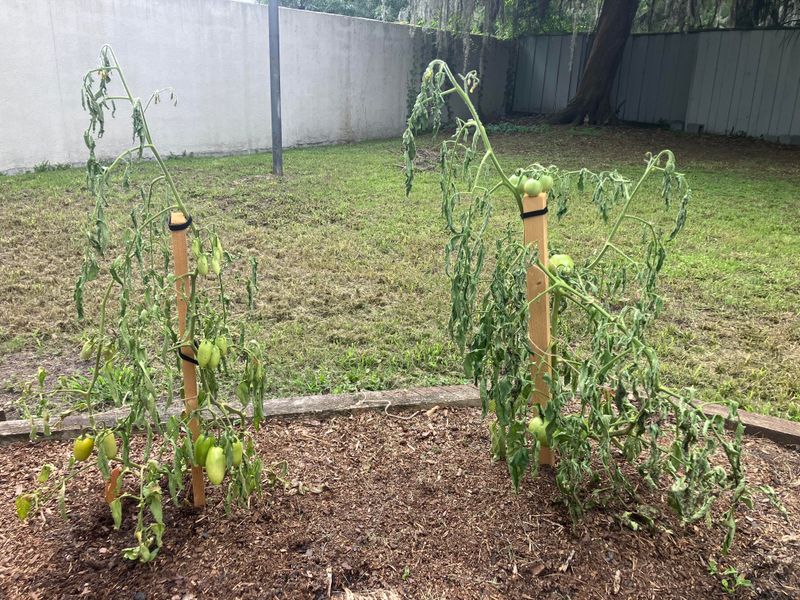
You set out your fall tomato transplants with high hopes, and now they just sit there, looking the same as the day you put them in the ground. Before you pull them up or reach for fertilizer, there is a very good chance your plants are working harder than they look.
Understanding why a healthy transplant can stall in late-summer heat will help you decide what to do next and what to leave alone.
The pause may be establishment stress, not crop failure
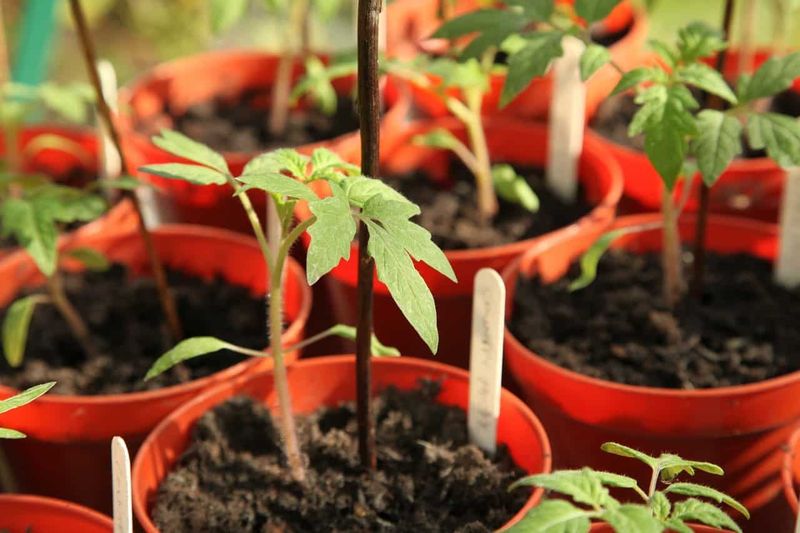
Seeing your fall tomato transplant sit motionless for days can feel like watching a crop fail in slow motion. Most of the time, though, a recently planted tomato with a firm stem and generally healthy leaves is not dying.
It is redirecting energy underground, where the work of establishing a new root system happens before you will ever see much action above the soil line.
Several forces hit a small transplant at once during late-summer planting. Transplant shock disrupts the plant’s ability to take up water and nutrients immediately after the root ball is disturbed.
Intense sun, drying wind, and hot bed surfaces pile on, pulling moisture out of leaves faster than a limited root zone can replace it. Uneven soil moisture, whether the root zone dries too fast or stays too wet, can slow that underground expansion further.
UMass Extension research on heat stress in tomato transplants confirms that these combined stressors can measurably limit early establishment.
A practical expectation worth holding onto: Texas A&M AgriLife Extension’s fall vegetable gardening guidance notes that small fall transplants with restricted root zones may need roughly two weeks before their roots enlarge enough to support active top growth. That timing will vary with soil conditions, weather, and how the plant was handled before planting.
A firm-stemmed plant with leaves that look generally healthy, even if they droop slightly at midday, fits the establishment-stress picture. The right response is supportive care, not removal, heavy feeding, or aggressive treatment.
A plant showing progressive yellowing, persistent wilt despite moist soil, or lesions belongs in a different diagnostic category entirely.
Check the root zone before changing anything
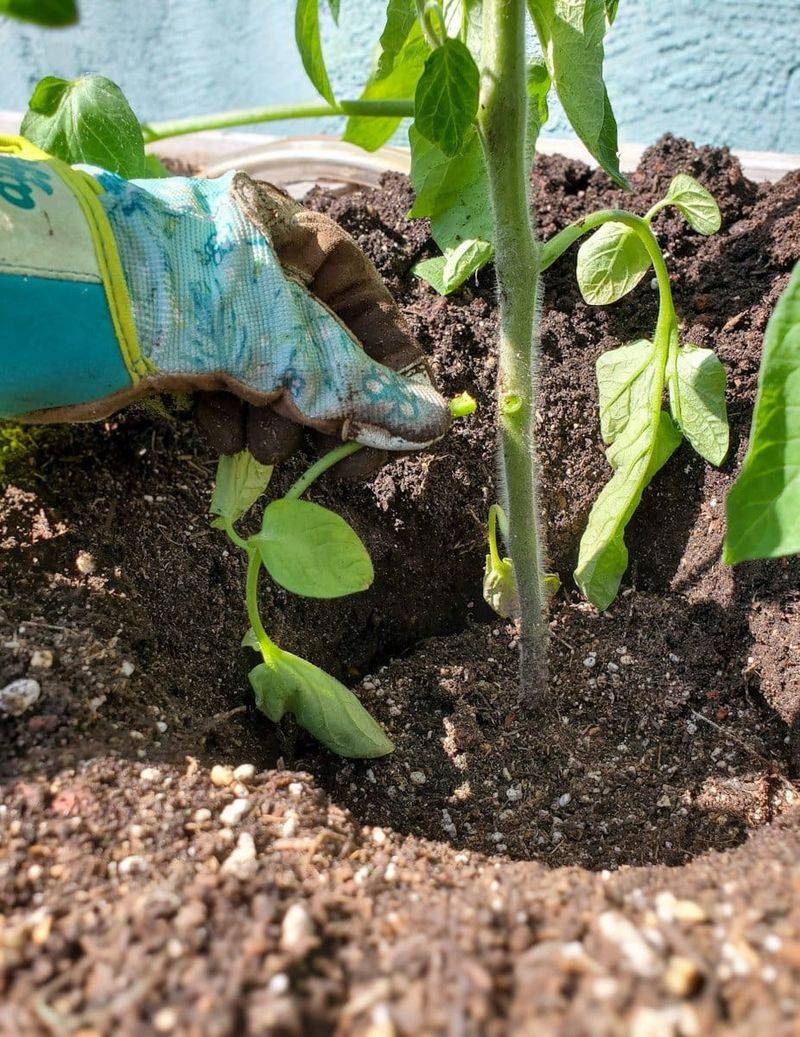
Before adjusting your watering schedule, adding fertilizer, or reaching for any product, push a finger or a trowel a few inches into the soil right next to the root ball. What you find there tells you more than the plant’s appearance alone.
Soil that crumbles and feels dry several inches down means the root zone is losing moisture faster than the plant can use it. That is a clear call to water more thoroughly.
Soil that feels soggy, smells sour, or stays saturated even hours after a rain is a different problem entirely. Texas A&M AgriLife Extension’s fall vegetable gardening guide specifically warns that both insufficient water and soaking-wet soil can stunt or kill a fall tomato transplant, making this a two-sided risk worth checking before assuming more water is always better.
The goal is evenly moist soil through the root zone, not a fixed daily watering routine. How often that requires irrigation depends on your soil type, whether the bed drains well, recent rainfall, wind exposure, mulch coverage, and whether the plant is in a container or in the ground.
University of Minnesota Extension’s tomato growing guide reinforces that consistent moisture reaching the root zone matters more than surface wetness.
Watering only the top inch of soil encourages shallow roots that are more exposed to heat and drought. Water deeply enough to moisten the full root zone, then let the soil guide your next irrigation decision rather than the calendar.
Hot soil can hold young roots back
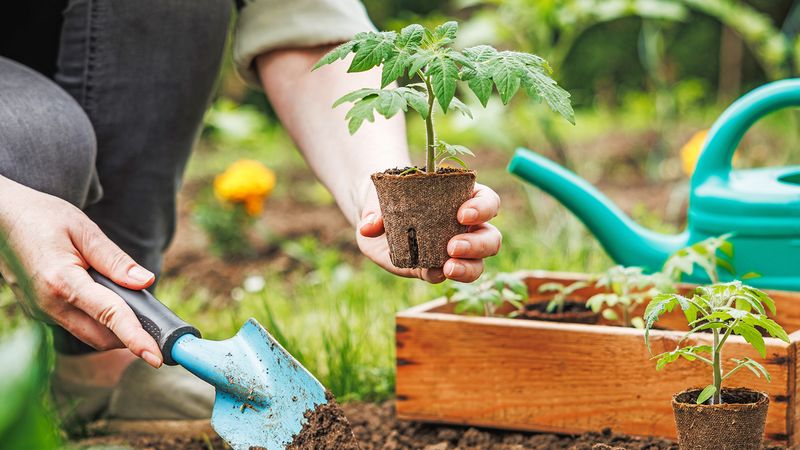
Soil temperature gets less attention than air temperature, but it can matter just as much to a young transplant. When bed surfaces bake under intense late-summer sun, the soil itself can reach temperatures that injure or impair tender young roots, limiting their ability to pull in water and nutrients at exactly the moment the plant needs them most.
UMass Extension’s reporting on heat stress in tomato transplants highlights how extreme soil heat during establishment can compound the damage from transplant shock. The University of Georgia Cooperative Extension’s commercial tomato production handbook notes that summer-planted crops for fall production can suffer under excessively high soil temperatures, and describes white or reflective plastic mulch as one option used in some production settings to reduce surface heating.
That commercial approach is not a blanket instruction to rip out whatever mulch you already have. For most home gardeners, a layer of organic mulch, such as straw or wood chips, placed a few inches thick and kept away from the stem, is a practical and accessible way to moderate soil-surface temperature and slow evaporation.
The goal is reducing heat load at the root zone, not necessarily replicating a commercial production setup.
Practical prevention also starts before the plant goes in the ground. Oklahoma State University Extension’s home garden tomato guide recommends transplanting into adequately moist soil and doing it during the cooler part of the day.
A bed that is already hot and dry when the transplant goes in gives the roots a harder starting point than one that has been watered and allowed to cool slightly.
Reduce heat and drying stress without overcorrecting
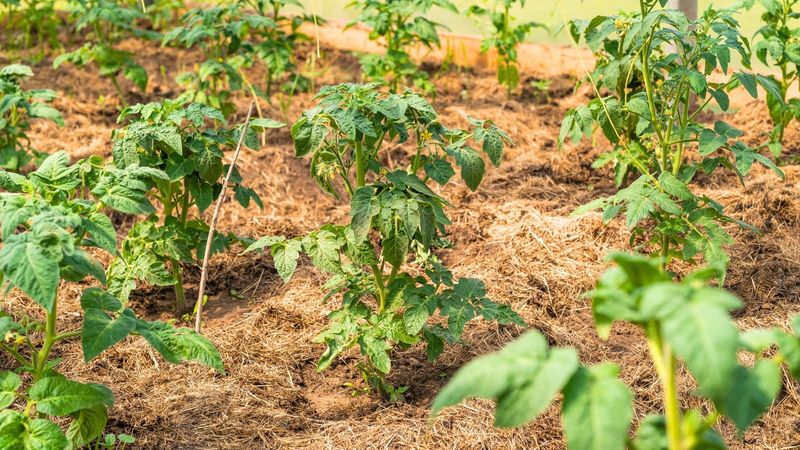
Once you have confirmed that the root zone is neither bone dry nor waterlogged, the next job is keeping conditions as stable as possible while the plant finds its footing. That means addressing two things at once: moisture loss from the soil surface and heat load on both the plant and the root zone.
Start with mulch. A 2-to-3-inch layer of organic material, straw, shredded leaves, or wood chips, laid over the soil surface after planting slows evaporation and buffers the temperature swings that make late-summer soil so harsh.
UGA’s commercial tomato production handbook and University of Minnesota Extension’s tomato growing guidance both point to mulch as a key tool for managing soil moisture and temperature. Leave a small gap around the stem so the mulch does not sit against the plant and trap moisture against the base.
For irrigation, direct water at the soil rather than over the top of the plant. Soil-directed watering, whether by drip line, soaker hose, or careful hand watering at the base, gets moisture where roots can actually use it.
Overhead watering can temporarily cool leaf surfaces, but wet foliage in warm, humid conditions can also raise disease risk, so it is not the go-to cooling strategy for home gardens.
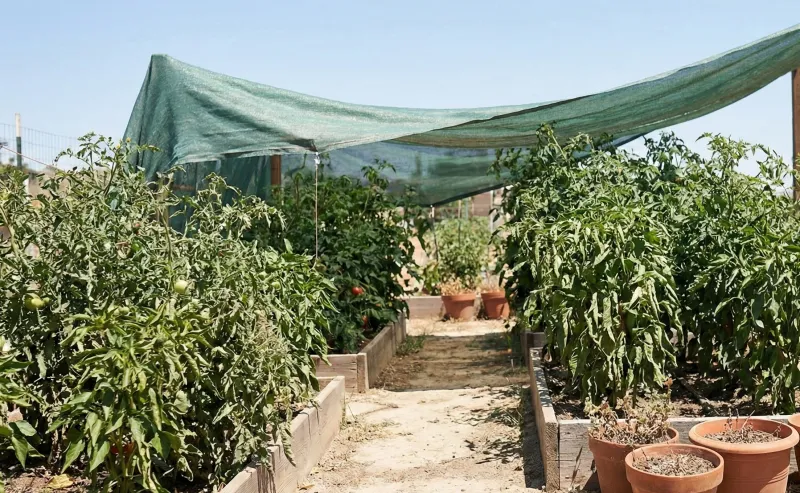
When a newly planted transplant wilts or shows scorching during the hottest part of the afternoon, temporary shade can reduce stress during acclimation. A piece of shade cloth or even a propped board on the west side of the plant for a few hours each afternoon can help.
University of Minnesota Extension’s vegetable garden planting guide supports temporary protection during establishment while noting that plants still need adequate light. Prolonged heavy shade cuts photosynthesis and will reduce productivity, so the goal is short-term heat-load reduction, not a permanent canopy.
Use planting technique to limit transplant shock
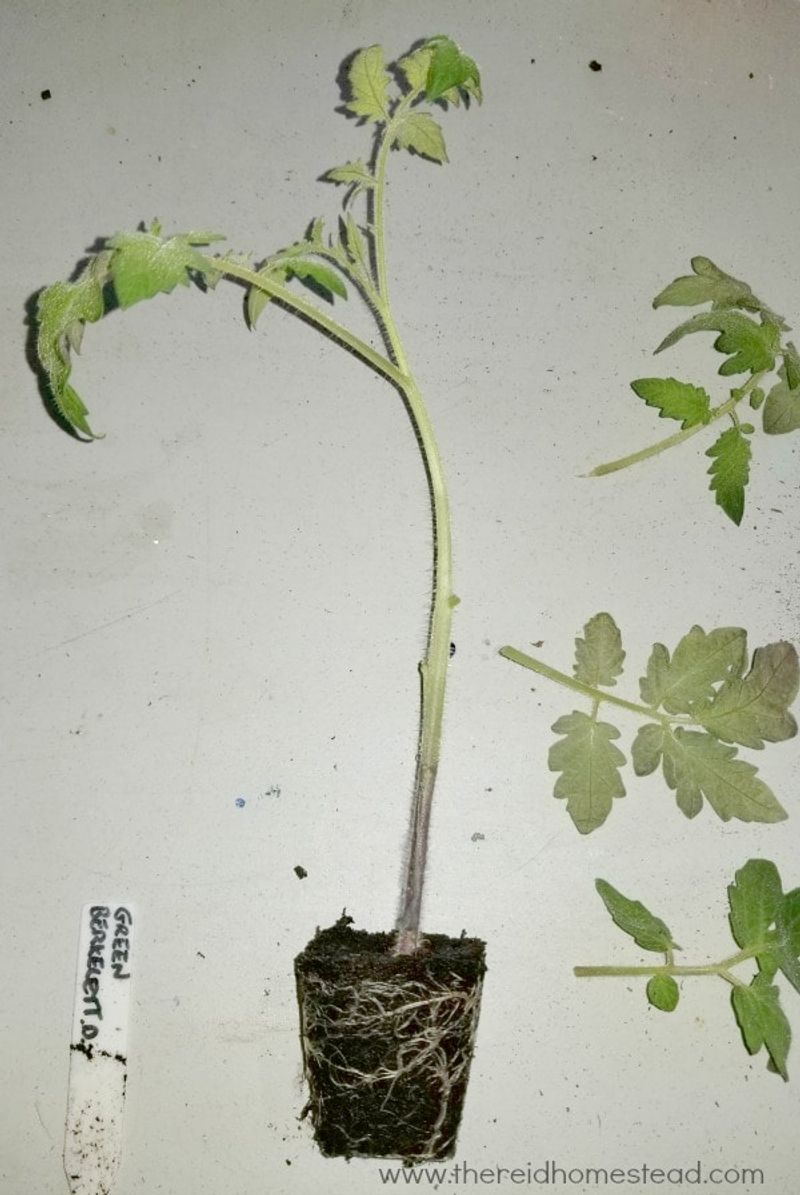
How a transplant goes into the ground has a lot to do with how quickly it recovers from the disruption of moving. Several technique choices made at planting time can either shorten the shock period or stretch it out for days longer than necessary.
Timing the planting itself makes a real difference. Oklahoma State University Extension’s home garden tomato guide recommends transplanting in late afternoon, in the evening, or on a cloudy, calm day, when air and soil temperatures are lower and the plant has hours to begin settling in before facing full sun.
Water the plant thoroughly in its container before you take it out of the pot, so it goes into the ground hydrated rather than already stressed.
Once the plant is in the hole, firm the soil gently around the root ball to close any air pockets that would dry roots faster. University of Minnesota Extension notes that tomatoes can form additional roots along buried stems, so planting deep enough to cover the root ball completely is worthwhile.
If you are using a peat pot, make sure the entire pot is below the soil surface. Any peat rim left exposed above the soil line acts like a wick, drawing moisture away from the root ball and toward the open air.
Hardening plants before transplanting is the other piece that frequently gets skipped. Moving seedlings directly from a sheltered greenhouse or indoor space to full Southern sun and wind is a shock the plant did not need.
Oklahoma State’s vegetable transplant guide and University of Minnesota’s planting guide both describe a gradual hardening process, starting with short outdoor exposures in a shaded, sheltered spot and increasing sun and wind exposure over several days. Plants that have been properly hardened handle heat and wind stress better from day one.
Texas A&M’s High Plains tomato guide echoes the importance of soil preparation and plant condition at planting as factors in early establishment success.
A surviving plant can still lose flowers in the heat
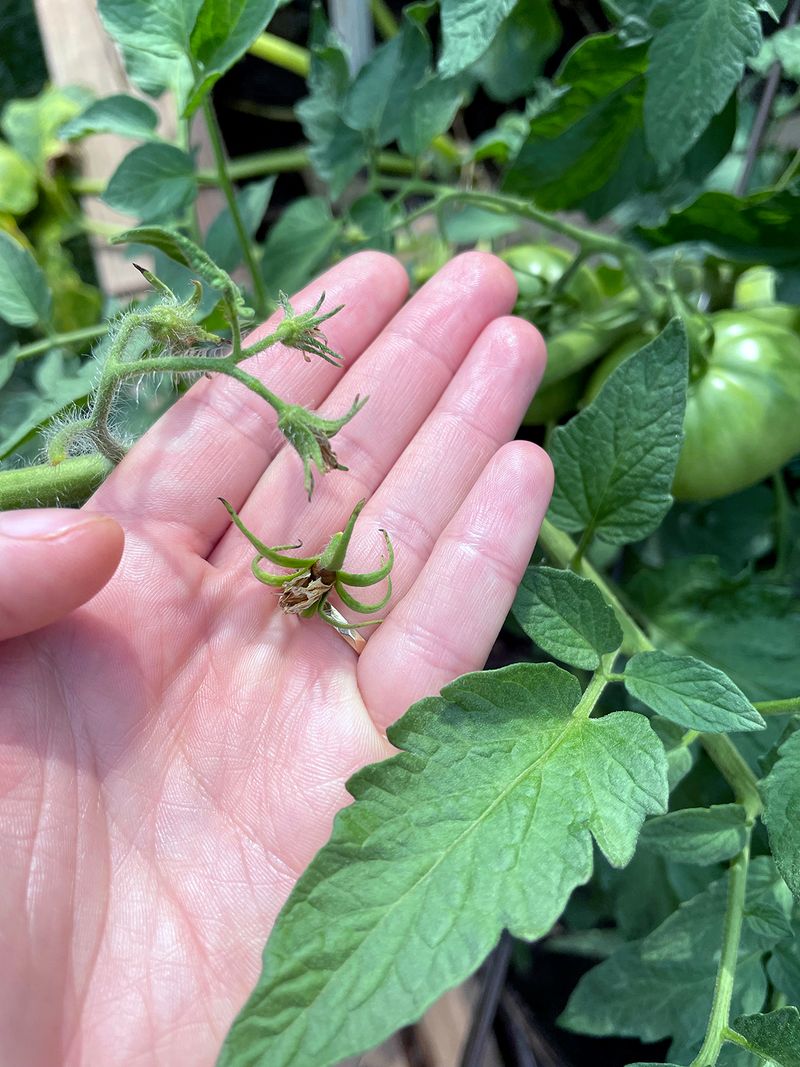
Getting a fall tomato transplant to resume active growth is only the first hurdle. Even a plant that firms up, puts out new leaves, and looks like it has turned a corner can run into the next problem: heat-related flower and fruit-set failure.
Daytime temperatures above roughly 85 to 90 degrees Fahrenheit, combined with nighttime temperatures that stay near or above 70 degrees, are associated with increased risk of flower abortion, poor pollen viability, and reduced fruit set. University of Minnesota Extension’s guide on how excessive heat affects vegetable gardens explains the connection between high temperatures and pollination failure in tomatoes.
Those figures are risk thresholds, not precise cutoffs; variety, humidity, wind, soil moisture, and plant age all influence the outcome.
Regional timing matters here. In Texas, fall tomatoes are generally transplanted roughly 100 to 120 days before the expected first frost, depending on local guidance and region.
Texas A&M AgriLife Extension’s Easy Gardening: Tomatoes publication provides regional scheduling context for Texas growers. In Florida, gardeners planting in July or early August may need cultivars specifically selected for heat-set ability, as UF/IFAS guidance on tomato cultivar selection for north Florida makes clear that high temperatures during bloom and fruit set are a significant fall-production challenge there.
Two common responses to a stalled or struggling plant can make this stage worse. Applying heavy nitrogen fertilizer in an attempt to force growth can push leafy vegetative development while contributing to blossom drop, as Oklahoma State Extension’s tomato disorder guide and University of Minnesota Extension’s tomato disorders resource both note.
Aggressive pruning during a heat wave removes foliage that shades stems and developing fruit, adding sun and heat stress at exactly the wrong time, per University of Minnesota Extension’s hot-weather gardening guidance. Fertilize according to a soil test and product label, and hold off on hard pruning until conditions cool.
Progressive symptoms point beyond ordinary heat stress
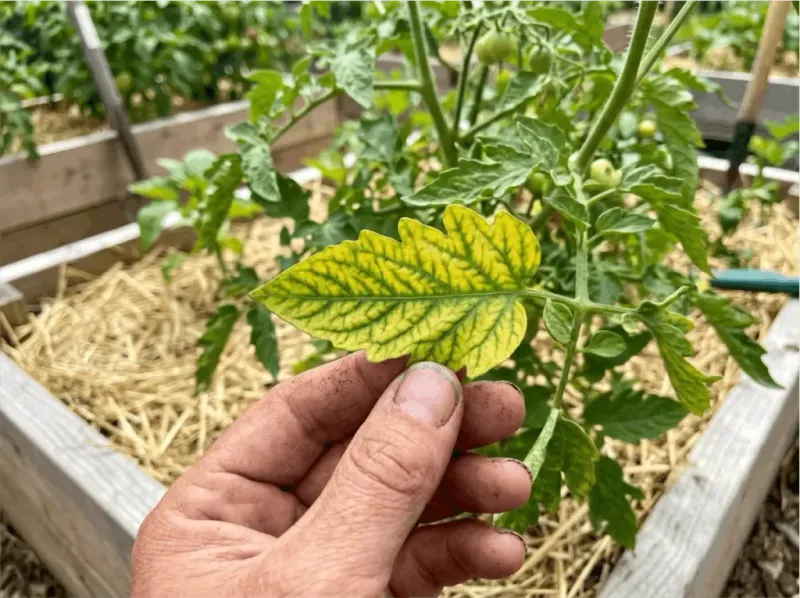
Heat and transplant shock explain a lot, but they do not explain everything. Knowing when a plant’s symptoms no longer fit the establishment-stress picture is just as useful as knowing when they do.
A recently planted transplant with a firm green stem, leaves that look generally healthy, and afternoon droop that recovers by morning fits the establishment-stress description well. A plant that keeps wilting even when the root zone is adequately moist is telling a different story.
Progressive yellowing that moves up the plant, leaf cupping or rolling, unusually small new leaves, stem lesions or discoloration, root tissue that looks brown or mushy rather than white and firm, or a plant that declines despite soil conditions that seem correct all require a closer look.
Some of these symptoms point toward disease or pest pressure. Fusarium crown and root rot, for example, can cause wilting and yellowing that looks like drought or heat stress until the crown and root tissue are examined.
University of Minnesota Extension’s Fusarium crown and root rot resource describes how this soilborne disease can be confused with other stress symptoms. University of Minnesota Extension’s plant disease management guide reinforces that wet-soil decline warrants disease investigation rather than more water or fertilizer.
Florida gardeners face additional risks worth naming. Tomato yellow leaf curl virus can produce marginal yellowing, upward leaf cupping, reduced leaf size, stunting, and fruit drop, and UF/IFAS documentation on tomato yellow leaf curl in Florida notes that laboratory confirmation is sometimes needed for a definitive diagnosis.
Whiteflies, which spread the virus, are a documented concern in Florida fall production, as described in UF/IFAS guidance on managing sweetpotato whitefly and tomato yellow leaf curl virus. Oklahoma State Extension’s tomato disorder resource also points out that herbicide drift can produce symptoms that resemble disease or heat injury.
When symptoms progress, fail to fit simple heat stress, or worsen despite reasonable care, stop escalating irrigation or fertilizer and contact your local Cooperative Extension office for a proper diagnosis. Repeating unsupported treatments on a plant with an underlying disease or pest problem rarely helps and can delay the investigation that actually matters.
Give the transplant a fair recovery window
Putting a practical decision rule together does not require a long checklist. Start by pushing a finger into the soil a few inches below the surface near the root ball.
If it is dry, water deeply enough to moisten the full root zone. If it is saturated, hold off and improve drainage before watering again.
Lay organic mulch a few inches deep over the bed, leaving space around the stem, and direct irrigation at the soil rather than over the foliage. Add temporary afternoon shade if the plant is scorching or wilting hard during the hottest hours, but plan to remove it once the plant firms up and cooler conditions arrive.
Avoid high-nitrogen fertilizer as a rescue measure and skip aggressive pruning while heat is intense. Texas A&M AgriLife Extension’s fall vegetable gardening guide and University of Minnesota Extension’s tomato guide both support this restrained, moisture-first approach.
Watch for renewed firmness and slow, steady new growth as signs the plant is establishing. Monitor flowers and early fruit separately, since University of Minnesota Extension’s heat-effects guide makes clear that resumed vegetative growth does not guarantee fruit set when temperatures stay high.
A plant that remains firm and generally healthy deserves the support window. One whose symptoms worsen or fail to fit simple heat stress deserves a prompt call to your local Extension office, not another round of guessing.