
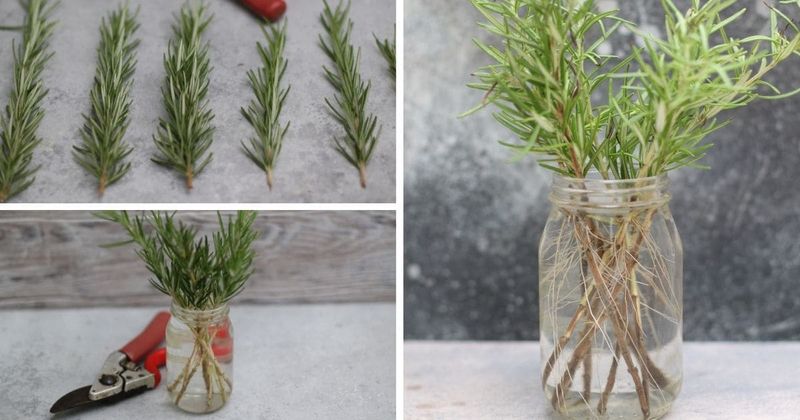
A rosemary plant you love can be copied for free with a few snips and a little patience. Taking cuttings before cold weather arrives gives you a backup plant if a hard freeze hits your yard.
Rooting is never a sure thing, so a few smart choices make a big difference. Here is how to do it step by step, and how to tell whether you need to do it at all.
Decide whether cold threatens your rosemary
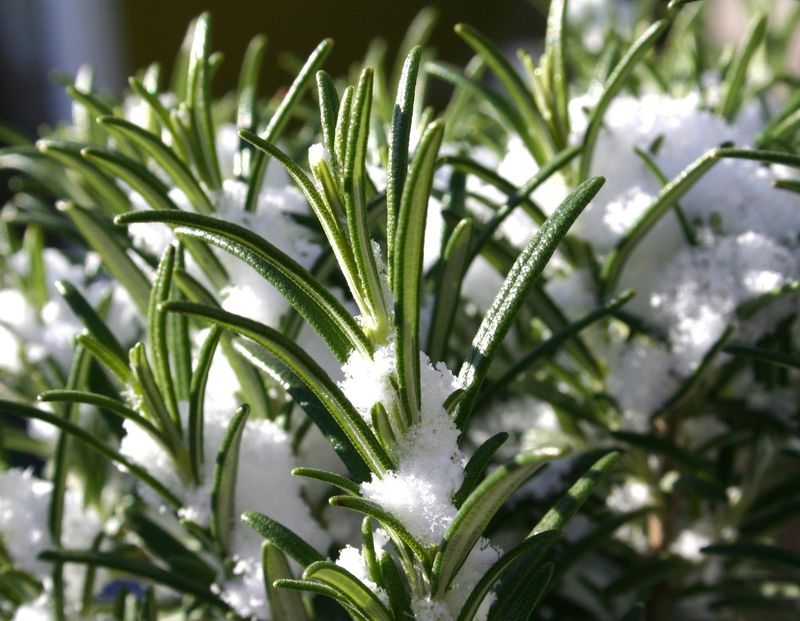
Cuttings make sense when damaging cold is a real possibility where you live, not simply because a calendar says frost is near. The first frost is not a universal deadline, and some Southern gardeners never need to rescue an outdoor plant.
Texas A&M AgriLife says rosemary is perennial in most of Texas in USDA Zone 7 and warmer. In Florida, UF/IFAS notes that rosemary can thrive outdoors year-round, though freezes may call for protection in colder parts of the state.
So check your forecast, your variety, your drainage, and how exposed the plant is. If a hard freeze looks likely, or you simply want a spare, snipping stems ahead of the cold is a sensible move.
University of Georgia guidance also lists rosemary cuttings for fall and winter. Otherwise, your established plant may be just fine where it stands.
Choose a healthy, nonflowering stem tip
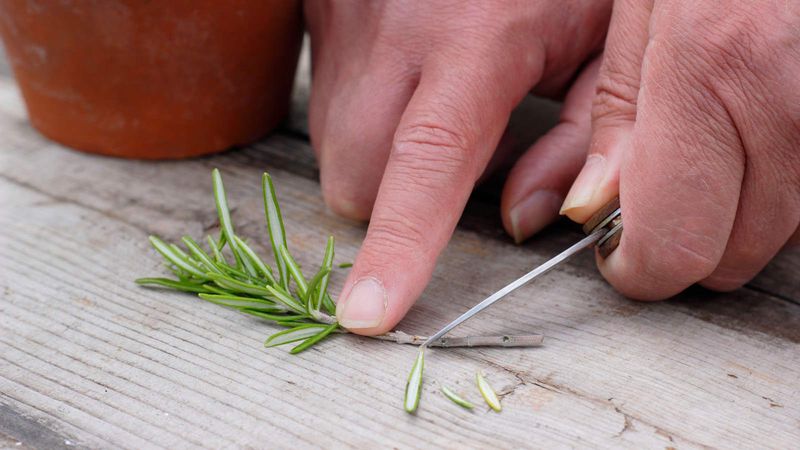
Look for a vigorous stem tip without flowers, since a stem putting energy into blooms has less to give a new root system. Snip just below a leaf node, then strip the leaves from the lower portion so bare stem can go into the medium.
Length depends on which guide you follow. The University of Georgia recommends a 2 to 3 inch semi-hardwood tip cutting, meaning stem that has started to firm up.
North Carolina Cooperative Extension suggests a green 3 to 5 inch tip.
Treat these as two source-specific methods, not one required rule. Taking several cuttings of slightly different ages is a practical way to hedge, since not every stem will root.
Prepare a pot and a well-drained rooting medium
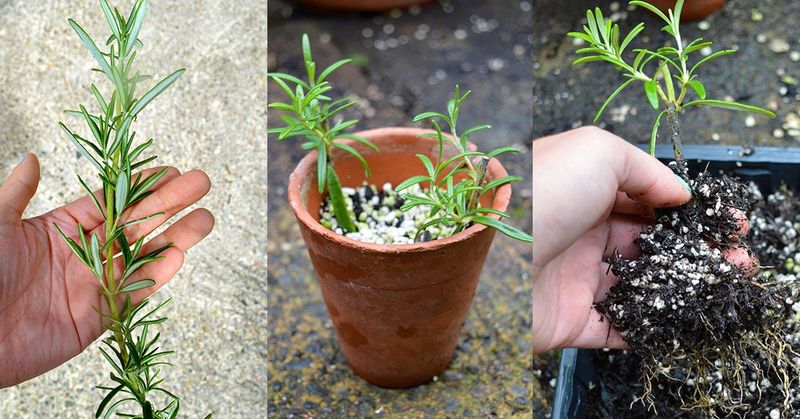
Start with a small pot that has drainage holes. Soggy mix is the fastest way to rot a cutting, so the medium should be light and well drained.
North Carolina Cooperative Extension says sand, perlite, seed-starting mix, or potting soil mixed with one of these can work. Wet the mix first and let the extra water run out.
Rooting hormone is optional. The University of Georgia includes it in its guidance, while the North Carolina home steps do not require it.
If you use some, follow the product label.
Poke a hole with a pencil, slide in the prepared cutting so the bare stem is buried, and firm the mix gently around it.
Give covered cuttings bright, sheltered light
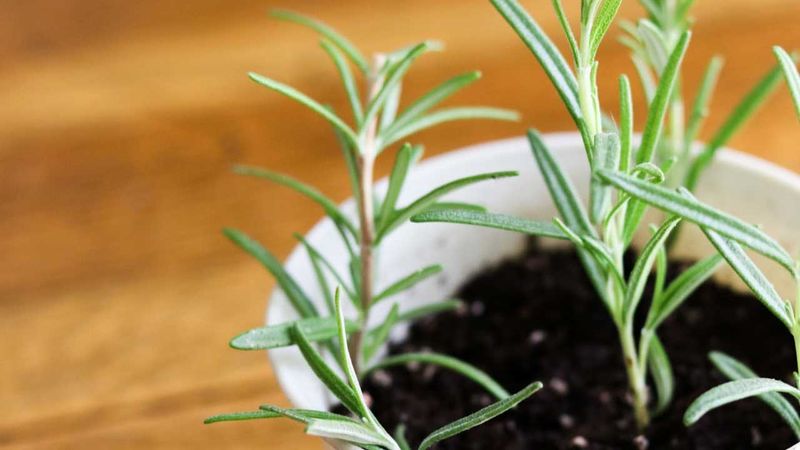
A clear plastic bag over the pot holds in humidity so the cuttings dry out less while they work on roots. Keep the bag from touching the leaves if you can, and open it now and then for fresh air.
The medium should feel moist, never soggy.
Light is where the title needs a caveat. A covered pot in full sun can cook, and UF/IFAS cautions that propagation enclosures should not sit in full sun because they may overheat.
Its general guidance is bright, diffused light and temperatures of about 65 to 80 degrees F.
A bright windowsill can work if the pot stays out of direct sun and the bag never gets steamy hot. If the glass is warm to the touch or the bag fogs heavily at midday, move the pot back from the window.
Allow several weeks, and expect some cuttings to fail
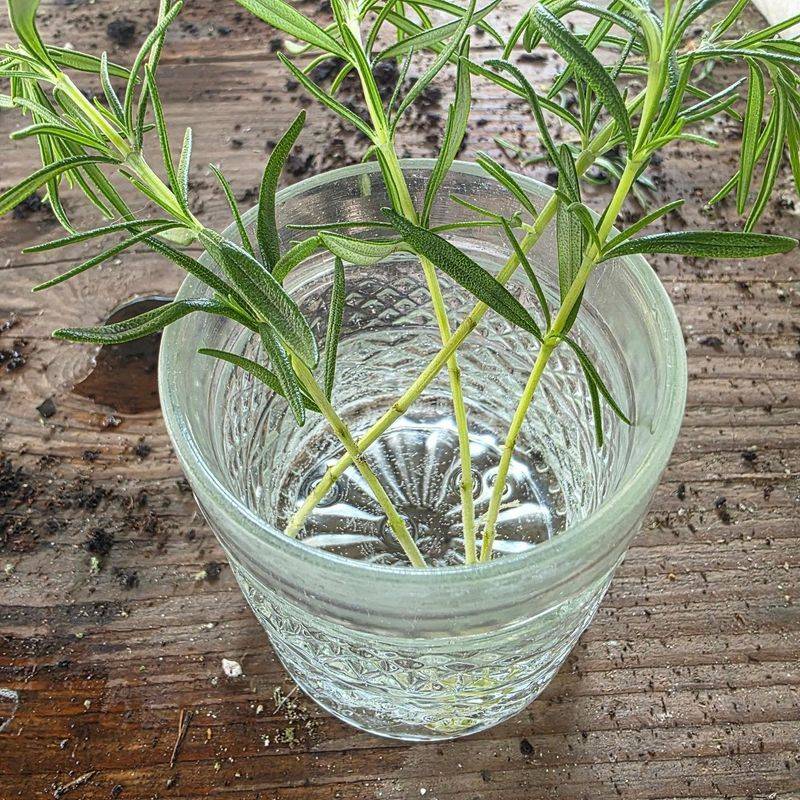
Patience pays off here. North Carolina Cooperative Extension suggests checking for roots after about 4 to 6 weeks, and it estimates that 30 to 50 percent of cuttings may root.
Both numbers are rough guidance, and your results can be better or worse.
Because of those odds, start more cuttings than plants you want. Signs of progress include fresh green growth at the tip or a gentle resistance when you tug lightly.
Black, mushy stems usually mean the cutting has rotted and can be discarded.
You may read about much faster rooting. A commercial production guide from UMass reports rooting in about 10 days, but that used intermittent mist and controlled root-zone heat.
A kitchen windowsill will not match it.
Pot rooted cuttings and acclimate them gradually
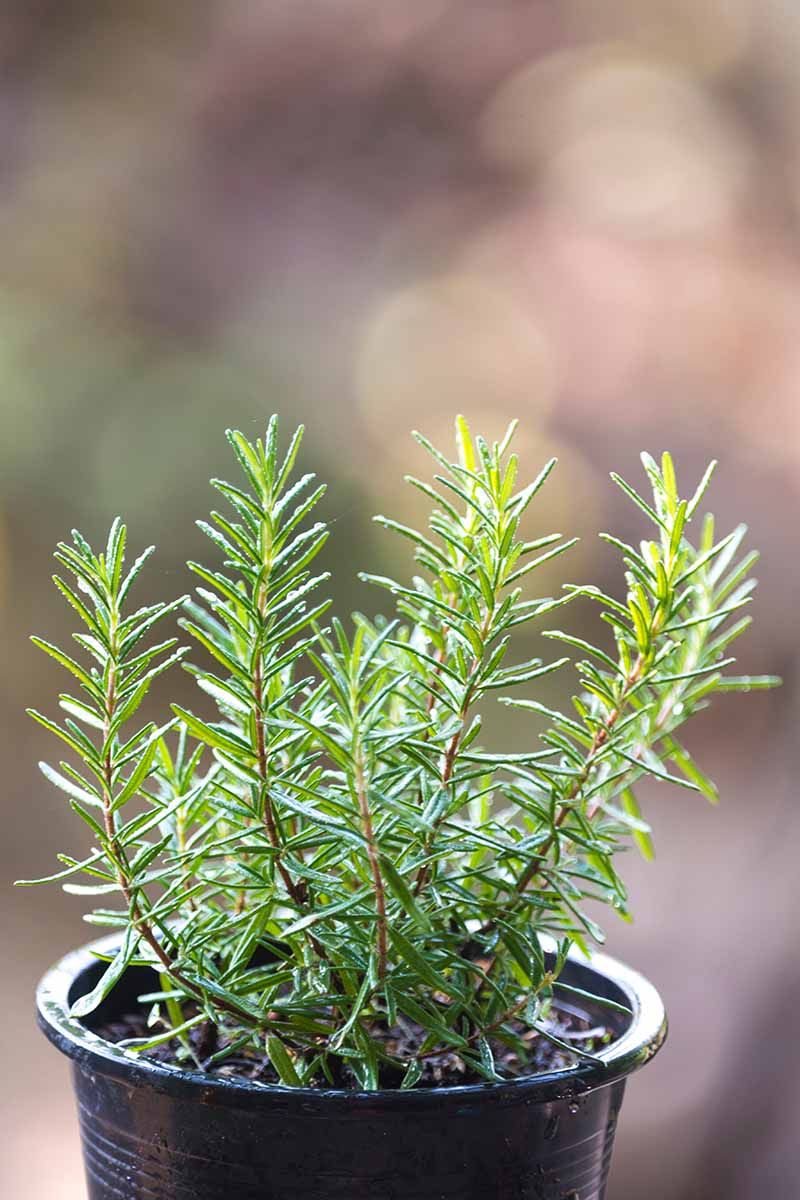
Once a cutting has a strong root system, move it to its own pot filled with well-drained potting mix. A pot only slightly larger than the root ball keeps the mix from staying wet too long.
Next comes gradual adjustment. North Carolina Cooperative Extension and the University of Georgia both point to acclimating young plants before they face brighter outdoor conditions.
Start with an hour or two of gentle light in a sheltered spot, then lengthen the time over a week or more. Bring the pot inside if a freeze or hard wind is forecast.
A rooted cutting is a real new plant, but it is small, and it may grow slowly through winter. Having a large, vigorous rosemary by spring is possible, not promised.
Even a modest sprig kept alive through the cold is a head start on next season.