Setting up a drip irrigation system in your garden can save water, time, and ensure your plants receive consistent moisture.
This guide will walk you through the essentials of creating an efficient and effective drip irrigation system, perfect for both beginner and experienced gardeners.
From selecting the right components to installation tips, you’ll find everything you need to know to start your project with confidence.
1. Choosing the Right Components

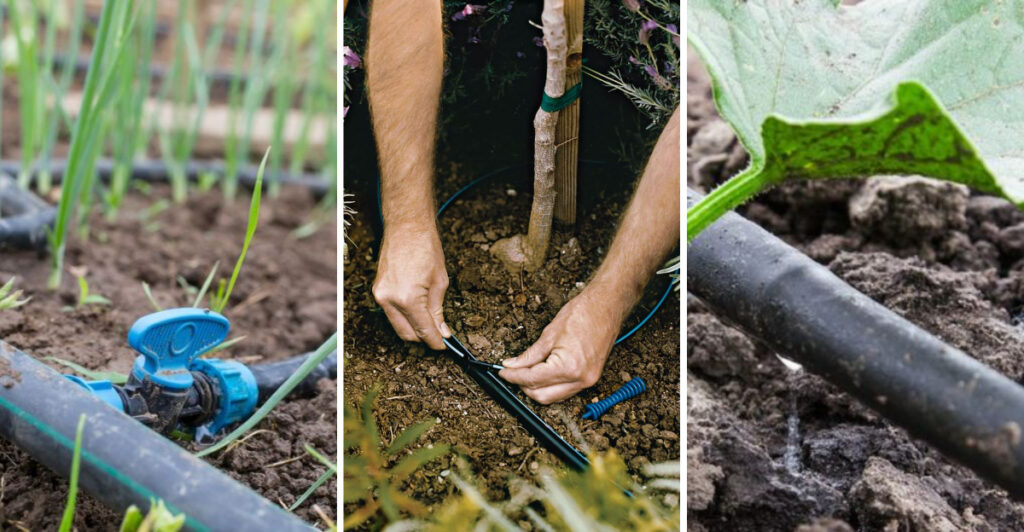
Selecting the right components is crucial for an efficient drip irrigation system. Start by identifying the specific needs of your garden, including the types of plants and their water requirements.
Choose tubing that fits the layout of your garden and ensure the emitters provide the correct flow rate. Consider using pressure regulators and filters to maintain consistency and prevent clogging.
Each component plays a role in delivering water efficiently and precisely, so take your time to research and select quality products. Your local garden center can provide helpful advice to match components to your specific needs.
2. Planning Your Layout
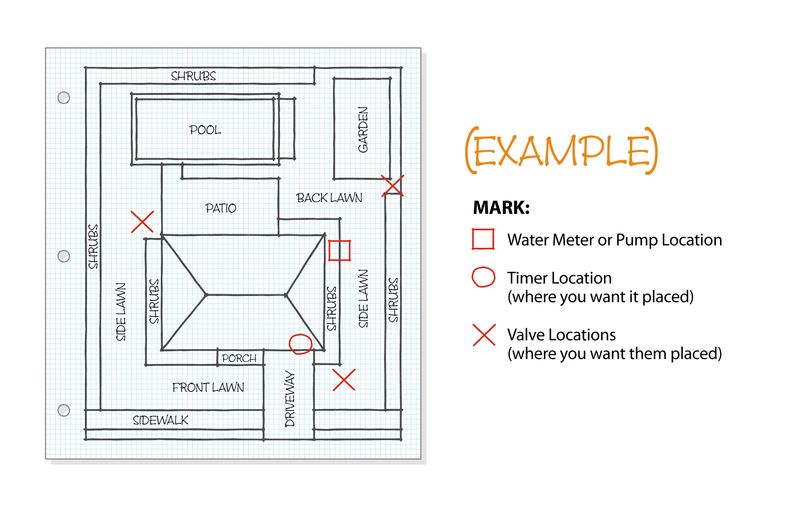
Before installation, a well-thought-out plan is essential. Consider the size and shape of your garden, and map out where each plant is located. Sketch the layout, indicating where you will place the main lines and emitters.
This foresight will help you determine the amount of tubing and other materials needed. Take into account any slopes or uneven terrain, as these can affect water distribution.
Incorporating detailed planning ensures a seamless setup and efficient water delivery. This stage is vital for avoiding unnecessary rerouting or adjustments later.
3. Installing the System
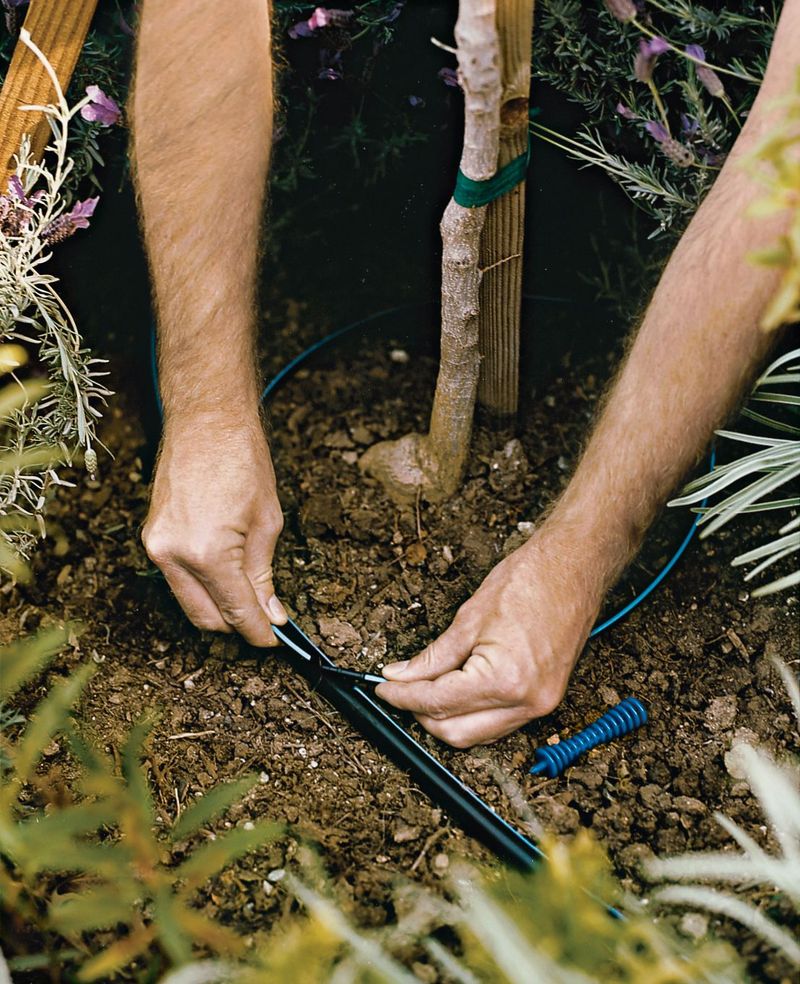
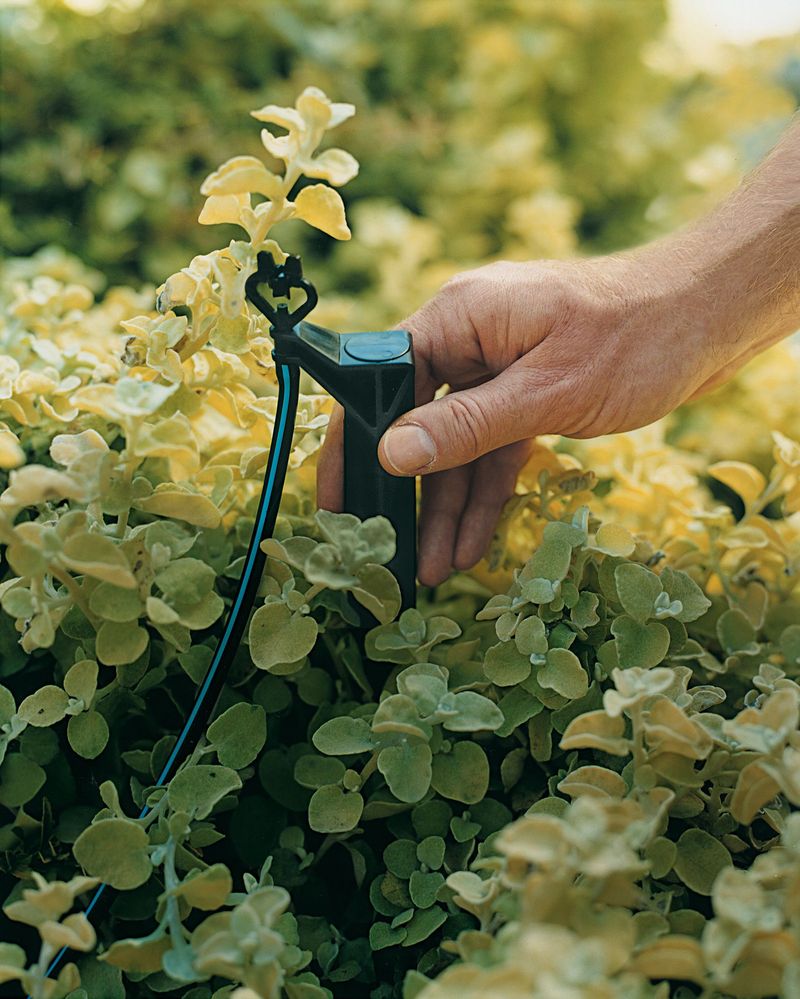
Installation is where your planning comes to life. Begin by laying out the main tubing according to your plan, securing it with stakes. Attach emitters based on plant needs and connect all components tightly to avoid leaks.
Ensure that the tubing runs are straight and avoid sharp bends that could impede water flow. Testing the system before burying the tubing allows you to make adjustments as needed.
Installation may seem daunting at first, but with careful attention to detail, it becomes a straightforward task. Don’t rush this step; patience ensures a long-lasting system.
4. Testing and Adjustments
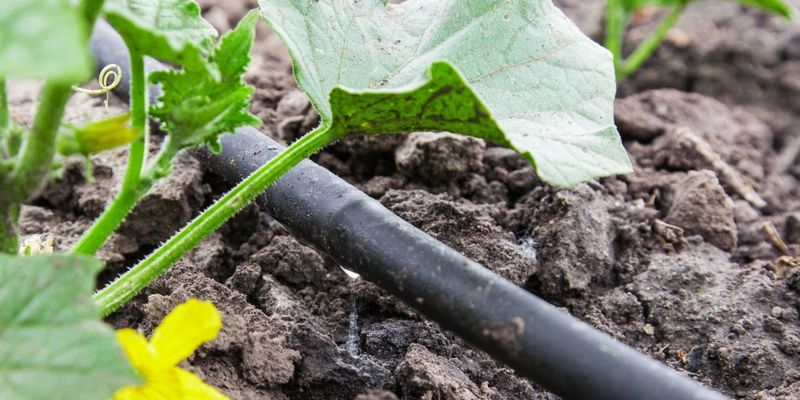
Once installed, testing is a critical step to ensure everything functions correctly. Turn on the system and observe the water flow from each emitter. Check for leaks or blockages, and adjust the pressure to ensure even distribution.
If some plants are receiving too much or too little water, make necessary changes to emitter placement or flow rates.
Regular monitoring and adjustments keep your system efficient and responsive to your garden’s changing needs. This proactive approach prevents issues and maintains optimal plant health throughout the season.
5. Maintaining Your System
Proper maintenance keeps your drip irrigation system functioning efficiently over time. Regularly inspect the tubing and emitters for any damage or blockages, and clean the filters to prevent clogs.
Replace worn-out parts promptly to maintain consistent performance. Seasonal changes may require adjustments to the system, so stay attentive to your plants’ evolving needs.
By dedicating time to ongoing maintenance, you ensure a reliable and effective watering solution that supports your garden’s health and vitality. Embrace this routine as part of your gardening care, enhancing both plant growth and water conservation.