
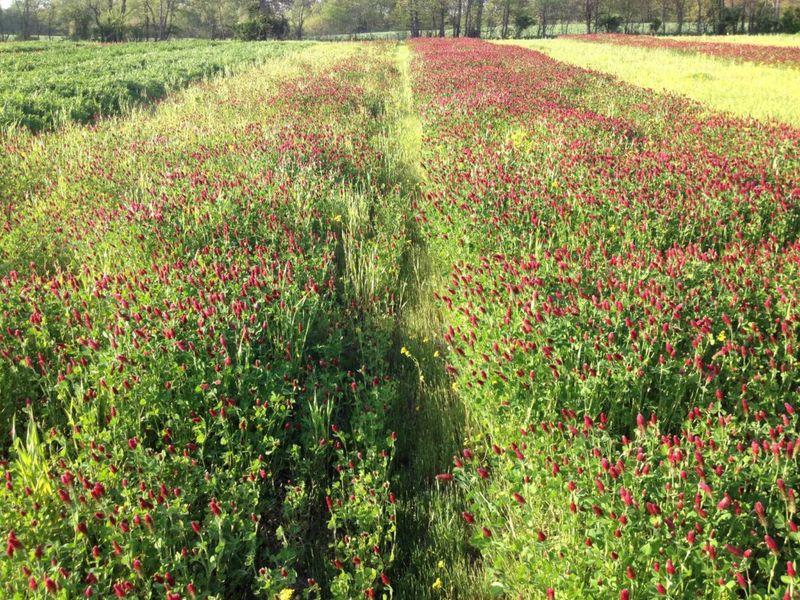
Fall is the best time to do something useful with bare garden beds, and North Carolina gardeners have a simple option that works through winter and pays off come spring. Crimson clover is a cool-season legume that protects soil, builds a little organic matter, and lights up beds with red flower spikes just when the rest of the yard looks tired.
One bag of seed and an afternoon of raking can set up beds for a genuinely easier planting season, though what you get back depends on how well the crop establishes and how you manage it in spring.
Why crimson clover fits some North Carolina beds
Bare soil after the summer harvest is not just unattractive. It is exposed to rain, weeds, and the slow loss of structure that happens when nothing is growing and feeding the soil food web.
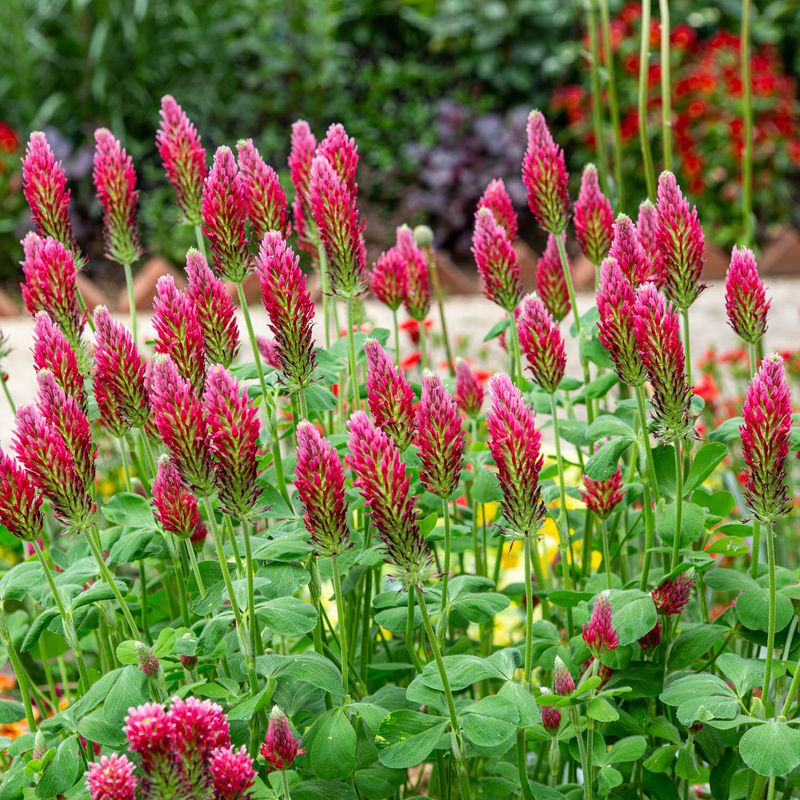
Crimson clover offers a practical answer for many North Carolina garden beds, combining winter ground cover with a spring nitrogen contribution and a flower display that few cover crops can match.
NC State Extension’s plant profile for crimson clover describes it as a cool-season annual used in North Carolina as a winter cover crop. It grows best in full sun, tolerates a range of soil fertility and pH conditions, and fixes atmospheric nitrogen through its relationship with soil bacteria called rhizobia.
Those traits make it a useful single-species choice when nitrogen contribution and spring flowers are the main priorities.
Calling it the best cover crop for every bed in the state would be an overstatement. Crimson clover struggles in soggy or salty soil, and it does not perform as a mechanical fix for severe compaction or chronic drainage problems.
What it can do is protect exposed soil through winter, add decomposable roots and shoots that contribute to organic material, and potentially reduce reliance on some fertilizer nitrogen when conditions are right.
NC State Extension notes that cover crops and green manures can improve fertility, add organic matter, improve soil structure, suppress weeds, and reduce erosion, but those benefits vary with establishment, management, and site conditions. Think of crimson clover as a seasonal tool with real upside for the right bed, not a guaranteed soil makeover or a substitute for compost, lime, or other amendments when the soil genuinely needs them.
Match sowing time to your North Carolina region
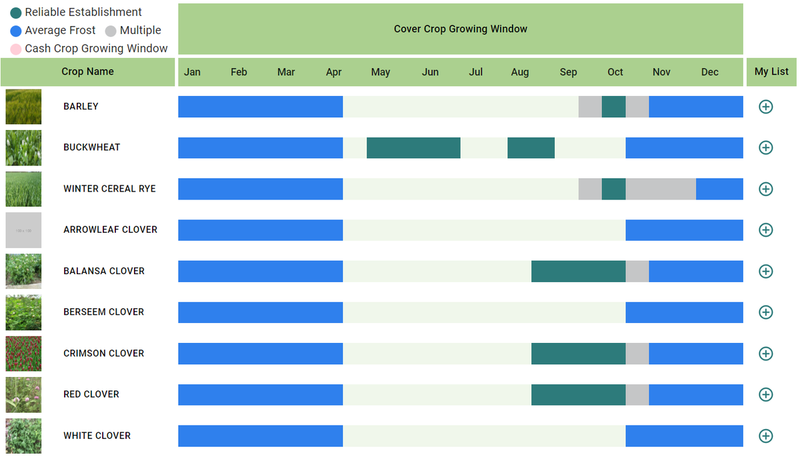
The phrase “sow now” means something different depending on where in North Carolina you garden. The state spans three distinct zones, and the planting window for crimson clover shifts by several weeks from the mountains to the coast.
Sowing too late reduces establishment time before cold sets in, and sowing too early in warm coastal conditions can stress young plants before they harden off properly.
NC State’s home-garden guidance recommends sowing fall cover crops in the Piedmont from roughly September 15 to October 20. Mountain gardeners should target an earlier window, generally wrapping up by early October or sooner depending on elevation, while coastal-plain gardeners typically have a later window that can extend into November.
The NC NRCS cover-crop planning tables offer additional context: they list crimson clover windows of approximately September 1 through November 1 in the coastal plain, August 25 through October 15 in the Piedmont, and July 25 through October 1 in the mountains. These ranges are planning references, not hard deadlines, but they underscore how much the optimal timing varies across the state.
Before you buy seed, check your region and the current date against these windows. A Piedmont gardener sowing in late September is in good shape.
A mountain gardener trying to establish clover in late October is likely past the reliable window and may end up with poor germination or a thin stand that provides little winter cover. Checking where you fall on the calendar before you buy seed is the most important planning step you can take.
Broadcast and shallowly rake the seed
Getting crimson clover established well starts with the seedbed, not the seed itself. Pull or hoe major weeds before you do anything else, because clover seedlings are small and slow to compete in the first few weeks.
A reasonably fine, firm surface gives the seed good contact with the soil and reduces the gaps that let weed seeds take hold.
NC State’s organic gardening handbook lists the home-garden seeding rate for crimson clover at approximately one-half to one pound per 1,000 square feet. That range accounts for variability in seed lots, so check the purity and germination percentages on your seed packet and adjust upward slightly if either number is below the label’s ideal.
Spreading seed too thickly wastes money without improving the stand, while spreading too thinly leaves gaps that weeds will fill.
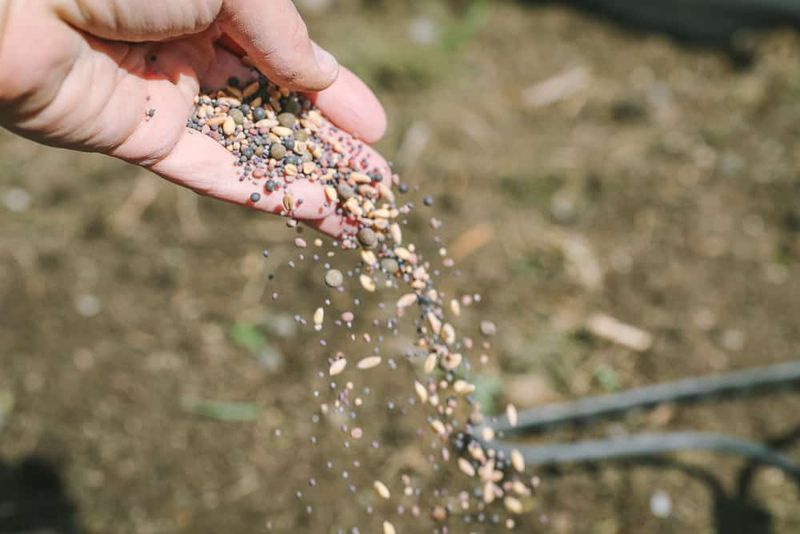
Broadcast the seed as evenly as you can by hand or with a small hand-crank spreader, then rake it lightly into the surface. NC State’s Extension Gardener fall guide describes broadcasting and light raking as the standard approach for small garden plots.
Aim for seed placement of roughly one-quarter to one-half inch deep; pressing it in with your foot or the back of the rake helps ensure contact.
If nitrogen fixation is one of your goals, inoculation is worth the extra step. USDA NRCS recommends considering inoculation when planting crimson clover for nitrogen contribution, because the rhizobia bacteria needed for fixation may not be present in adequate numbers in soils where clover has not grown recently.
Do not assume your seed is pre-inoculated; read the packet. If it is not treated, ask your seed supplier for the correct Trifolium inoculant and apply it according to the label directions before or at planting.
Water lightly after sowing if rain is not expected within a day or two, and keep the seedbed from drying out until germination is visible, usually within seven to fourteen days under good conditions.
What roots, nitrogen, and residue can contribute
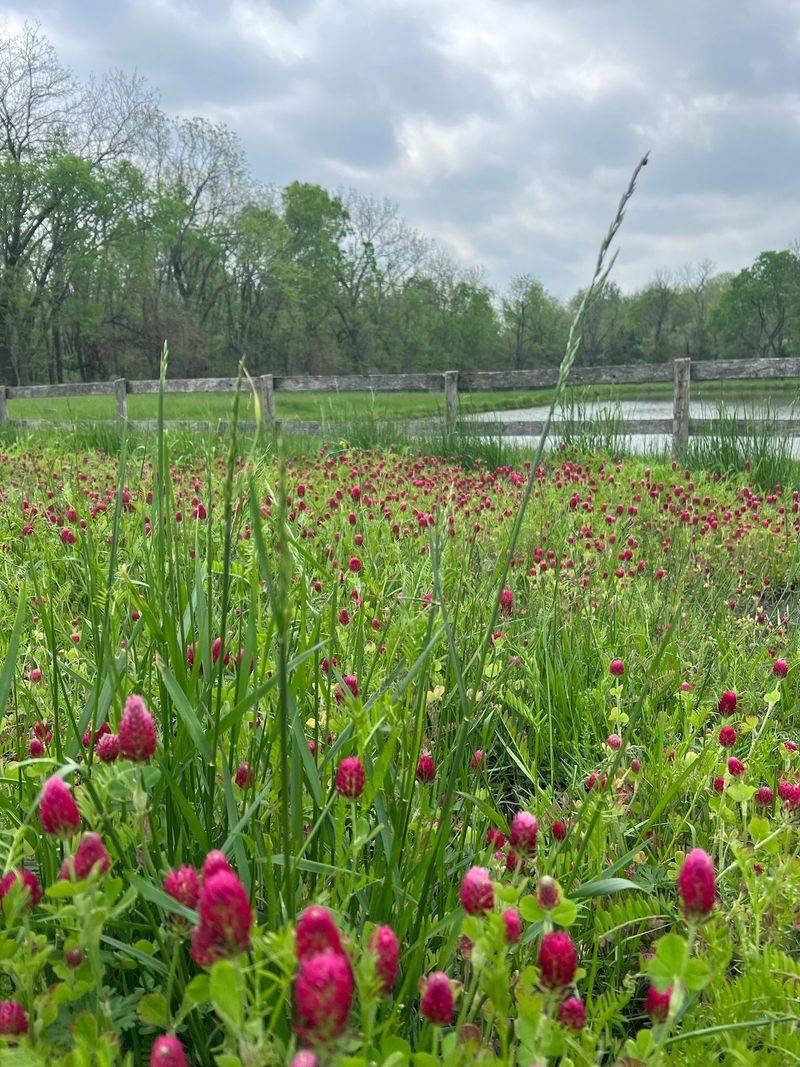
Living roots do quiet but useful work through winter. As crimson clover grows, its root system creates small channels in the soil profile, and the root hairs and associated microbial activity help bind soil particles into aggregates.
Penn State Extension research on cover crops and compaction describes how living root systems can improve soil porosity and help resist surface compaction, though fibrous-rooted grasses generally produce a stronger effect than clovers. Crimson clover’s contribution is real but modest compared to a cereal rye root mass.
The nitrogen story has two distinct parts that are easy to conflate. During the growing season, rhizobia bacteria in root nodules fix atmospheric nitrogen into a form the plant can use.
That fixation is active while the plant is alive and the legume-microbe relationship is functioning. USDA NRCS rates crimson clover “very good” for nitrogen fixation and notes a relatively low average carbon-to-nitrogen ratio of 14:1, which generally favors faster decomposition and nitrogen release compared to mature cereal rye residue.
After termination, the nitrogen stored in the plant tissue becomes available to the next crop only as the residue breaks down. That process depends on soil temperature, moisture, microbial activity, how mature the plants were at termination, and how the residue is managed.
NC State’s organic gardening guidance frames cover crops as a way to improve fertility and add organic material, while making clear that the benefits are tied to management.
One season of crimson clover can contribute meaningful organic residue and support soil biological activity, but it is unlikely to produce a dramatic increase in total soil organic carbon. A review published in Global Change Biology found that cover crops often increase soil organic carbon less than popular claims suggest, and that repeated inputs over multiple seasons matter more than a single planting.
The honest expectation for spring is a bed that may feel a bit looser and more biologically active, with some nitrogen credit toward the season’s fertilizer budget, not a completely transformed soil profile.
Terminate before spring planting takes priority
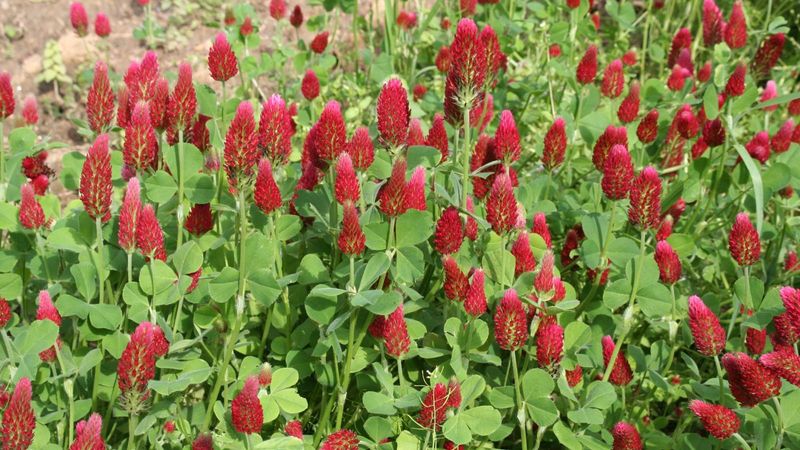
Timing the end of your cover crop matters almost as much as timing the beginning. Left too long, a flowering crimson clover stand will use spring soil moisture, slow soil warming, and potentially set seed before you get the bed ready for vegetables.
Getting the termination sequence right is what turns a winter cover crop into a genuine spring advantage.
Watch the stand as it moves into full growth in late winter and early spring. NC State’s fall Extension Gardener guide recommends waiting until about 75 percent of the cover crop is flowering before cutting, because that is when biomass and nitrogen content are typically near their peak.
At the same time, the guide advises terminating cover crops roughly four weeks before spring planting to allow residue to begin breaking down. These two targets are planning guides to balance against each other, not contradictory guarantees.
For small beds, hedge shears, a string trimmer, or a push mower all work. Cut the plants at or near the soil surface and leave the residue on top as a surface mulch, or rake it to the side if you need to plant immediately.
NC State’s vegetable gardening handbook notes that surface residue can be left to decompose or incorporated, depending on the bed’s planting system and timing.
If you plan to direct-seed small-seeded crops like carrots, lettuce, or beets, give yourself more time after termination, not less. A thick mat of clover residue sitting on the soil surface can interfere with seed-to-soil contact and shade out small seedlings.
Transplants generally handle residue better than direct-seeded crops.
NC State’s crimson clover profile notes that some cultivars can reseed and become weedy if allowed to reach mature seed. Cut the stand before seed heads harden unless you are intentionally trying to establish a self-seeding patch, and even then, plan for volunteer clover management in subsequent seasons.
The University of Maryland Extension’s cover-crop introduction also cautions against turning a large, mature cover crop directly into the soil immediately before planting, because heavy biomass can slow decomposition and complicate seedling establishment.
Know when another cover crop makes more sense
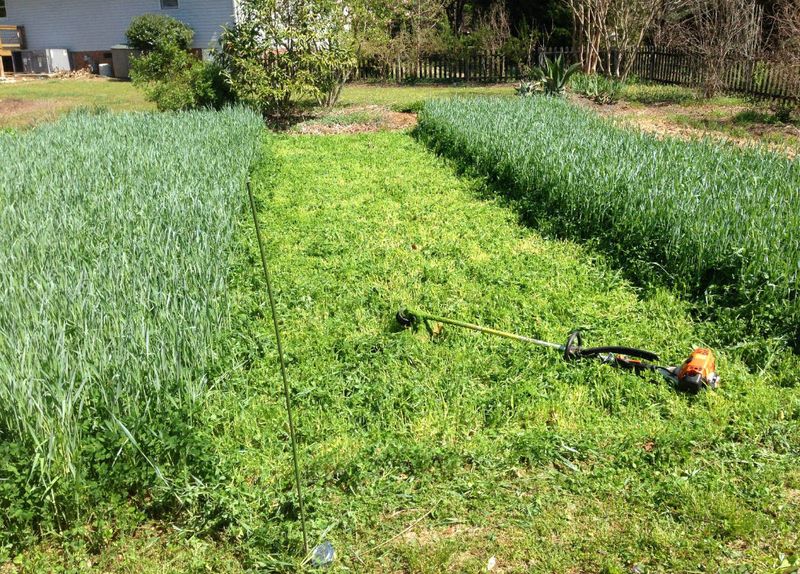
Crimson clover is a useful tool, but it is not the right tool for every situation. Understanding where it falls short helps you choose a cover crop that actually matches your bed’s biggest problem rather than one that looks good on paper but underdelivers where it matters most.
Soggy or chronically waterlogged soil is a hard limit. NC State’s crimson clover profile states clearly that the plant is intolerant of wet conditions.
Planting it in a bed that drains poorly will produce a thin, struggling stand that provides little cover and almost no nitrogen benefit. Drainage correction, raised beds, or a more water-tolerant cover crop species are better starting points for those sites.
Salty soil, extreme pH, and root-knot nematode pressure are also outside what crimson clover can correct. For beds where nematodes have been a recurring problem, rotating to a non-host cover crop or a resistant variety is a more targeted response than adding a legume.
NC State’s vegetable gardening handbook identifies soil testing as the appropriate basis for lime and fertilizer decisions, and that guidance applies here: crimson clover can contribute some nitrogen under good conditions, but it does not replace a soil test or the corrective inputs that a test may recommend.
For beds where the main goals are erosion control, strong weed suppression, or maximum fibrous-root biomass, cereal rye often outperforms crimson clover. Penn State Extension’s cereal rye guide describes rye’s dense root system and tall canopy as particularly effective for erosion protection and weed suppression, two areas where USDA NRCS rates crimson clover only “fair.”
A rye-and-crimson-clover mixture can broaden benefits by combining rye’s fibrous root mass and erosion protection with clover’s nitrogen fixation and spring flower display. NC NRCS planning tables list adapted North Carolina mixtures that pair cereal rye with crimson clover for exactly this reason.
The tradeoff is more complicated spring termination and a longer wait before planting, particularly if you plan to direct-seed. Choose based on what your specific bed needs most, not on which option sounds most appealing in the abstract.
And regardless of which cover crop you choose, continue adding compost or other organic matter when the soil calls for it. Penn State Extension’s compaction research reminds us that cover crops support soil health as part of a broader system, not as a standalone fix.
Use crimson clover as one season in a longer soil plan
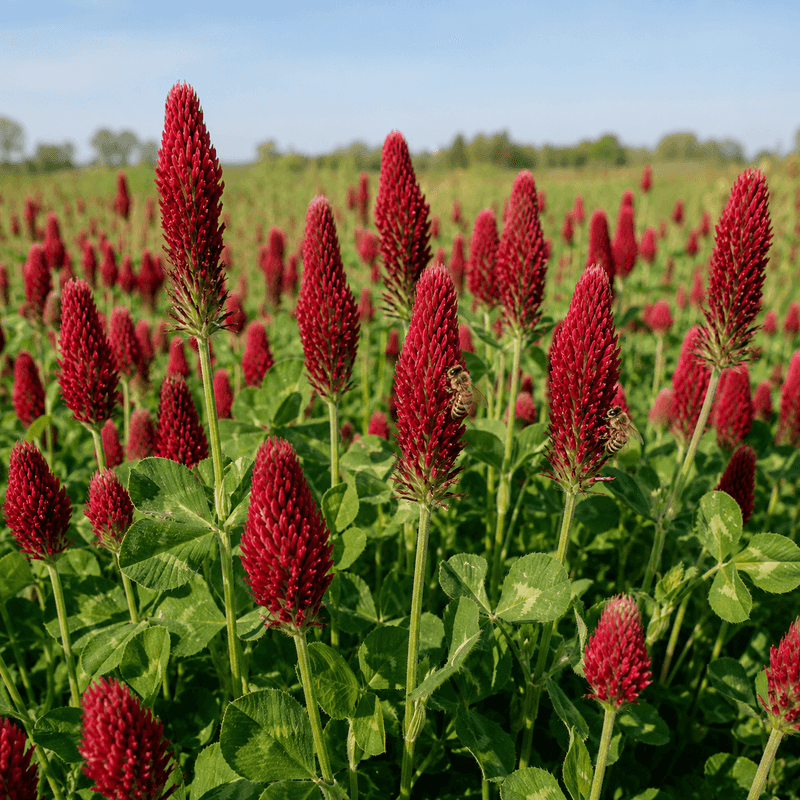
Putting this into practice does not take much equipment or experience. Pick a bed that gets full sun, drains reasonably well, and will not need to be planted until late spring.
Check your region against the planting windows described above, buy inoculated seed or pick up the right Trifolium inoculant separately, and set aside a couple of hours to prepare the seedbed and broadcast the seed.
The honest payoff from one season of crimson clover is winter soil protection, a root system that supports some aggregate formation, decomposable organic residue, a possible credit toward spring fertilizer nitrogen, and a genuinely attractive red flower display before you cut the stand. NC State’s vegetable gardening handbook is direct about the fact that repeated organic-matter additions over time are what move difficult soils most reliably.
One cover crop season is a meaningful contribution to that process, not a shortcut around it.
Schedule termination at roughly 75 percent bloom and at least four weeks before your first planting date, adjusting for residue volume and what you plan to plant. Keep your soil test current, apply lime and fertilizer as the results indicate, and add compost when the bed needs it.
Crimson clover is a practical seasonal cover crop, not a native or permanent feature, and it works best when it is treated as one piece of a longer soil-building habit. Repeated cover cropping, composting, and soil testing together are what make a bed feel genuinely different over years, and the gardeners who see the biggest change are usually the ones who started with a single bag of seed and kept going.