
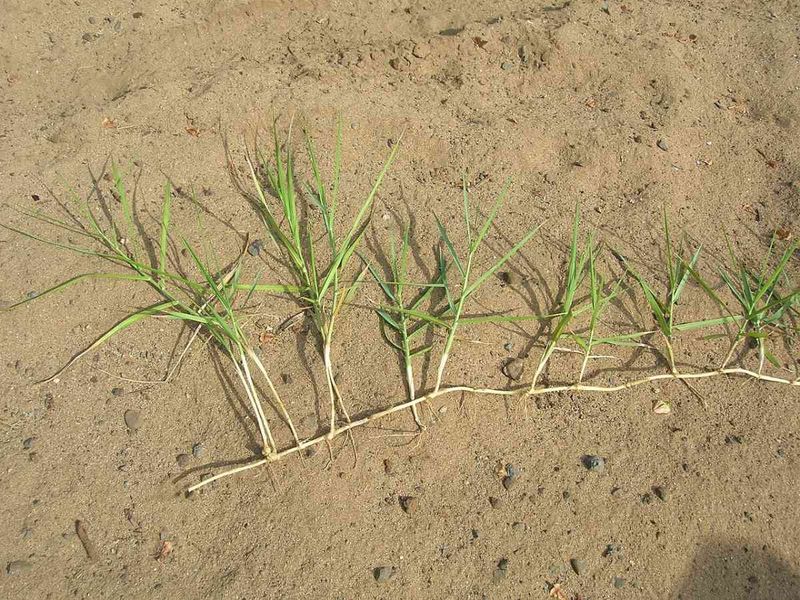
You yank out every blade of torpedograss, and the bed looks clean for a week or two. Then green spikes poke up again in the same spot, sometimes in new places.
The reason is hidden underground, where this grass keeps its real strength. Knowing what is down there helps you pick a plan that works better than endless pulling.
The visible blades hide a long rhizome network
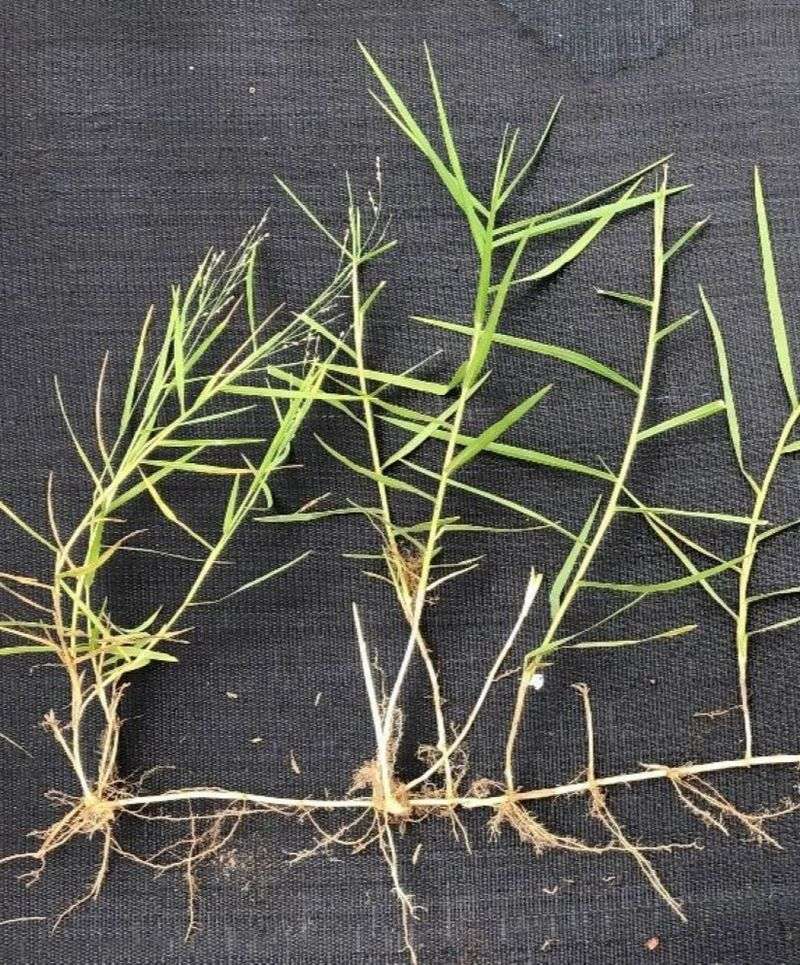
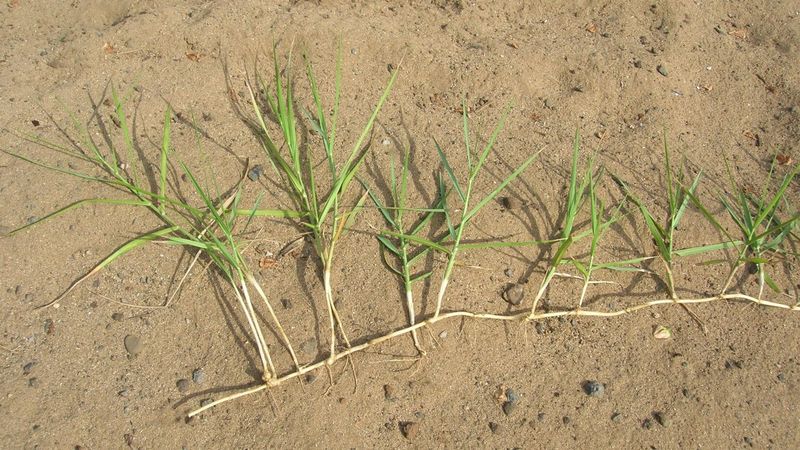
What you see above the soil is only part of torpedograss. The plant spreads mainly through rhizomes, which are underground stems rather than ordinary roots.
Rhizomes carry buds along their length and store energy, so they can push up new shoots whenever the old ones are removed.
The scale surprises many gardeners. UF/IFAS reports that torpedograss rhizomes can reach 20 feet long, with most of them in the upper 24 inches of soil.
That means a single patch of blades at the surface may be connected to a web of stems running well beyond what you can see, tucked right under your shrubs and perennials.
Here is why the grass seems to come back from nothing. When you pull the blades, the rhizome network stays in the sandy Florida soil with its buds and its stored energy intact.
Those reserves let the plant send up fresh shoots, often within days or weeks, from spots along the rhizomes.
Think of it like a tree with its trunk and branches buried. Cutting off a few leaves above ground does very little to the part that does the spreading.
The sharp, torpedo-like tips of the rhizomes can also push through soil, mulch, and the edges of landscape fabric, which is how a small patch ends up in the middle of a bed.
So the goal is not just to remove what looks bad today. Any plan has to deal with the underground stems, because they are the real source of the problem.
Why pulling can leave the problem behind
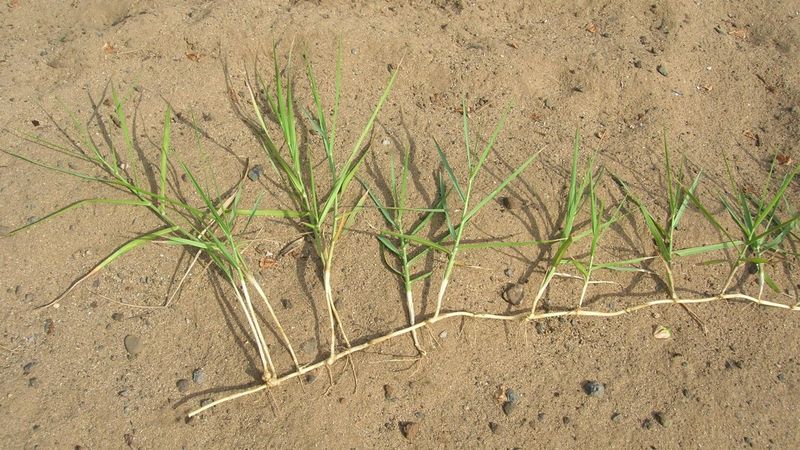
Pulling feels satisfying because the blades come out in your hand. The trouble is that a tug on the leaves often snaps the plant off, or slides out only a short piece of rhizome.
The rest of the network stays in the ground and keeps its buds.
Removing visible growth is a temporary win. Controlling the underground network is a different job, and pulling usually does not get there.
A bed can look clear for a short time while the rhizomes are quietly sending up new shoots.
Pulling does not always spread torpedograss, and not every tiny piece will regrow. The real risk is incomplete removal.
UF/IFAS notes that leftover or scattered fragments can sprout again, so soil that gets turned over or dragged around can leave viable pieces behind.
Other research backs this up. The USDA Forest Service species review describes rhizome pieces as able to sprout, and says that cutting or disturbing the plant does not reliably end it.
A handy clue is where the new shoots appear. If they pop up in a line or a ring around the spot you cleared, you are probably seeing rhizomes at work.
Shoots that show up a foot or more away from where you pulled point the same way.
That does not mean you should stop weeding. It means pulling alone should not be your whole plan for a bed with torpedograss in it.
First, make sure the grass is torpedograss
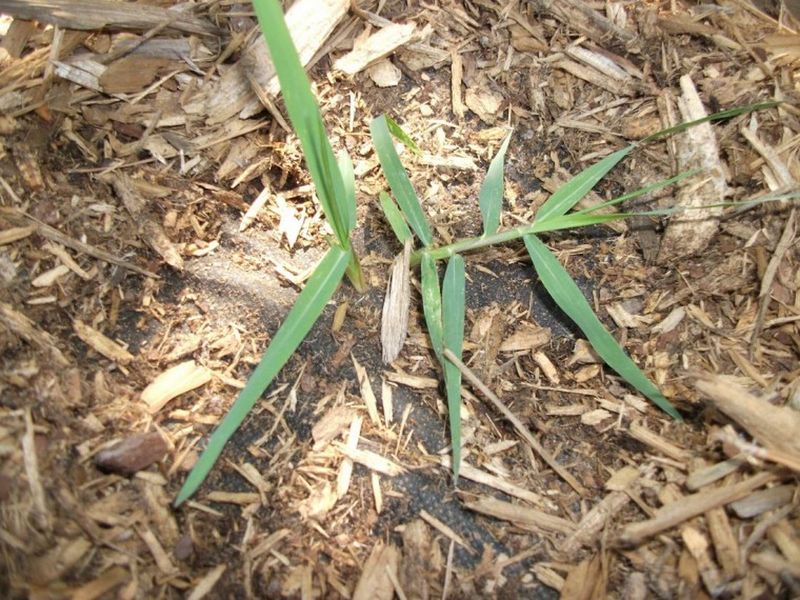
Before you dig or spray anything, confirm what you are dealing with. Plenty of grasses show up in Florida beds, and treating the wrong one wastes effort and can harm plants you wanted to keep.
One look-alike matters in particular. UF/IFAS cautions that torpedograss can be confused with maidencane, a native Florida wetland grass.
Maidencane does not have the torpedo-shaped rhizomes that give torpedograss its name.
The rhizomes are your best clue. Carefully lift a small section of soil and look at the underground stems.
Torpedograss rhizomes are long, with sharply pointed tips, while maidencane lacks that torpedo shape.
If you are not sure, take a photo and a sample to your county UF/IFAS Extension office. Staff can identify the plant and tell you what applies to your situation.
A few minutes spent on this step can save you from a long season of the wrong approach.
Keep in mind that this article is about ornamental landscape beds. Wetlands, ponds, and other aquatic sites have different rules and different plants to protect, so advice for a flower bed should not be carried over to those places.
Careful digging fits only a small, contained patch
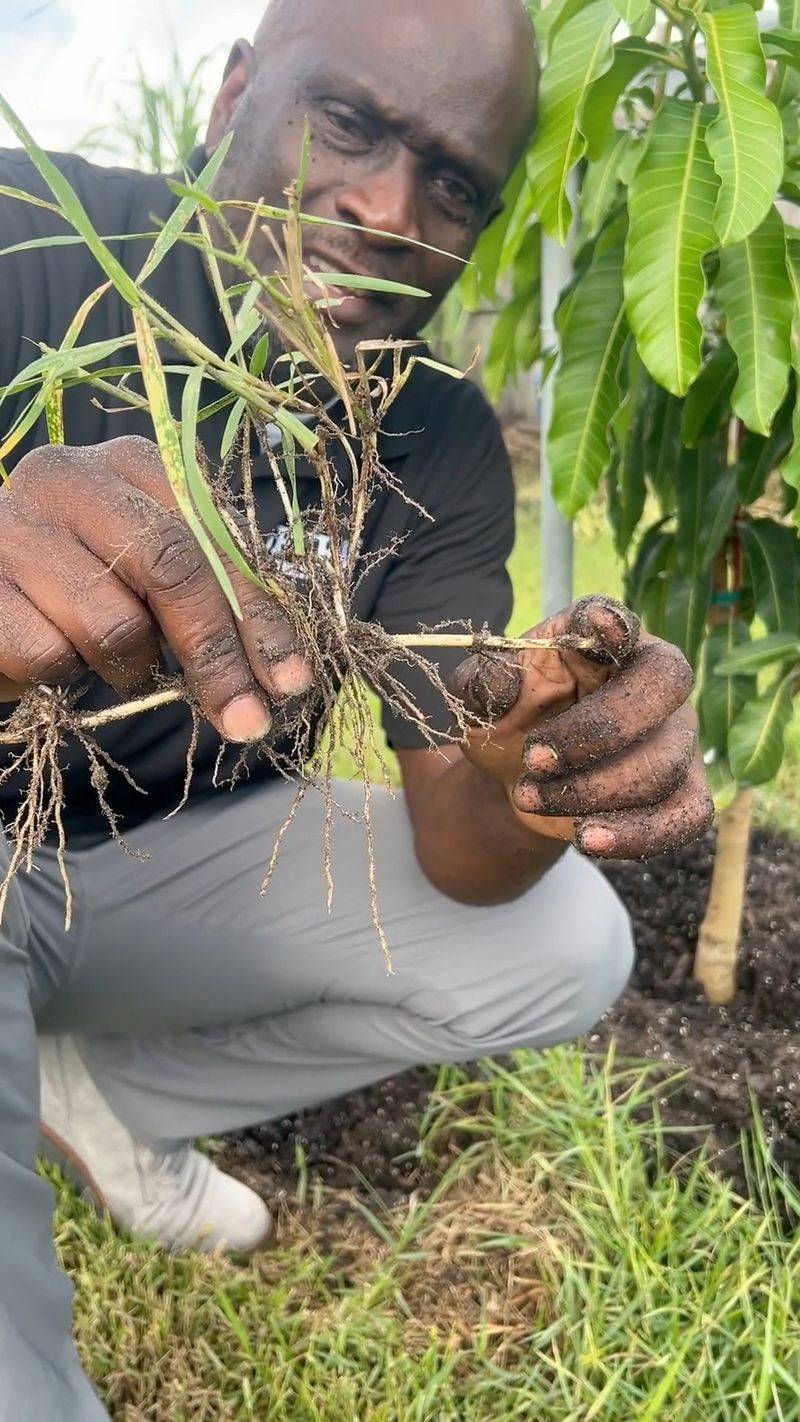
Digging can be worth trying in one situation: a very small, confined bed where you can remove the rhizomes thoroughly. That means working slowly, loosening the soil with a fork, and following each underground stem until you reach the end of it.
It is hard work, and it is easy to miss pieces. UF/IFAS warns that leftover or scattered fragments can regrow, and that digging over a large area is laborious and may spread fragments around.
If you try it, bag the material and keep it out of your compost pile. Dropping rhizomes on bare soil elsewhere in the yard just moves the problem.
Check the bed every couple of weeks afterward and remove any shoots that appear while they are small.
Roots of nearby shrubs and perennials make digging even trickier, since the rhizomes weave between them. If the grass is tangled through plants you want to keep, a small dig may not be realistic.
Other quick fixes do not hold up well. Hoeing, hand weeding, mowing, and burning remove or knock back the visible growth, but they are not reliable on their own for dealing with the rhizomes.
The USDA Forest Service review also notes that disturbance can leave pieces that resprout.
Choose herbicide around the plants you want to keep
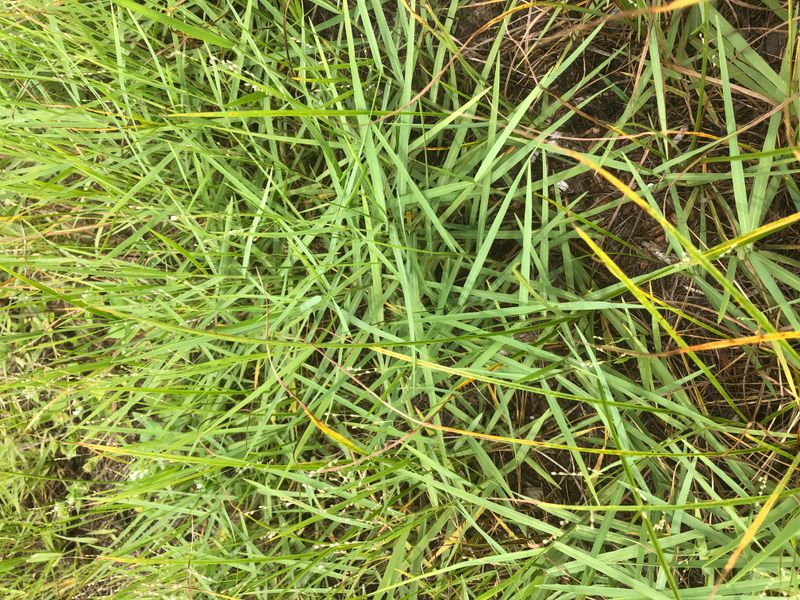
When digging will not work, herbicide may be part of the plan. The right choice depends on where the grass is growing, which desirable plants are nearby, and what the product label allows.
For landscape beds, UF/IFAS lists directed glyphosate applications as an option, though repeat applications are often needed. Glyphosate is nonselective, so it can injure or kill any green plant it touches.
Careful, targeted application matters.
Where torpedograss is growing through broadleaf ornamental shrubs, grass-selective products containing fluazifop-P-butyl or sethoxydim may be possible. UF/IFAS cautions that these are generally less effective on torpedograss and may take multiple treatments.
One product to leave out of routine bed use is imazapyr. UF/IFAS says it is not labeled for landscape use in this guidance and that it can severely injure or kill ornamentals.
A separate UF/IFAS management guide also notes it can harm plants through leaves or roots.
You will not find a universal mix or DIY recipe here, and that is on purpose. Concentrations and permitted sites vary by product.
The EPA explains that pesticide labels specify where and how a product may be used, so read the label for your exact product and follow it.
Your county Extension office can help you match a product to your bed and the plants growing in it.
Treatment timing and follow-up both matter
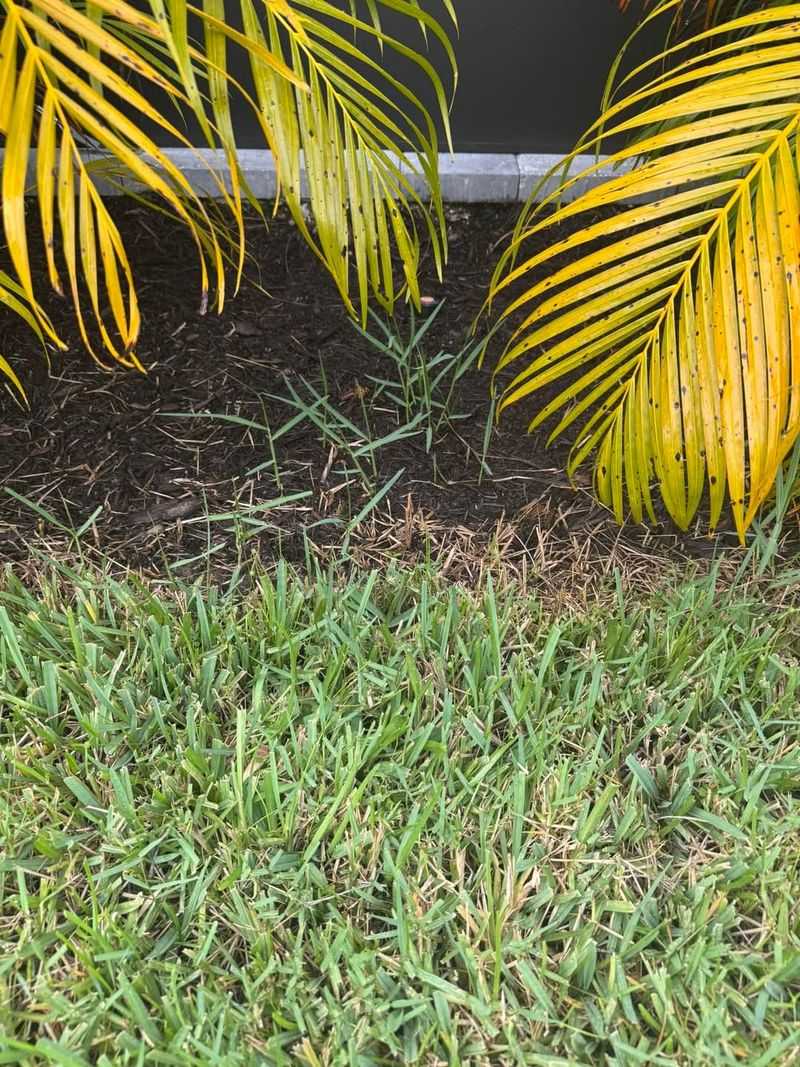
Timing can make a real difference. The UF/IFAS management guide favors treating actively growing plants, generally in late spring or summer.
It advises against treating in winter or early spring, when plants may be dormant, and against treating plants that are drought-stressed.
Plants that are growing well move products through the plant better than those that are resting or struggling. If a dry spell has the grass looking tired, waiting for steadier moisture is usually wiser than spraying on schedule.
Wet or flooded conditions can change results too. Florida’s summer storms and standing water may affect how well a treatment works, so check conditions and the product label before you begin.
Plan on follow-up. UF/IFAS says repeat treatments are often needed, and regrowth can appear even after herbicide.
A simple routine helps. Walk the bed every week or two during the growing season, look for new shoots, and note where they come up.
Treat or remove them while they are small, following the label for any product you use.
Seeing a few shoots after a treatment does not mean you failed. It means the monitoring step has started, and each round can weaken the rhizome network further.
Keep contaminated material and equipment from spreading it
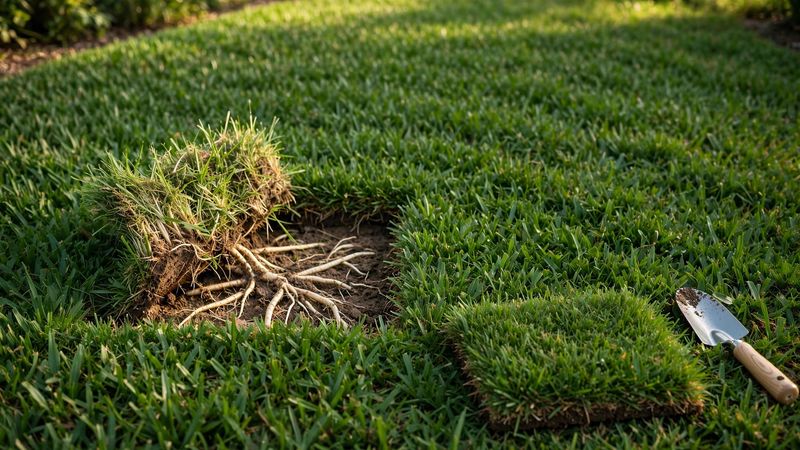
Once a bed is under control, you want to keep new pieces from getting in. Clean your tools and equipment after working in an infested area.
Shovels, mower decks, tillers, and even boots can carry bits of rhizome and soil to a new spot.
Be careful about what you bring in, too. Avoid buying or accepting soil, mulch, or hay that may be contaminated with torpedograss.
A free pile of mulch is not much of a bargain if it carries rhizomes into a clean bed.
These steps match guidance from UF/IFAS and the USDA Forest Service, which both point to moved plant material as a way torpedograss spreads.
A practical habit is to work in the clean areas first and the infested area last. Then rinse tools on a hard surface or on the infested spot itself, not over a clean bed.
These precautions can limit spread and reintroduction, but they cannot promise a bed stays clear. If torpedograss is growing next door or along a fence line, its rhizomes can creep back in on their own, so keep checking the edges.
A clear bed takes follow-through, not a one-time fix
The practical goal is to shrink the rhizome network, watch for new shoots, and repeat appropriate control when they appear. Clearing a bed over time is a more honest target than promising it will be gone forever, especially when an infestation is established or torpedograss can spread back from neighboring areas, as UF/IFAS and the USDA Forest Service both describe.
Torpedograss plays a long game, but a steady gardener can out-wait it.