
Canna lilies light up Southern yards all summer with giant leaves and fiery blooms, but what you do in fall decides how they look next year. A few simple chores before the first frost can mean thicker clumps, taller stalks, and more flowers.
Skip them, and rhizomes may rot, pests may move in, or plants may come back weak and patchy. Here are nine fall jobs that set your cannas up for a stronger comeback.
1. Know Your Frost Line Before You Do Anything
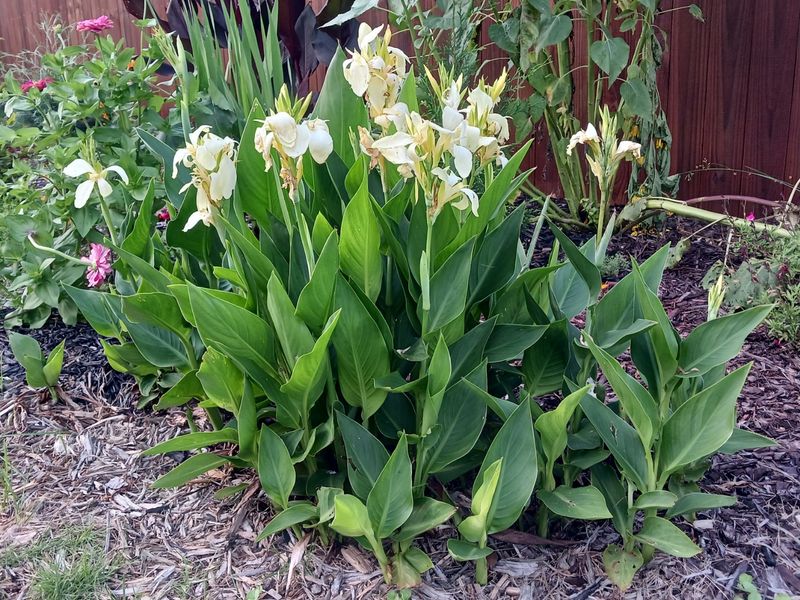
Gardeners in Orlando and gardeners in Amarillo can both grow cannas, but their fall chores look nothing alike. Your first step is figuring out which camp you belong to, because it shapes every other job on this list.
In USDA zones 8 through 11, which covers most of Florida, the Gulf Coast, and much of central and south Texas, canna rhizomes usually survive winter right in the ground. A light frost may blacken the leaves, but the roots below often stay safe, especially with mulch.
In zone 7 and colder spots, like the Texas Panhandle or north Georgia hills, hard freezes can reach the rhizomes and turn them to mush.
Look up your average first frost date and mark it on a calendar. Then count back about two to three weeks, since that window is when most of your prep should happen.
Many Southern gardeners in warm coastal areas may never see a killing frost at all, which means cleanup matters more than digging.
Fun fact: cannas are native to the tropical and subtropical Americas, so they are built for heat, not ice. Respecting that origin is the easiest way to keep them thriving year after year.
2. Stop Fertilizing in Early Fall
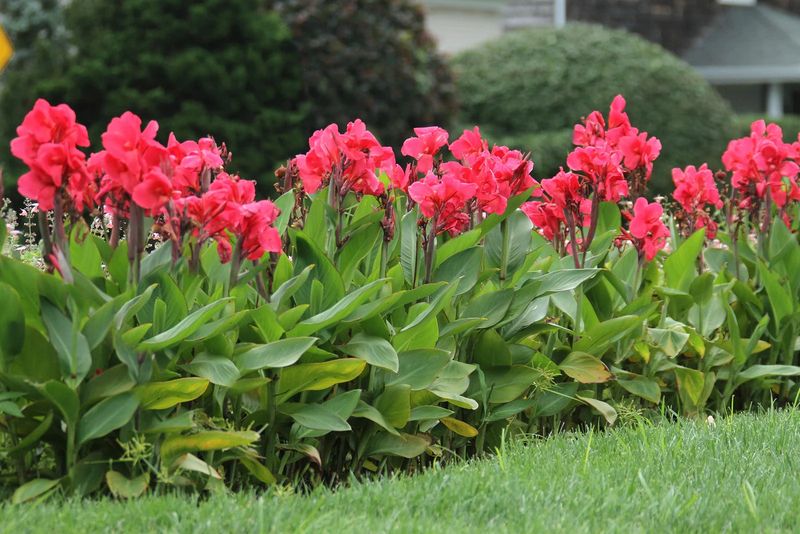
Picture a sprinter told to run one more lap right before bedtime. Feeding cannas late in the season asks much the same of them, pushing out soft new leaves just as cooler weather arrives.
Most cannas benefit from steady feeding through late spring and summer. By early fall, around six to eight weeks before your expected frost, it is smart to put the fertilizer away.
That pause lets the plant shift energy downward into the rhizomes, which store the food that fuels next year’s growth.
Tender late growth can also be more inviting to pests and more likely to get damaged by a sudden cold snap. In Florida and south Texas, where frost may be rare, you can ease off rather than stop completely, but heavy nitrogen in October still tends to favor leaves over stored energy.
If your plants look pale or tired in late summer, a light dose of a balanced or low-nitrogen fertilizer earlier in the season is the better fix. Think of fall as rest time.
A well-fed rhizome heading into winter often produces thicker shoots and bigger clumps when warm weather returns, which is exactly the payoff you are after.
3. Inspect Leaves for Canna Leaf Rollers
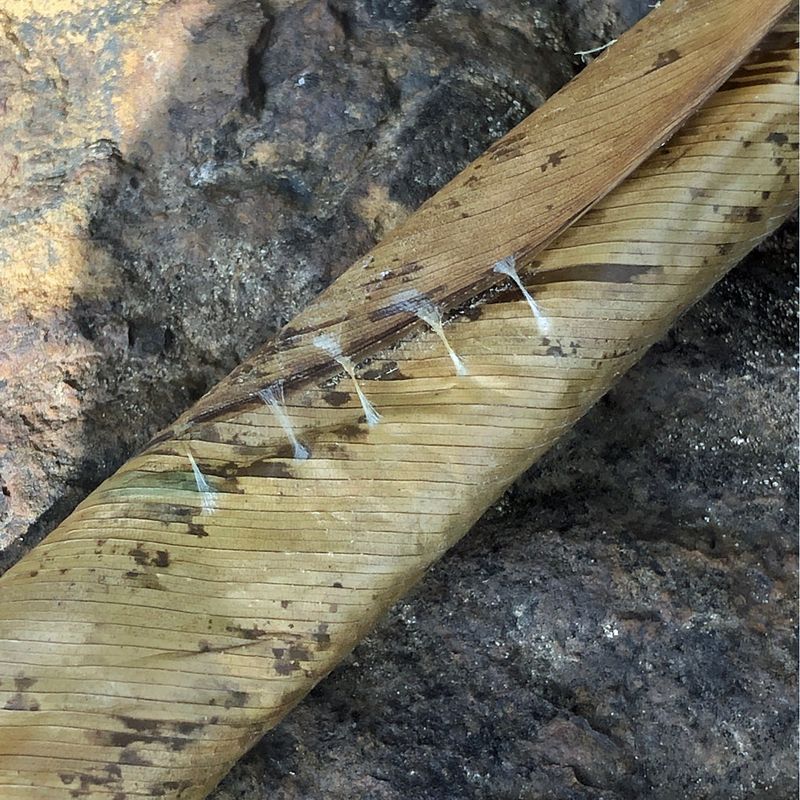
Ever notice canna leaves rolled up tight like a cigar, with ragged holes punched through them? That is often the calling card of the canna leaf roller, a caterpillar that loves Southern beds, especially in Florida and along the Gulf.
These pests can overwinter in old, rolled foliage and come back strong in spring. Fall is a great time to break that cycle.
Walk your bed and gently unroll a few suspicious leaves. If you find small pale green caterpillars or webbing inside, snip those leaves off and bag them rather than tossing them in the compost.
Hand removal is simple and often enough for a home garden. For heavier problems, products containing Bt (Bacillus thuringiensis) may help reduce caterpillar numbers, though they work best on young larvae and need good leaf coverage.
Keep an eye out for Japanese beetles and spider mites too, since stressed fall plants can attract both. A careful check now can mean cleaner, fuller foliage next summer.
Your future self, staring at a row of crisp, unchewed bronze leaves in July, will be glad you spent twenty minutes peeking inside a few rolled-up leaves this fall.
4. Cut Back Stalks at the Right Time
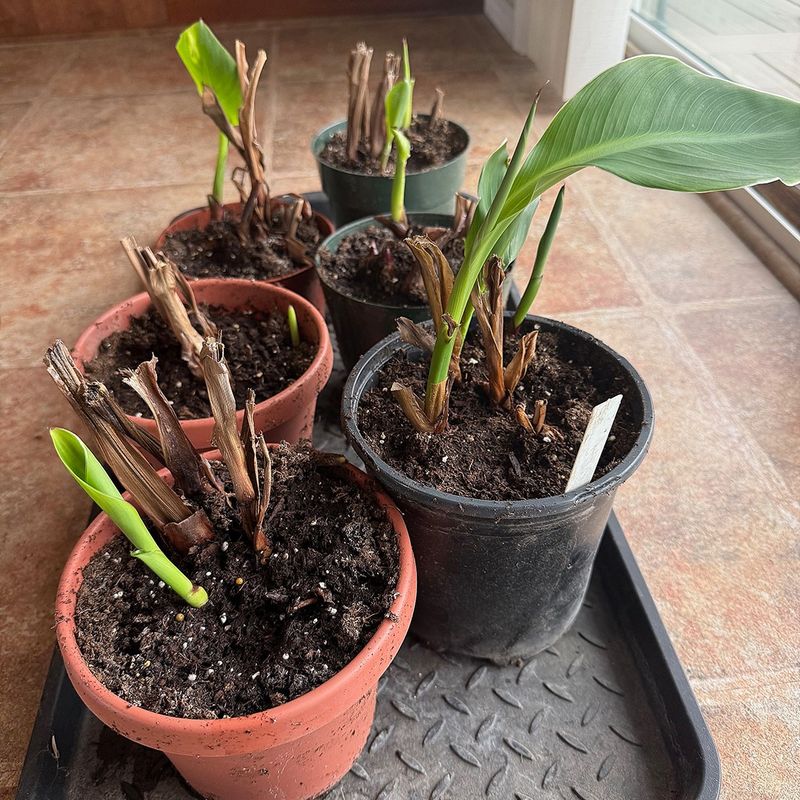
Patience pays off here. Plenty of folks grab the pruners the moment flowers fade, but those green leaves are still busy making food for the rhizomes below.
The best moment to cut cannas back is after the first light frost darkens the foliage, or in frost-free areas, once the plant naturally starts yellowing and looking tired in late fall. Use clean, sharp pruners and cut stalks down to about four to six inches above the soil.
Leaving short stubs helps you remember where the clump sits and can keep water from pooling right on the crown.
In warm spots like Tampa or Corpus Christi, cannas may stay partly green all winter. You can tidy them by removing spent flower stalks and tattered leaves while leaving healthy growth in place.
Cutting everything to the ground too early may weaken the plant a little.
Wipe your blades with rubbing alcohol between clumps if you have seen any streaky or mottled leaves, since canna viruses can spread on tools. That small habit takes seconds.
It may protect the rest of your bed from a problem that has no cure once it moves in.
5. Clear Out Old Debris Around the Clump
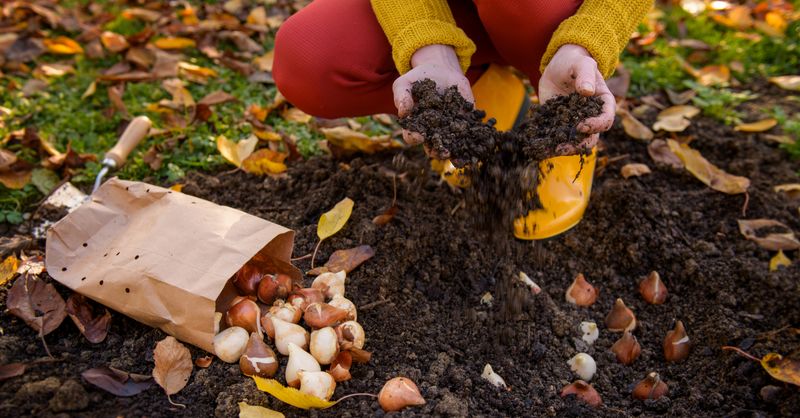
Old leaves piled around a canna clump look harmless, almost cozy. In reality, that soggy layer can be a hideout for overwintering caterpillars, slugs, and fungal spores waiting for spring.
Once you have cut your stalks back, rake away fallen leaves, spent blooms, and any rotting stems from the base of each plant. Bag anything that looked diseased or pest-damaged instead of composting it.
Healthy debris can go to the compost pile if it heats up well.
Cleaning around the clump also lets you see the soil surface. You may spot rhizomes poking up, signs of rot, or gaps where a section has died off.
That quick look tells you whether your cannas need dividing or extra protection.
Southern humidity makes this job especially valuable. Wet, warm winters along the Gulf Coast can encourage rot and fungal issues that colder, drier regions may not face as often.
A clean bed lets air move and soil dry between rains.
Think of it as resetting the stage. When new shoots push up next spring, they will rise into fresh space instead of a tangle of last year’s mess, which usually means stronger, cleaner growth.
6. Divide Overcrowded Clumps
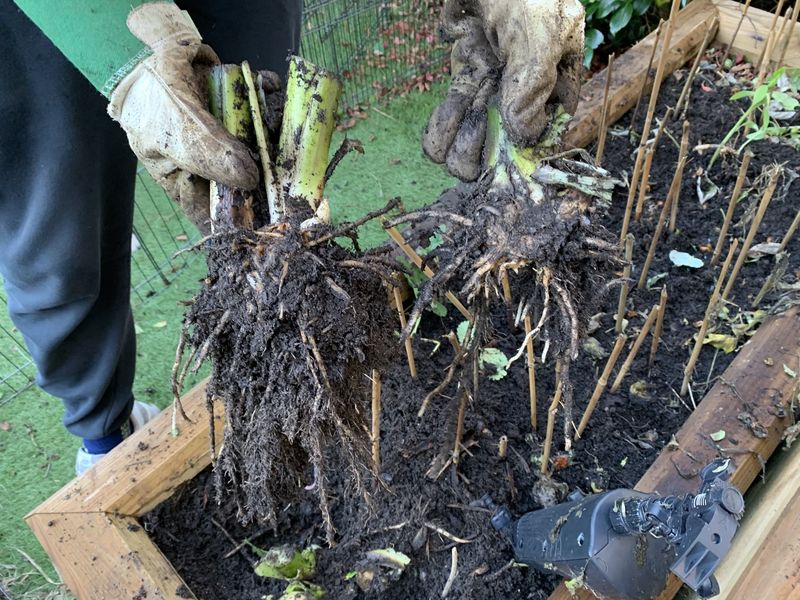
Here is a sign many gardeners miss: tons of leaves but fewer flowers than last year. Crowding is a common culprit, since cannas multiply fast and can choke themselves out within three or four seasons.
Fall, right after cutting back, is a handy time to divide in warm zones. Use a garden fork to lift the clump gently, working from the outside in to avoid stabbing the rhizomes.
Shake off loose soil and look for natural breaking points.
Each new division should have at least one or two healthy eyes, which are the small pointed buds where new shoots will form. Snap or cut pieces apart with a clean knife.
Toss any sections that feel soft, smell sour, or look shriveled.
In Florida and south Texas, you can replant divisions right away about a foot or more apart. Gardeners in colder areas can store them instead.
Bonus: extra divisions make great gifts for neighbors. Spreading out your cannas often gives each piece more room, sunlight, and nutrients, which can translate into taller stalks and more blooms next summer.
One crowded clump can easily become five vigorous ones.
7. Mulch Deeply in Mild-Winter Zones
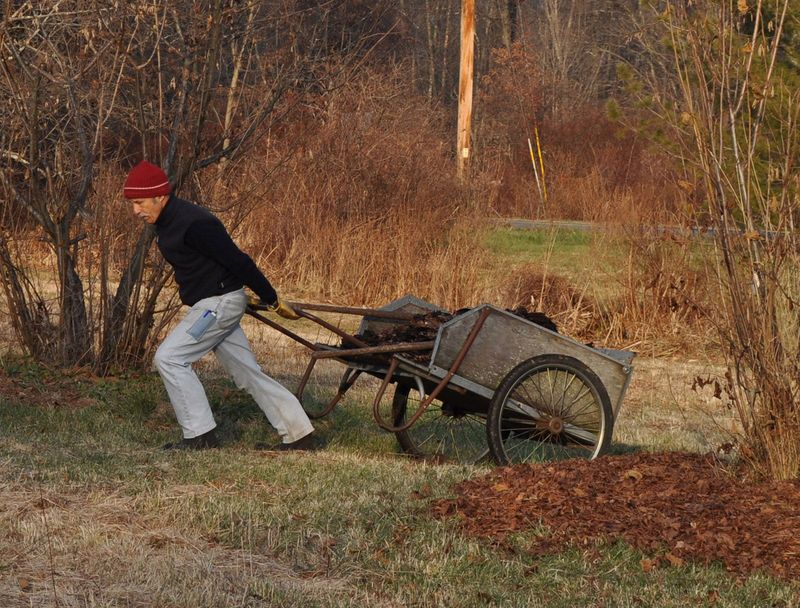
A good blanket makes all the difference on a chilly night, and your canna rhizomes feel the same way. For gardeners in zones 8 and borderline 7, a thick layer of mulch can be the line between survival and loss.
After cutting back and cleaning up, spread three to six inches of mulch over the clump. Pine straw, shredded leaves, and pine bark all work well across the South.
Pine straw is especially handy because it stays loose and lets water drain through.
Mulch helps buffer soil temperature swings, so a sudden freeze in Dallas or Houston is less likely to reach the rhizomes. It can also help hold steady moisture without leaving roots waterlogged, as long as your soil drains decently.
One caution: avoid packing heavy, wet mulch right against crowns in very soggy spots. In poorly drained clay, that can trap water and invite rot.
Keep it fluffy.
In frost-free South Florida, a lighter layer is plenty, mostly to keep weeds down and moisture steady. When spring warms up, pull the mulch back a bit so the soil heats faster and new shoots can push through easily.
8. Dig and Store Rhizomes in Cold Spots
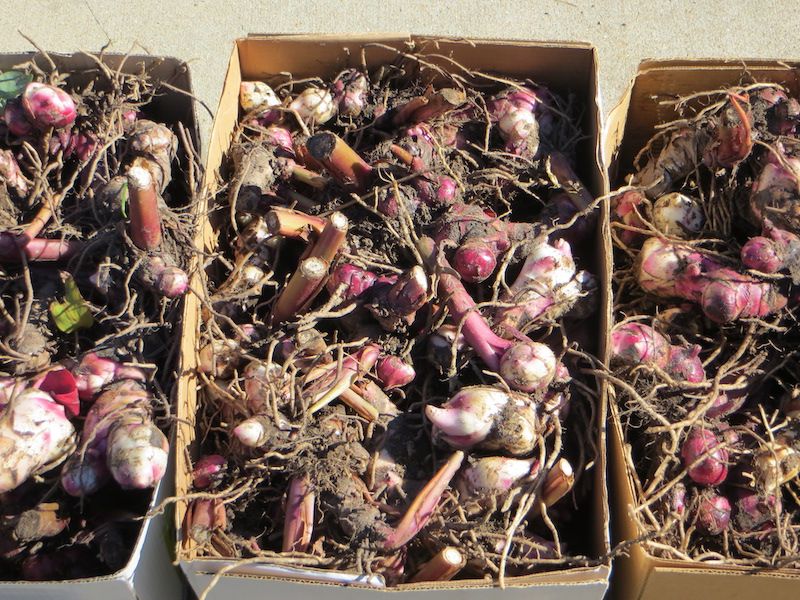
Living in a colder pocket of the South, like the Texas Panhandle or upper elevations of Tennessee? Digging your rhizomes may be the safest bet for a strong return.
Wait until frost blackens the leaves, then cut stalks to about six inches. Lift clumps carefully with a fork and brush away loose soil without scrubbing hard.
Let them dry in a shaded, airy spot for a few days so the skins toughen up.
Once dry, pack rhizomes in a box or bin with slightly damp peat moss, vermiculite, or wood shavings. Store them somewhere cool and dark, ideally around 40 to 50 degrees.
An unheated garage, basement, or closet often works.
Check them every few weeks. If they look shriveled, mist the packing lightly.
If any turn soft or moldy, remove those pieces right away so the problem does not spread.
Label containers with the variety name and color. It sounds fussy, but come spring you will want to know which rhizome holds the tall ‘Bengal Tiger’ and which is the compact red.
Stored rhizomes replanted after your last frost often come back just as vigorous as ever.
9. Fix Drainage and Amend Soil for Spring
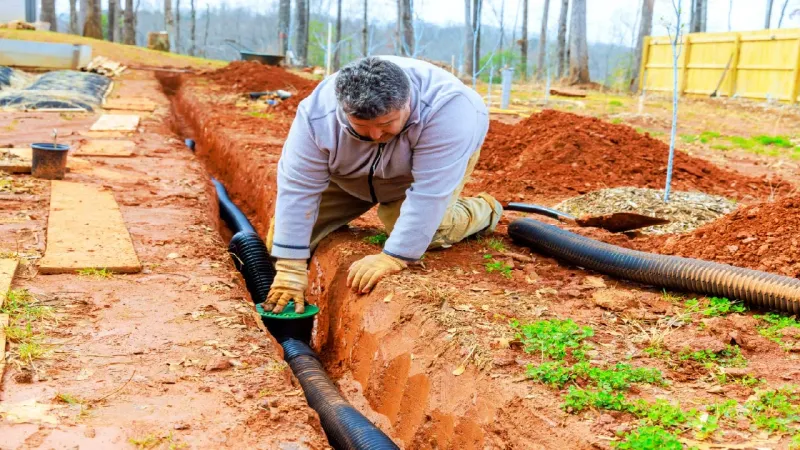
Soggy winter soil quietly kills more cannas than cold does in much of the South. Heavy clay in Texas and low, wet patches in Florida can leave rhizomes sitting in water for weeks.
Fall is an ideal time to look at how your canna bed handles rain. After a downpour, does water puddle for hours?
If so, consider working two to three inches of compost into the top layer of soil around the clumps. Organic matter can improve drainage in clay and help sandy Florida soil hold moisture and nutrients better.
Raised beds or slight mounds are another smart fix for chronically wet spots. Lifting rhizomes even a few inches can reduce the chance of winter rot.
If you divided clumps earlier, replant pieces into these improved areas.
A simple soil test from your local extension office, such as Texas A&M AgriLife or UF/IFAS, can also reveal pH or nutrient gaps worth correcting before spring.
Cannas are heavy feeders that love rich, moist, but well-drained ground. Giving them better soil now means they wake up in spring with a solid foundation, ready to shoot up taller and bloom harder than they did this year.