
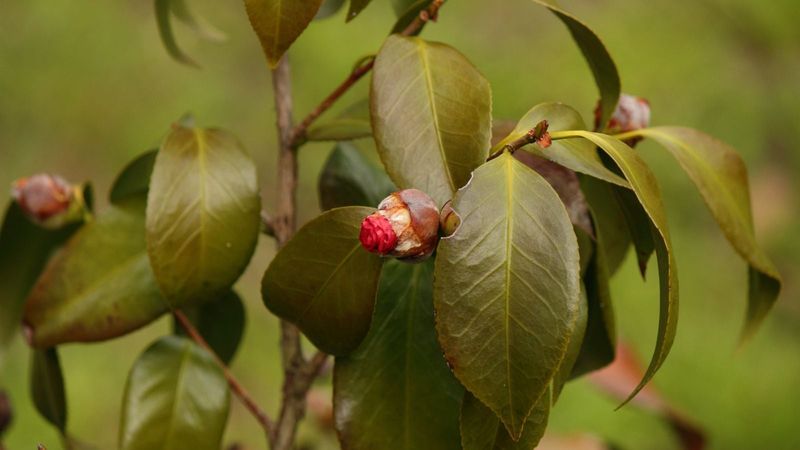
Few things are more frustrating than watching your camellia fill up with fat buds in fall, only to find them on the ground before a single flower opens. If you grow sasanqua camellias in Central Texas, inconsistent root-zone moisture is one of the more common reasons buds abort right at show time.
That does not mean it is the only reason, and this article will help you figure out whether watering is actually the problem before you change anything.
First identify the camellia and the symptom
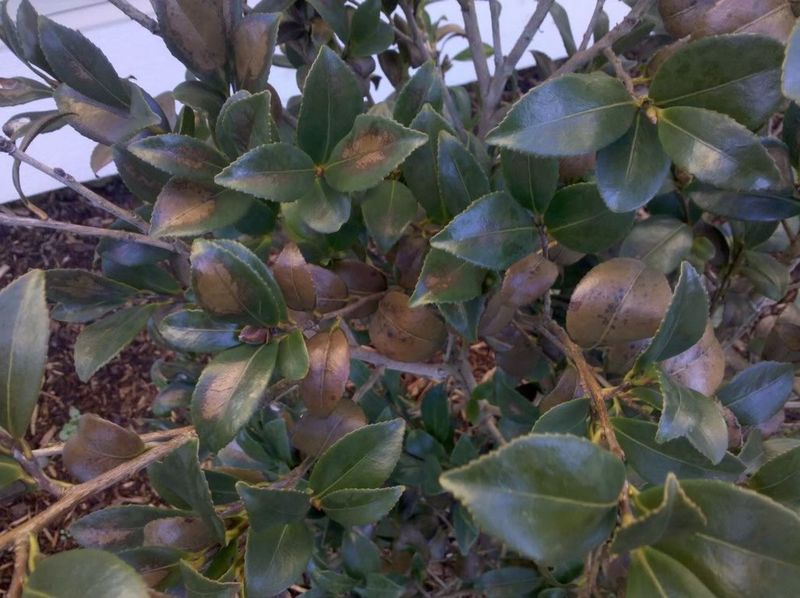
Sasanqua camellias are the fall bloomers most Central Texas gardeners are likely growing. North Carolina Extension describes sasanquas as late-fall and winter bloomers, and Texas Master Gardener guidance similarly identifies them as fall and early-winter flowering shrubs.
Japonicas, by contrast, tend to bloom later, from winter into spring, so they are a different conversation.
When buds fail, the signs vary. You might see them drop cleanly before opening, turn brown at the tips, develop painfully slowly, open late, or simply refuse to open at all.
Not every dropped bud points to a serious problem, though, because Clemson Extension notes that camellias often set more buds than they can fully mature, so losing some is natural.
Moisture management becomes especially relevant during hot or dry stretches and while buds are actively developing. The exact timing depends on your specific soil, exposure, irrigation setup, and how much rain your part of Central Texas has received.
Texas A&M’s Earth-Kind plant selector separates the state into multiple growing regions rather than treating it as one uniform environment, which is a useful reminder that conditions vary considerably even within Central Texas.
Use this article as a diagnostic starting point, not a guaranteed explanation for every bud on your ground.
Inconsistent moisture can contribute to bud drop
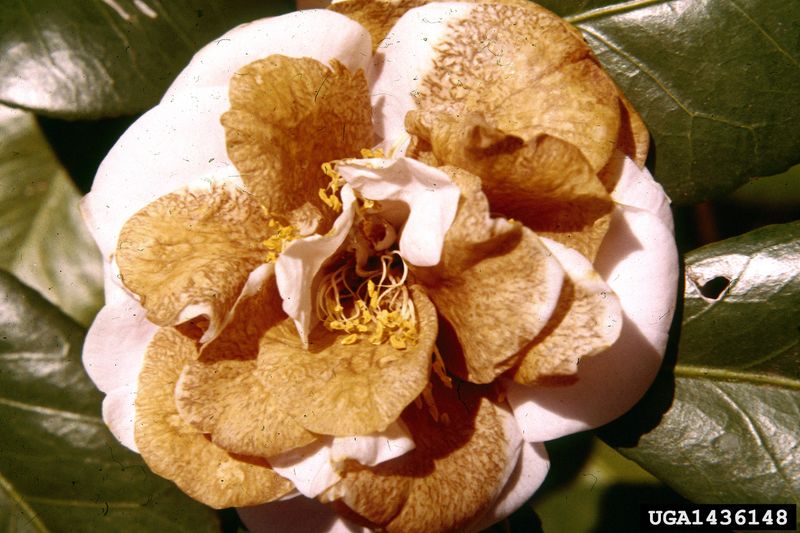
A moisture swing does not mean one missed watering. The real problem is a pattern where the root zone dries out significantly over time and then receives a heavy soaking, or where soil stays persistently wet because drainage is poor.
Clemson Extension lists both “too wet” and “too dry” soil conditions among the documented causes of camellia bud drop, alongside temperature swings, freezing, poor drainage, nutrient problems, cultivar sensitivity, and bud mites.
When the root zone dries too far, the plant pulls water away from developing buds to protect more critical tissue. Then, when heavy irrigation arrives, the sudden shift stresses roots that are already struggling.
That cycle, repeated over several weeks during bud development, can push a camellia to abort buds it might otherwise have carried to bloom.
Poor drainage creates a different version of the same outcome. The Connecticut Agricultural Experiment Station notes that waterlogged soil impairs root function, which means the plant cannot move water and nutrients efficiently even when moisture is technically present.
Roots sitting in saturated soil begin to lose function the same way drought-stressed roots do, and buds are among the first casualties.
The target is evenly moist, well-drained soil, not simply more water. Camellias want consistent access to moisture without ever sitting in standing water.
Understanding that distinction is the first step before adjusting anything in your irrigation routine, and it is worth repeating that other causes can produce identical symptoms even when your watering has been reasonable all season.
Check the root zone before changing the schedule
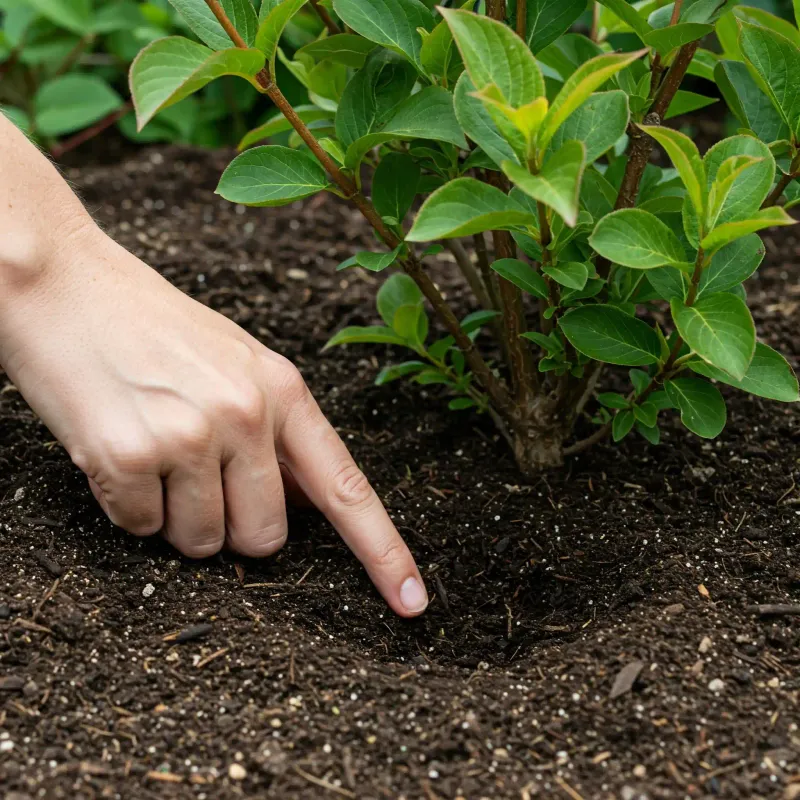
Before adjusting any irrigation, go outside and actually probe the soil. Push a wooden dowel, a long screwdriver, or your finger about 6 inches below the surface beneath the canopy of the plant.
University of Maryland Extension recommends checking at roughly that depth and watering thoroughly only when the soil at that level is becoming dry, rather than running the sprinkler on a fixed calendar.
What you find at 6 inches tells you which direction to go. Soil that feels dusty and pulls away from the probe means the root zone has been drying out between waterings.
Soil that feels cold, muddy, or slippery, especially if water pools when you press down, suggests drainage is already a limiting factor. Watering more in that second scenario would make things worse, not better.
Several local variables affect how quickly Central Texas soil dries out at that depth. Sandy soils drain fast and dry quickly; heavy clay holds water longer but can also become hydrophobic when extremely dry.
A camellia planted against a south-facing wall in full afternoon sun will lose moisture faster than one tucked under a live oak. Rainfall from the past week, wind, recent heat, and how much of the root zone is covered by mulch all shift the math.
Newly planted or recently moved camellias need more frequent monitoring than established shrubs because their root systems have not yet spread far enough to buffer short dry spells. Check those plants more often during hot or dry periods, and do not assume that an established neighbor plant’s needs match theirs.
The probe reading, not the calendar, should drive the decision.
Water slowly and deeply when the soil needs it
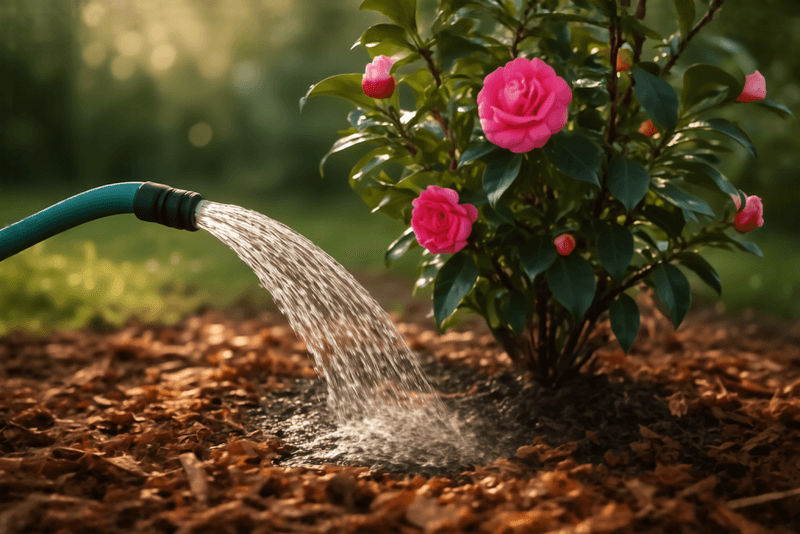
Once the probe tells you the root zone is becoming dry, apply water slowly and aim it at the soil rather than the foliage. A drip emitter, a soaker hose laid in a ring under the canopy, or a garden hose set to a slow trickle gives water time to move down through the soil rather than running off the surface.
University of Maryland Extension recommends deep, thorough irrigation over brief, frequent sprinkling, which tends to wet only the top inch or two and trains roots to stay shallow.
To measure what you are applying, set a shallow can or a rain gauge under the sprinkler or within the drip zone and stop when the water level reaches your target depth. Then probe the soil again several inches down to confirm the water actually moved through the soil profile and did not just pool on the surface.
Texas A&M’s Earth-Kind water guidance emphasizes applying water at a rate the soil can absorb rather than delivering it faster than the ground can take it.
A useful starting reference from UF/IFAS camellia guidance is roughly 1 inch of water every 10 days to 2 weeks during extended dry periods, increasing to about 1 inch per week while the plant is actively flowering. Treat those numbers as an adjustable baseline, not a prescription.
A camellia in fast-draining sandy soil under a hot afternoon exposure will need attention sooner than one in a shadier spot with heavier soil that holds moisture longer.
Avoid flooding soil that already feels saturated. Adding heavy irrigation to a site that drains slowly will push the root zone into the waterlogged condition that causes the same bud loss you are trying to prevent.
If the soil is still wet from the last rain or watering session, wait and probe again before running the hose.
Use mulch to moderate moisture loss without trapping water
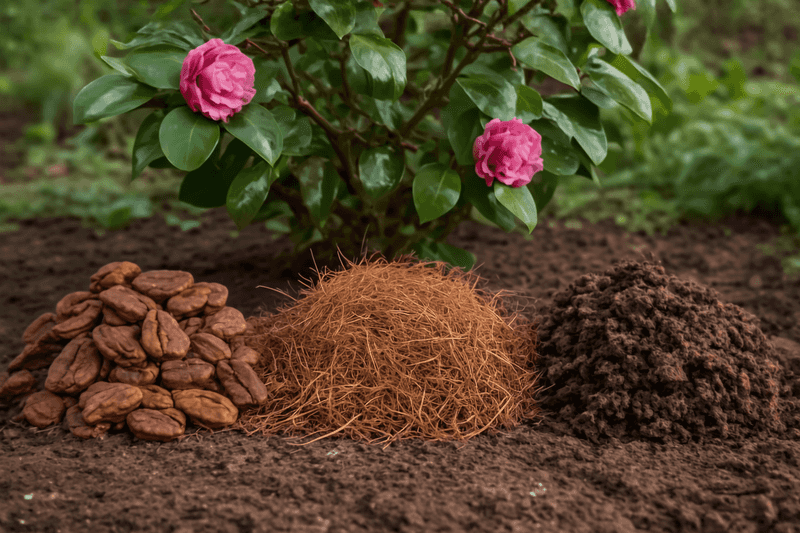
Camellias have relatively shallow root systems, which makes them more vulnerable to the surface drying out quickly between waterings. A 2- to 3-inch layer of organic mulch, such as pine bark, shredded hardwood, or pine straw, can meaningfully slow that moisture loss.
Clemson Extension recommends a 2- to 3-inch mulch layer for camellias specifically to help retain soil moisture and protect the shallow root zone.
Texas A&M’s Earth-Kind program notes that mulch reduces evaporation and helps moderate soil temperature, both of which matter during the hot and often dry stretches that precede fall blooming in Central Texas. By keeping the root zone cooler and holding moisture longer between waterings, mulch reduces the amplitude of the wet-dry cycle that can stress developing buds.
Keep the mulch pulled back several inches from the main stem and any low branches. Mulch piled against the trunk traps moisture against the bark, which can promote rot and create conditions that invite pests.
Spread it in a ring out to the drip line of the canopy instead, and replenish it as it breaks down over the season.
Mulch is a support tool, not a fix for a poorly drained site. If your camellia sits in a low spot that stays wet after rain, or near a downspout that channels runoff toward the bed, adding mulch and more water will only compound the drainage problem.
Address the drainage issue first, and use mulch to help a well-drained site stay more consistently moist between properly timed waterings.
Look for signs that watering is not the cause
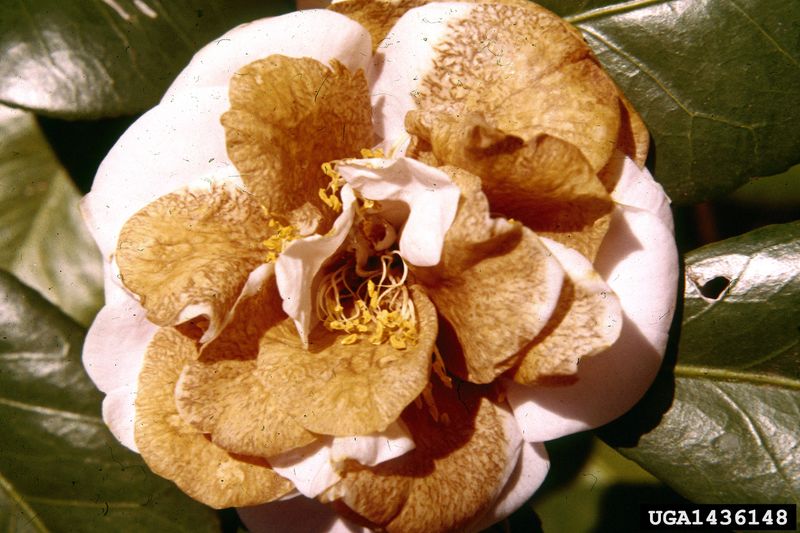
Correcting moisture is the right first step when the soil probe confirms the root zone has been drying too far between waterings. When the soil moisture looks reasonable, though, or when moisture correction does not slow the bud loss, other explanations deserve equal attention.
Clemson Extension identifies temperature swings, hot weather, freezing, cultivar sensitivity, nutrient problems, poor drainage, and camellia bud mites as documented causes of bud failure that can produce symptoms nearly identical to moisture stress.
Central Texas fall weather is not always cooperative. A stretch of unusually warm days followed by a sudden cold front, or an early freeze hitting buds that have not yet hardened, can cause the same browning and drop you would see from drought stress.
UF/IFAS extension notes that temperature fluctuations are a significant factor when camellia flowers fail to open, and some cultivars are more sensitive to those swings than others.
Bud mites are worth considering when the pattern looks unusual. Mississippi State University Extension describes camellia bud mites as too small to see without magnification, so you cannot confirm them by looking at the plant casually.
Clues that warrant a closer look include bud scales that turn brown and papery, buds that stay distorted or fail to swell normally, or a situation where buds on one part of the plant are clearly worse than on another part while the overall plant appears reasonably vigorous.
Root rot is another possibility that can look exactly like drought stress from the outside. UF/IFAS camellia pest and problem guidance notes that root damage impairs the plant’s ability to move water even when moisture is present in the soil.
Yellowing leaves, declining overall vigor, persistently wet soil, or a planting site near a downspout or drainage low point should all shift your thinking away from “needs more water” and toward drainage assessment and possible root evaluation.
Reaching for a pesticide or fertilizer before confirming the actual problem risks wasting money and potentially making the situation worse.
Steady moisture supports future flowering
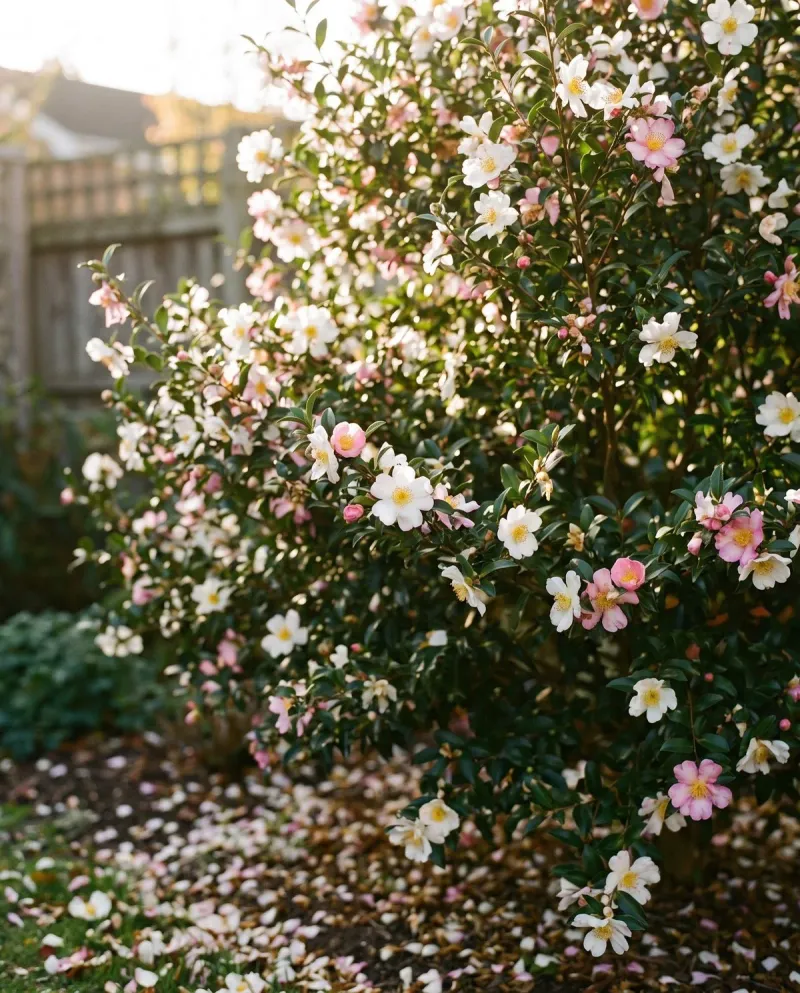
Pulling this together into a practical sequence: probe the root zone about 6 inches down before adjusting anything, then water slowly and deeply only if that depth is becoming dry. Maintain a 2- to 3-inch mulch layer pulled back from the trunk, and reassess drainage honestly before adding more water to a site that already stays wet.
University of Maryland Extension’s guidance on deep, soil-confirmed watering applies well here: the probe reading leads, and the hose follows.
Buds that have already aborted will not reopen, so the goal now is protecting whatever buds remain and setting the plant up for better flowering in future seasons. Clemson Extension’s overview of camellia bud problems is a useful reference if you want to keep evaluating other possible causes alongside moisture.
Consistent care from here forward, including attentive moisture management and proper mulching, gives the plant the best chance of carrying its next flush of buds to full bloom.
Evenly moist, well-drained soil removes one significant risk from the equation, but weather, cultivar sensitivity, natural bud thinning, and pests can still shape the final bloom count regardless of how carefully you water. A camellia that blooms reliably in Central Texas is usually one that gets the basics right consistently rather than one that receives heroic intervention at the last moment.