
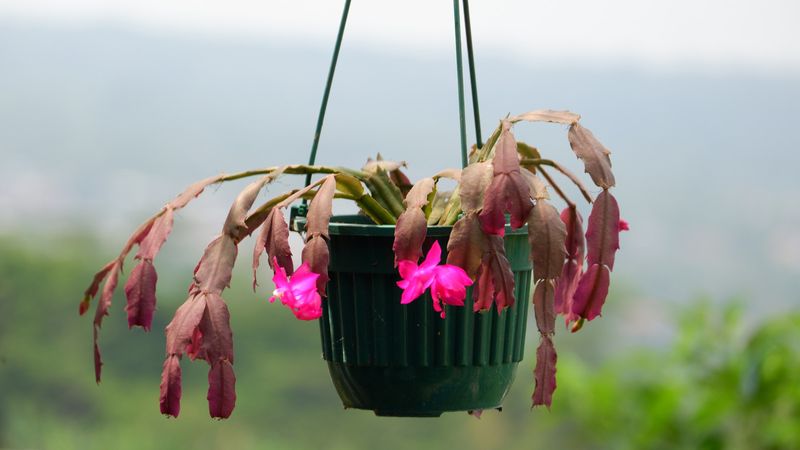
A limp, lifeless-looking holiday cactus is one of the more alarming sights for a houseplant caretaker, especially right before the holidays. The good news is that a drooping plant is not automatically a dead one, and many stressed holiday cacti can recover when you find and fix the real problem.
The tricky part is that limpness does not always mean the plant is thirsty – it can just as easily mean the roots are damaged from too much water. This 10-step rescue plan walks you through diagnosing the cause and choosing the right path forward, with an honest look at when recovery may not be possible.
A drooping holiday cactus may still be salvageable
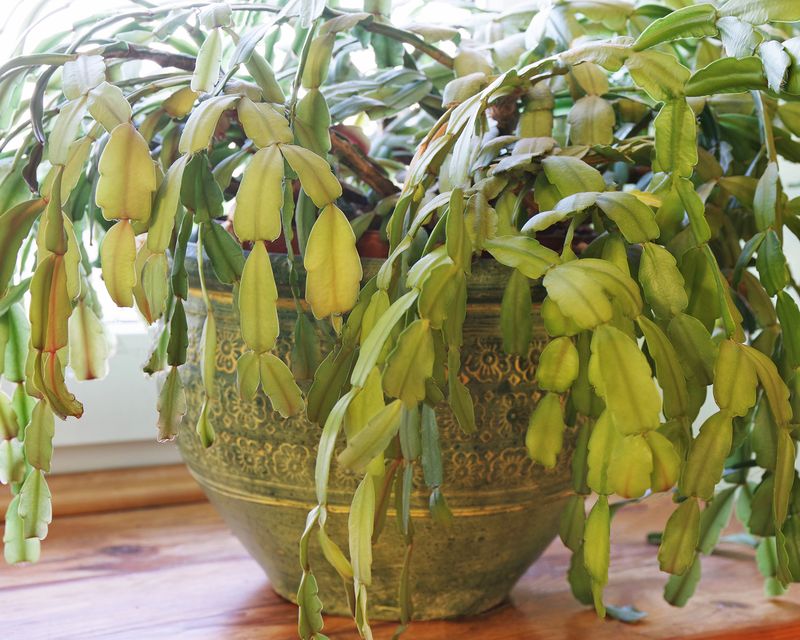
Seeing your holiday cactus hang limp and flat is genuinely worrying, but limpness alone does not tell you why the plant is struggling. UConn Extension’s holiday cactus guide explains that both prolonged dryness and chronic overwatering can cause the same drooping symptom, which means reaching for the watering can without checking the soil first can make things worse rather than better.
The first two steps in this rescue plan are diagnostic, not corrective: Step 1 is to pause before adding water, and Step 2 is to remind yourself what kind of plant you are actually dealing with.
Holiday cacti – sold under names like Christmas cactus, Thanksgiving cactus, or simply holiday cactus – are rainforest epiphytes, not desert succulents. NC State Extension’s Schlumbergera profile notes that these plants are native to humid, shaded forest environments in Brazil, which means they need more consistent moisture and ambient humidity than a prickly-pear cactus would.
Keeping them bone-dry for extended periods stresses them just as surely as keeping them waterlogged.
Many distressed holiday cacti can recover once the underlying problem is corrected, and healthy stem sections can often be propagated as a backup. Wisconsin Extension’s holiday cactus resource is candid that recovery is not guaranteed, particularly when the entire root system is compromised or when bacterial or fungal rot has spread through the stems.
The ten actions that follow are designed to improve the plant’s odds, not promise a certain outcome.
Check the soil, drainage, and visible stems
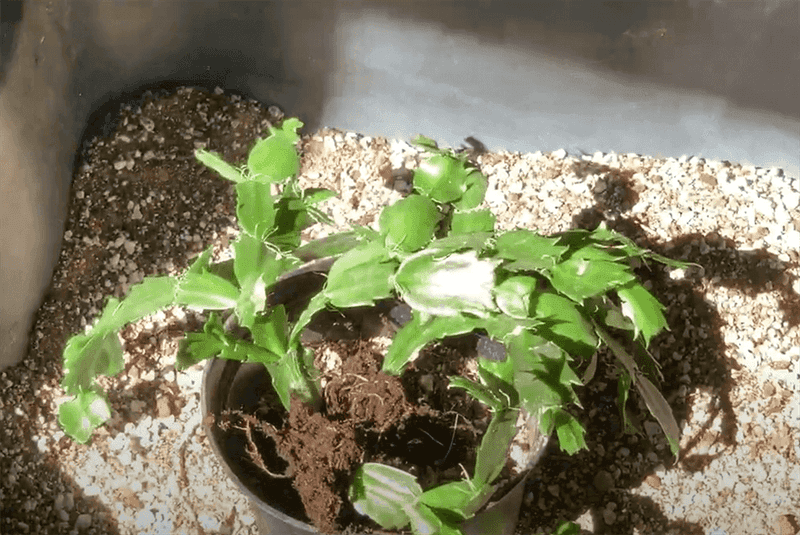
Before doing anything else, push a finger about an inch into the potting mix. Step 3 is this simple tactile check: feel whether the soil is bone-dry and pulling away from the pot edges, or whether it is still damp or outright wet despite the plant looking limp.
Also look at the drainage hole on the bottom of the container – if water cannot escape freely, or if the saucer underneath is holding standing water, empty it immediately. UF/IFAS Gardening Solutions recommends always emptying saucers and decorative cachepots after watering so roots are never sitting in pooled moisture.
Step 4 is a visual inspection of the stem segments themselves. Shriveled, thin, or slightly wrinkled segments on dry soil point toward dehydration as the more likely culprit.
Gray-green coloring, soft or mushy texture, or segments that feel waterlogged on wet soil point more strongly toward root or stem damage from overwatering. University of Maryland Extension’s winter plant problems guide notes that root rot can cause wilting even when the soil is saturated, because damaged roots simply cannot move water into the plant.
These observations are diagnostic tendencies, not absolute proof of a specific cause. A plant that has been wet for weeks and still droops after the saucer is emptied needs a different response than one sitting in dust-dry mix.
UConn Extension warns specifically against adding more water to a limp plant in wet soil, because doing so can push already-stressed roots into full rot. Use what you see and feel to choose the correct branch of the rescue plan in the next steps.
Rehydrate dry soil without flooding the roots
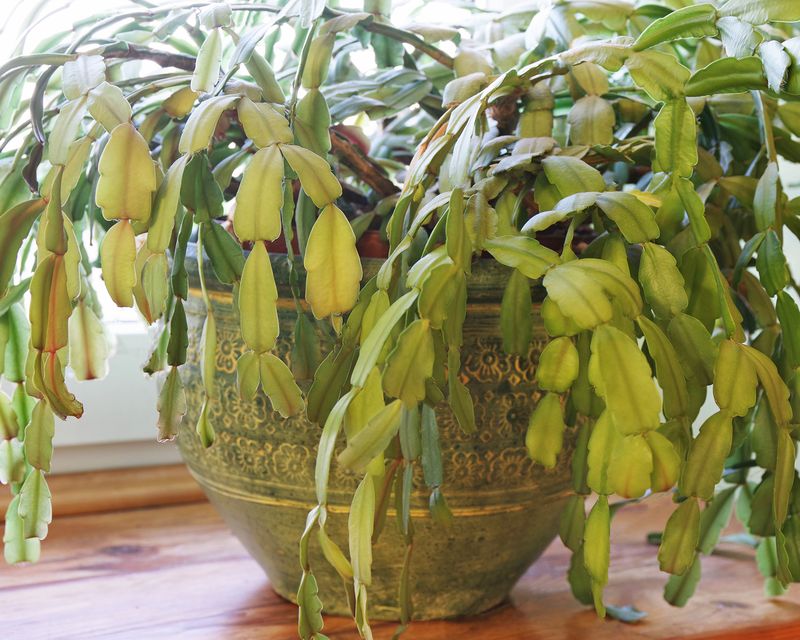
When the soil is dry and the stem segments look shriveled or thin, Step 5 applies: rehydrate gradually rather than drenching the pot all at once. UConn Extension specifically cautions that a severely underwatered plant may have already lost a portion of its roots, and flooding the pot in one heavy session can leave those surviving roots sitting in waterlogged conditions – trading one problem for another.
Start by adding a modest amount of water and letting it soak in before adding more.
Once the medium starts accepting water again and the soil is no longer repelling moisture, water thoroughly until excess flows freely from the drainage hole, then empty the saucer or cachepot. UF/IFAS Gardening Solutions recommends this thorough-and-drain approach as the standard for holiday cactus irrigation, not a light sprinkle that wets only the top layer of soil.
After that initial rehydration, resist watering again on a fixed schedule. Check the upper portion of the potting mix every few days, and water again only when that top layer has begun to dry out.
Penn State Extension’s holiday cacti care guidance reinforces that a consistent check-before-you-water habit serves these plants far better than a rigid weekly routine, especially during the lower-light months when the mix dries more slowly. Shriveled segments often plump back up within a few days once the plant can absorb moisture again, though recovery depends on how much root tissue remains intact.
Inspect roots when wet soil accompanies limp growth
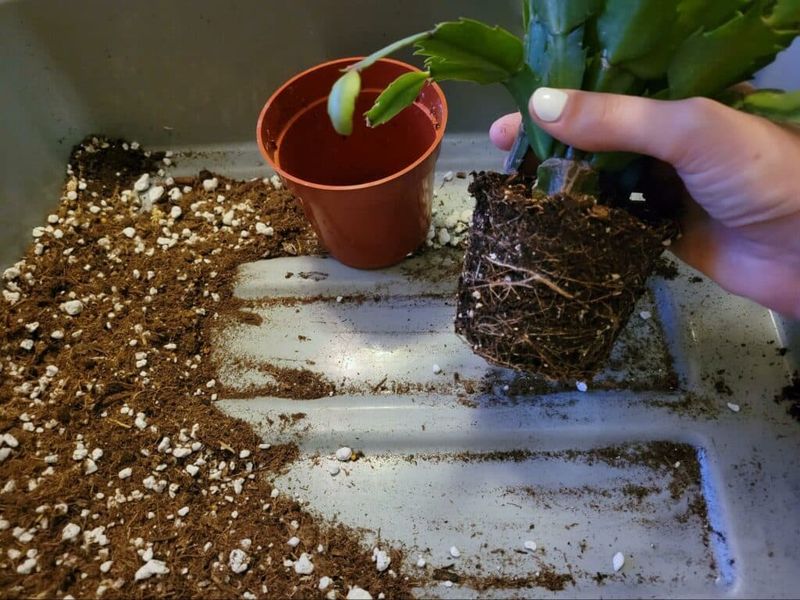
Persistent limpness in a plant whose soil has been wet for an extended period calls for Step 6: unpotting the plant for a root inspection. Carefully slide or tip the root ball out of the container and look at the roots directly.
Firm, light-colored roots are healthy. Dark, soft, or mushy roots have rotted and can no longer deliver water to the stems, which is exactly why the plant looks wilted even though the soil is wet.
University of Maryland Extension identifies this cycle as a common reason holiday cacti collapse after a period of overwatering.
Wisconsin Extension’s holiday cactus resource distinguishes between ordinary root rot from saturated soil and more serious infectious diseases. Standard overwatering rot often affects roots and lower stems in a localized way.
More alarming signs – gray fuzzy mold on the surface, black wet lesions spreading up the stem, soft collapse at the base of the plant, or a foul smell – may indicate fungal gray mold, Phytophthora basal rot, or bacterial soft rot.
UMass Amherst’s commercial holiday cactus production guide and Penn State Extension’s Christmas cactus disease page both note that fungicides will not control bacterial soft rot, and that plants showing rapidly spreading infectious symptoms are better isolated or discarded than treated in place near other houseplants. If the damage looks limited and the roots still have some firm, healthy sections, move on to Step 7 in the next section.
Remove limited rot and repot only when needed
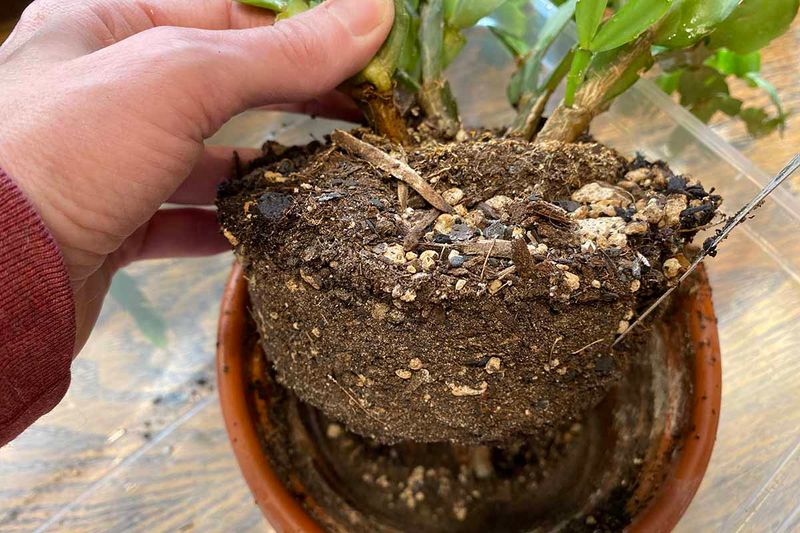
When root damage is limited and some healthy roots remain, Step 7 is careful removal of dead or diseased tissue. Use clean, sharp scissors or pruners to cut away dark, mushy roots, trimming back to firm, healthy material.
Wisconsin Extension recommends allowing the pruned roots to air-dry for several days before repotting, giving cut surfaces time to callus and reducing the risk of rot entering fresh wounds. If the surviving root system is small, consider reducing the stem mass as well so the remaining roots are not asked to support more foliage than they can handle.
Step 8 covers the repotting itself. Choose a container with unobstructed drainage holes – not a decorative pot without drainage used as a primary planter.
Fill it with a light, well-drained, organic-rich potting mix; a blend formulated for cacti and succulents or a standard houseplant mix amended with perlite works well. UF/IFAS Gardening Solutions emphasizes good drainage as a non-negotiable for long-term health.
Skip gravel layers at the bottom of the pot: University of Maine Extension explains that a layer of coarse material beneath finer potting mix can actually create a perched water table, trapping moisture above the gravel rather than moving it through.
Healthy, somewhat pot-bound holiday cacti do not require annual repotting, and unnecessary repotting adds stress rather than helping. Repot when drainage has clearly failed, when the potting mix has broken down and compacted, or when root rot has made a fresh start necessary – not simply because the plant drooped once.
After repotting, water lightly and hold off on fertilizer until the plant shows signs of active new growth.
Take backup cuttings from healthy tissue
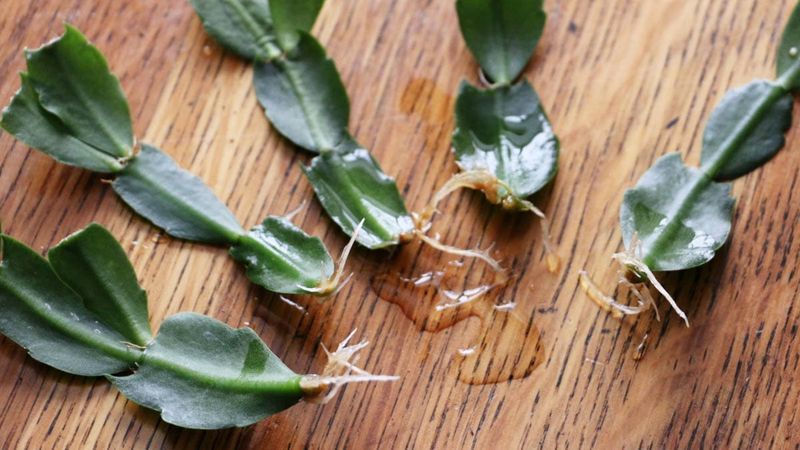
Taking cuttings before or alongside the main rescue attempt is Step 9, and it functions as insurance rather than a guaranteed fix. Select firm, plump, healthy-looking segments from parts of the plant that show no blackening, sliminess, or visible disease.
University of Minnesota Extension recommends using a cutting of roughly two to five segments, which gives the new plant enough stored energy to develop roots without being so large it struggles to stay upright in propagation medium.
After twisting or cutting the segment cleanly from the parent plant, set it aside in a dry spot out of direct sun and let the cut end callus for at least overnight and ideally for a day or two. UC ANR Publication 8114 and UConn Extension’s holiday cacti PDF both describe placing the callused end about an inch deep in moist, well-drained propagation medium – a perlite-heavy mix or a commercial cactus blend works well.
Keep the cutting in bright indirect light and maintain light, consistent moisture without saturating the medium. Roots commonly appear within several weeks.
Never propagate from blackened, slimy, or visibly rotted tissue, even if the rest of the plant looks healthy. University of Maryland Extension advises keeping cuttings from any plant with suspected infectious disease isolated from your other houseplants until you are confident the new cutting is clean and rooting normally.
A healthy cutting from a struggling parent plant can carry the genetic line forward even if the original plant cannot be saved.
Stabilize light, temperature, and moisture
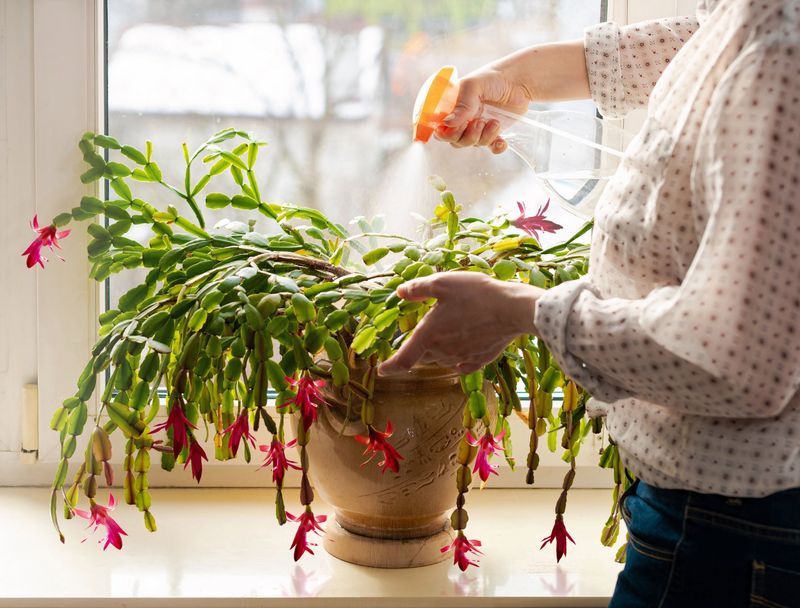
Once the plant has been rehydrated or repotted, Step 10 is creating stable conditions that let it recover rather than sending it into a new round of stress. Move the plant to a spot with bright, indirect or filtered light.
University of Minnesota Extension notes that prolonged strong direct sun can scorch or discolor the stems, while too little light weakens growth over time. An east- or north-facing window, or a spot a few feet back from a bright south- or west-facing window, usually works well indoors.
Temperature consistency matters just as much as light. Keep the plant away from heat vents, fireplaces, air-conditioning drafts, and frequently opened exterior doors.
UF/IFAS Gardening Solutions connects these abrupt environmental swings to bud drop, and they can also slow recovery in a stressed plant. NC State Extension’s Schlumbergera truncata profile confirms that stable indoor temperatures between roughly 60 and 70 degrees Fahrenheit suit these plants well during the recovery period.
For readers in Florida and Texas, summer placement outdoors in bright shade or filtered light can benefit a recovering plant, but Texas A&M AgriLife Extension advises shelter when nighttime temperatures approach 50 degrees Fahrenheit, and UF/IFAS recommends protection from intense direct sun at all times. On fertilizer: hold off entirely during the rescue phase.
Nebraska Extension’s fertilization guidance explains that excess fertilizer salts can injure already-stressed roots and make water uptake harder. Resume feeding with a complete houseplant fertilizer at reduced label strength only after the plant shows clear signs of active new growth.
Judge plant recovery separately from flowering
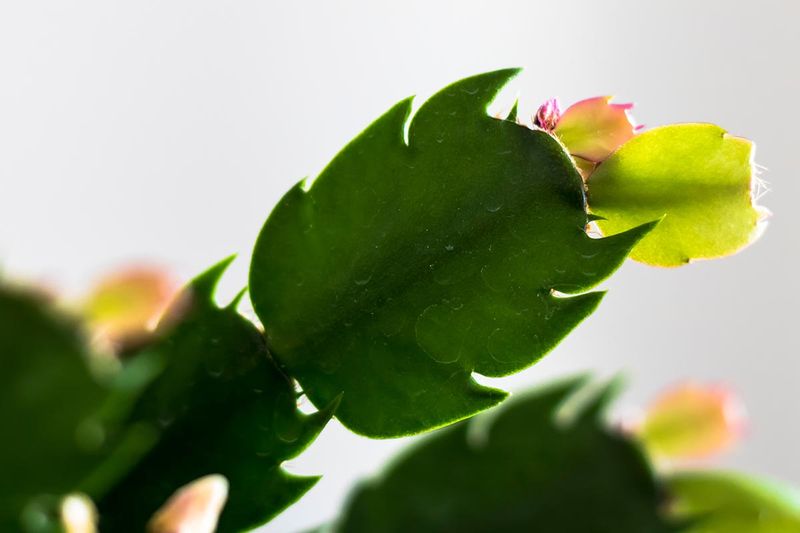
Firming stems and fresh new growth at the tips are the clearest early signs that a rescue attempt is working. Wisconsin Extension describes vegetative recovery – the plant regaining turgid, firm segments – as a separate outcome from flowering, and it is worth holding that distinction clearly in mind.
A plant can return to healthy, firm growth without producing a single bloom right away, and that is still a genuine recovery worth celebrating.
Spreading soft or black tissue, extensive root loss, or symptoms consistent with bacterial or fungal disease are signs that recovery may not be possible. UMass Amherst and Penn State Extension both recommend isolating or discarding plants with serious infectious symptoms rather than continuing treatments that will not reach the underlying cause.
Recognizing that limit is part of honest plant care, not failure.
When the plant does stabilize, flowering will depend on later conditions: short day lengths, cooler nighttime temperatures around 50 to 55 degrees Fahrenheit for several weeks, plant maturity, and continued stable care. Iowa State University Extension’s holiday cactus guide outlines the light and temperature triggers needed to set buds.
A rescued plant that blooms the following season is proof that steady, honest care after a crisis can bring a holiday cactus all the way back.