
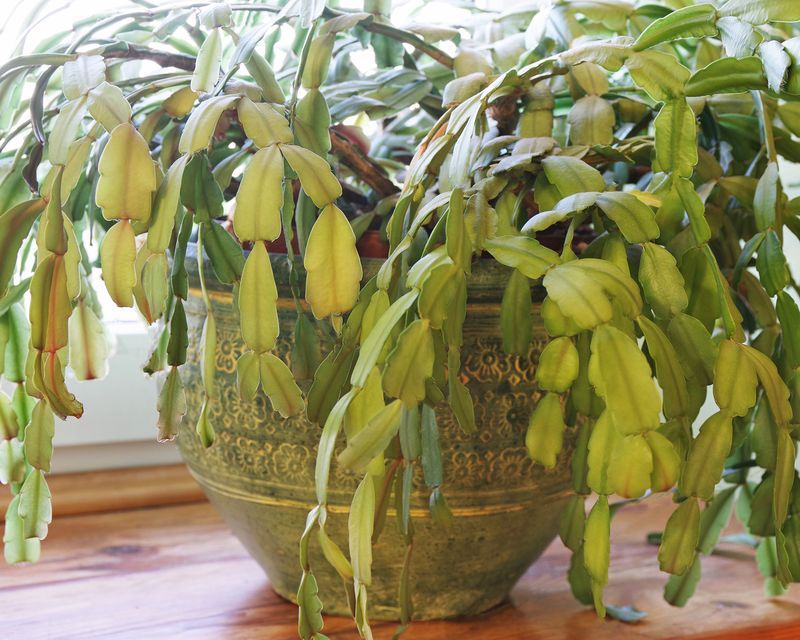
Few things are more unsettling than watching a beloved Christmas cactus go soft and wrinkled when it should look lush and healthy. The frustrating part is that the same droopy, shriveled appearance can come from two opposite problems – too little water or too much.
Before you reach for the watering can, there is a smarter first step that could save your plant or prevent you from making things worse.
Wrinkled Segments Do Not Prove the Cactus Is Thirsty
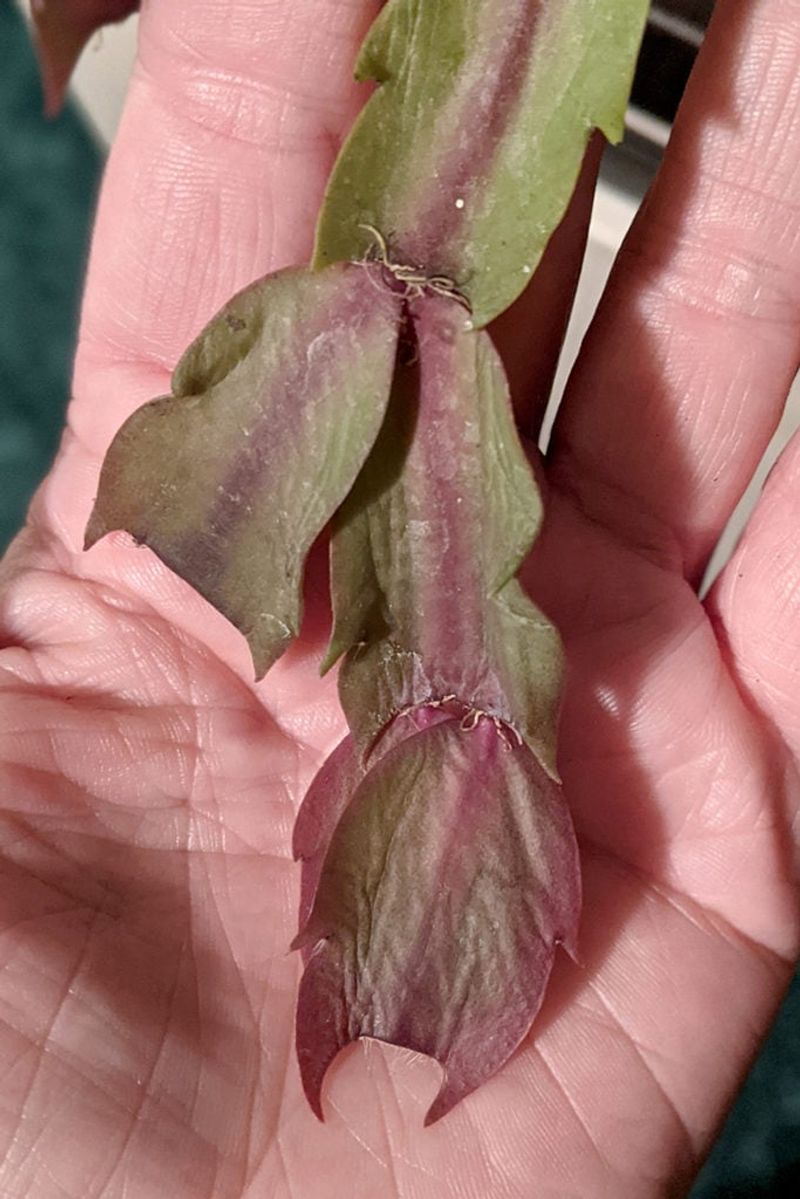
Those flat, paddle-shaped structures people call leaves on a holiday cactus are not actually leaves at all. They are flattened stem segments, sometimes called phylloclades, and when they lose water pressure they go soft, thin, and wrinkled.
University of Illinois Extension also notes that the plant you call a Christmas cactus may actually be a Thanksgiving cactus or a related hybrid – the holiday name is used loosely for several species with nearly identical care needs.
The critical diagnostic problem is this: dry roots and dead roots can produce the same limp, wrinkled symptom. A plant that has gone too long without water will shrivel because the segments are not receiving enough moisture.
A plant that has been sitting in wet soil, however, can develop root rot that destroys the roots entirely, leaving the plant unable to absorb water even when plenty is present – and the segments shrivel just the same.
Extension specialists recommend a moisture-and-root assessment before adding any water, because watering a plant with rotting roots makes the situation worse. Resist the impulse to water immediately and start with a check of the growing medium and root zone instead.
The Reset Starts Below the Surface
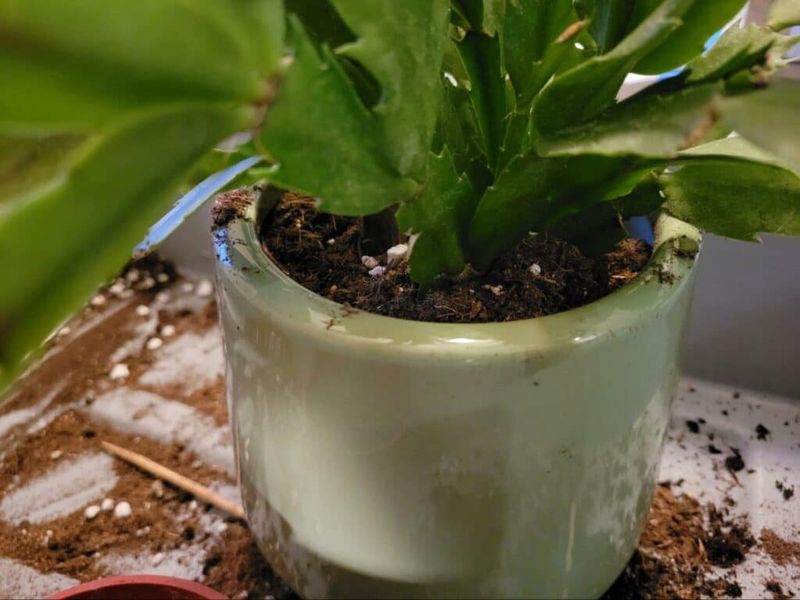
Before touching the watering can, push your finger about one inch below the surface of the growing medium. What you feel there tells you more than any calendar schedule ever could.
UF/IFAS Gardening Solutions consistently emphasizes checking soil moisture rather than watering on a fixed routine, because drying speed changes with pot size, light levels, indoor temperature, humidity, the season, and the health of the roots themselves.
A strict weekly watering schedule simply cannot account for all those variables. A small pot in a warm, bright room in July dries out far faster than a large pot in a cool corner in December.
UF/IFAS Orange County notes that holiday plant care requires reading the plant and the medium, not the clock.
While your finger is in the soil, also check the container itself. Does it have open drainage holes at the bottom?
Is the saucer or decorative cachepot holding standing water beneath the pot? Confirming that excess water can actually escape is a non-negotiable part of this reset.
From here, the correct next action splits into two very different paths depending on what you find: dry medium with roots that appear healthy, or wet medium with possible root damage.
Dry Soil Calls for a Complete, Controlled Drink
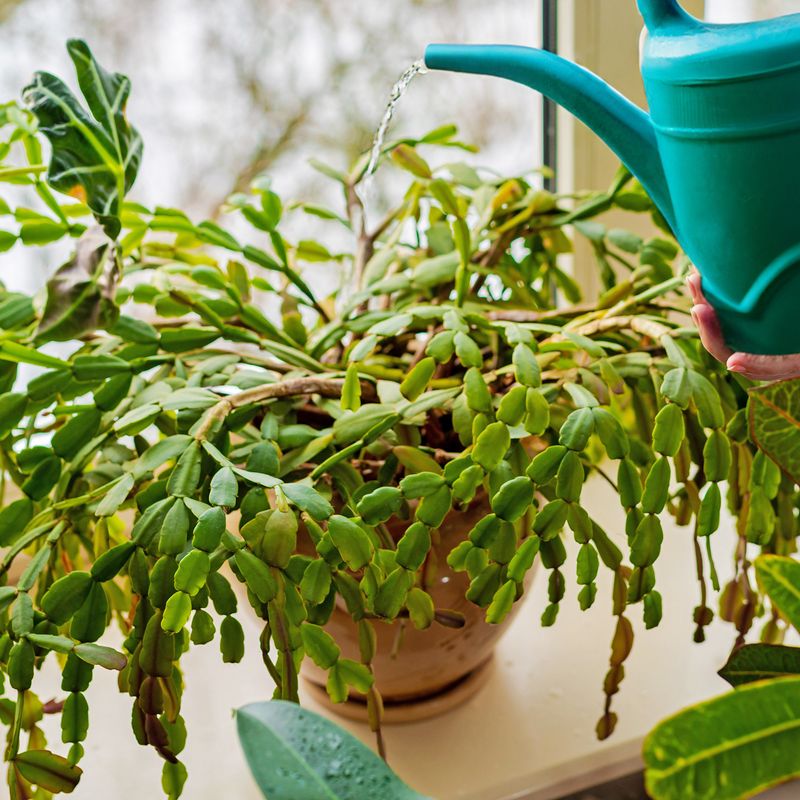
When the medium feels dry at least an inch down and the roots look pale, firm, and intact, a thorough watering is the right move. Water the entire root ball slowly and evenly until you see water running freely from the drainage holes at the bottom of the pot.
Then empty the saucer or decorative cachepot completely so the plant is not sitting in pooled water afterward.
Soil that has gone very dry can sometimes become water-repellent, shedding moisture around the outside of the root ball rather than absorbing it. UF/IFAS recommends watering in repeated applications spaced about ten minutes apart when this happens, giving the medium time to absorb each pass before adding more.
One quick pour that runs straight through a hydrophobic medium does not hydrate the root zone.
A genuinely dehydrated plant with healthy roots may begin to show firmer segments within a day or two of a proper watering, though the timeline varies. Recovery is possible here, but not guaranteed – if the roots were already struggling before the drought stress hit, a thorough drink alone may not be enough to bring the segments back.
Watch the plant over the following days and reassess if limpness continues despite moist soil.
Wet Soil Changes the Rescue Completely
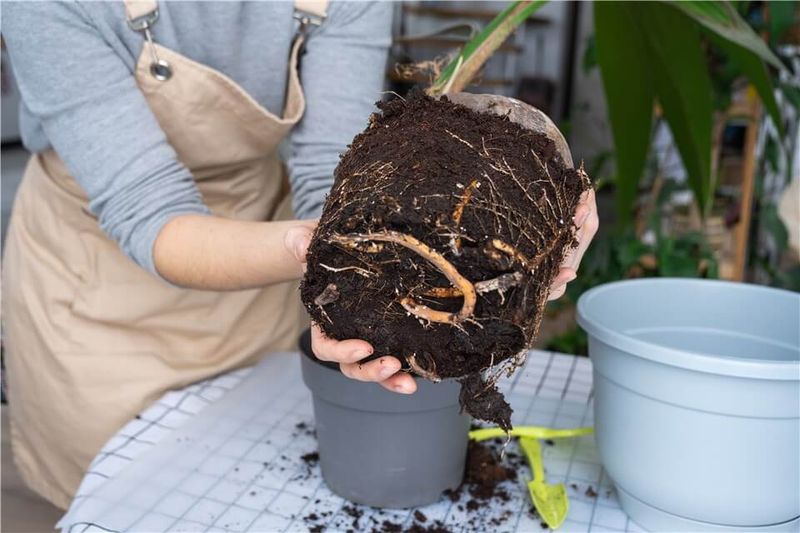
Finding wet or soggy soil when you check the medium is a signal to stop and investigate before adding a single drop of water. Segments that look thirsty while the soil is already wet almost always point to root damage rather than drought.
Adding more water to a plant in this condition does not help – it accelerates the problem.
Gently remove the plant from its container and take a careful look at the roots. Healthy roots are typically pale to tan and feel firm.
Damaged or rotting roots look dark brown to black, feel mushy or slimy, and may fall apart when touched. University of Minnesota Extension identifies additional warning signs to watch for: gray-green discoloration of the stems, collapse near the soil line, black or wet lesions on the stem segments, and progressive branch loss.
University of Wisconsin Horticulture advises removing all dead and diseased root material, then repotting into fresh, well-drained growing medium in a container with open drainage holes. Reduce watering significantly while the plant attempts to develop new feeder roots.
Penn State Extension notes that several different pathogens can cause stem and root rots in holiday cacti, and severely infected plants may be very difficult or impossible to save. Do not treat any single product as a universal cure for rot – and if disease is extensive, discarding the plant may be the most practical path forward.
Give a Reset Plant Steady, Gentle Conditions
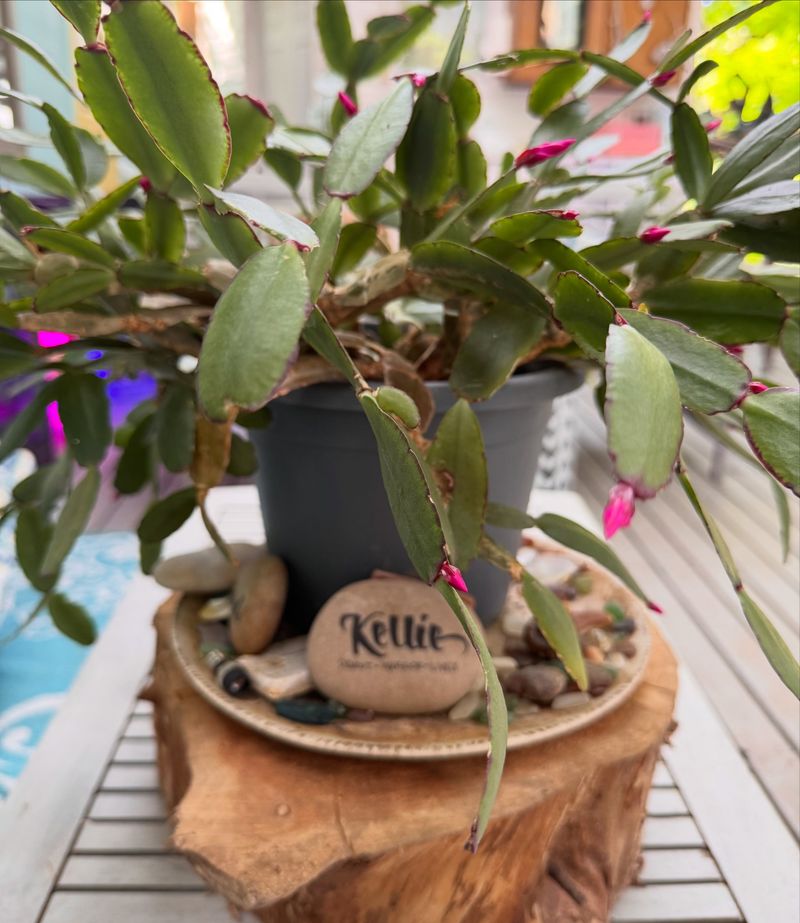
After correcting the root-zone problem – whether that meant a thorough drink for a dry plant or repotting a waterlogged one – the plant needs stable, low-stress conditions to work with. Bright, indirect or filtered light is the right target.
Texas A&M AgriLife Extension cautions that strong direct summer sun can scorch holiday cactus stems, especially for plants grown outdoors in Florida and Texas where summer light is intense. A shaded or partly shaded outdoor spot, protected from frost and temperatures below roughly 50 degrees F, is safer for Southern placements than full sun exposure.
Keep checking the medium with your finger rather than watering on a set schedule. Iowa State University Extension explains that water needs shift depending on where the plant is in its growth cycle – it generally needs more moisture during active growth than during its post-bloom or flower-bud-rest period.
Sudden changes in light, temperature, drafts, or moisture can also stress the plant during bud formation and flowering.
University of Georgia Extension is clear that misting the segments does not substitute for correctly managed root-zone moisture. Fertilizer, Epsom salts, and bloom boosters are not rescue tools for limp, wrinkled segments either – these products serve plants that are already growing well, and applying them to a plant with compromised roots can cause further root damage from salt buildup.
Healthy Stem Sections Can Preserve a Failing Plant
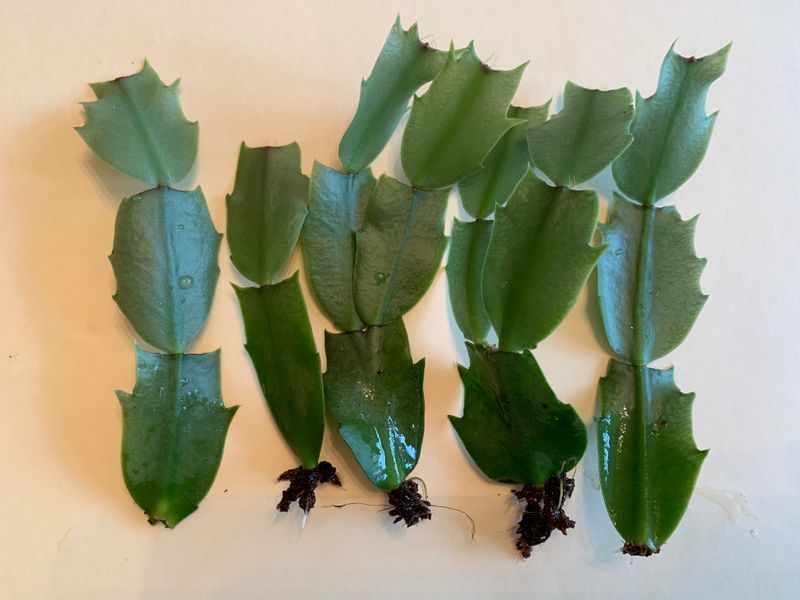
When root inspection reveals extensive damage or collapse, taking cuttings from healthy stem sections is a practical form of insurance. Propagating from a struggling plant does not mean the original will recover – but it does mean you will not lose the variety entirely if the root system cannot be saved.
Choose segments that look firm, show no lesions, and are clearly free of disease. Snap or cut a section of two to three segments, then set the cuttings aside in a dry spot for a few hours to allow the cut ends to callus over slightly.
University of Connecticut Extension reports that rooting typically takes several weeks, with timing varying by conditions – sources generally describe a range of roughly three to eight weeks. Place the callused cuttings in moist, well-drained rooting medium and keep them in bright indirect light while roots develop.
Avoid using any visibly diseased or discolored material as cuttings. A cutting taken from a rotting stem section will not root successfully and may introduce pathogens into the rooting medium.
Water the rooting medium lightly and consistently – enough to keep it from drying out completely, but not so much that it stays saturated. The cuttings have no roots yet and cannot handle excess moisture any better than the parent plant could.
Use the Reset as a Test, Not a Promise
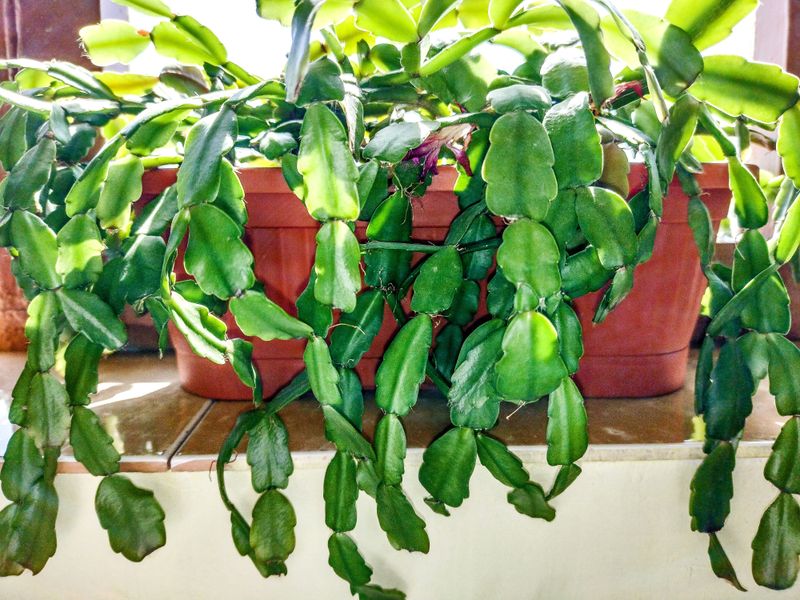
The moisture-and-root reset described in this article is a diagnostic process, not a guaranteed treatment. Check the medium first, confirm that drainage is working, and then act based on what you find.
A dry plant with healthy roots gets a thorough drink and an emptied saucer. A plant in wet soil gets root inspection, removal of damaged tissue, and a fresh start in well-draining medium before any more water is added.
Extension specialists who have worked through similar cases are candid that recovery is not guaranteed, especially when root damage is extensive or disease is present. Firmer segments in the days after a reset may signal that the plant is responding, but they do not confirm that the plant has fully recovered.
Segments that stay limp despite moist soil are telling you something important: the problem is likely not a lack of water. Reassess root condition, look for signs of disease or pest damage, and check whether light or temperature could be adding stress.
More water is rarely the answer when the medium is already wet and the roots are struggling.