
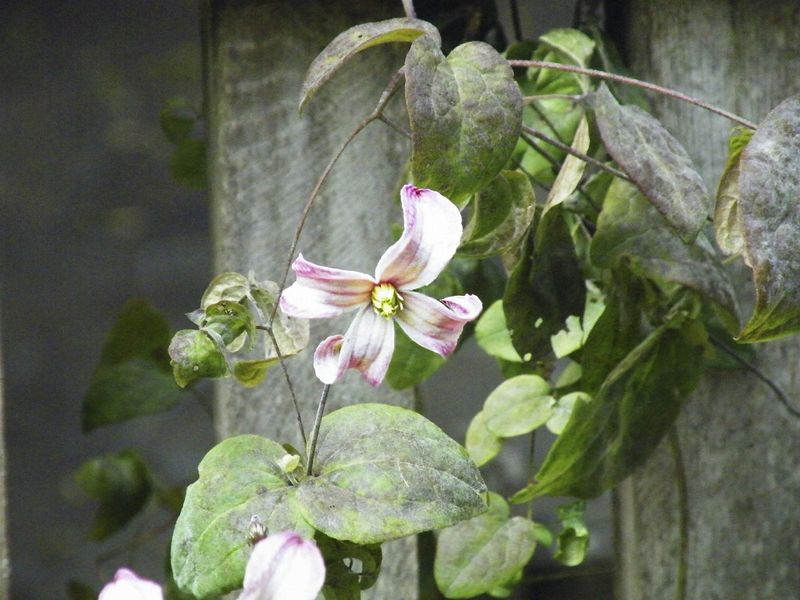
A clematis that bloomed beautifully last season and now limps along with yellowing leaves or sparse flowers can leave any gardener puzzled. The vine looks like it should be thriving, but something underground is quietly working against it.
Root-zone stress, especially competition from nearby plants, is one of the more common and overlooked reasons a healthy-looking clematis starts to fade. Understanding what to look for, and what to rule out, puts you back in control.
A hidden root-zone problem may be holding the vine back
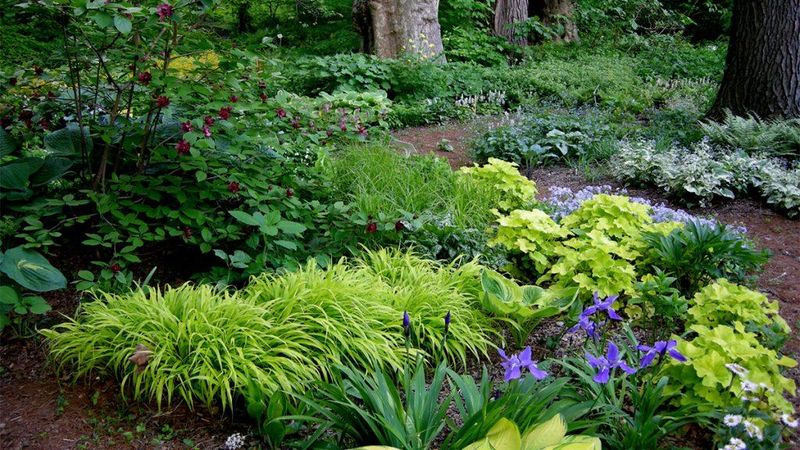
Root-zone stress is one of the more practical explanations for a clematis that gradually weakens, flowers less, or simply stops putting on the growth you expect. The vine may be getting enough sunlight, but if roots are quietly competing for water and nutrients with a nearby tree, shrub, or hedge, the clematis often loses that contest without showing obvious signs right away.
According to RHS guidance on growing clematis, planting clematis at least about 4 feet from trees and shrubs reduces competition for light, water, and nutrients – a benchmark worth checking if your vine has gradually lost vigor.
The International Clematis Society similarly cautions that companion plants can compete for moisture, which matters most during hot, dry Southern summers when water is already scarce at the root level. Gradual decline, worsening flower production, and sluggish growth are the symptoms that fit this explanation best.
A single stem that suddenly collapses is a different situation. That pattern is more consistent with stem injury, stem infection, or a fungal problem than with slow root-zone competition.
This article works as a diagnostic guide rather than a single-cause answer, because struggling clematis can have more than one explanation – and the right fix depends on what you actually find.
Check the soil before you add more water
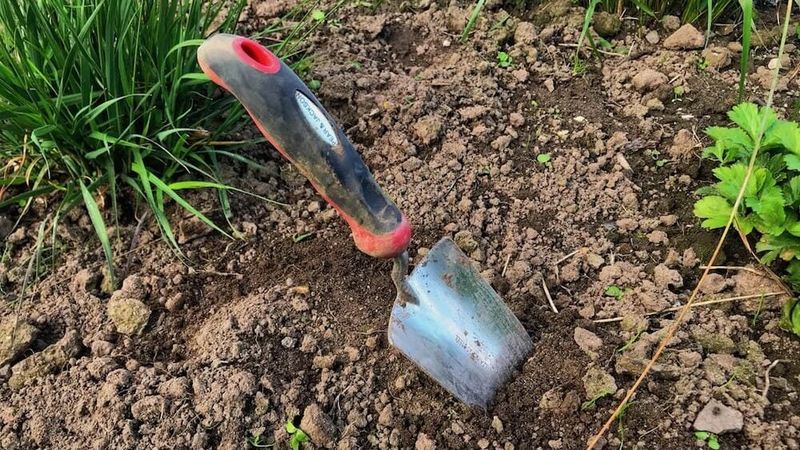
Before reaching for the hose, push a trowel or your finger several inches into the soil near the clematis, staying close but not directly through the root ball. What you find there matters more than how the leaves look from a distance.
Dry, powdery soil that crumbles apart points toward water stress, while soil that stays wet and dense, even days after the last rain or watering, suggests poor drainage or roots already sitting in saturated conditions.
Both situations can cause wilting, and that is the part that catches many gardeners off guard. University of Georgia Extension advice on avoiding overwatering notes that wilt can result from roots damaged by too much water just as easily as from too little – so adding more water to already saturated soil can make the problem worse, not better.
Clematis need moist but well-drained conditions, and UC IPM guidance on clematis reinforces that waterlogged roots can decay and produce the same drooping appearance as drought stress. Treat the soil inspection as your first diagnostic step, not an optional one.
A few minutes with a trowel gives you real information, while watering blindly can delay the correct fix or create a new problem entirely.
Nearby roots can take the moisture first
Walk the area around your clematis and take an honest look at what shares that space. Mature trees, established shrubs, dense hedges, and vigorous perennials with thick root systems can quietly intercept water and nutrients before they ever reach the clematis roots.
The competition often intensifies during summer dry spells, exactly when the clematis needs consistent moisture most.
The RHS recommends keeping clematis approximately 1.2 meters, or about 4 feet, from trees and shrubs – particularly those with dense, spreading root systems. If your vine was planted closer than that, or if a nearby plant has grown significantly since the clematis went in, root competition becomes a more likely explanation for gradual decline.
The International Clematis Society’s growing guidance flags moisture competition from companion plants as a real concern worth managing.
Not every plant near the base is harmful, though. Clemson Extension’s clematis factsheet notes that low-growing plants with shallow, noninvasive roots can help shade and cool the soil around the base.
The practical distinction is between a light groundcover that stays near the surface and a woody plant or aggressive perennial with roots that travel deep and wide. If you find large, established roots crowding the clematis root zone, consider whether the vine can be relocated or whether competing plants can be thinned back.
Reset dry or overheated soil with careful watering and mulch
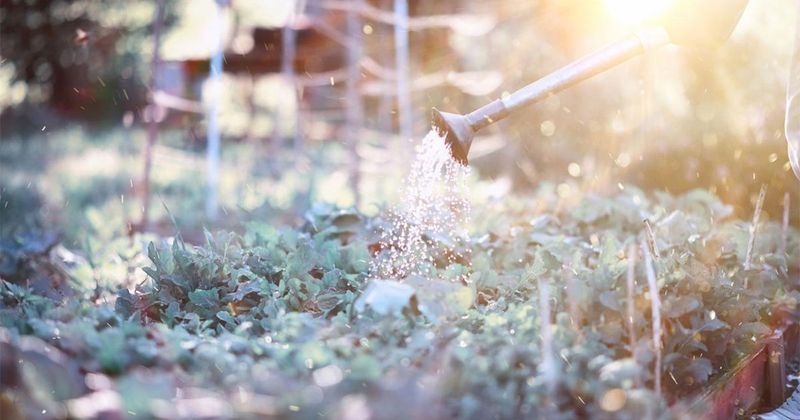
Once you have confirmed through a soil check that the root zone is genuinely dry or overheated rather than waterlogged, the corrective steps are straightforward. Water deeply during dry periods rather than applying light, frequent sprinkles that only wet the top inch or two of soil.
Deep watering encourages roots to stay anchored lower in the ground, where temperatures stay more stable and moisture lasts longer between rains.
Clemson Extension references roughly 1 inch of water per week during dry seasons as a useful starting point for South Carolina conditions, but that figure should be adjusted based on your specific soil type, local rainfall, sun exposure, drainage, and how hot and humid conditions are in your part of the South. A sandy Florida soil drains and dries faster than clay-heavy Georgia soil; a Texas garden in full August sun loses moisture at a different rate than a shaded bed in the Carolinas.
The schedule is a starting point, not a fixed rule.
Organic mulch applied to a depth of about 2 inches over the root zone can reduce evaporation noticeably and help keep soil temperatures more even through the day. University of Illinois Extension and UMass Extension both support mulching as a useful practice for clematis root care.
Keep the mulch pulled back several inches from the stem and crown, though, because a damp mulch mound pressed against the base can encourage the kind of stem problems covered later in this guide.
Give the leaves light while protecting the roots from heat
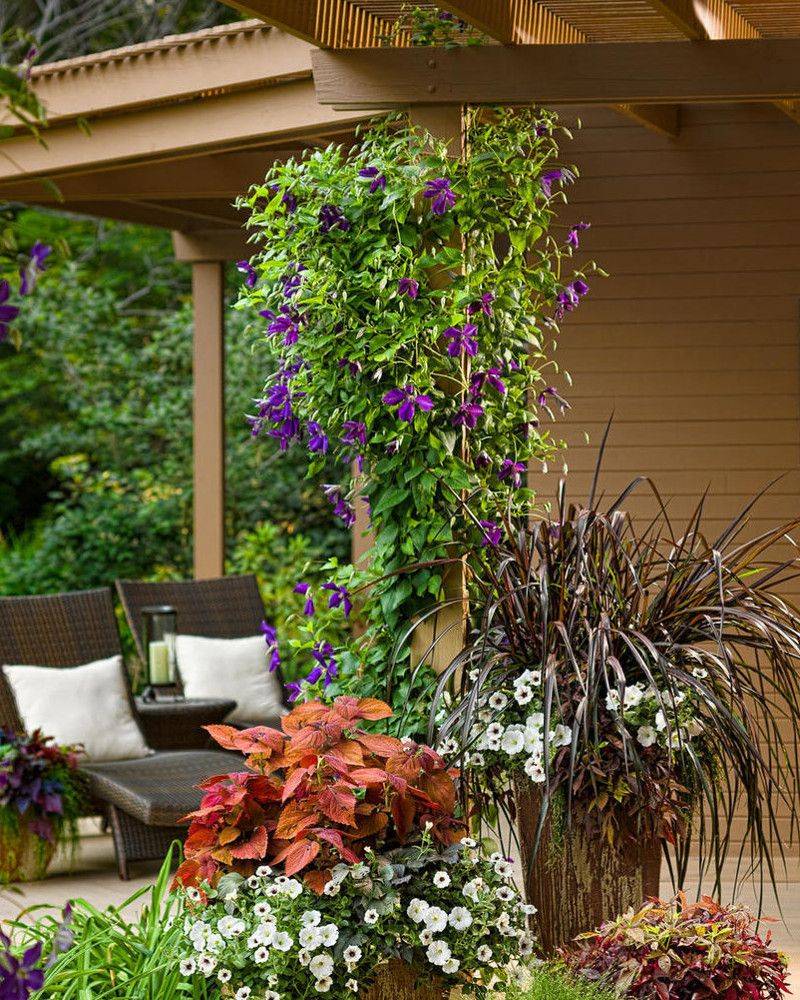
Clematis have an unusual requirement: the foliage and flowers need a generous amount of sunlight to perform well, while the roots below need cool, evenly moist conditions to stay healthy. Shade the entire plant too heavily and you trade root comfort for poor flowering, which is not a useful trade.
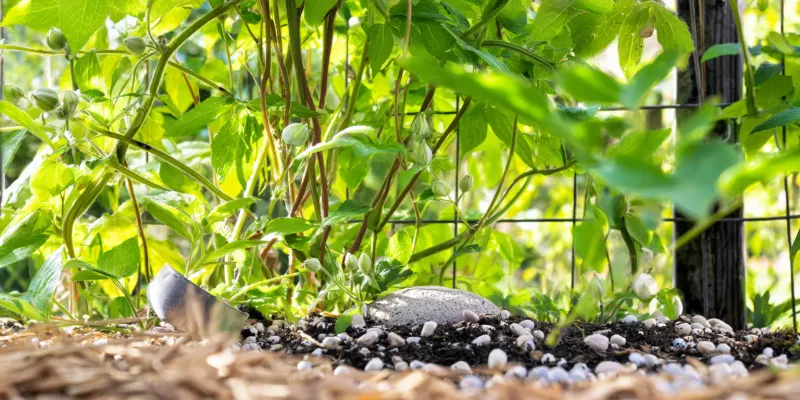
The goal is to manage the root zone separately from the canopy. A layer of mulch, a low groundcover with shallow roots, or even a flat stone positioned over the root zone can keep the soil cooler without blocking light from reaching the vine’s upper growth.
Clemson Extension specifically notes that South Carolina clematis benefit from protection against hot afternoon summer sun at the root zone, and that principle is relevant in other comparably hot and humid parts of the Southeast.
That said, conditions vary considerably across the South. A garden in coastal Florida deals with different heat angles, humidity, and soil moisture than one in central Texas or the Tennessee foothills.
RHS clematis FAQ guidance confirms that clematis flower best with substantial light, so use afternoon shade for the root zone selectively based on your actual site, not as a blanket rule for every Southern yard.
Inspect the lower stem when one stem suddenly collapses
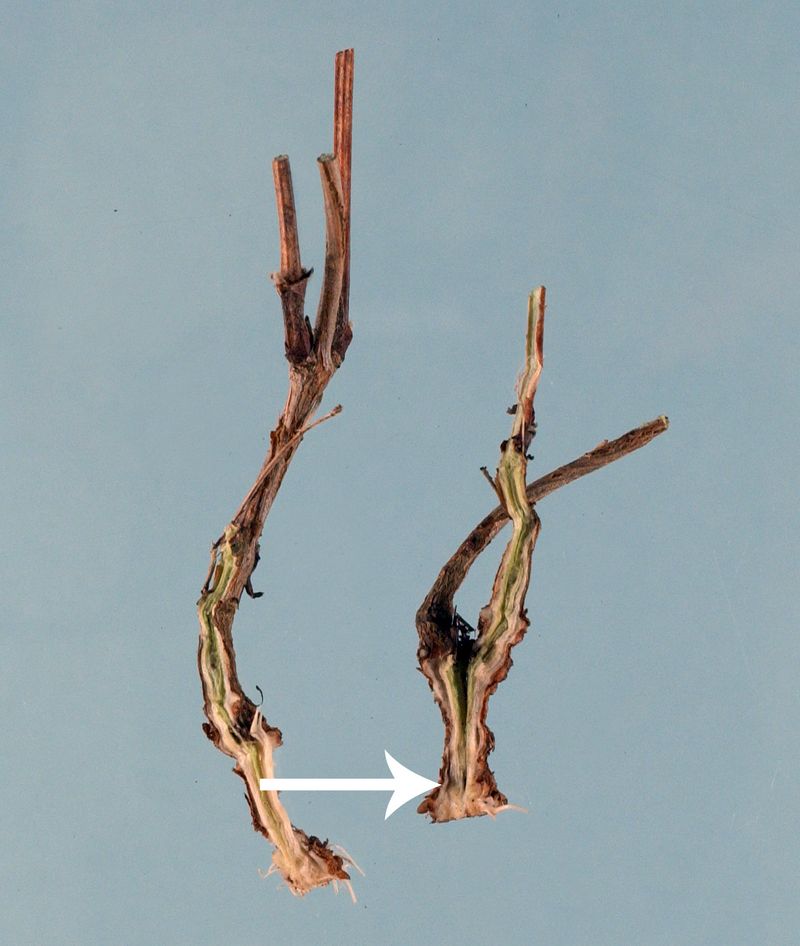
Sudden collapse of one or several stems is a different problem from the gradual root-zone decline described in earlier sections. When a stem wilts rapidly and the surrounding foliage is otherwise unaffected, the cause is more likely to be a stem-level problem than moisture competition underground.
Start by examining the base of the affected stem closely, looking for darkened or blackened tissue, sunken areas, or obvious lesions near the soil line.
What gardeners often call “clematis wilt” is not one uniformly diagnosed vascular disease. University of Illinois Extension describes it as a stem-rot problem rather than a classic wilt disease, and notes that several fungi may be associated with clematis stem infections.
Presenting it as a single, well-defined condition can lead gardeners to misidentify the cause. UMass Amherst research on clematis Ascochyta leaf spot and wilt notes that large-flowered hybrid clematis are especially associated with stem wilt problems, while some small-flowered types appear to show greater resistance.
The risk is not the same across all cultivars.
When you find damaged tissue, cut the affected stem back below the discolored area, removing all visibly infected material. Take the cut stems out of the garden and discard them rather than composting, since composting may allow the problem to persist.
The roots often survive these stem infections intact, and new shoots can emerge from below the soil, particularly when the crown was planted slightly below grade as Clemson Extension recommends. Recovery is possible, though not guaranteed, and it depends on how established the root system is and how quickly the damage was caught.
Pruning mistakes affect flowers more often than plant survival
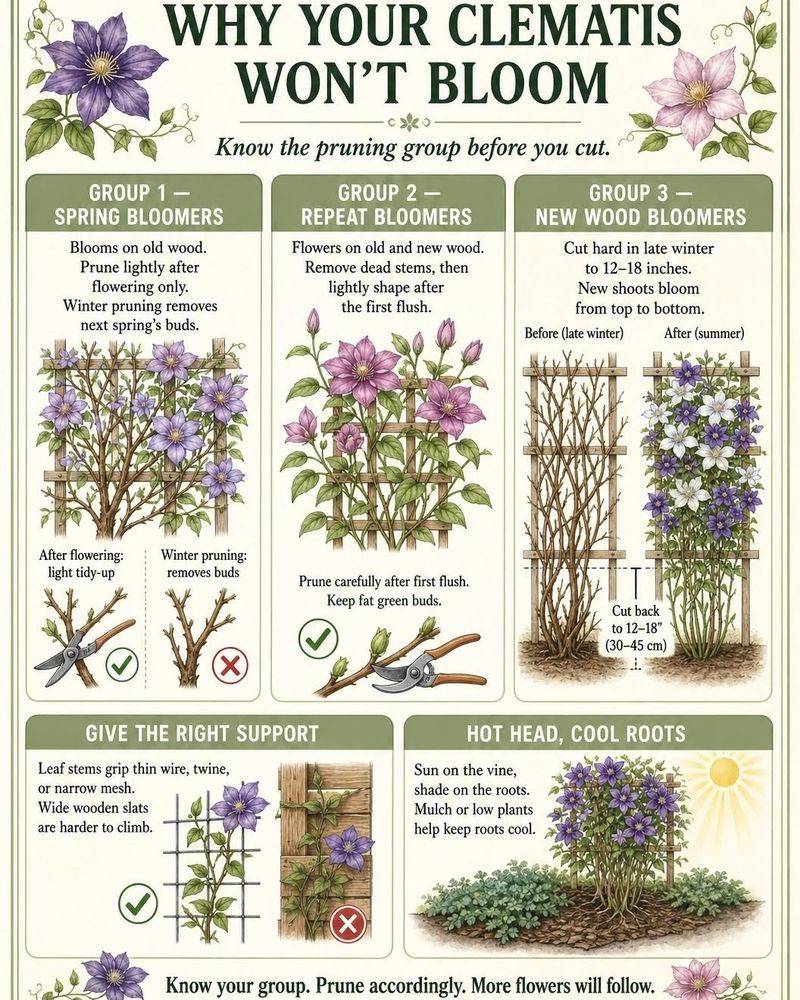
Pruning at the wrong time is one of the more common reasons a clematis fails to flower, and it is worth separating from the other problems covered here. Clematis are typically divided into three pruning groups: those that flower on old wood from the previous season, those that flower on new wood from the current season, and those that do both.
Cutting back a vine that flowers on old wood at the wrong time of year removes the stems that would have carried this season’s blooms.
NC State Extension’s clematis profile and University of Illinois Extension both explain that identifying the pruning group before cutting is the most important step. The result of a pruning mistake is usually lost or delayed flowering for that season, not sudden whole-stem collapse or the yellowing that comes with root stress.
Pruning errors generally do not explain a clematis that wilts suddenly, turns yellow across multiple stems, or shows symptoms consistent with stem infection or root damage. If flowering is the only problem, check when and how the vine was last cut before blaming the soil or the roots.
Matching your pruning timing to the plant’s group is a straightforward correction that often restores bloom performance within a season.
Match the remedy to the symptom
Working through a short checklist before acting can prevent a correctable problem from getting worse. Start with the soil: check moisture several inches below the surface before adding water.
If the soil is dry, water deeply and adjust the frequency based on your local rainfall, soil type, and drainage rather than following a fixed schedule. If it is already saturated, hold off and assess whether drainage needs to be improved before the roots are damaged further.
Next, look at what surrounds the base of the vine. Mature trees, established shrubs, or dense-rooted plants within about 4 feet are credible competitors for water and nutrients.
Mulch the root zone to about 2 inches, keeping it away from the stem, and consider whether the vine gets adequate light while the root zone stays reasonably cool. If one stem has suddenly collapsed, inspect the lower stem for dark or blackened tissue and remove affected material cleanly before considering any further treatment.
RHS clematis FAQ notes that many cases blamed on wilt actually stem from unsuitable growing conditions, physical damage, or root problems.
Automatic watering, added fertilizer, or a fungicide are not useful first responses when the actual cause has not been identified yet. Clemson Extension and University of Georgia Extension both emphasize that overwatering saturated soil can worsen root decay and mimic drought symptoms.
Any product used for disease must be registered for the intended use and applied according to the current label. The most durable fix comes from matching the remedy to what the soil and stems actually show, not to what the problem looks like from a distance.