
Few things sting like walking out to your shade bed and finding your hostas chewed into lace overnight. In the South, our long warm seasons give slugs and heat plenty of time to wear these plants down.
The good news is that a few small habits can make a big difference in how thick and healthy your hostas look. Here are 12 simple tricks that can help your plants bounce back stronger each year.
1. Pick Heat-Tolerant Hosta Varieties
Not every hosta can handle a Houston August. Many popular types were bred for cooler northern gardens, so they scorch and sulk when the heat index climbs past 100.
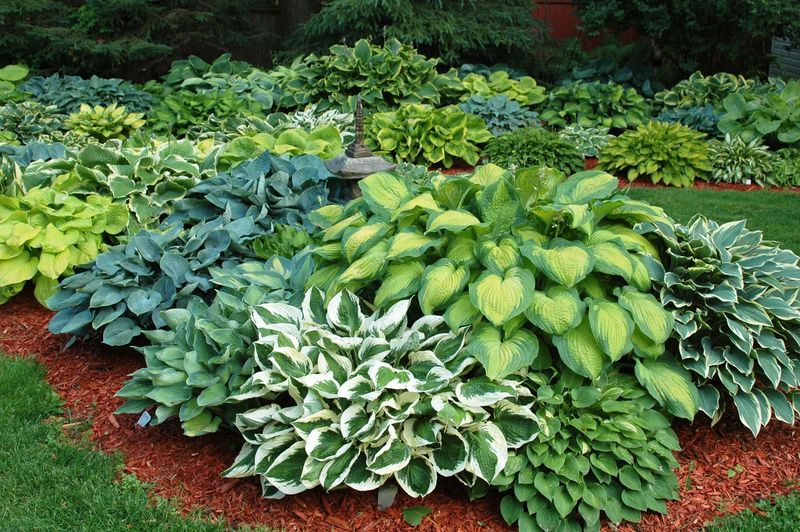
Southern gardeners often have better luck with thick-leaved, heat-tolerant varieties. ‘Sum and Substance’, ‘Guacamole’, ‘Royal Standard’, and ‘So Sweet’ are well known for holding up in warm summers. Hostas descended from Hosta plantaginea also tend to tolerate heat and even bring fragrant white flowers in late summer.
Thicker leaves come with a bonus. Slugs usually find tough, waxy foliage harder to chew than thin, tender leaves, so heavy-textured varieties may show less damage overall.
Keep chill hours in mind too. Hostas need a winter rest, and much of Florida simply does not get cold enough for them to thrive long term.
North Florida and the northern half of Texas generally work best, while gardeners farther south may want to treat hostas as container plants or try lookalikes such as cast iron plant.
Before buying, check the plant tag or ask your local nursery which hostas have done well in your area. A smart pick at the start saves you a lot of frustration later on.
2. Give Them Morning Sun and Afternoon Shade
Picture a hosta planted in full afternoon sun in Dallas. By July, the edges turn brown and crispy, and the whole plant looks tired.
Location is often the hidden reason a hosta struggles.
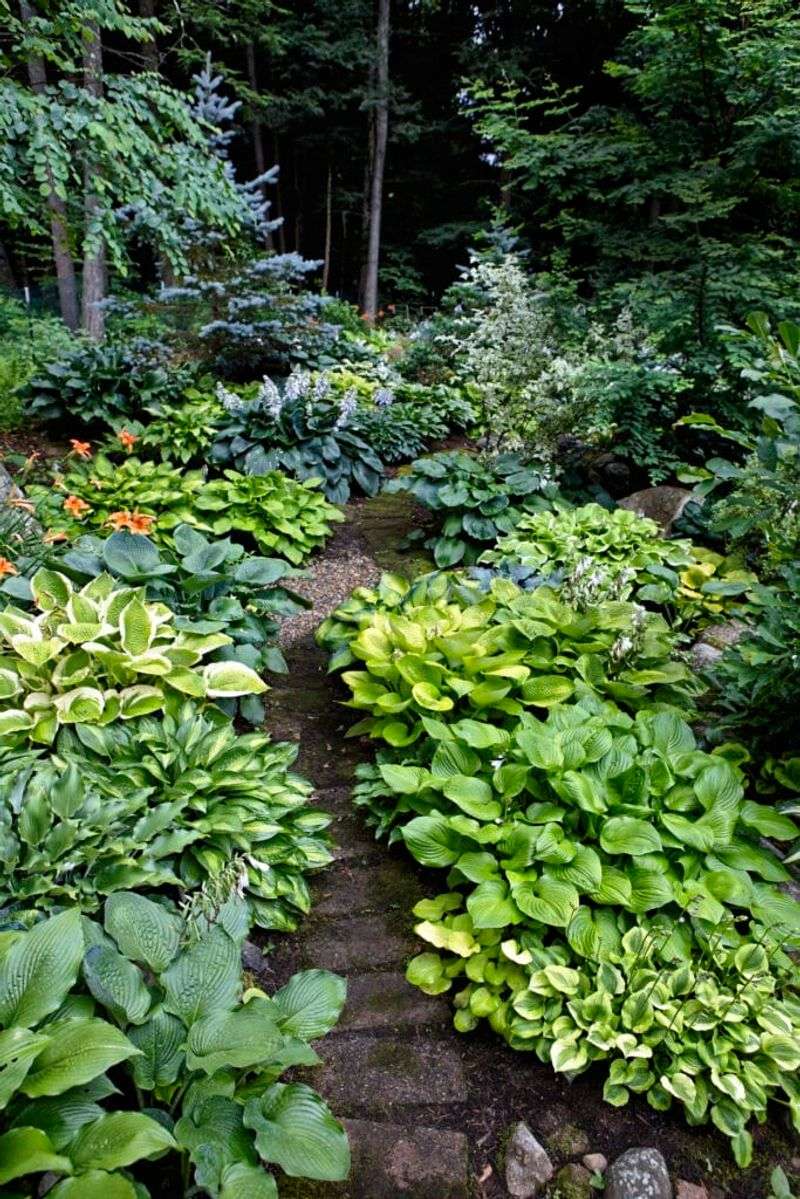
In the South, the sweet spot is gentle morning sun followed by solid shade after about noon. An east-facing bed, the north side of a house, or the dappled light under tall pines or oaks can all work nicely.
Blue hostas in particular keep their color better with more shade, while some gold types can handle a little extra light.
Too much shade brings its own trouble. Plants in deep, dark corners may grow slowly and stretch out, giving you fewer leaves and a thinner clump.
Watch your yard for a full day before you plant. Note where the shadows fall at 9 a.m., noon, and 3 p.m.
If a hosta already looks scorched, moving it in early spring or fall to a shadier spot can often help it recover. Fall moves are especially kind in Texas and North Florida, since cooler temps let roots settle before summer heat returns.
3. Water Deeply in the Morning
Ask any slug what its favorite time of day is, and the answer would be a damp, warm night. Evening watering basically rolls out a welcome mat for these pests.
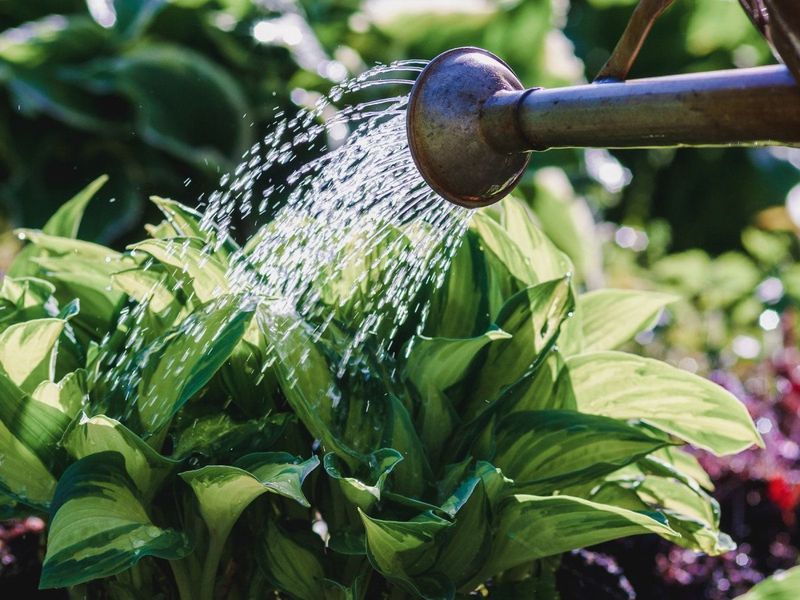
Switching your routine to early morning can change a lot. Leaves and mulch dry out during the day, making the bed less inviting by the time slugs come out after dark.
Morning watering also gives plants a full drink before the hottest hours hit.
Go for deep, less frequent soaking rather than quick daily sprinkles. Hostas like about an inch of water per week, and more during Southern heat waves.
Deep watering encourages roots to reach down where the soil stays cooler.
Aim at the base of the plant whenever possible. Soaker hoses or drip lines are great choices because they keep foliage dry and send water right where roots need it.
A quick finger test helps. Push a finger two inches into the soil, and if it feels dry, it is time to water.
Droopy or pale leaves in midsummer often signal thirst, so check soil moisture before assuming something more serious is going on.
4. Use Mulch the Smart Way
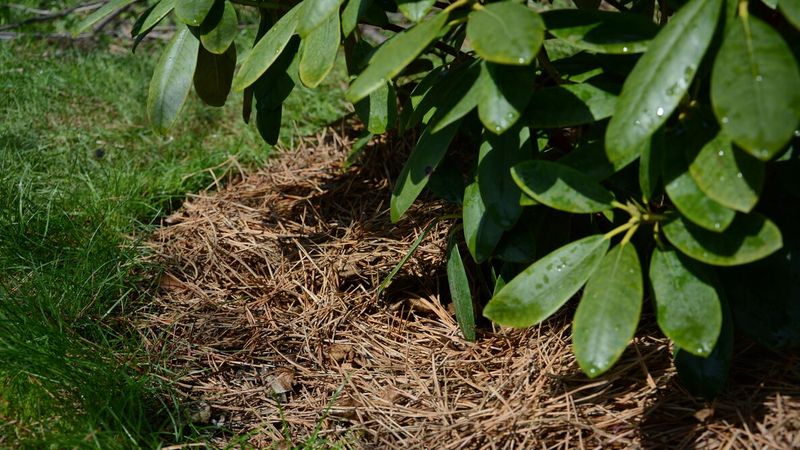
Mulch is a bit of a double-edged sword for hosta lovers. It holds moisture and keeps roots cool during brutal Southern summers, yet thick, soggy layers can also become a cozy slug hotel.
The fix is balance. Spread about two inches of mulch around your plants, and keep it pulled back a few inches from the crown where stems emerge.
That small gap may help reduce rot and gives slugs less cover right next to tender new shoots.
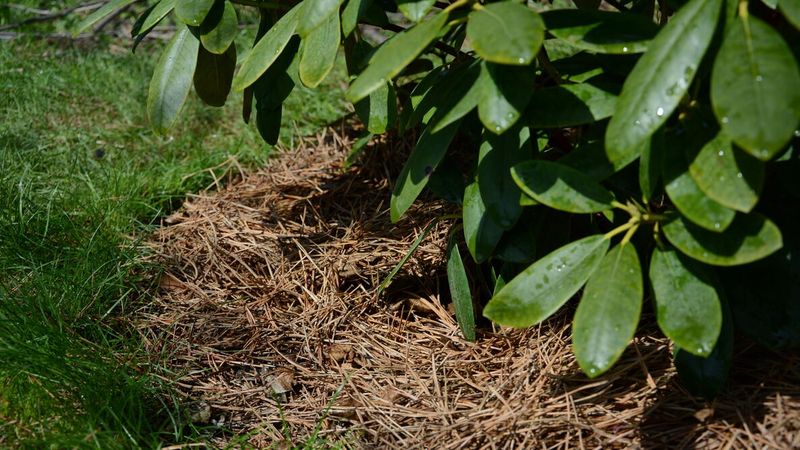
Material matters too. Pine straw, which is easy to find across the South, stays airy and dries quickly.
Shredded bark works fine as well. Avoid piling on heavy, wet leaves or grass clippings that mat down and stay damp for days.
Some gardeners use a ring of coarse material, such as crushed shells or fine gravel, right around the base. Results vary, but the rough texture can discourage some slugs from crossing.
Refresh mulch once a year in late winter or early spring. Fluff up old mulch while you are at it so it does not form a dense, moisture-trapping crust.
5. Set Out Simple Slug Traps
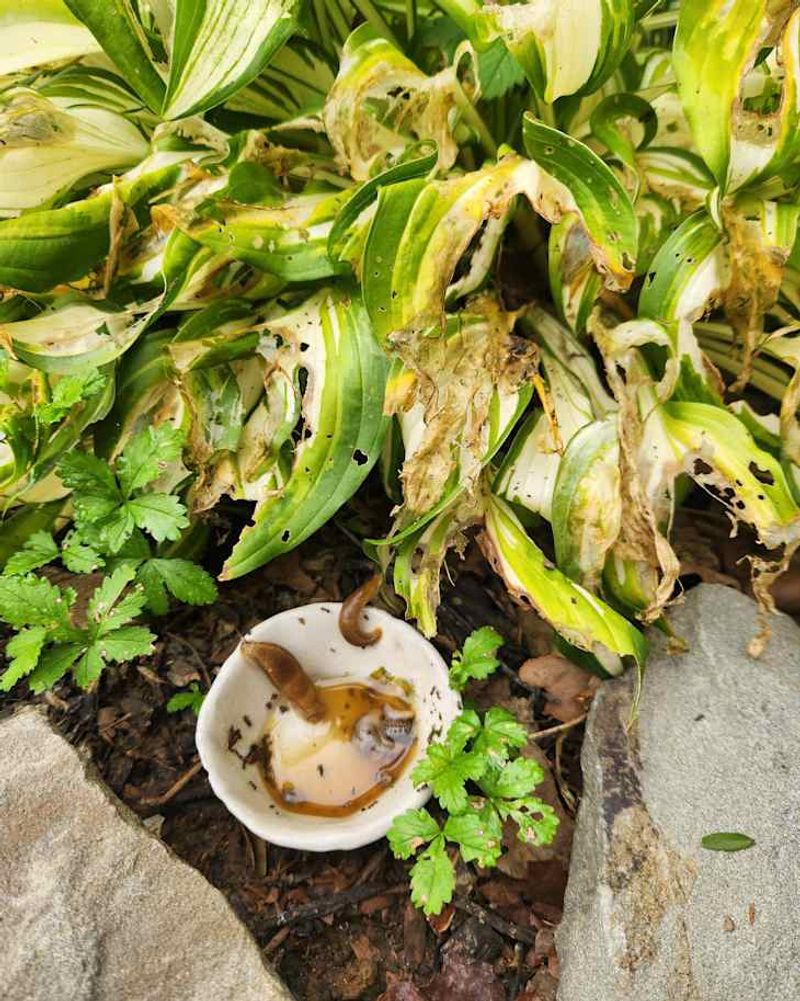
Here is a fun fact: slugs are strongly drawn to the yeasty smell of beer. Plenty of gardeners turn that weakness into an easy, cheap trap.
Sink a shallow container, like a tuna can or yogurt cup, into the soil so the rim sits about an inch above ground. Fill it halfway with beer.
Slugs crawl in overnight and usually cannot climb back out. Empty and refill the traps every few days, especially after rain.
Board traps work too. Lay a flat piece of wood or an upside-down grapefruit half near your hostas in the evening.
Slugs hide underneath to escape the morning heat, and you can scrape them into soapy water the next day.
Traps tend to work best as part of a larger plan rather than a stand-alone fix. They can reduce local slug numbers and also show you how big the problem really is.
Place several traps around the bed instead of just one. Raising the rim slightly above the soil helps keep helpful ground beetles from tumbling in by accident.
6. Go on a Nighttime Slug Hunt
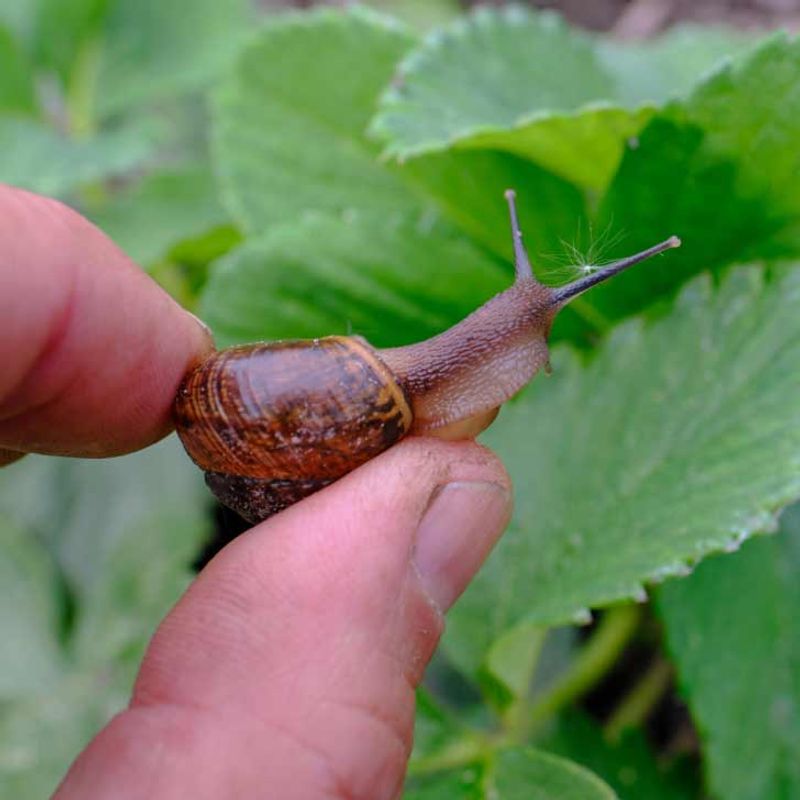
Grab a flashlight, a pair of gloves, and a jar of soapy water. Around an hour or two after dark, step outside and take a peek under your hosta leaves.
You might be shocked by what you find. Slugs and snails do most of their damage at night, then disappear by morning, which is why many people never see the culprit.
Hand-picking is old-fashioned, but it can make a real dent in the population.
Check the undersides of leaves, the soil around crowns, and nearby rocks or edging. Drop each slug into the soapy water.
Kids often love helping with this job, and it turns pest control into a bit of a backyard adventure.
Consistency pays off. A few nights in a row of hunting in spring, when slugs are breeding and hostas are pushing out fresh leaves, may protect the plants during their most vulnerable stage.
Humid nights after a Southern rain shower are prime time. That is when slugs are most active, so your harvest will likely be the biggest.
7. Apply Iron Phosphate Slug Bait
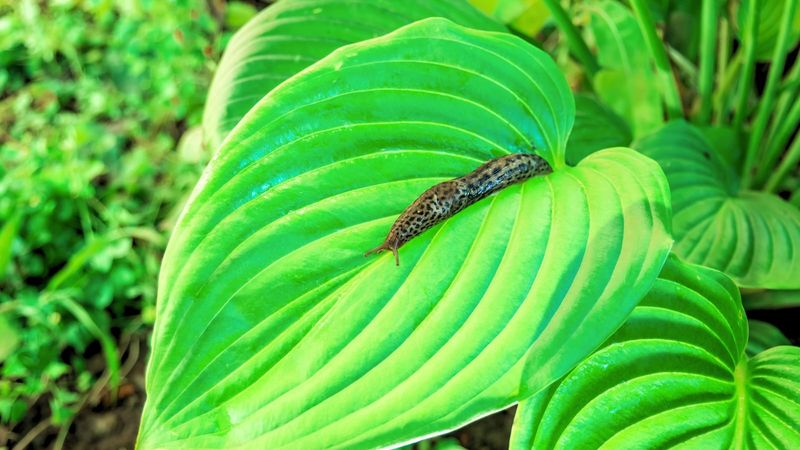
When slugs keep winning despite your best efforts, a pet-safer bait can tip the scales back in your favor. Iron phosphate pellets have become a favorite among home gardeners for good reason.
Slugs eat the bait, stop feeding soon after, and usually die within a few days. Leftover pellets break down into iron and phosphate, which are already found in soil.
Products with iron phosphate are generally considered much safer around pets and wildlife than older metaldehyde baits, though you should still follow the label closely.
Timing makes a big difference. Scatter a light sprinkle around hostas in early spring, right as shoots poke through the soil.
In the South that can be as early as February or March. Reapply after heavy rain or every couple of weeks as directed.
Spread pellets thinly instead of piling them in heaps. A loose scattering lets more slugs find the bait.
Bait may not wipe out every slug, but combined with traps and hand-picking, it can noticeably reduce the ragged holes in your leaves.
8. Try a Copper Barrier
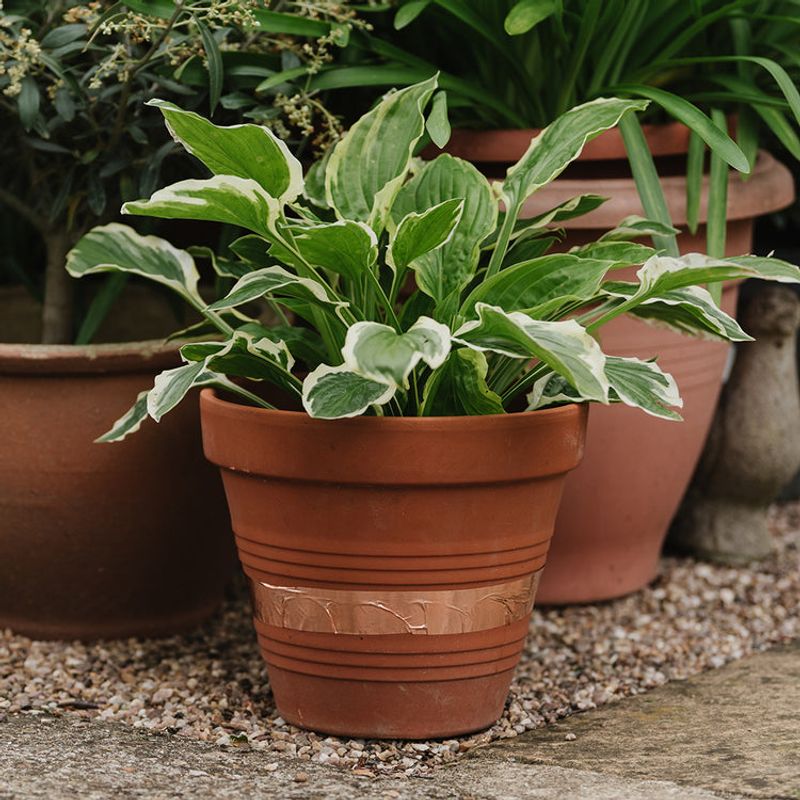
Copper has a quirky reputation in the garden. Many gardeners report that slugs seem to avoid crossing it, likely because the metal reacts with their slimy coating and creates an unpleasant sensation.
Copper tape works best on containers. Wrap a band around the rim of a hosta pot, and you may find far fewer chewed leaves.
Potted hostas are also a smart move for Central Florida and South Texas gardeners who want to control soil and placement.
For in-ground plants, copper strips or rings can circle individual clumps. Make sure no leaves droop over the barrier, since slugs will happily use them as bridges.
Results can vary. Copper seems most effective when the strip is wide enough, kept clean, and combined with other methods.
Old tarnished copper may lose some of its power, so a quick wipe with vinegar can freshen it up.
Think of copper as one layer of defense rather than a magic wall. On a porch planter or patio pot, though, it can be a tidy and long-lasting option.
9. Invite Natural Slug Predators
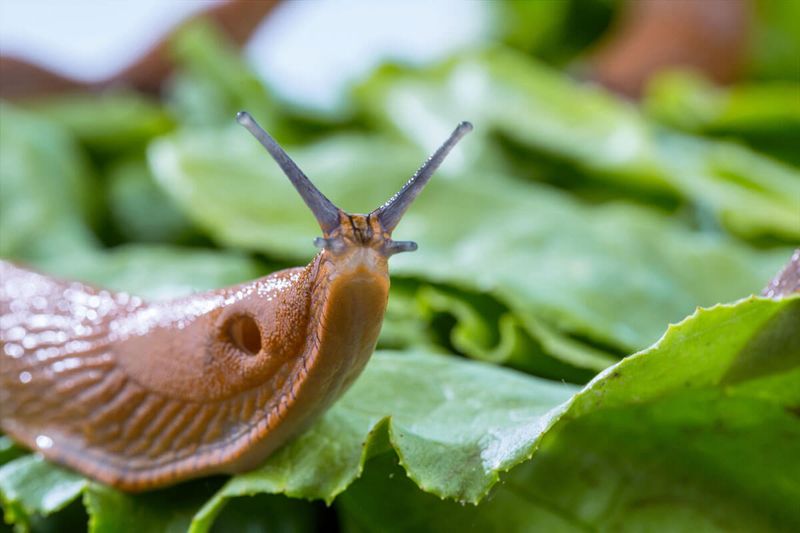
Your best slug fighters might already live in your yard. Toads, frogs, ground beetles, lizards, and many birds happily snack on slugs and snails.
Making your garden friendly to these helpers is simple. A shallow water dish, a flat stone, or an upside-down clay pot with a doorway chipped out creates a cozy toad house.
Southern toads are common across Florida and Texas and can eat a surprising number of pests in a single night.
Skip broad-spectrum pesticides whenever you can. Those sprays often harm the very beetles and amphibians that keep slugs in check, which can make the problem worse over time.
Leaving a small brushy corner or a log pile nearby also gives ground beetles somewhere to shelter. Native plants around the bed may attract songbirds that pick through mulch for snacks.
Nature will not erase every slug, and that is okay. A balanced yard tends to keep pest numbers more manageable, and you get the bonus of seeing frogs and birds around your shade garden all season long.
10. Feed Lightly in Early Spring
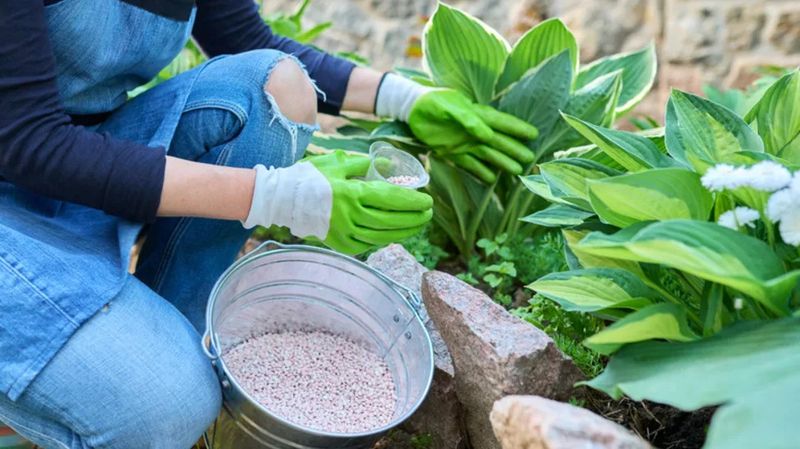
Hostas are not especially hungry plants. In fact, overfeeding can backfire, producing soft, floppy growth that slugs find extra tasty.
A light hand works best. Spread a balanced, slow-release fertilizer, such as a 10-10-10, around plants just as new shoots appear in spring.
In the South, that is often late February through March. Working an inch of compost into the soil surface adds nutrients while improving texture.
One spring feeding is usually enough. A second light dose in early summer may help in sandy Florida soils, which drain fast and lose nutrients quickly.
Stop fertilizing by midsummer so the plant can slow down naturally.
Always water after applying granular fertilizer. Granules sitting against leaves or the crown can burn tender tissue.
Pale, yellowish leaves early in the season can point to a nutrient shortage, but they can also come from too much sun or poor drainage. Check those factors before reaching for more fertilizer.
Healthy, steady growth produces sturdier leaves that hold up better against both heat and hungry pests.
11. Divide Crowded Clumps
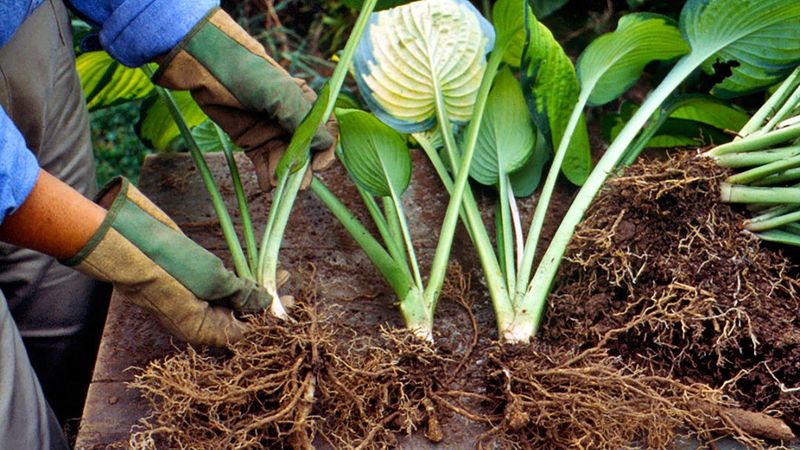
Older hostas sometimes develop a bare, empty center while leaves only grow around the edges. That hollow look is a classic sign the clump has gotten crowded.
Dividing restores the full, lush shape you love. Dig up the whole plant, then slice it into sections with a sharp spade or knife.
Each piece should have several shoots and a healthy chunk of roots. Replant the divisions at the same depth and water them well.
Timing matters more in the South than in cooler regions. Early fall, once the worst heat breaks, is often ideal for Texas and North Florida gardens.
Roots can settle in during mild weather before winter dormancy. Early spring, just as shoots emerge, works too.
Every three to five years is a good rhythm for most varieties. Fast growers may need it sooner.
Dividing also gives you free plants. Fill a new shady spot, line a walkway, or share extras with neighbors.
Crowded clumps can trap moisture and shelter slugs, so opening them up may improve airflow and reduce hiding places.
12. Clean Up Debris in Fall and Winter
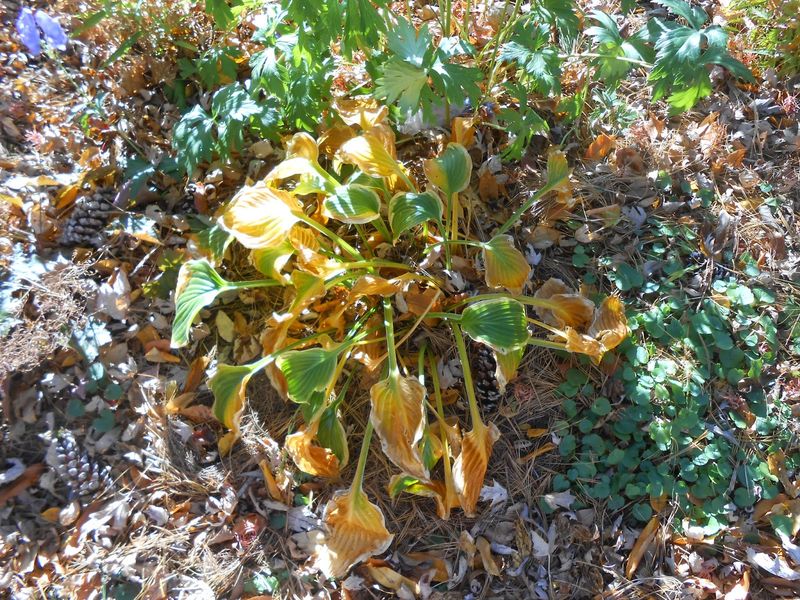
Slug eggs look like tiny clusters of clear pearls, and they love to hide in the soggy leaves left behind after hostas fade. Cleaning up before winter can mean far fewer slugs come spring.
Once foliage yellows and collapses after the first frost, cut it back and remove it from the bed. Rake out matted leaves, fallen debris, and old mulch that has turned wet and slimy.
Toss diseased leaves in the trash rather than the compost pile.
Southern winters are mild, so slugs may stay somewhat active on warm days. That makes fall and winter cleanup even more useful here than in colder states where freezing temps help control pests naturally.
After cleanup, add a fresh, thin layer of pine straw or bark to protect the crowns. Mark where each hosta sits so you do not accidentally dig into dormant plants.
A tidy bed heading into spring gives new shoots a cleaner start. Pair this habit with early bait and a few traps, and your hostas have a much better chance of unfurling whole, full, and hole-free.