
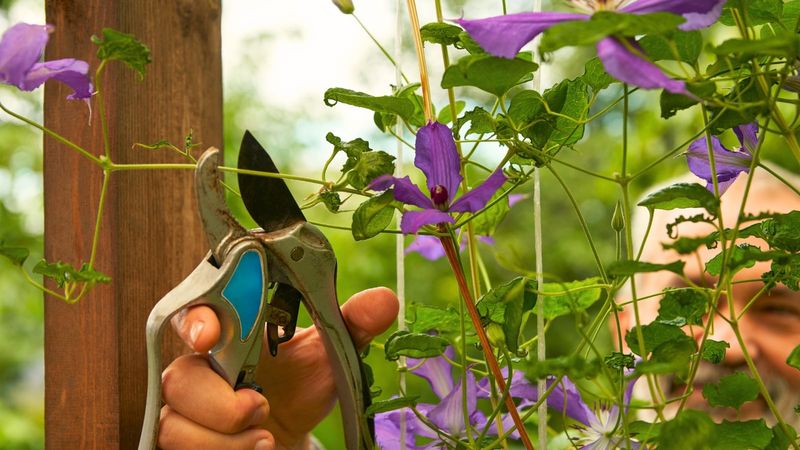
Few gardening frustrations match watching a clematis vine fill with leaves every spring and then produce almost no flowers. If your plant has been doing that for a season or two, incorrect pruning may be part of the problem – but it is not the only possibility. Knowing which of the three pruning groups your clematis belongs to is the single most useful step you can take before picking up your shears. Get that one thing right, and you have a much better shot at a vine covered in blooms.
Could incorrect pruning be limiting your clematis flowers?
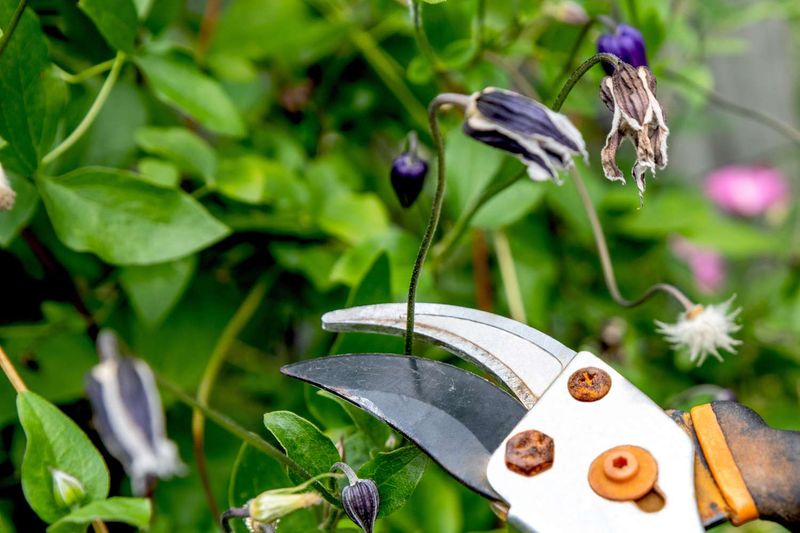
Sparse flowering on a clematis is genuinely frustrating, and wrong pruning is a credible reason – but it is not the only one. RHS guidance on clematis problems lists unsuitable light, drought, waterlogging, root competition, and disease alongside mistimed pruning as common explanations for a plant that leafs out well but barely blooms. Before you reach for the shears, it helps to understand what is actually at stake when you cut.
The central issue is whether your clematis flowers on old wood, new wood, or a combination of both. Cut an old-wood bloomer before it flowers and you remove the very stems carrying that season’s buds. Leave a new-wood bloomer completely unpruned year after year and it tends to build up a tangle of bare stems with flowers concentrated at the tips, well out of sight.
Gardeners and nurseries use a three-group system – Groups 1, 2, and 3 – to sort clematis by flowering behavior and appropriate pruning timing. The RHS pruning overview and University of Illinois Extension both emphasize checking the plant label or cultivar description first, because some clematis have mixed or borderline flowering behavior that does not fit neatly into one group. If you cannot identify the plant, observe it for one full season before making any major cut.
Protect Group 1’s old wood until flowering ends
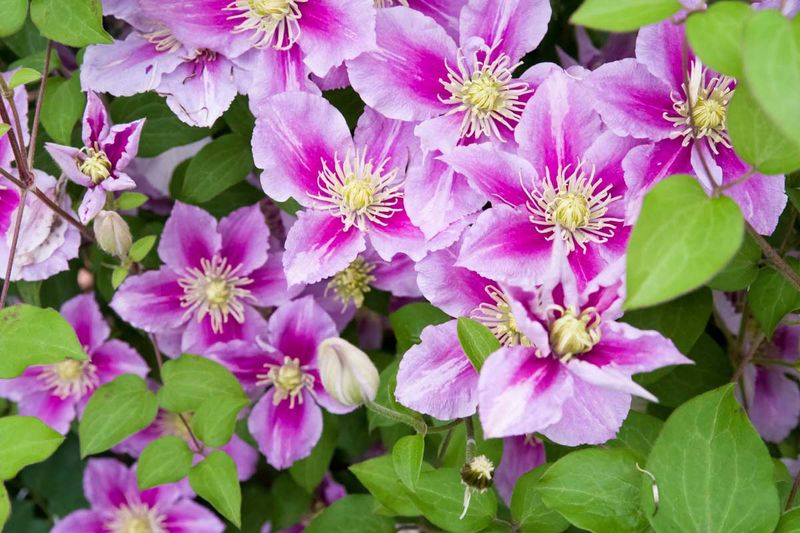
Group 1 clematis are the earliest bloomers in the garden, typically opening in late winter through mid-spring depending on your climate zone. RHS Group 1 pruning guidance identifies this category as including many Clematis alpina, C. macropetala, C. montana, and C. armandii types – plants that flower mainly on growth produced the previous season.
Hard-pruning one of these vines in late winter or early spring removes the stems that are already loaded with developing buds. The corrective approach is straightforward: wait until the plant finishes flowering, then remove dead, weak, or damaged stems and shape the vine only as much as the space genuinely requires. Cuts made right after bloom give the plant the rest of the growing season to produce the new shoots that will carry next year’s flowers.
Group 1 plants are sometimes described as needing no pruning at all, which is misleading. A mature vine that has outgrown its space can be renovated by cutting it back more severely after flowering. Be prepared for the possibility that a major renovation reduces flowering for a season or more while the plant rebuilds its framework. For most established Group 1 vines, light post-flowering shaping is all that is needed, and skipping that step rarely causes harm.
Give Group 2 a conservative two-stage pruning plan
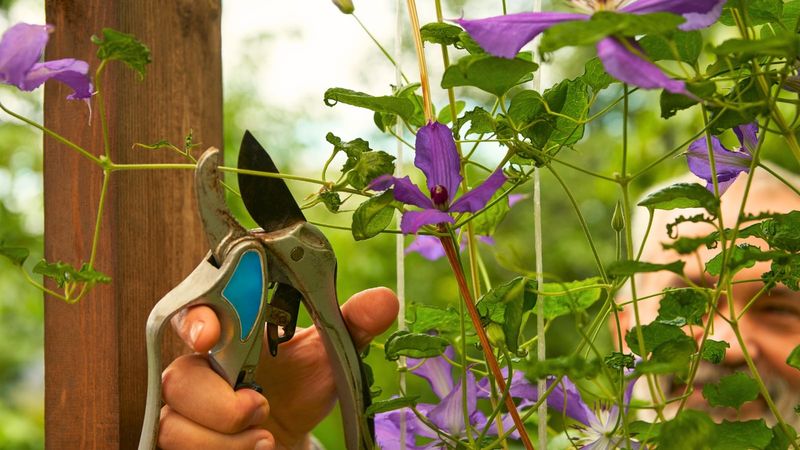
Group 2 contains many of the large-flowered hybrids that gardeners prize most – cultivars like ‘Nelly Moser,’ ‘The President,’ and ‘Henryi’ that open their first big flush in late spring or early summer and may produce a second lighter display later in the season. RHS Group 2 pruning guidance explains that these plants flower primarily on short shoots growing from older wood, with some later flowers appearing on new growth produced in the current season.
The practical sequence has two stages. In late winter or early spring, before strong growth begins, remove any dead or clearly weak stems entirely and shorten the remaining healthy stems conservatively – cut back to a pair of strong, visible buds rather than chopping the whole plant down. A heavy pre-bloom cut on a Group 2 plant sacrifices the early flowering display, which is usually the most impressive part of the season.
After the first flush fades, spent flowering shoots can be cut back to a strong bud or a healthy side shoot. This light post-flowering trim tidies the plant and can encourage a second wave of blooms on the new growth that follows. Routine cleanup is not the same as hard renovation: if a Group 2 vine has become very congested over many years, selective removal of the oldest stems after flowering is a gentler way to refresh it than cutting everything back hard.
Use a hard cut only for reliably identified Group 3 plants
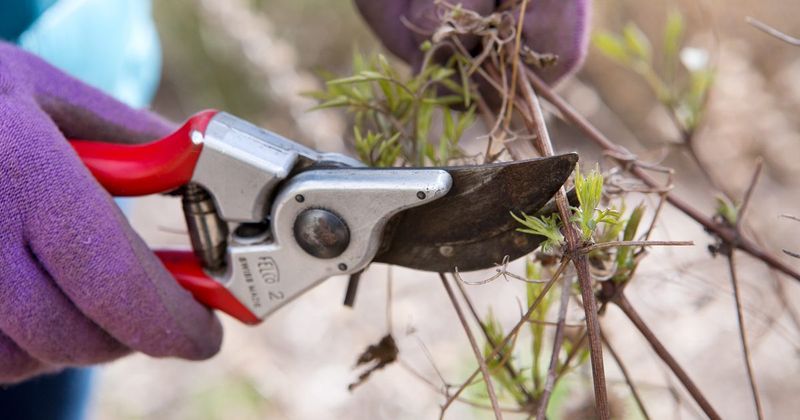
Group 3 is where hard pruning belongs – but only when you are confident that is actually what you have. This group includes many viticella, texensis, and jackmanii types that produce all their flowers on shoots grown during the current season, meaning last year’s stems carry no buds worth keeping.
For an established, reliably identified Group 3 plant, the usual approach is to prune in late winter or early spring before strong new growth begins, cutting stems back to roughly 6 to 12 inches above the ground or to the lowest pair of strong, live buds. University of Illinois Extension and the RHS pruning overview both support this general framework for confirmed Group 3 cultivars, while noting that specific guidance for your cultivar should take precedence.
The qualification matters. Some mid- to late-season clematis show mixed flowering behavior – they bloom partly on older wood as well as new growth. RHS Group 2 guidance notes that borderline or mixed cultivars can sometimes be managed with a Group 2-style conservative approach to preserve earlier or more extended flowering. Hard pruning on one of these plants can simplify the framework and stimulate strong new shoots, but it cannot guarantee abundant flowers on its own – light, water, plant health, and establishment all contribute to the final result.
Time and make the cut according to the plant’s condition
Calendar dates are a rough guide at best across US temperate zones. A February recommendation written for a mild Pacific Northwest winter may be weeks too early for a gardener in the upper Midwest or too late for one in the Southeast. Oregon State University Extension’s clematis growing guide reinforces the more reliable rule: prune old-wood types after they finish flowering, and prune new-wood types before strong spring growth begins. Watching the plant rather than the calendar keeps you on the right side of that line.
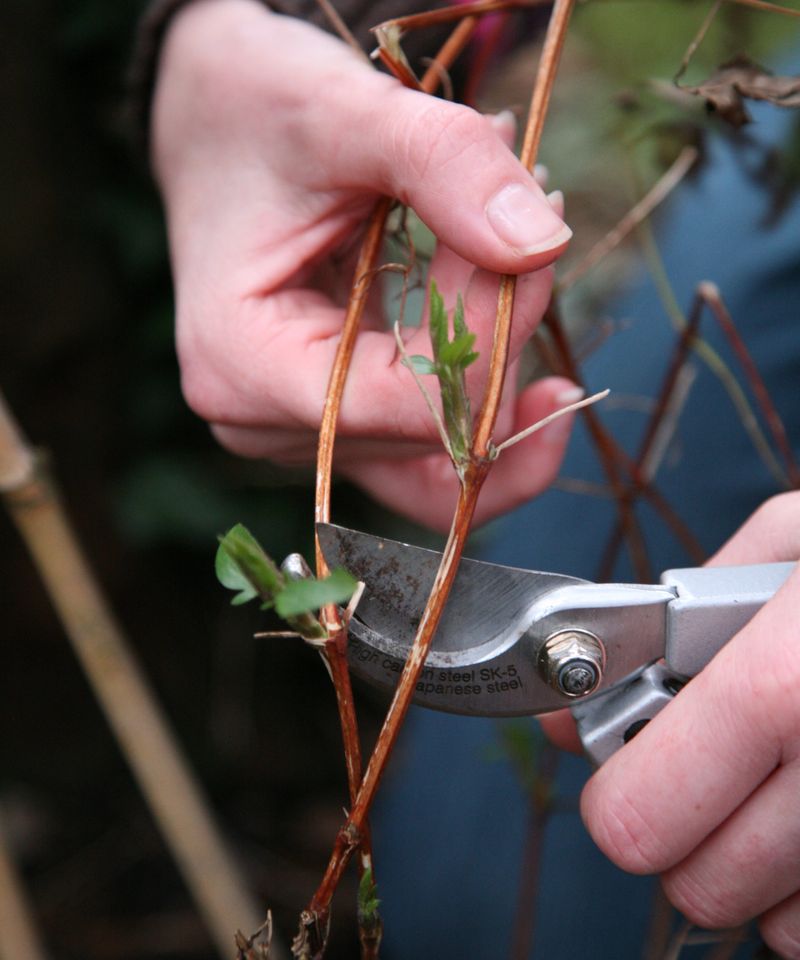
Technique matters as much as timing. RHS pruning guidance recommends cutting just above a healthy bud, removing all dead or damaged material, and working with clean, sharp tools. Clematis stems can be surprisingly fragile and brittle, so handle them carefully when untangling the vine or pulling cut stems free from a support.
One additional note for gardeners with newly planted clematis: the RHS growing guide recommends an initial training cut to roughly 6 to 12 inches above the soil shortly after planting to encourage branching from the base. That is a one-time establishment step for young plants, not a rule to repeat every year on a mature Group 1 or Group 2 vine. Applying it annually to those groups would remove flower-bearing wood each time.
Check growing conditions before blaming the pruning
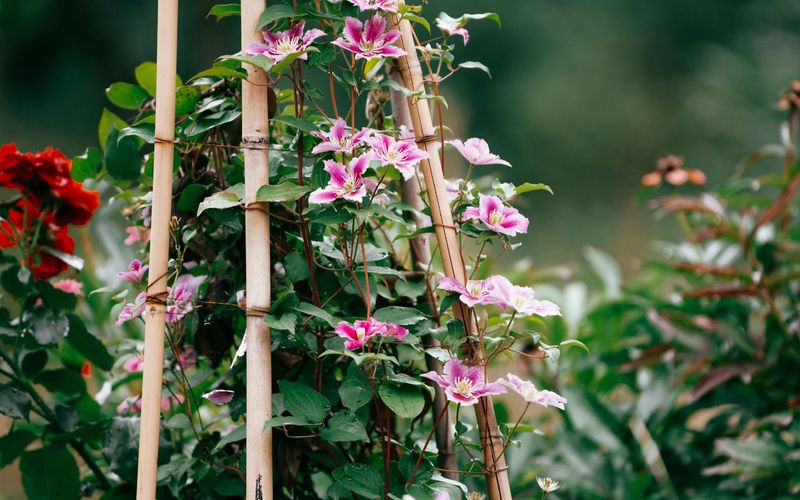
A leafy clematis that refuses to bloom is not automatically a pruning problem. RHS clematis FAQs point to several site and care factors that can suppress flowering even when pruning is perfectly timed: too much shade on the foliage, drought, waterlogged roots, and strong competition from nearby tree or shrub roots are among the most common culprits.
Clematis generally perform best when the foliage receives adequate sun and the roots stay cool and consistently moist but never waterlogged. Mulching around the base helps moderate soil temperature and moisture without burying the crown. If the vine sits in dense shade for most of the day, moving it or reducing the overhead canopy may do more for flowering than any pruning adjustment.
Other possibilities worth checking include excessive nitrogen from lawn fertilizer or a heavy hand with a high-N feed, which can push lush leafy growth at the expense of flowers. Young plants sometimes need two or three seasons to establish a strong enough root system to support heavy flowering, so immaturity is a reasonable explanation for a newly planted vine. Cultivar-specific flowering timing also varies – some clematis are simply later than expected, and what looks like failure in midsummer may resolve itself by early fall. Running through these site checks before making a more aggressive cut is the diagnostic step most gardeners skip.
Recognize wilt and handle affected stems cautiously
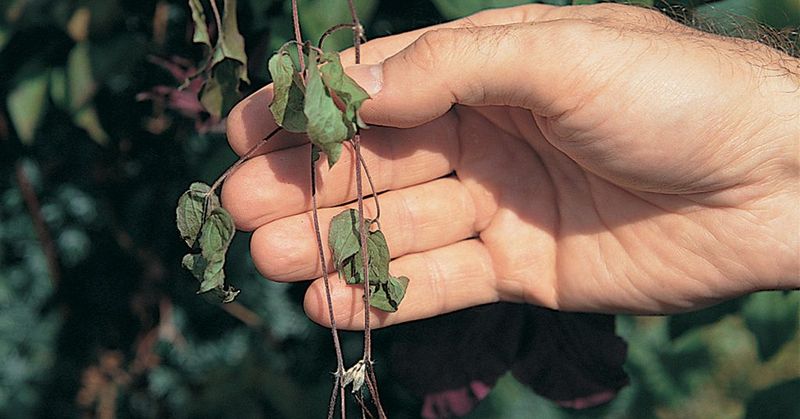
Sudden blackening and collapse of one or more clematis stems – particularly around the time buds are opening – is a warning sign that warrants closer attention. Missouri Botanical Garden’s clematis wilt resource describes this rapid collapse as a characteristic symptom of clematis wilt, a fungal disease that is distinct from ordinary dieback or a pruning mistake. Large-flowered hybrids are notably more susceptible than many species types and small-flowered hybrids.
Wilt does not automatically mean the entire plant is finished. The disease may kill individual stems or all aboveground growth while leaving the root system intact, and some plants push new shoots from below ground after the affected portions are removed. Cut affected stems back to healthy tissue with clean, sharp tools, and dispose of the removed material rather than composting it.
University of Illinois Extension’s clematis handout emphasizes sanitation, avoiding unnecessary wounds, and improving drainage and air circulation as the most practical responses to wilt. Fungicide products vary in legality and effectiveness by location, and no treatment can be presented as a reliable cure. If wilt recurs persistently, selecting a less susceptible cultivar and improving soil drainage are more dependable long-term strategies than chemical intervention alone.
Choose the smallest cut that fits the flowering group
A simple decision rule covers most situations: protect old wood on Group 1 plants by pruning only after flowering, keep Group 2 cuts conservative to preserve the early display while still allowing post-flowering tidying, and cut reliably identified Group 3 plants back to a short framework before spring growth takes off. The RHS pruning overview and University of Illinois Extension both support this group-based approach as the most practical way to protect flowering wood.
When the pruning group is unknown or the plant shows borderline behavior, the safest move is to identify the cultivar from the label or nursery description, or to watch it flower for one full season before committing to a major cut. A mistimed hard prune on an unidentified vine can set back flowering by a full year.
Group-appropriate pruning improves the odds of a well-flowered vine, but it cannot overcome deep shade, dry or waterlogged soil, disease, or a plant that simply needs more time to mature. The smallest cut that matches the group and the plant’s actual condition is almost always the right one.